I first shared this post on the Core’dinations blog. You can find that post here.
Sometimes it’s nice to just sit down and create a little something, especially when it give you a creative outlet, but it doesn’t take too much time. This Framed Halloween Decor is just that. You can have this made in no time!
This post contains affiliate links.
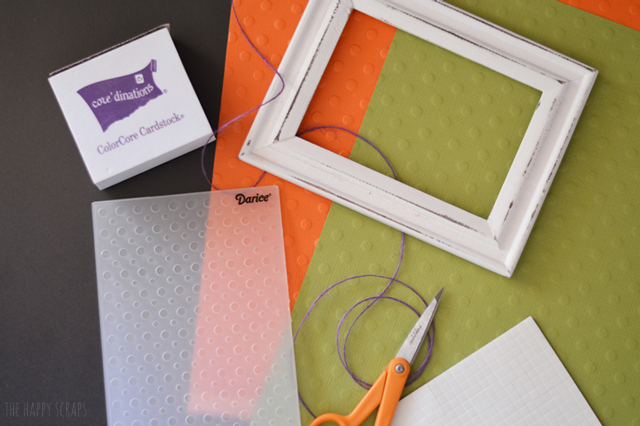
The supplies you’ll need are:
- Core’dinations Spotted Cardstock in orange and green
- Core’dinations Chalkboard Cardstock
- Darice Polka Dot Embossing Folder
- American Crafts Hemp Twine in Purple
- Sand-it Gadget
- Cricut Explore
- Frame
- Scissors
- Foam Dimension Squares
- Cuttlebug
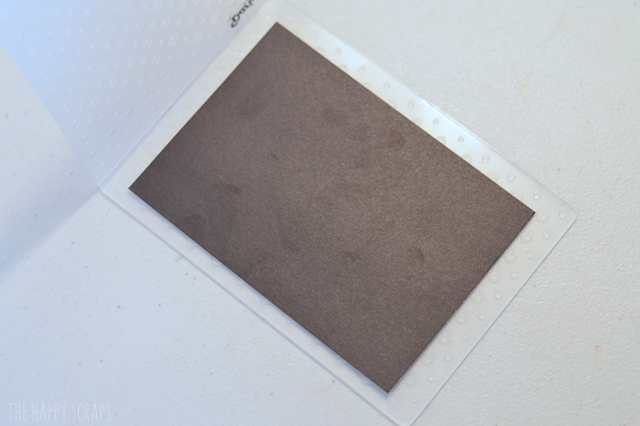
Start out my measuring the opening of your frame. Cut a piece of chalkboard cardstock to fit the opening.
Place your cut chalkboard cardstock into the polka dot embossing folder.
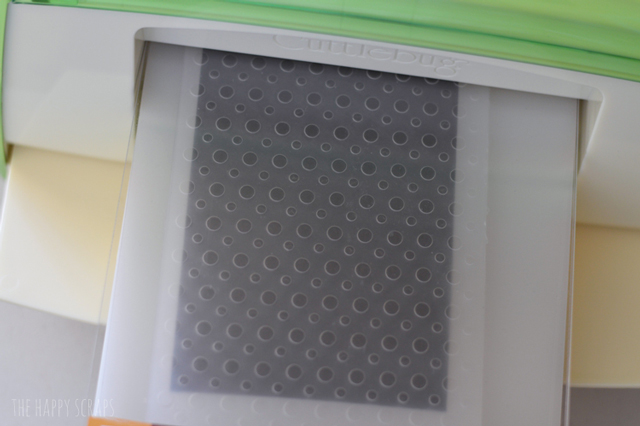
Close the folder and run it through your Cuttlebug.
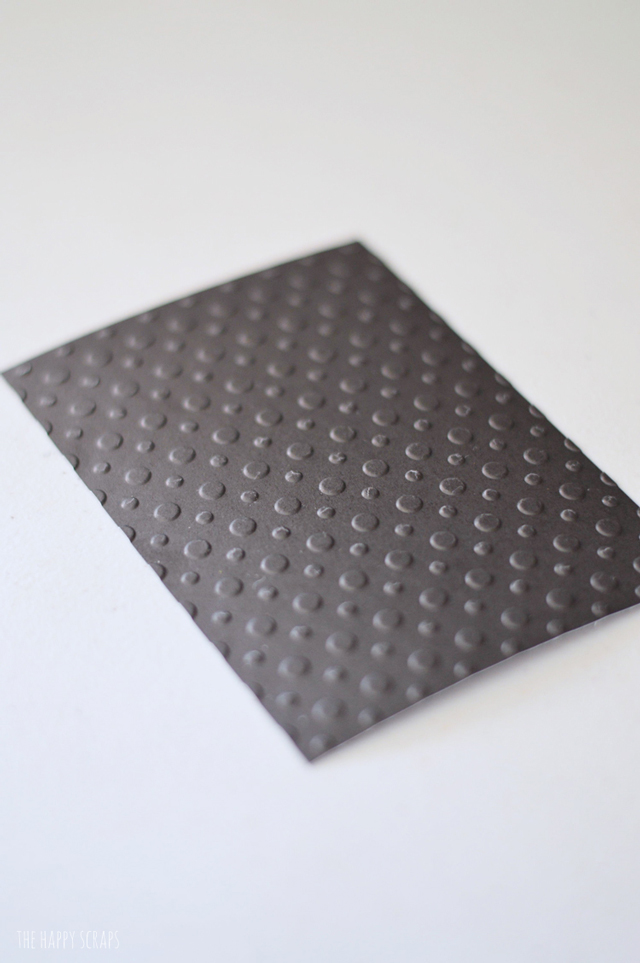
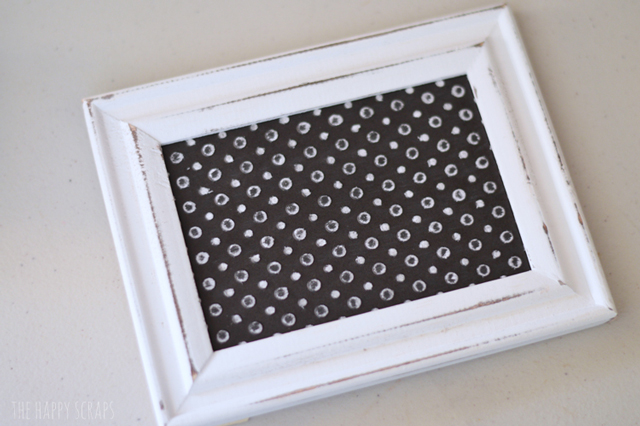
When you pull it out, your chalkboard paper will look like this with these fun polka dots all over it.
Use your Sand-it Gadget to distress the top of the polka dots.
Place your paper into the frame.
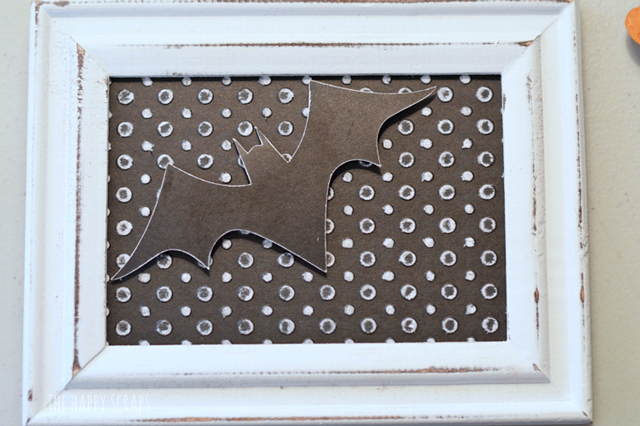
Use your Cricut Explore to cut a bat out of the chalkboard cardstock as well. Lightly distress the edges of the bat, revealing some white. Use the foam dimensional squares to mount the bat within the frame.
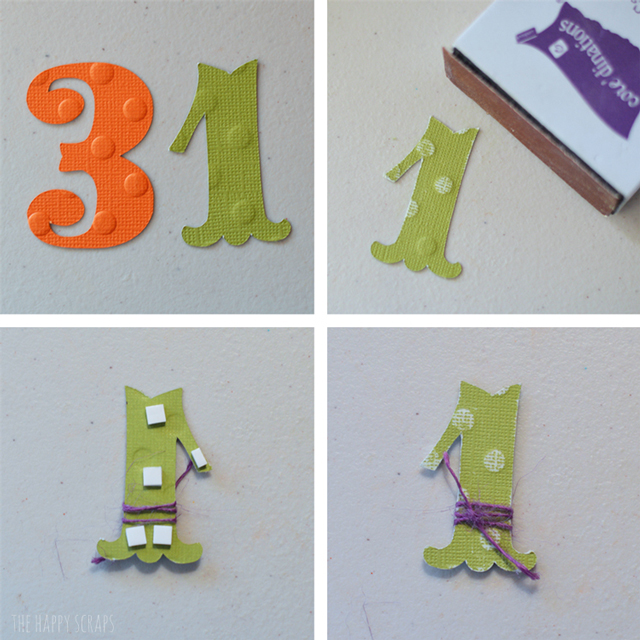
Cut out a 3 and 1 from the orange and green papers, using your Cricut Explore. Lightly distress the polka dots on these numbers as well. Wrap some purple hemp twine around the numbers and tie it. Place foam dimensional squares on the back.
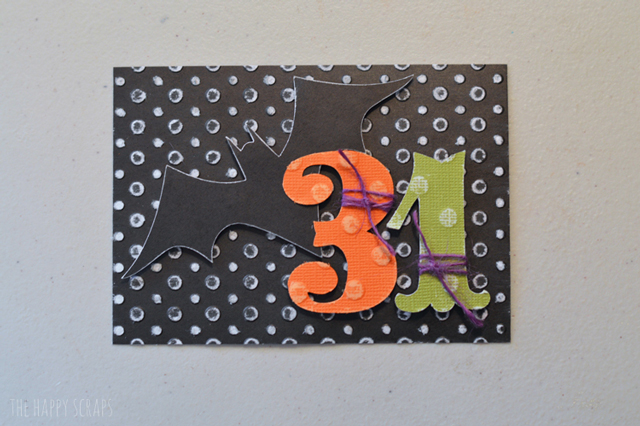
Mount the numbers onto the polka dotted chalkboard cardstock, making sure they are far enough from the edge for the frame.
Place your creation back into the frame.
You are all done with your framed bat and 31 decor, and it’s ready to sit on the self for the Halloween season! It’s not too spooky, but cute enough to have around for the holiday.





Leave a Reply