Do you ever make matching shirts for your family? It’s not something I do on a regular basis, but when I got this amazing bundle from DesignBundles.net, I knew I had to make these Easy 4th of July Shirts for my boys. I knew they would love them! As much as I love creating my own designs, I also loved that I didn’t have to design them. All I had to do was upload and cut them. SO easy! I can’t wait for my boys to wear them on the 4th of July, although we still don’t really have plans for that day. What are your fun plans for the 4th of July?

This Easy 4th of July Shirts with DesignBundles.net post contains affiliate links. If you click on an affiliate link and purchase something, you won’t pay anything extra, but it will help support this blog. I received product and compensation in exchange for this post.
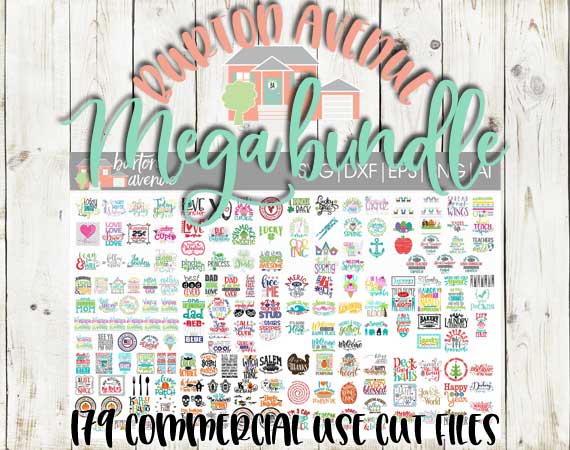
You guys may not know, but I’m a total font and design junkie! I can’t say I’m always the best at coming up with my own designs, but I don’t know why I’d need to when I can get bundles of super cute designs to use that I don’t have to create. They are ready to be uploaded and used! This Burton Avenue Mega Bundle is my most favorite bundle I’ve seen in a long time! It has something for every holiday and season of the year! I know I’ll be using this bundle all year long! I love that I can get Design Bundles or Font Bundles that are always sure to be filled with great options, and they don’t break the bank! My go to place for finding these is fontbundles.net and designbundles.net. Today I’m sharing how I used one of the fun designs from this bundle to create these Easy 4th of July Shirts.
Easy 4th of July Shirts Supplies:
- Burton Avenue Mega Bundle
- Cricut Maker, Cricut Explore Air 2, or other digital die cutting machine
- EasyPress
- EasyPress Mat
- Foil Iron-on
- Weeding Tools
- Scissors
- Shirts

I started by uploading the SVG cut file to Cricut Design Space. I prefer and recommend the Cricut and Cricut Design Space for this kind of project, but you could also use other digital die cutting machines. I sized the design to fit the shirts I was using, then arranged the different pieces to fit five on one 12 x 12 sheet of foil iron-on.
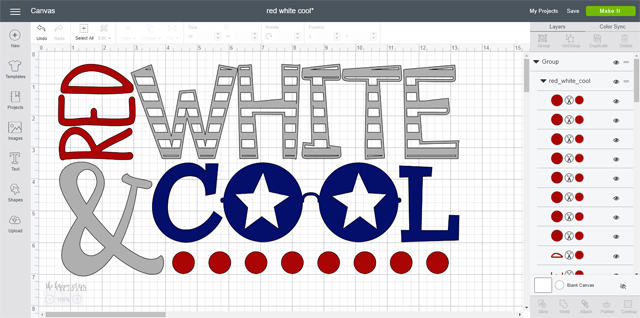
I sent the designs over to my Cricut Maker to be cut. Always make sure when cutting iron-on or HTV that you mirror your image! I’ve made the mistake a few times, and still have to remind myself to do it at times. 🙂

Once I had all the designs cut out, I weeded them and cut them apart.
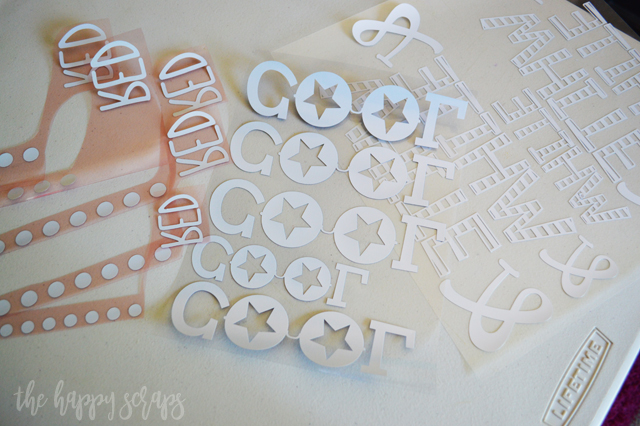
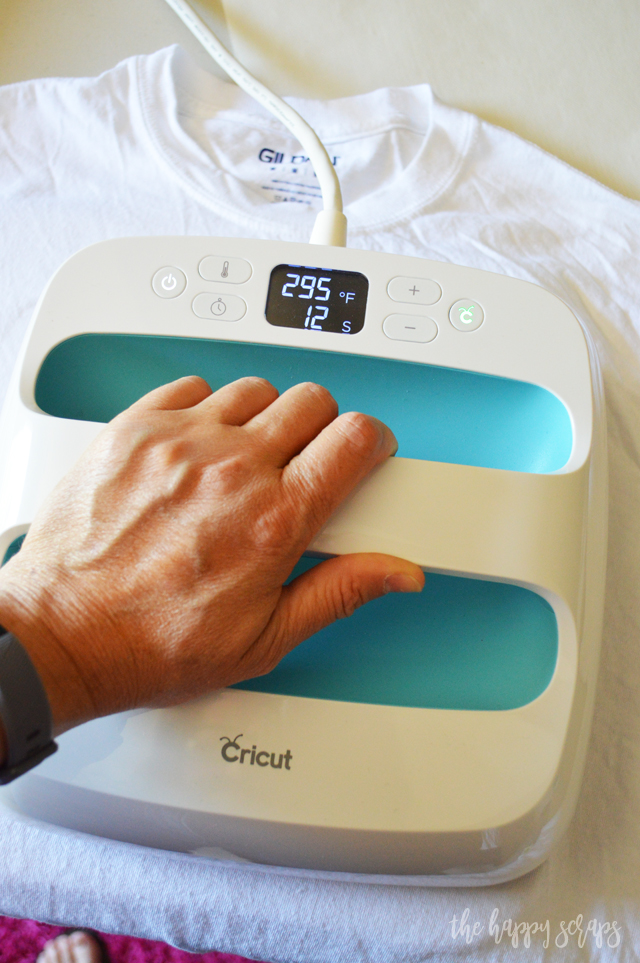
I got out my EasyPress and set it to the temperature and time that it needed to be at for foil iron-on. You can find heat settings here.

I placed the white/silver on the shirt first.
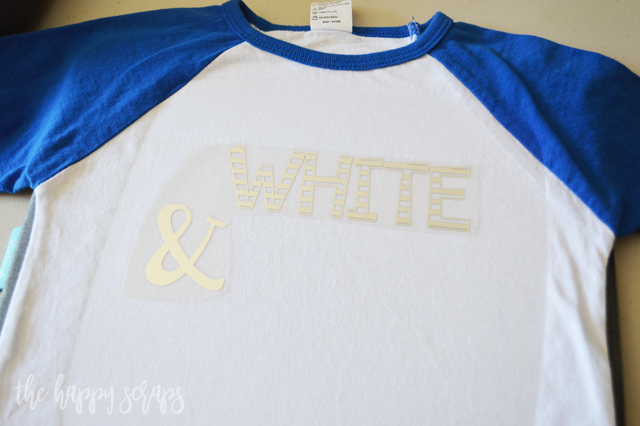
Then I used the EasyPress to apply it. Once it cooled, I removed the carrier sheet.
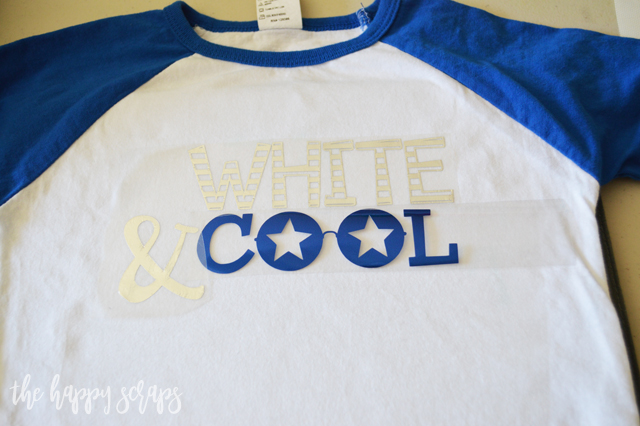
Then I placed the blue layer, placed the carrier sheet back over the white/silver, and used the EasyPress again to apply the blue layer. When layering vinyl, you ALWAYS need to make sure that all of the design is covered with either the carrier sheet or an iron-on protective sheet. If the design isn’t covered, it can melt the design. Once it cooled again, I removed the carrier sheets.
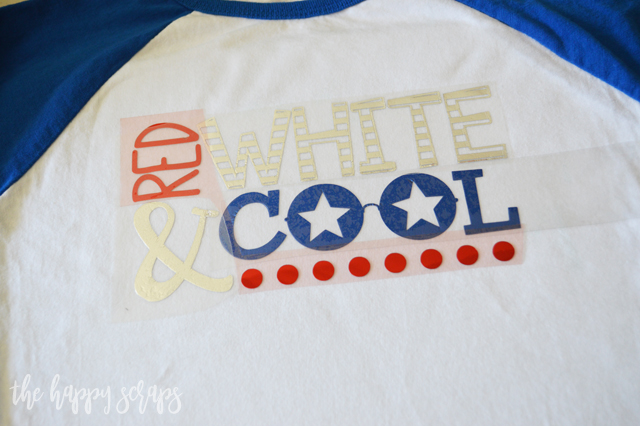
I placed the red layer on the shirt, placed the carrier sheets for the white/silver and blue back on the shirt, then used the EasyPress again to apply the red layer. I let it cool between each layer because I found that the carrier sheet comes off easier when it’s cool.
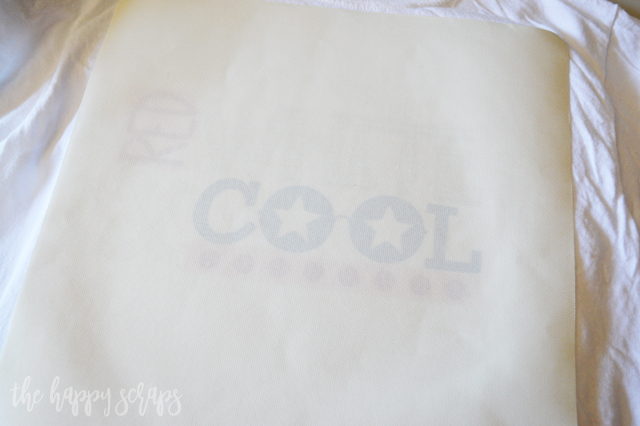
Once I had all of the design on the shirt, I applied heat to the front with the iron-on protective sheet over the entire design.
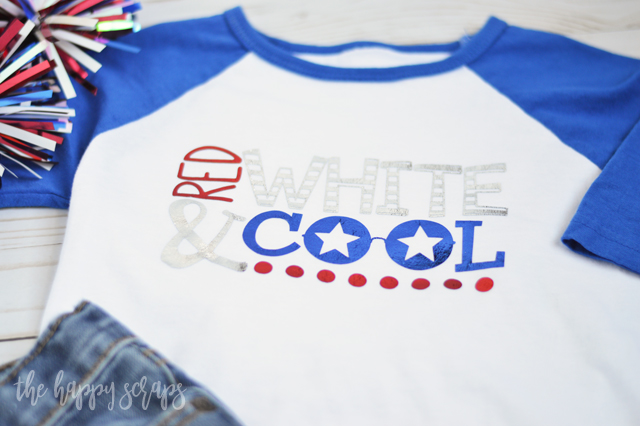
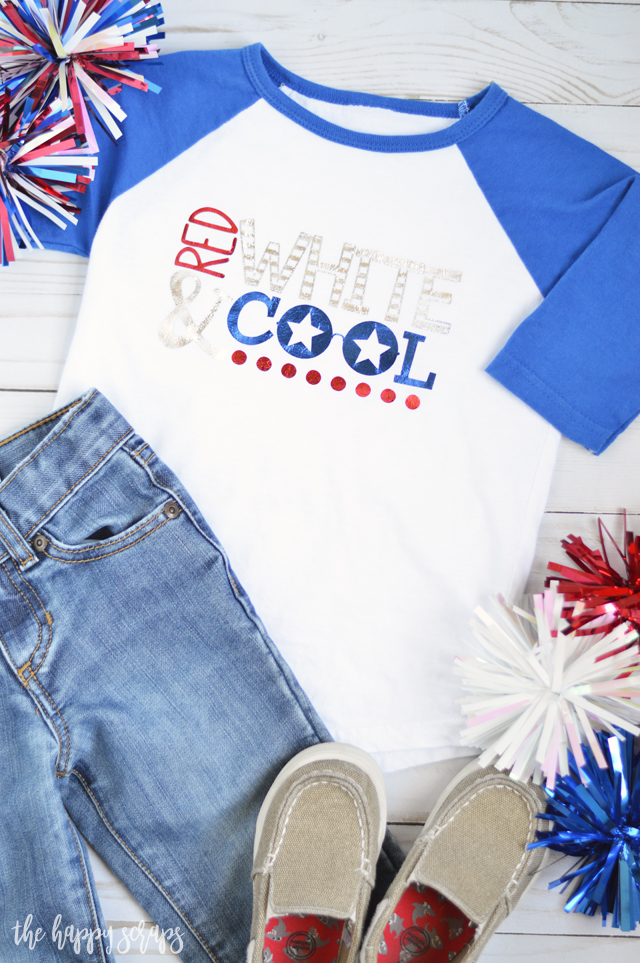
I adore the way these Easy 4th of July Shirts turned out and so do my boys! They were so excited that I was making them shirts to wear!
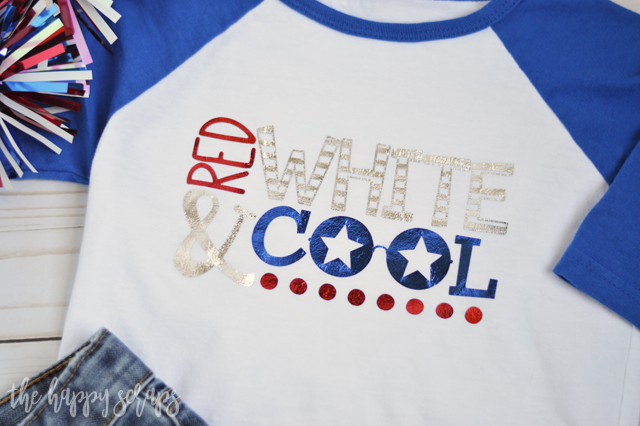
And they love what they say! What boy wouldn’t love to wear a shirt that says Red, White & Cool? 🙂 If I had a little girl, there are some super fun and cute options for Easy 4th of July Shirts for them as well! I think my favorite is the design that says Stars & Stripes & lots of sparkle!
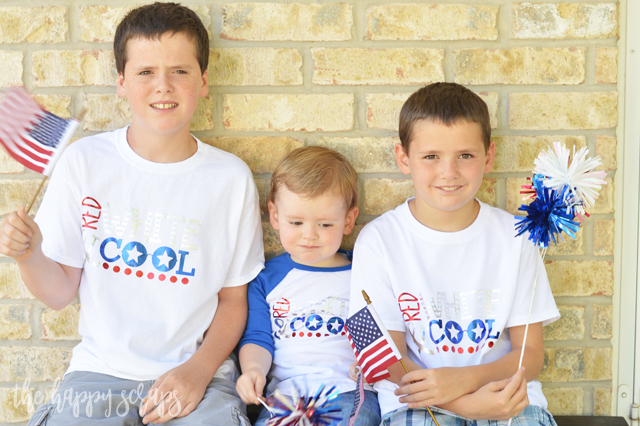
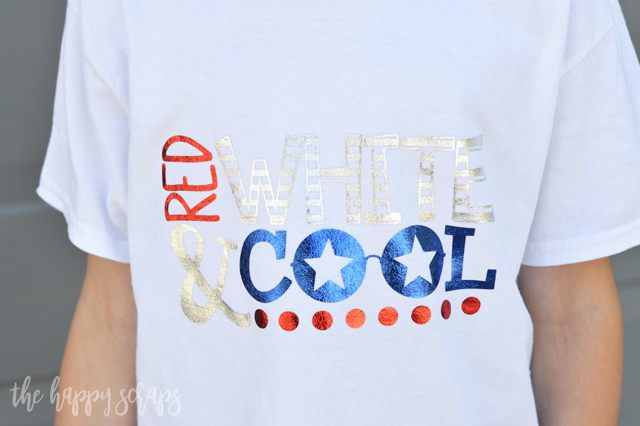
Using the foil iron-on for these shirts made them that much better as well! It’s so fun to see the shine along with the detail of the design!
These boys! They aren’t used to having their pictures taken for blog projects, but I couldn’t help but share this cute picture of these brothers!
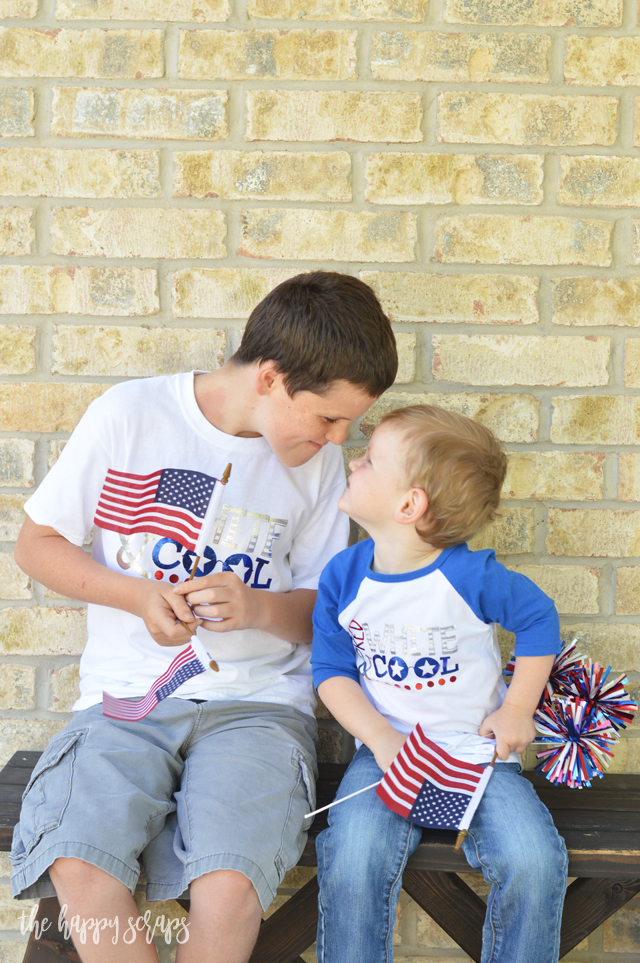
So are you ready to get some shirts made? I love that these shirts were so easy and quick to make! I did pre-wash all of the shirts to make sure that the foil iron-on adhered the best that it could, and that took longer than actually cutting the design and pressing them onto the shirts!
Grab this fun Burton Avenue Mega Bundle and get some shirts made! You could also use so many of these designs for holiday throw pillows, fun signs around your home, teacher gifts, card making, handmade gifts, and the list goes on! This is one bundle you don’t want to miss!
Be sure to stop by fontbundles.net and designbundles.net to check out all of the amazing fonts and designs! I promise that you won’t be disappointed!

Leave a Reply