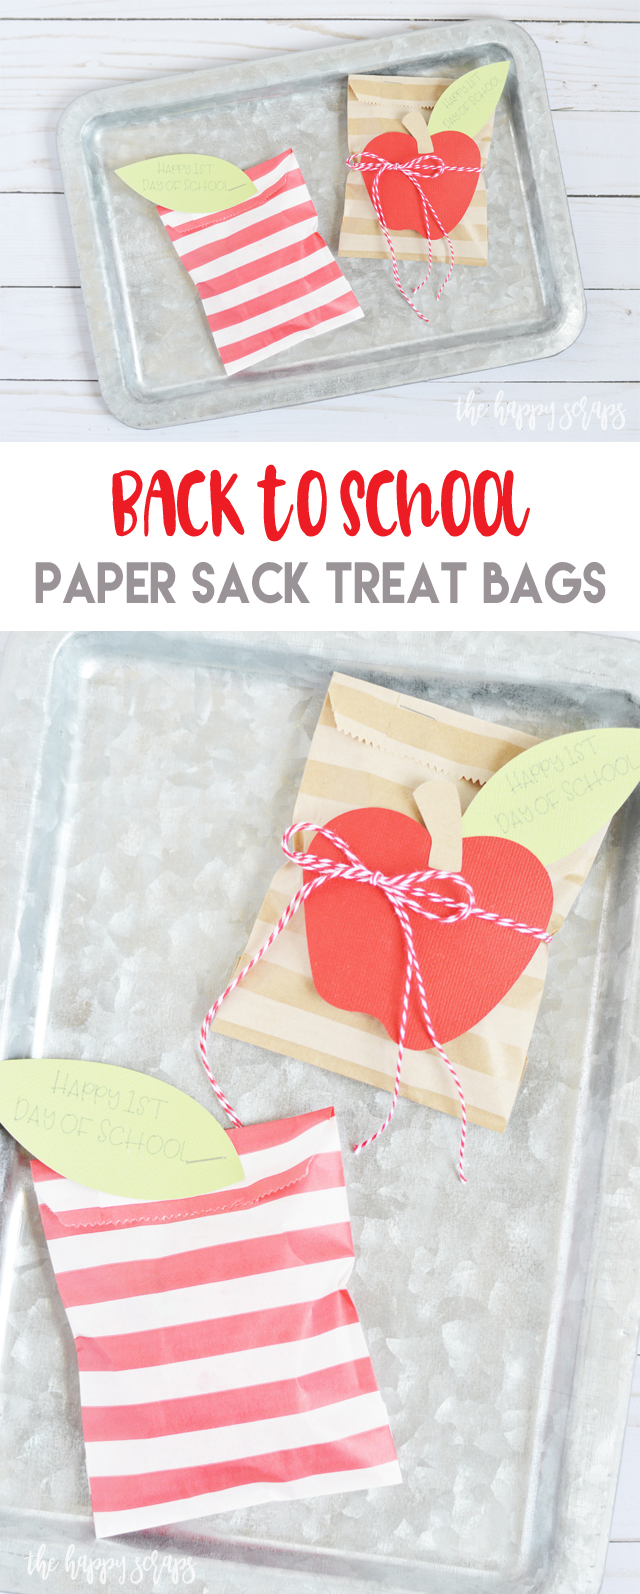
I feel like the last week has been a whirl wind, anyone else? Last Saturday it was my oldest child’s birthday. He is 15 and headed into his sophomore year at school. The only thing I can think about with that is that I’m not old enough to have a kid that old! I still feel like I’m in my 20’s most days, unless I do something to make my body sore, then I’m like 90. 😉 Anyway, this week I helped my friend put up the bulletin board at the elementary school. I shared how it turned out over on Instagram stories. (It expired and is gone now though, but I do like to share sneak peeks over there.) I also had my friend do my brows this week. You guys. This is something that I’ve wanted to have done for literally years! I’ve been so self conscious about my very sparse brows for years! Anyway, I finally did it. I’m still in the process of healing, but so far I’m LOVING them! We’ve also made a little bit of progress on our master bedroom closet this week, and we are hoping to finish it this weekend. My boys are headed back to school next week, and this week I feel like has been busy getting ready for that as well as the other stuff we’ve had going. Today, I want to share these Back to School Paper Sack Treat Bags with you that I put together. The best part about these cute little bags is that they are so quick and easy to put together! Just throw in a cookie and you’re good to go!
This Back to School Paper Sack Treat Bags post contains affiliate links. If you click on an affiliate link and purchase something, you won’t pay anything extra, but it will help support this blog.
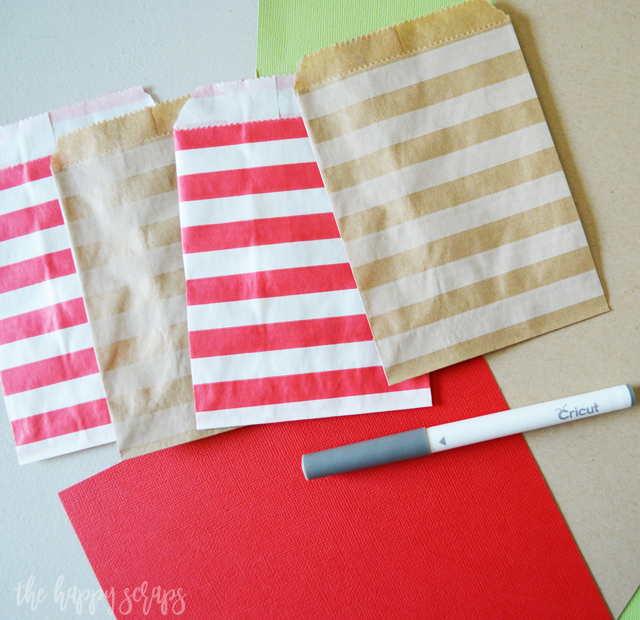
Back to School Paper Sack Treat Bags Supplies:
- Treat Bags (I used 4″ x 6″)
- Red, Green, and Kraft cardstock
- Cricut Maker or Cricut Explore Air 2
- Cricut Pen
- Adhesive
- Glue Dots
- Baker’s Twine
- Design Space Cut File
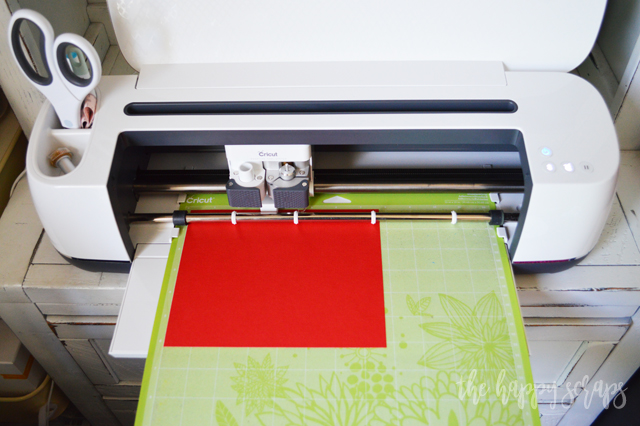
After I collected my supplies I sent the Design Space Cut File to the Cricut Maker to be cut. Have I ever told you how much I love that I can send things to be cut via Bluetooth? It’s the best! I don’t have to have my Cricut machine right next to my computer and I love that!
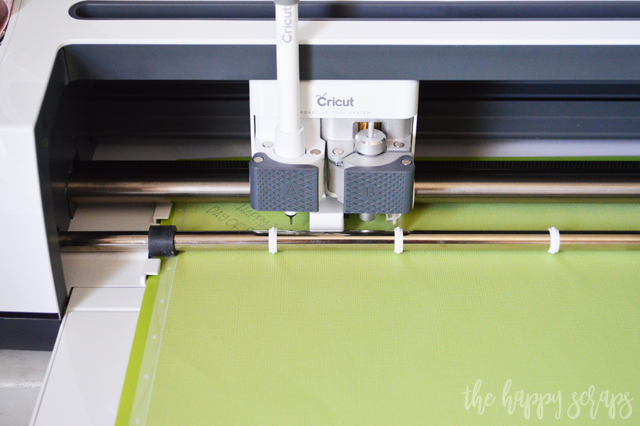
After I got the red and kraft cardstock cut, it was time for the green. I was prompted to insert the gray Cricut pen to do the writing on my leaves.
Once I had everything cut, I was ready to put these cute Back to School Paper Sack Treat Bags together. These are so easy, that you could have a whole pile of them put together in about 10 minutes.

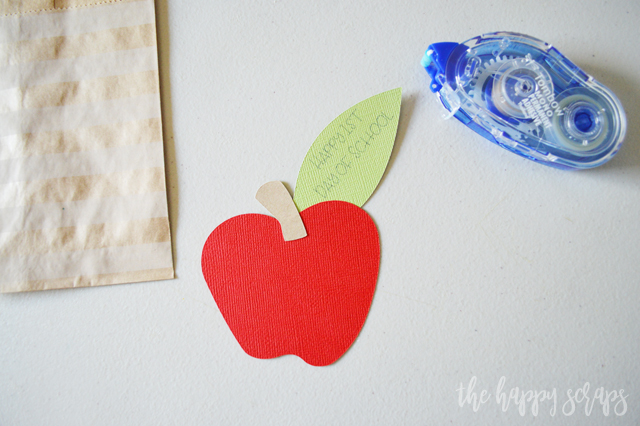
I assembled my apple with my adhesive.
I picked up some cute back to school cookies from a little store locally, and put them in the sack. You could put anything in the sack that you know your kids would like, or you could make your own cookies as well.

I folded the top of the sack down and stapled the sack closed.

I added a couple of glue dots to the back of the apple.
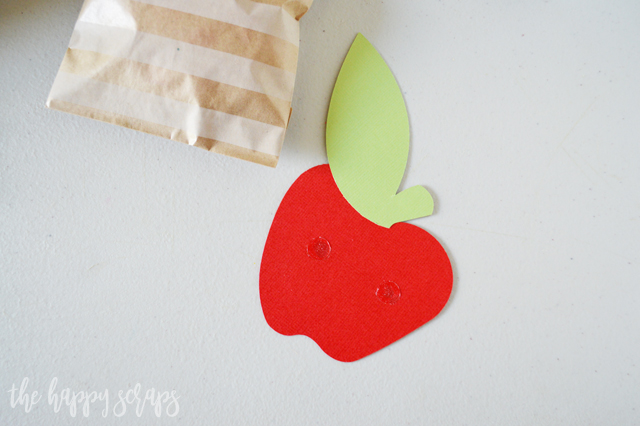
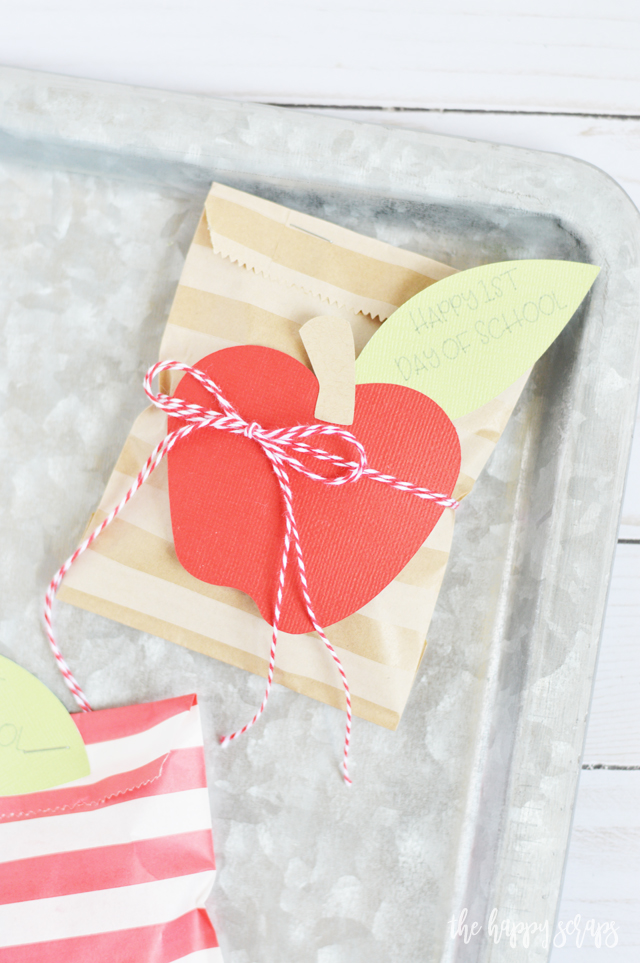
Then I placed the apple onto the sack.

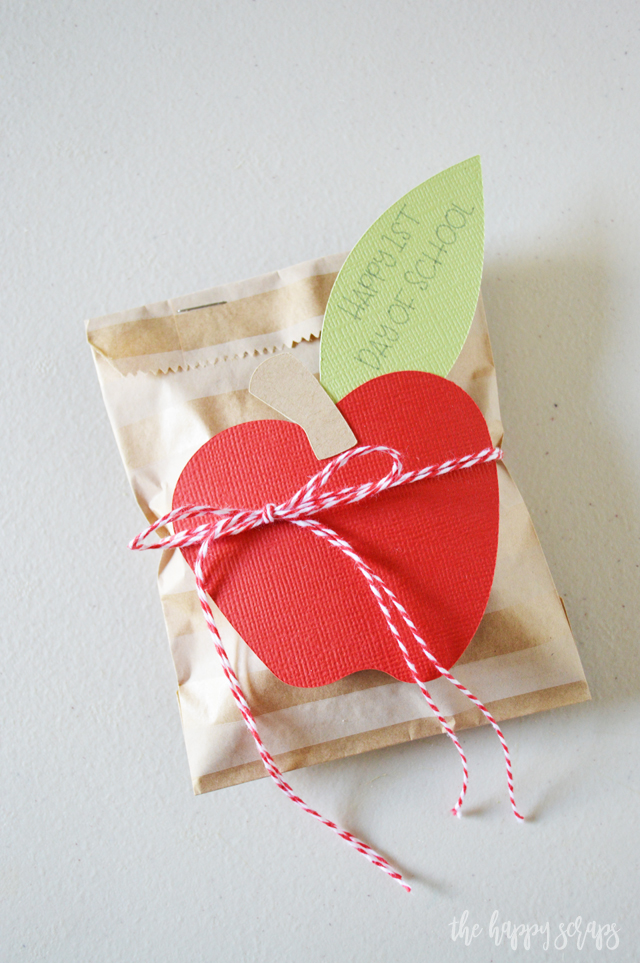
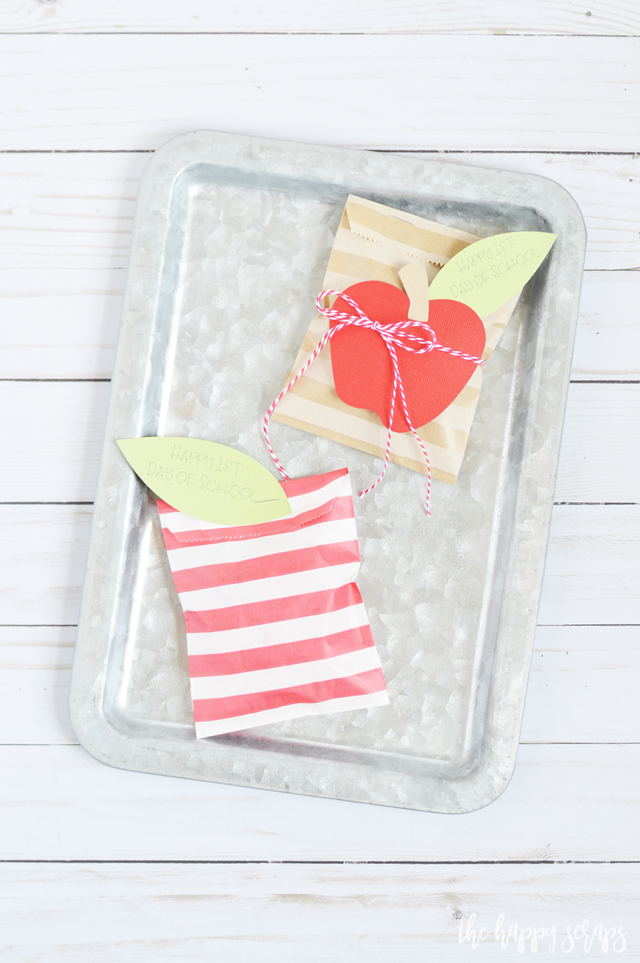
I finished it off by tying a piece of baker’s twine around the sack.
Not that the first sack was hard by any means, but this second sack is even easier! I put the cookie in this sack.
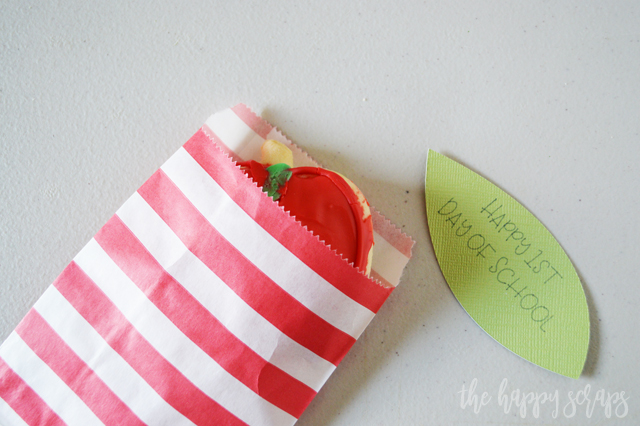
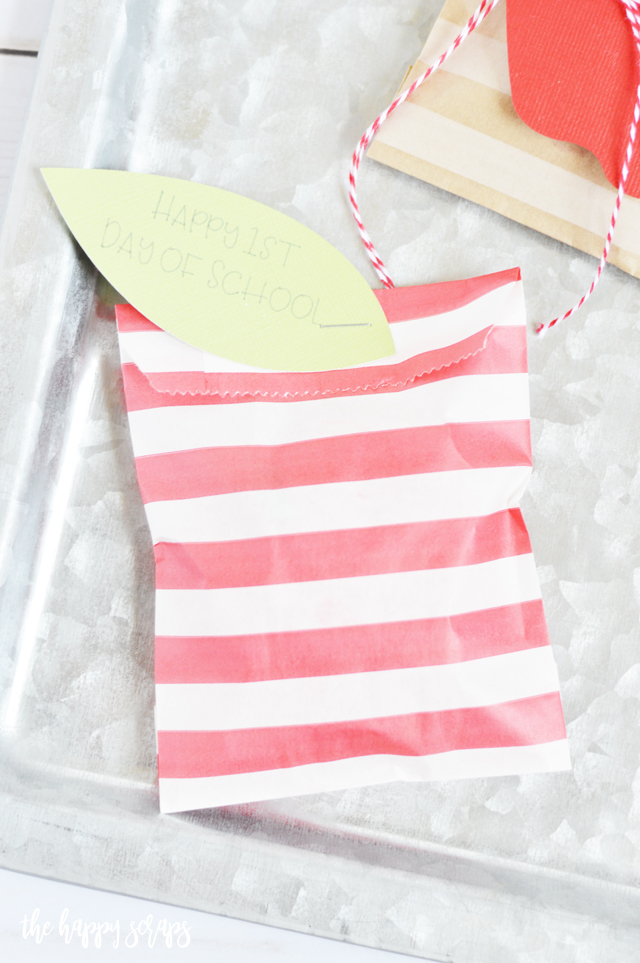
I folded the top over, and stapled the leaf to the front of the sack while closing the sack at the same time.
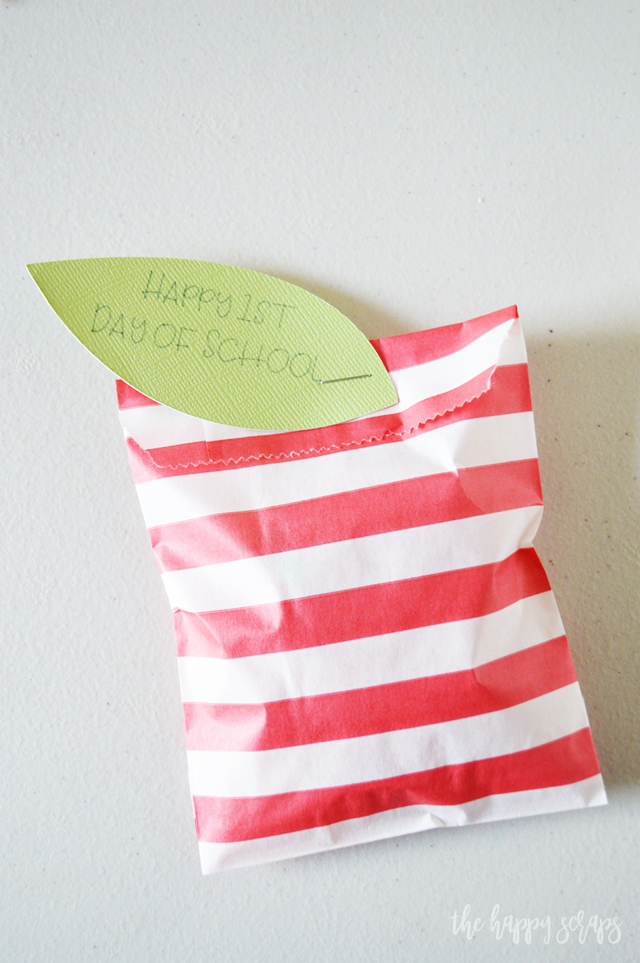
And they were finished! I think these turned out adorable and are the perfect back to school paper sack treat bags and are so easy to put together as well!
While it isn’t necessary to make something like this for the kids on the first day of school, it’s a little something that is fun for them to have on the first day!
I don’t know who is the most nervous about school starting, the kids or myself. I normally am fine when school starts, but since this is the first year that my oldest will actually be attending the high school (9th grade was in middle school) it makes me a little nervous. Anyway, I’m sure he’ll be fine, but gosh, sometimes being a parent can be hard!
So maybe having a treat on the first day of school is just as much for me as it is for my boys, right? 🙂
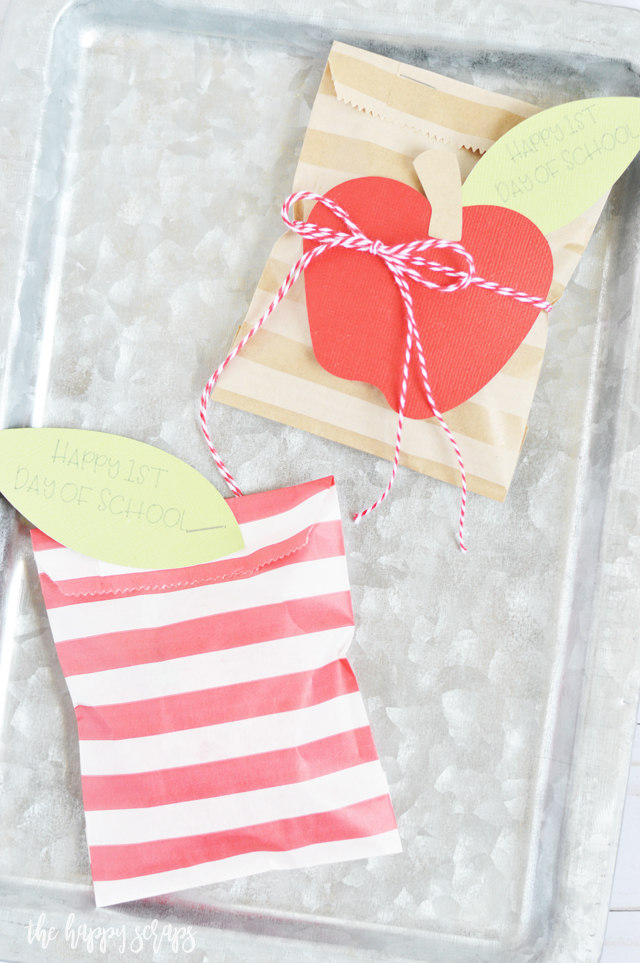
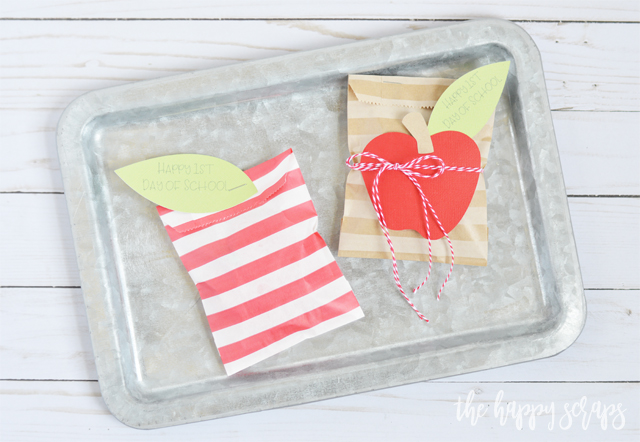
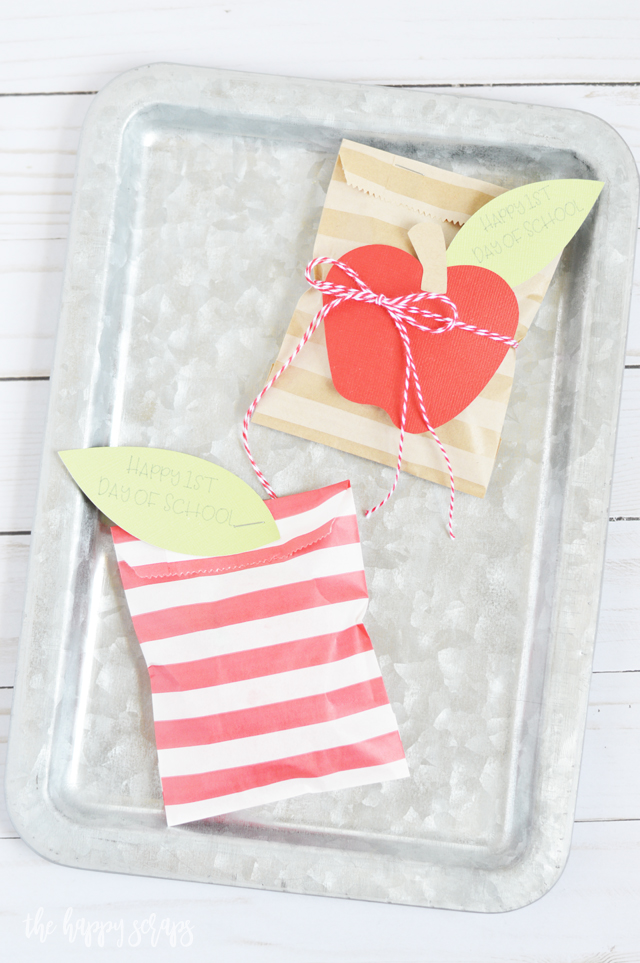
If your kids haven’t already started school, then whip up some of these fun Back to School Paper Sack Treat Bags to give your kids on their first day back! They will love it!
If you’re looking for more back to school projects, then check out my gallery here.

Leave a Reply