You know when you finish a project and you are just in love with it because it turned out as good or better than what you have envisioned in your head? No, just me? Well, I dare say that is how this Welcome to the Farm Front Door Decor turned out for me. I found this cute welcome sign while shopping at Hobby Lobby one day, and knew I needed it + it was on sale (which was great because….no more coupons at Hobby Lobby). I brought it home and didn’t even bring it in the house, just put it up on the front door. The more I looked at it with my gray door, I decided I wanted to modify it. That’s how this all started and it snowballed into this fun project that makes me smile every time I pull up to my house!

This Welcome to the Farm Front Door Decor post contains affiliate links. If you click on an affiliate link and purchase something, you won’t pay anything extra, but it will help support this blog. All ideas and opinions are my own.
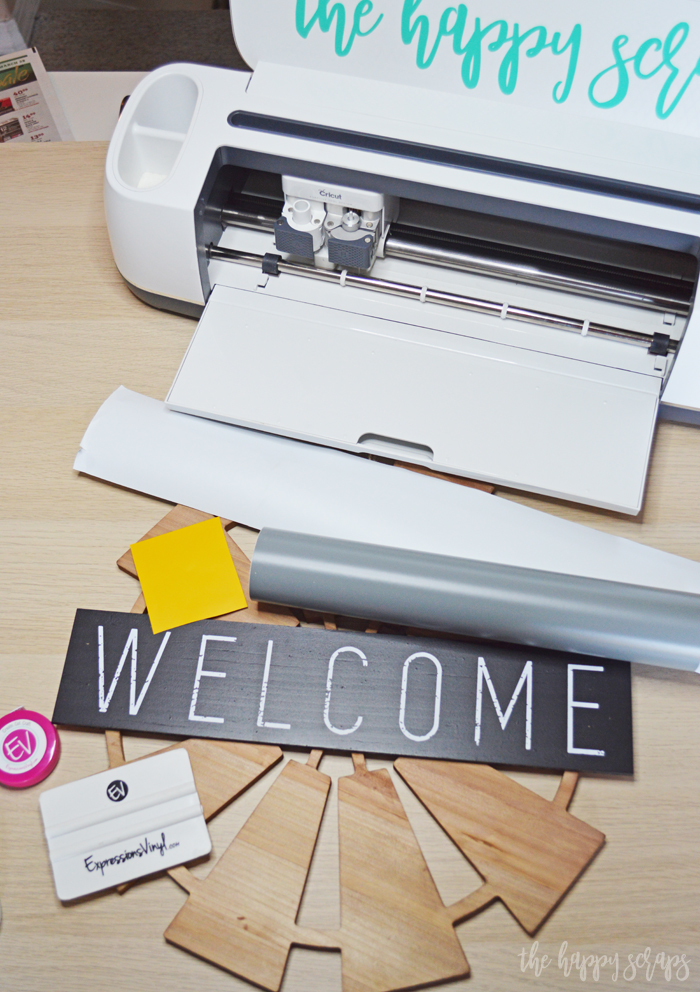
After gathering your supplies, open the Design Space Cut File.

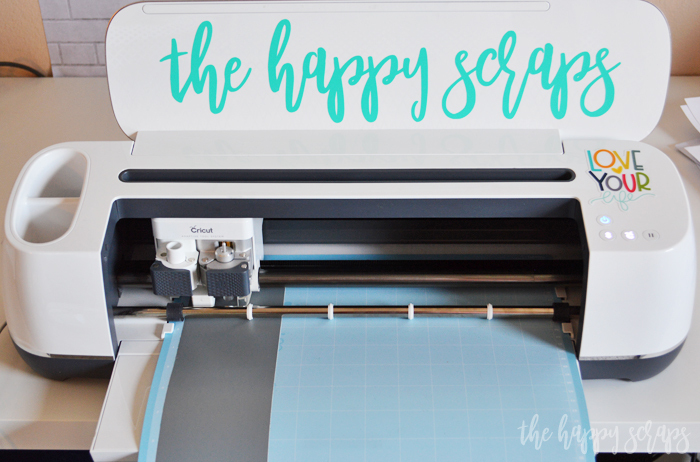
Select your material and send it to be cut.
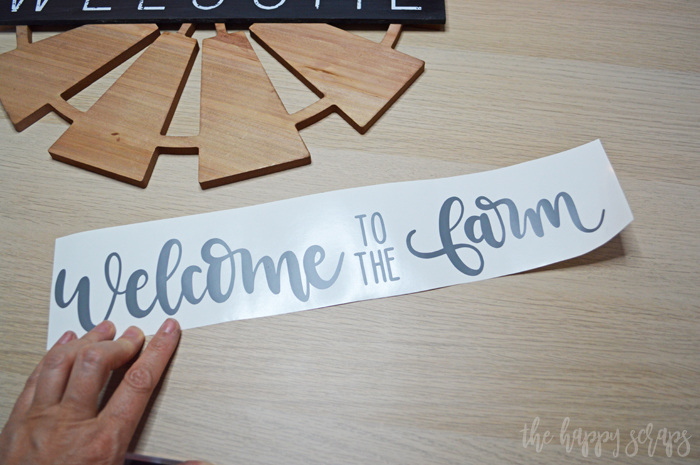
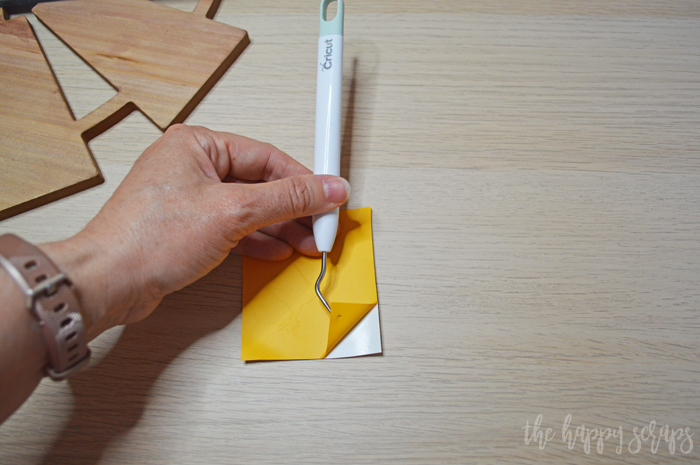
Once cut, weed your design.
This weeding hook with the extra little curved end is the best! It is my favorite that I reach for over and over again, and I’ve got a few weeding hooks around.
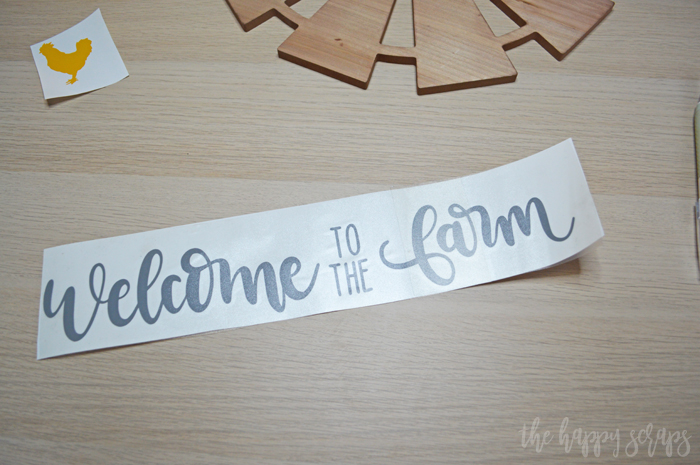
Once you have your vinyl weeded, you’ll have two pieces.

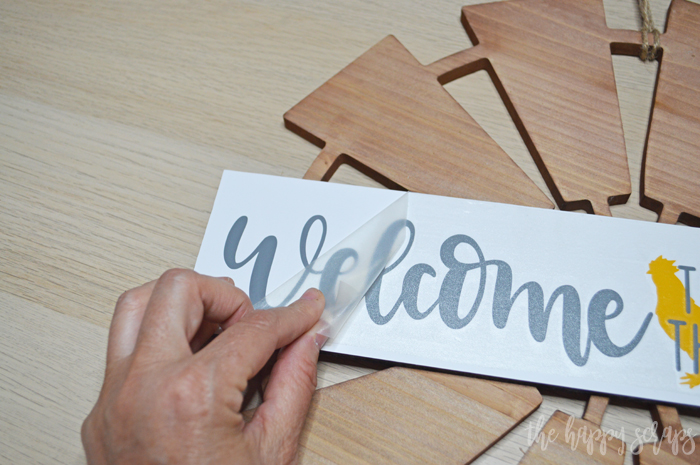
After weeding, place transfer tape over the top of the larger design.
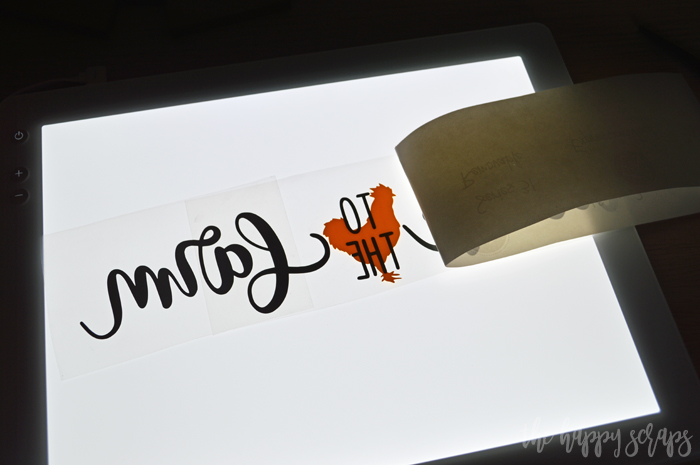
If you have a Brightpad, I recommend using it to help line up the chicken. Place the chicken where it needs to be, then you can place the backing back onto the rest of the vinyl.
Now let’s prep the windmill. Using a sanding block, lightly sand the black welcome portion.

Once it has been lightly sanded, wipe it clean with a wet wipe. Sanding helps removed any ridges that may be there as well as creates a smooth area for the vinyl to be placed on.

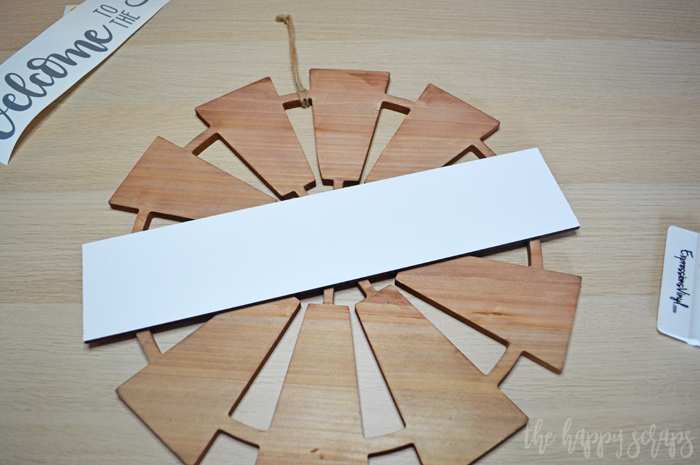
For the white vinyl, I did not cut this out with the Cricut. I placed vinyl over the top and then trimmed it.
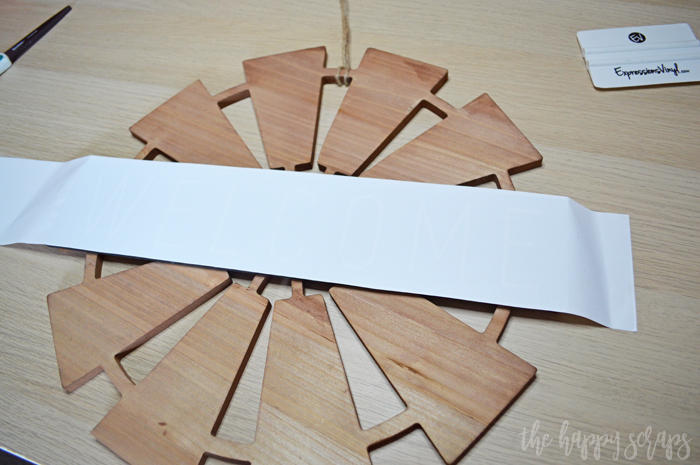
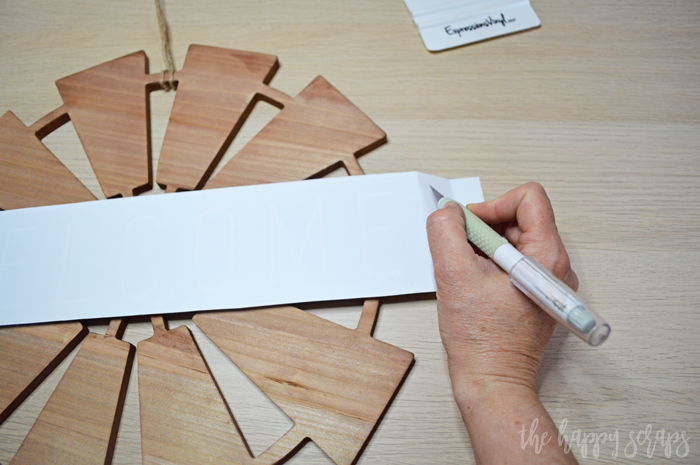
Once I had the vinyl placed over the top, I noticed that you could still see though it. You could paint the black if you preferred. I wanted the edges to remain black, so I used the vinyl + it seemed like the easier way to do it as well. Because it was see through, I added a second layer of the white vinyl as well. After the vinyl is in place, trim the extra off with the TrueControl Knife.
Now you have it all ready to apply the rest of the vinyl.
Place the vinyl where you’d like it and use the hinge method to apply it.
Once the transfer tape is removed, you’re Welcome to the Farm Front Door Decor sign is all finished!

You’re ready to put it on your front door!

If you’re anything like me and are loving all things farmhouse, then this is the perfect decor for your front door. After we got chickens last year, I can’t seem to get enough of all things farmhouse, and now I want to move to a farm! I also have a farmhouse Instagram that I started. 😉 You can find that here.

Do you have any farm animals? What kind? Are you feeling a little like your home is turning into a farm? I am and I’m here for it! I love the chickens and the only thing it makes me want to do is move out of the city to the country.

If you’re looking for more fun projects to create with your Cricut, then be sure to check out my gallery here.

Leave a Reply