This Quick & Easy Hat Decal with the Cricut + EasyPress Mini post is a sponsored conversation written by me on behalf of Cricut. The opinions and text are all mine.
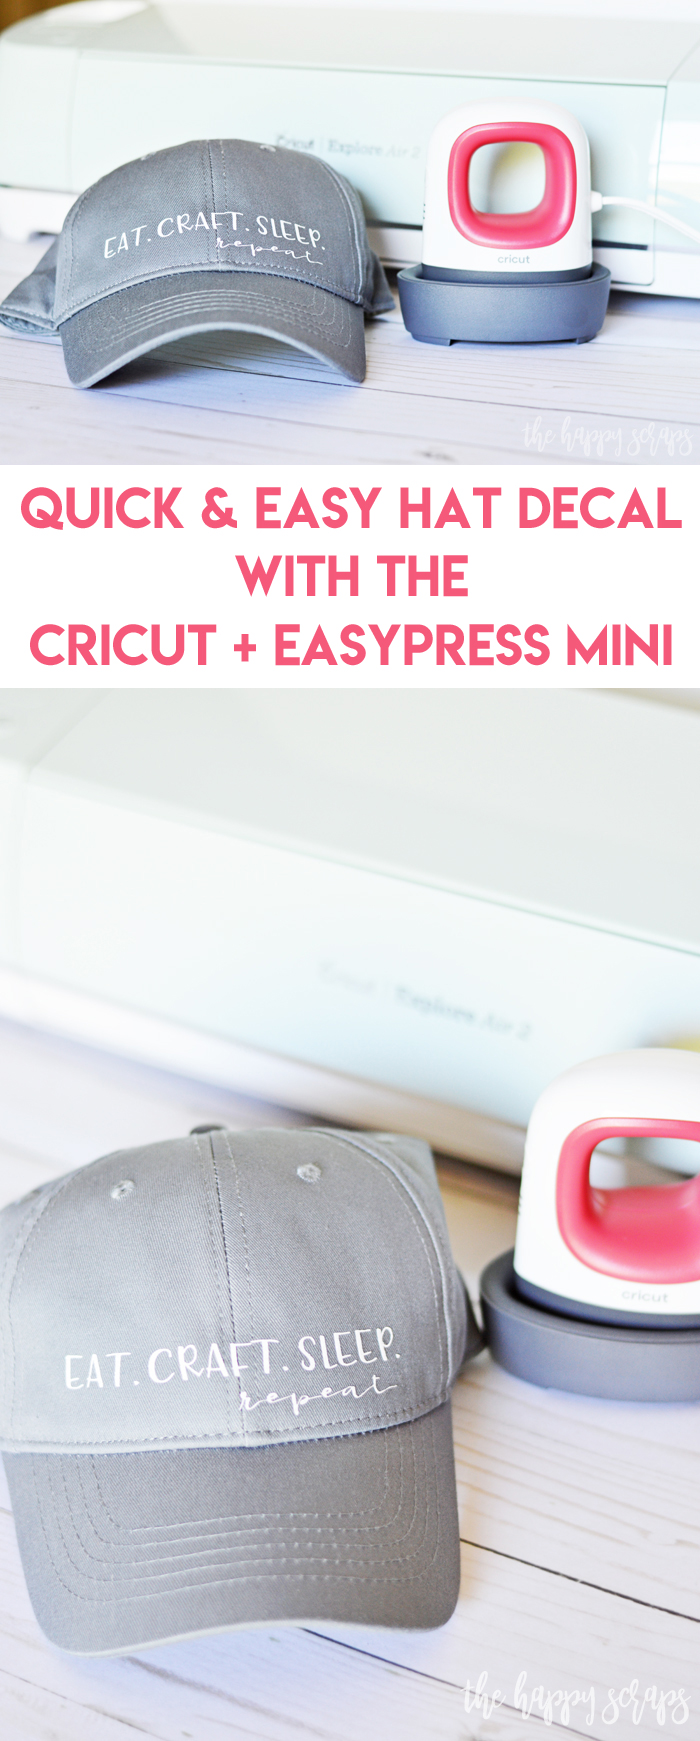
Have you ever tried putting iron-on vinyl on a hat before? It sounds pretty easy, right? I’ve added iron-on vinyl to a hat before, and I thought it would be so easy, but let me tell you, the curve of the brim + the roundness of the hat, sure made it tricky to get the hat flat enough to get the heat on it like I needed to. Because of that experience, I knew I couldn’t wait to try out the new Cricut EasyPress Mini when I heard about it! I thought it would have to make it easier to put a decal on a hat, and boy did it! Today I’m excited to share this Quick & Easy Hat Decal with the Cricut + EasyPress Mini with you. It really is a quick project that you can have done in about 15 minutes!
This Quick & Easy Hat Decal with the Cricut + EasyPress Mini post is sponsored content written on behalf of Cricut. I received product and compensation in exchange for this post. This post contains affiliate links. If you click on an affiliate link and purchase something, you won’t pay anything extra, but it will help support this blog. All ideas and opinions are my own.
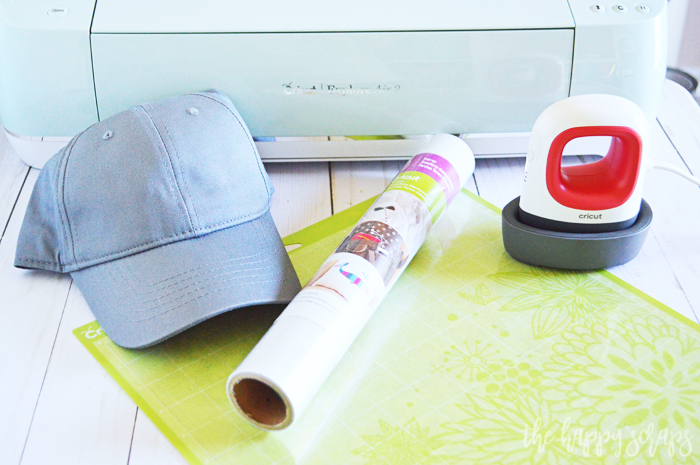
Quick & Easy Hat Decal with the Cricut + EasyPress Mini Supplies:
- Cricut Explore Air 2
- Cricut EasyPress Mini
- Cricut EasyPress Mat
- Cricut White Glitter Iron-on
- Cricut StandardGrip Mat
- Cricut Weeding Tools
- Blank Hat ($3 at Walmart)
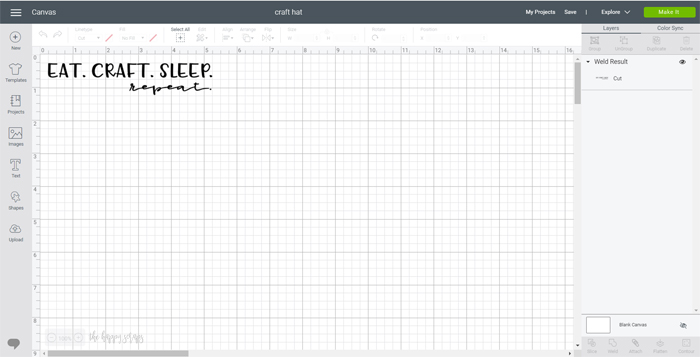
To start off, I created the design that I wanted to put on my hat. You can find this Design Space Cut File here. If you have Cricut Access, then these fonts are included.
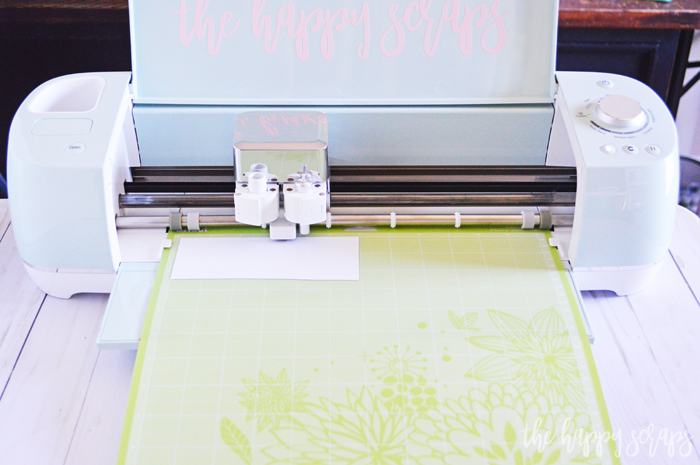
I sent the design to my Cricut Explore Air 2 to be cut. I love this machine just as much as my Cricut Maker! It can do so many of the same things. 🙂
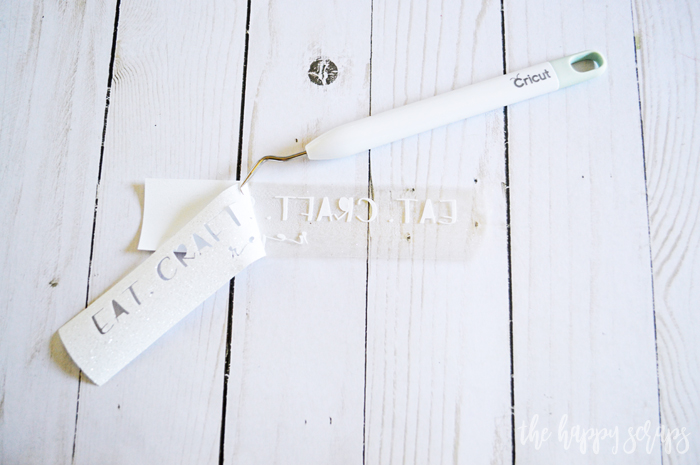
Once the design was cut, I used the weeding tools to weed it.
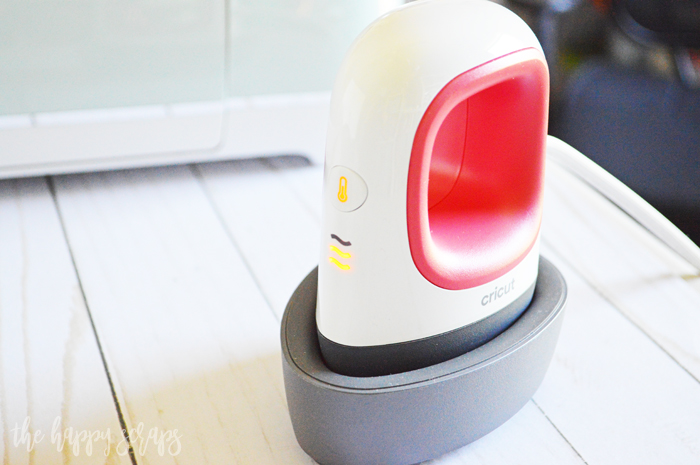
Now comes the fun part! I pulled the Cricut EasyPress Mini out and plugged it in. I checked out the Cricut Heat Guide to find what setting to use. Once I turned the Mini on, the lights were orange while it was preheating.
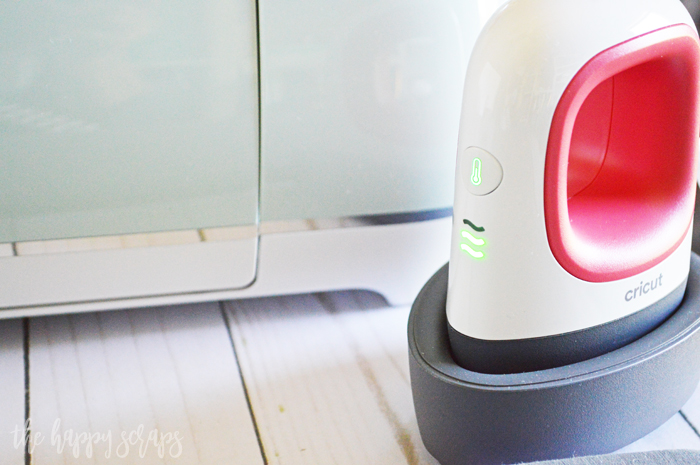
When it was ready, the lights turned green. I adore this little Cricut EasyPress Mini! It’s compact size is not only cute, it fits perfectly in my hand and is so simple to use! It is the perfect addition to the EasyPress family + has the even heat plate too! Because of it’s size, it is especially perfect for small projects just like this Quick & Easy Hat Decal. It also works great for shoes, sleeves, cuffs, and other small areas.
Once the EasyPress Mini was preheated, I positioned my design onto my hat. Because of the rounded shape, I put some cuts in the carrier sheet from the top, helping the design follow the curve where the brim meets the upper part of the hat. I also used some heat resistant tape to help old the design in place. These small designs can move so easily when they are not on a firm surface, so the tape really helps.
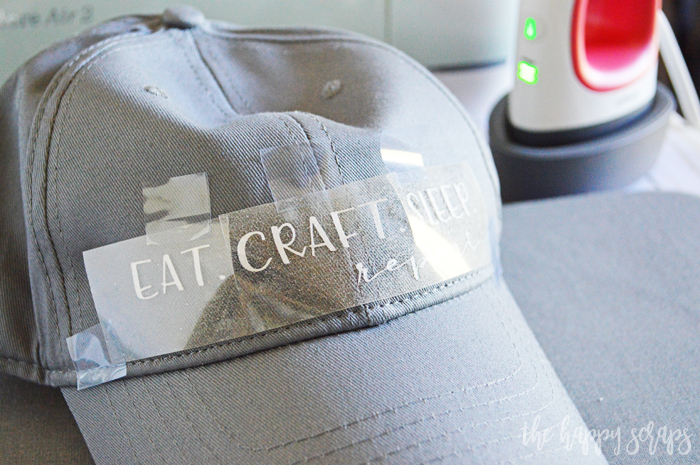
Starting on one side, I started applying heat. The EasyPress Mini made this SO.DANG.EASY!! I was amazed at how quickly the iron-on glitter adhered. It was fast! Once it was all adhered, I removed the carrier sheet.

Isn’t it the perfect hat for a crafter? I kind of adore the way it turned out!
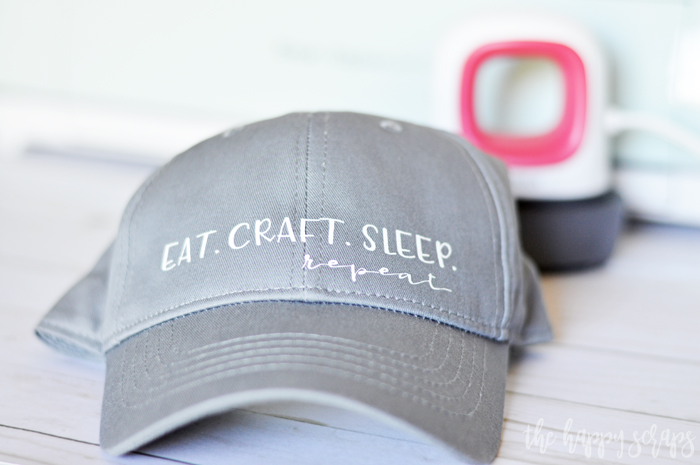
So get yourself a Cricut EasyPress Mini and the rest of these supplies and whip one up!
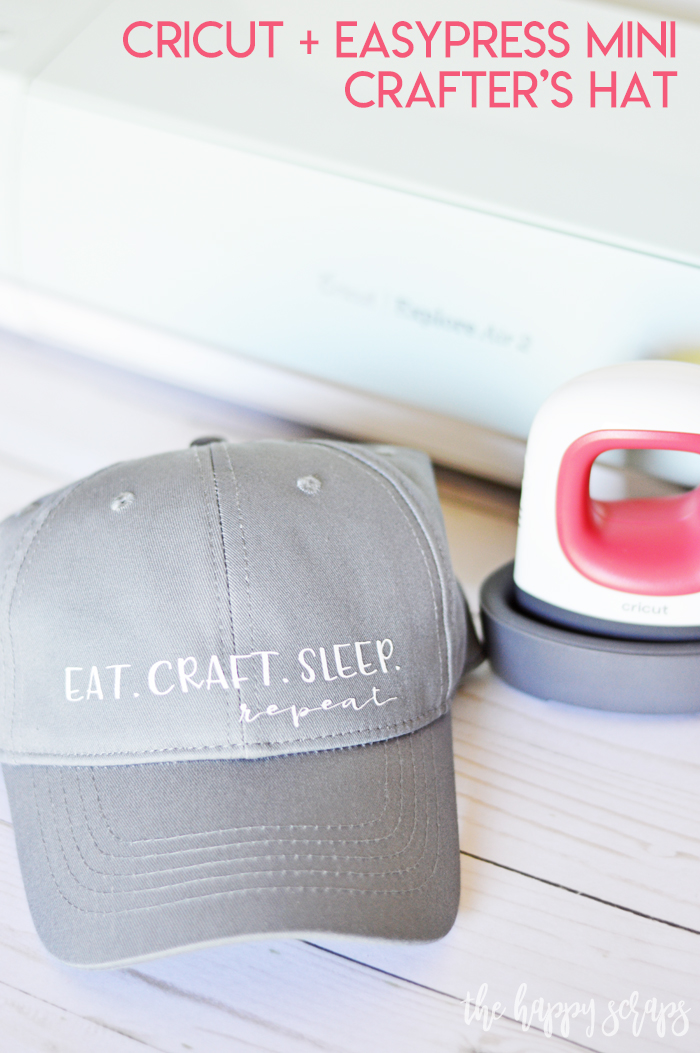
I seriously wore this hat all day yesterday. I think it’s my new favorite!
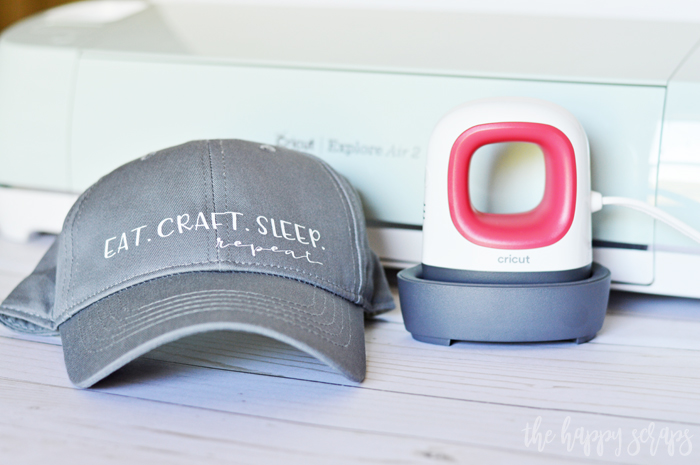
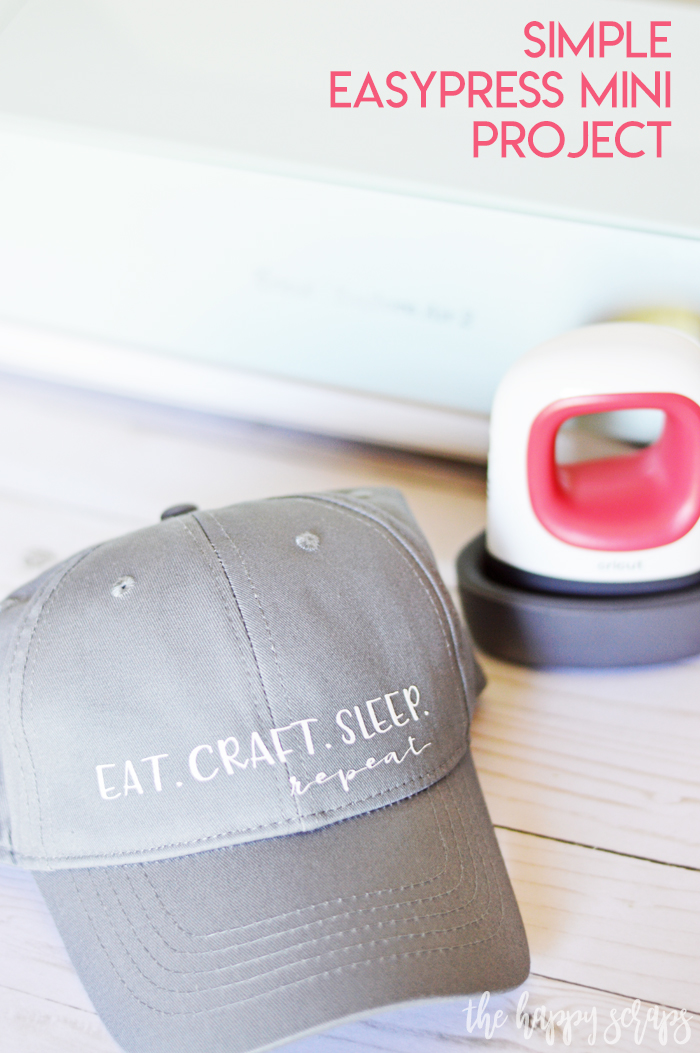
If you love this Quick & Easy Hat Decal and your Cricut too, then be sure to stop by and check out my gallery of Cricut Projects! You won’t want to miss it!

Leave a Reply