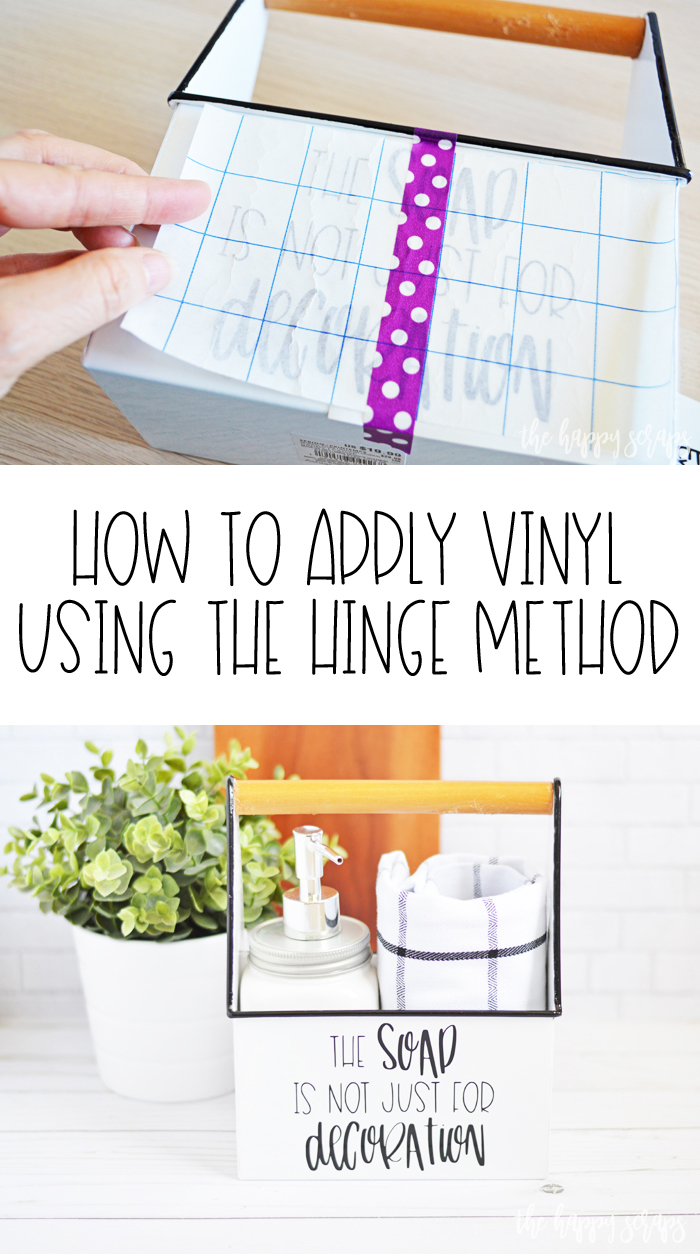
Have you ever had a large vinyl project that you’ve struggled with to get it lined up and straight to apply it? Or have you had a large project that you needed four hands so you could get it placed just right? If so, this How to Apply Vinyl Using the Hinge Method post is for you! Using the hinge method makes adhesive vinyl life so much easier! Today I’m going to share with you a couple of fun SVG files, as well as my tips for applying vinyl using the hinge method.
This How to Apply Vinyl Using the Hinge Method post is sponsored content written on behalf of Expressions Vinyl. I received product and compensation in exchange for this post. This post contains affiliate links. If you click on an affiliate link and purchase something, you won’t pay anything extra, but it will help support this blog. All ideas and opinions are my own.
How to Apply Vinyl Using the Hinge Method Supplies:
- Vinyl Basics Box
- Basic Tool Kit
- Bin to apply vinyl to
- Washi Tape or Painters Tape
- Soap & Towel SVG file (for personal use only)
- Not For Decoration SVG file (for personal use only)
- Cricut Maker or Cricut Explore Air 2
Have you heard about the new amazing Vinyl Basics Box from Expressions Vinyl yet? It’s amazing! I think it is more of a Vinyl Sample Box because it has a little bit of everything in it. You can try out all different types of HTV and adhesive vinyl with this box! It even includes ink jet printable vinyls. The other awesome new product that Expressions Vinyl is carrying is their Basic Tool Kit. One of my favorite things included in the kit is the cute little tape measure. I use that thing for everything! It’s so compact! The weeding hook, fine-tipped tweezers, utility knife, tape measure, and vinyl application squeegee all come in a fun little storage bag that is just calling to have some HTV added to it!

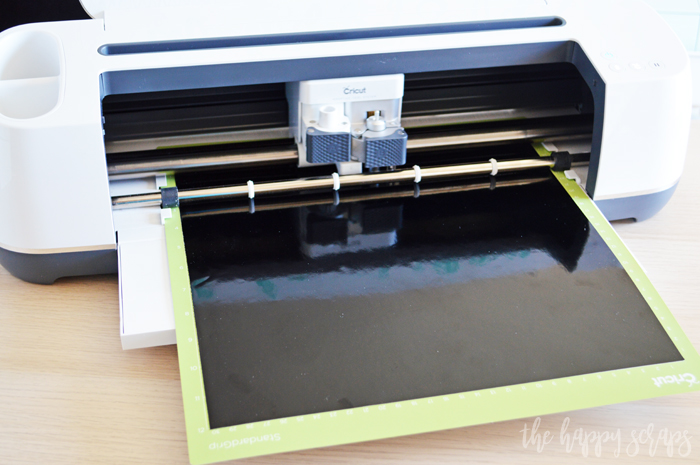
Once you have your supplies collected, upload your design so you can cut it. Place your Black Permanent Adhesive Vinyl onto your mat so you can cut it.
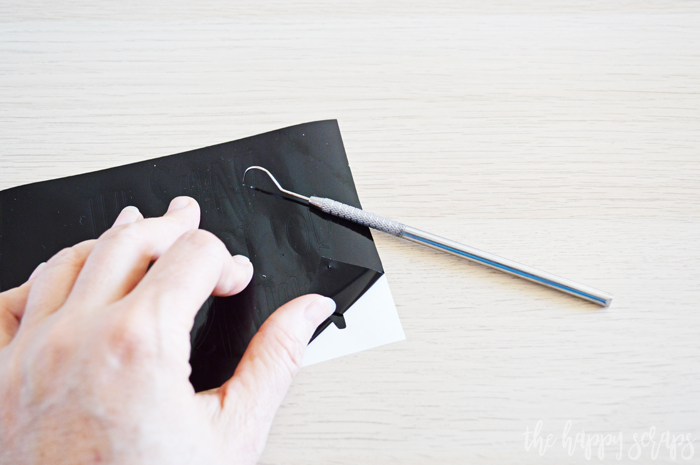
Weed your design. Use the weeding hook to peel up the corner and peel with your hand. Use the hook to removed the centers of the letters that need to be discarded.
Your design should look like this once it is weeded.
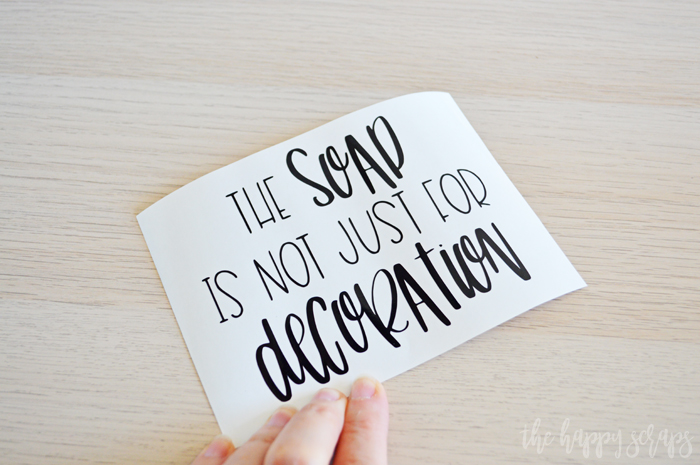
Apply Paper Transfer Tape to the top of your design. Now you are ready to apply your design to your container that you want it placed on.
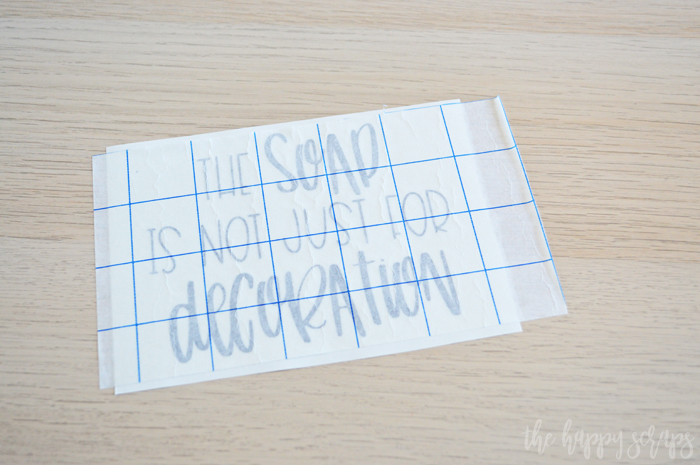
Place a strip of tape down the center of your design.
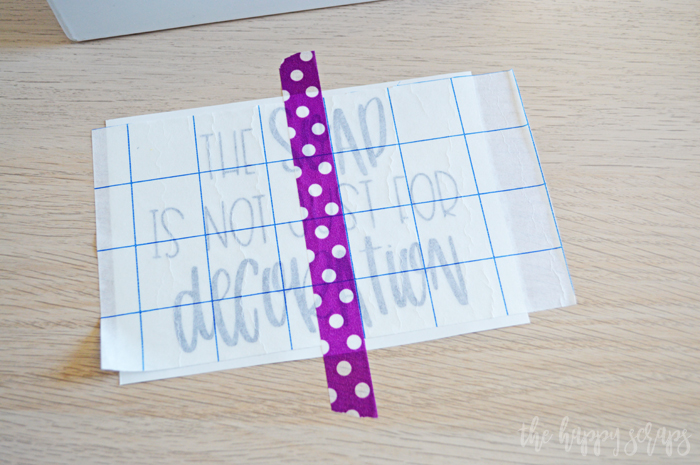
Place your design onto the container, leaving the backer on the adhesive vinyl. Measure your design to make sure it is level and centered. Once you have it where it needs to be, secure it into place using the washi tape.

Peel up one half of your design, off of the vinyl backer.
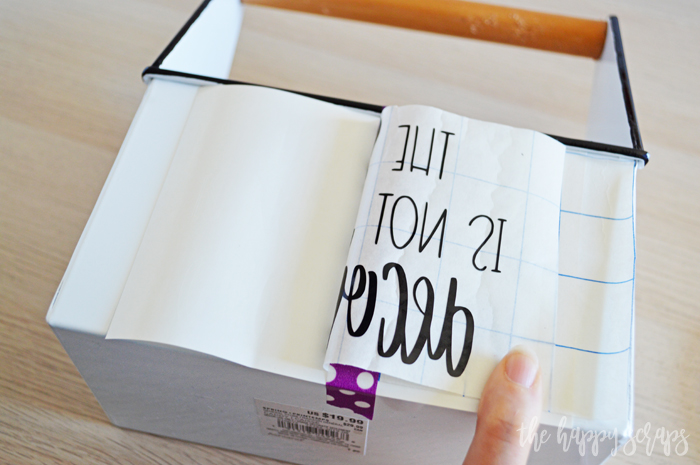
Use your scissors to trim the backer away.
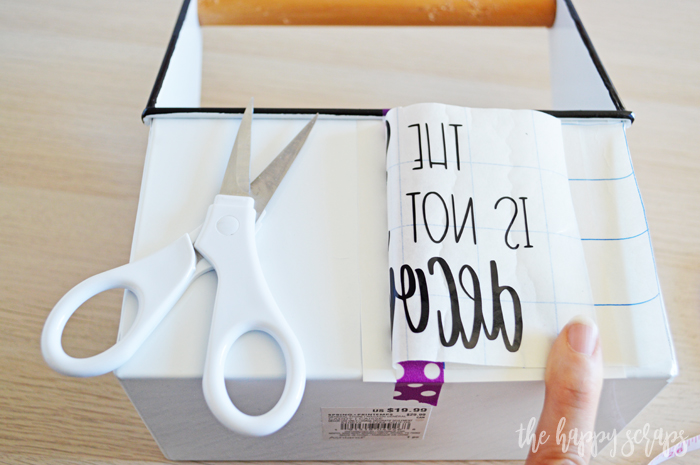
Place your design on the transfer tape down onto your container.
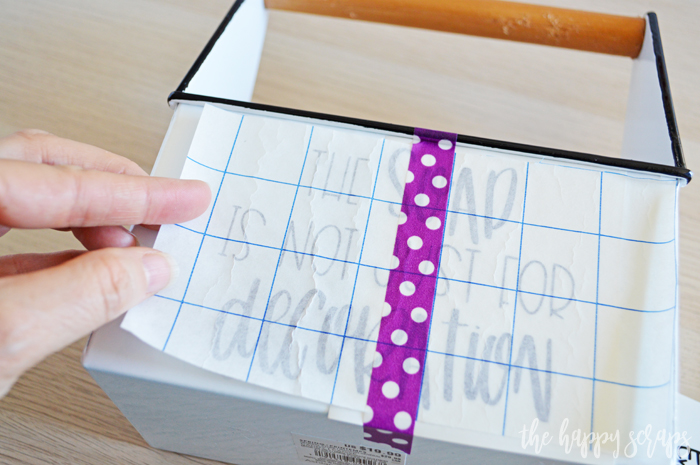
Use the vinyl application squeegee to smooth out your vinyl design. Peel off the washi tape, then lift the other side and peel off the backer from the vinyl.
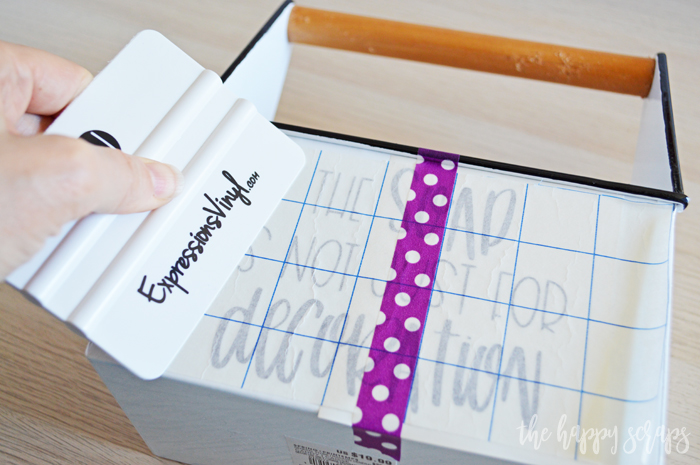
Place the other half of the design in place, and smooth it out with the vinyl application squeegee.
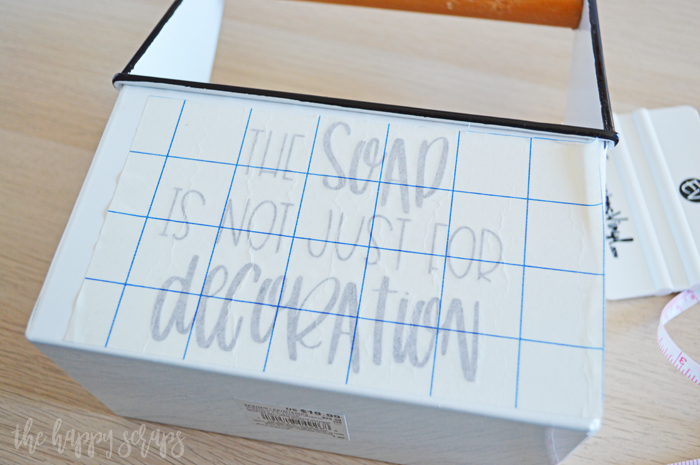
Peel off the paper transfer tape, leaving your design behind.
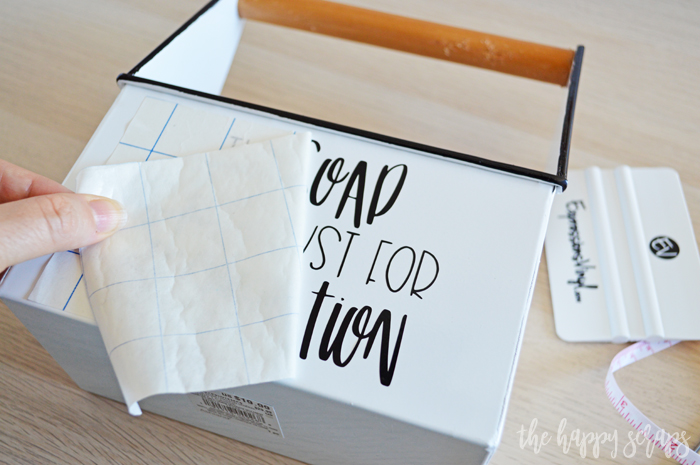
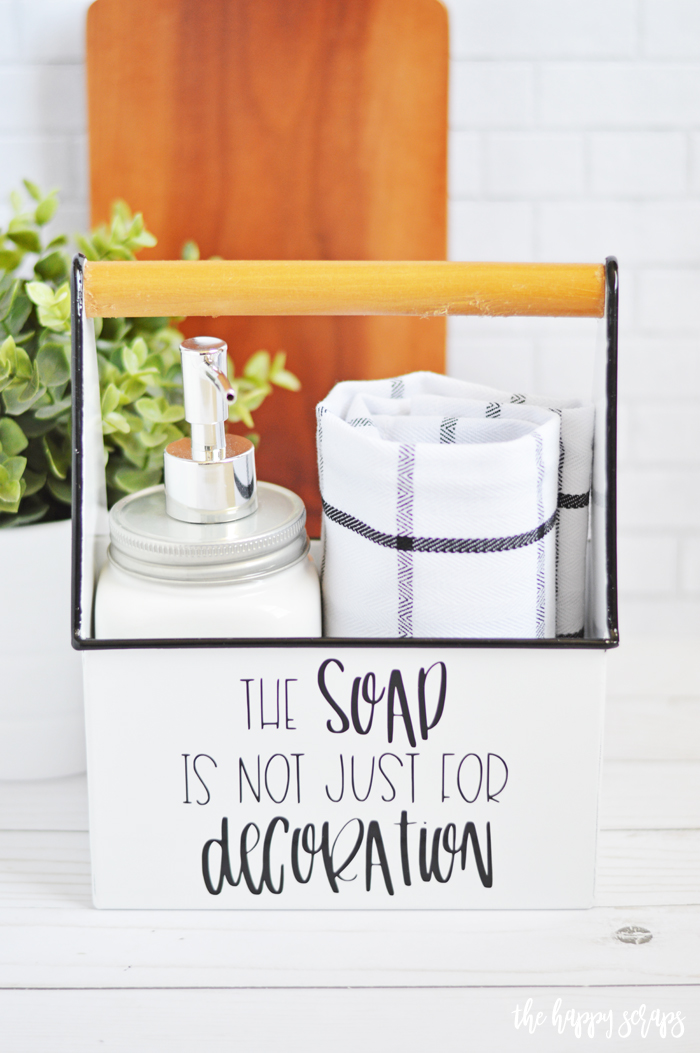
Now you know How to Apply Vinyl Using the Hinge Method and have a super cute little bin to put your soap and towel in, and if you’re like me and have a house full of boys, then this is the perfect reminder for them, right?! 🙂
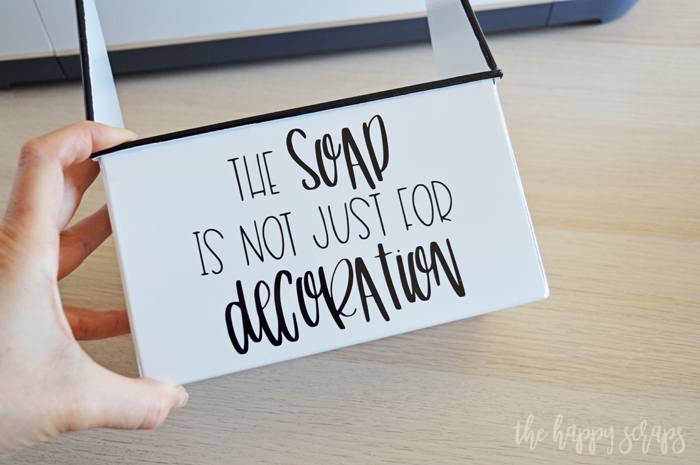
Not only is this a fun way to display soap, but it could work in a kitchen or bathroom. On second thought, maybe I need to cut this design out of permanent vinyl to place in the shower my boys use! 🙂

Or you can download and use this fun saying of Soap & Towel 5¢. It would also be great in either room!
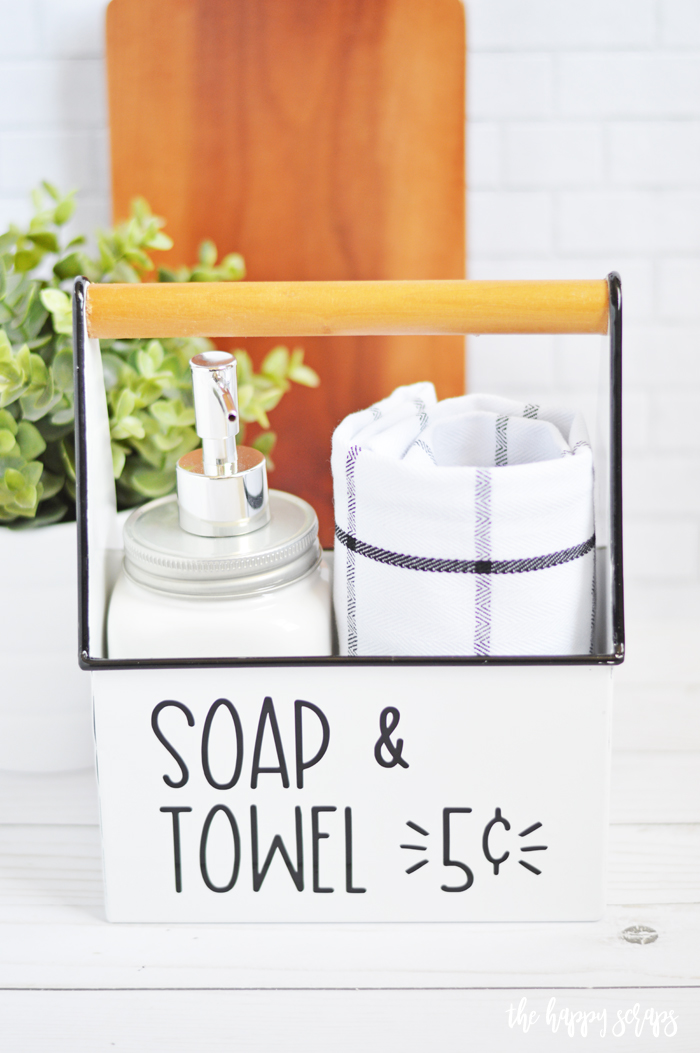
Using vinyl on projects is a fun and easy way to personalize things and make them your own.
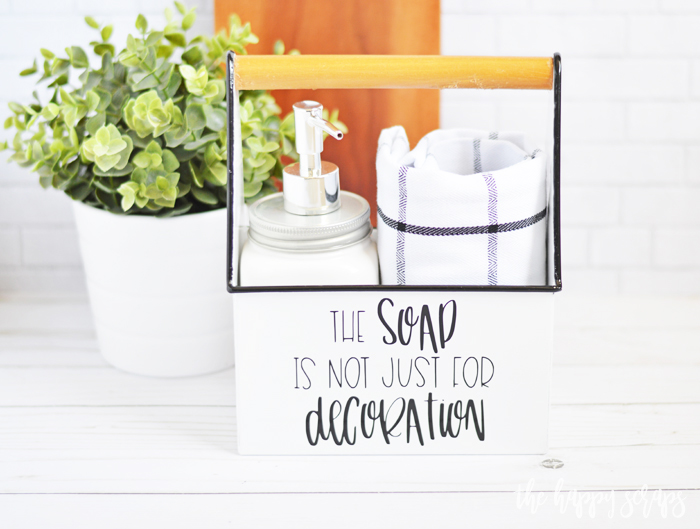
If you’re new to using vinyl, or you’ve been using it for a while, the Expressions Vinyl – Vinyl Basics Box is for you! You can create SO many fun projects with it because of the versatility of the box.
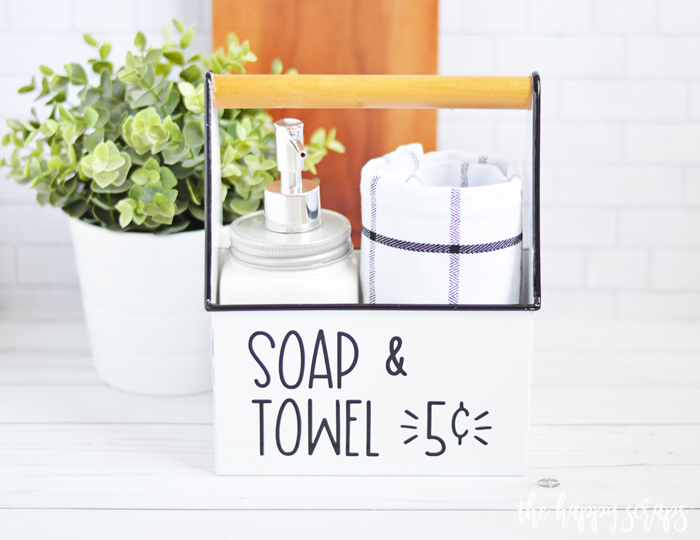
Once you learn about all the different types of vinyl, then be sure to check out Expressions Vinyl to find more of the kinds you like!
If you’re looking for more fun vinyl projects to create, then check out my Expressions Vinyl Gallery.

Leave a Reply