Have you used the Infusible Ink from Cricut before? It’s been out for a minute, but I haven’t used it much because…vinyl. I love vinyl. I don’t think that’s any secret around here. However, I could totally get used to using Infusible Ink! It’s amazing! I do feel like there is a bit of a learning curve though, but I’ll share what I know about How to Use Cricut Infusible Ink with you here today!
This How to Use Infusible Ink post contains affiliate links. If you click on an affiliate link and purchase something, you won’t pay anything extra, but it will help support this blog. All ideas and opinions are my own.
How to Use Infusible Ink
Supplies Needed:
- Cricut Maker, Cricut Explore Air 2, Cricut Explore, or Cricut Joy
- Cricut EasyPress 2
- Cricut EasyPress Mat
- Infusible Ink Transfer Sheets
- Infusible Ink Blank (I used this tote for this project)
- Lint Roller
- Butcher Paper (Included with transfer sheets)
- Cardstock
- SVG Text File
- Design Space Cut File
A few things I’ve learned about Infusible Ink are that you need an even heat plate, so the Cricut EasyPress 2 works great for this. It gets hot enough and is evenly heated. A regular iron isn’t recommended for Infusible Ink because it has holes in the bottom of the plate and the heating isn’t even.
When you open up a package of Infusible Ink, you’ll probably be thinking that it isn’t very bright, but it turns out much more vibrant when it is applied. You can cut Infusible Ink with the Cricut Maker, Explore family of machines, and it will work with the Cricut Joy.
When cutting Infusible Ink, mirror the image to cut, just like vinyl. Place it shiny side down, color side up, so it cuts on the paper.
When weeding Infusible Ink, it is nothing like vinyl or HTV. It is paper held on a carrier sheet. Tweezers are your friend and will make the weeding easier.

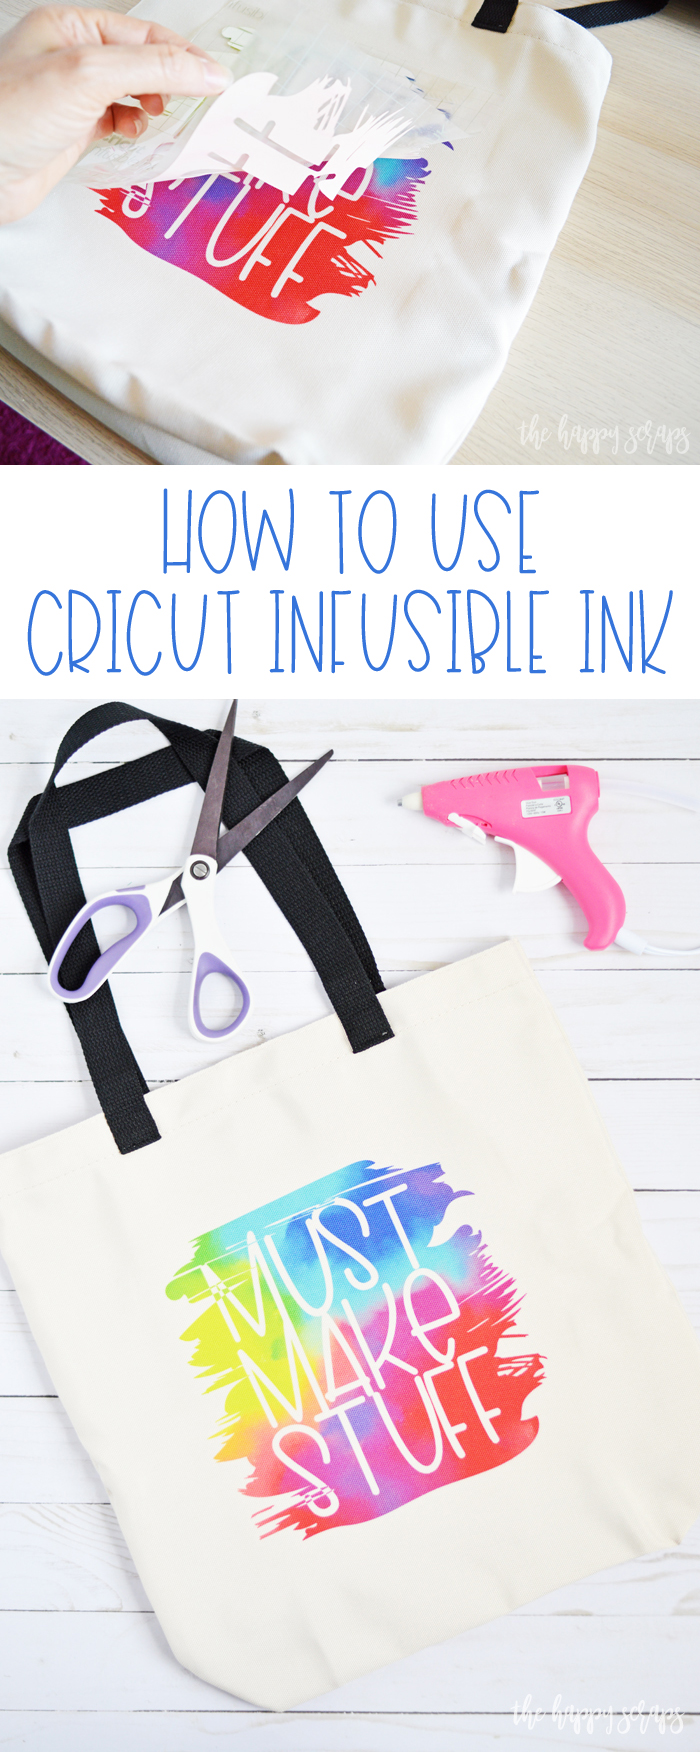
For this How to Use Cricut Infusible Ink project, open the Cricut Design Space Cut File. Because Design Space is now offline, these are the steps for opening the file. Click the link. Click “Open” (as long as you have already downloaded the offline version). Click “Open Design Space Desktop Application”. If there is an update on the offline version of Design Space, you may have to repeat the previous steps once the update is complete. The file should open. It may take a minute for the design to load. I know Cricut is still working things out with the new offline program, so hopefully opening projects will get easier. 
Once you have that file open, upload the SVG text file. Select all the letters and weld them together. Size it and place it onto the background design. Select both layers and slice it. Delete the unneeded pieces. Now you are ready to cut! Don’t forget to mirror your image, then send it to your machine to cut.

It will look like this once it is cut.

Trim the transfer sheet then weed the design.
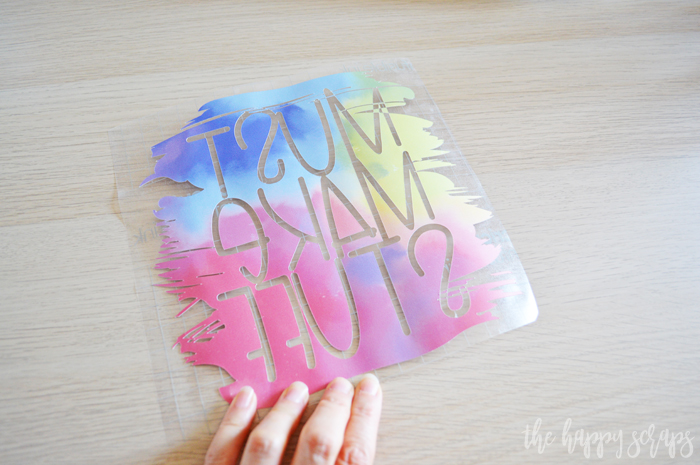
Preparing to Apply Infusible Ink
Use the heat guide to look up your settings for your specific blank and material. For the tote I used here, these are the settings.
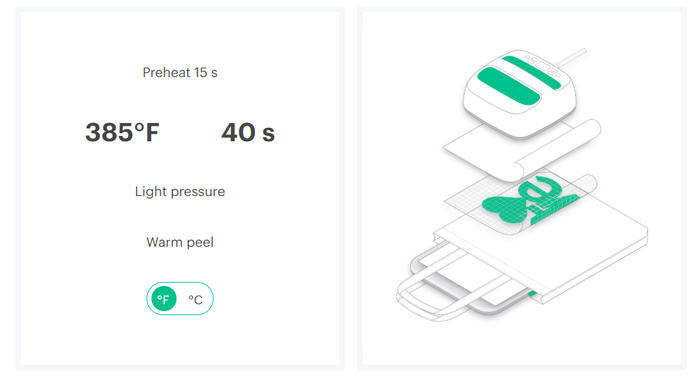
Lint roll your bag or other blank then place the instructed items inside the bag, then preheat the bag.
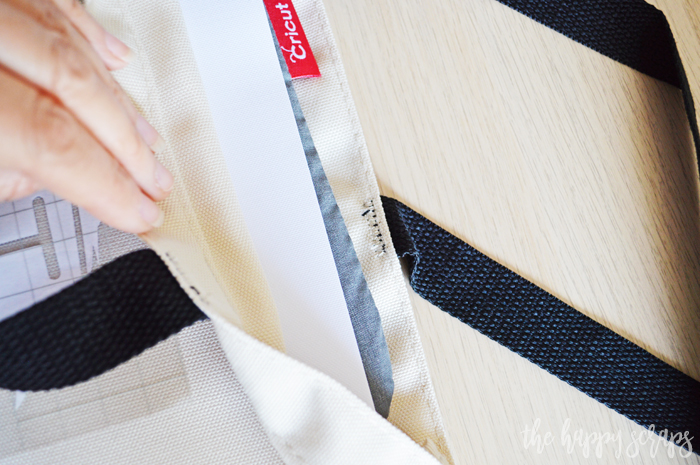

Place the design onto the bag where you want it, then place the butcher paper over the top.
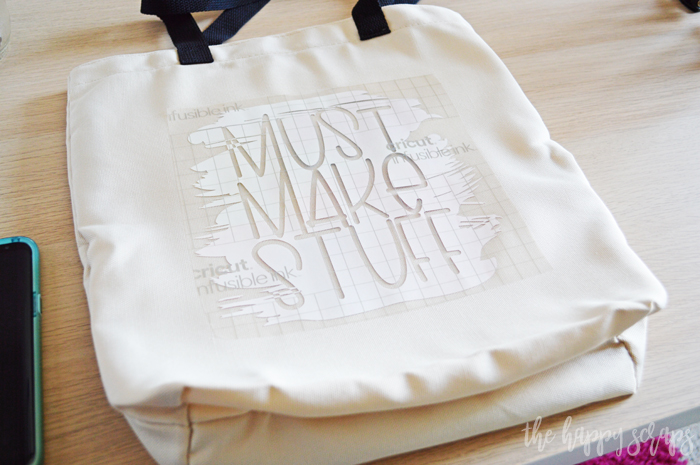
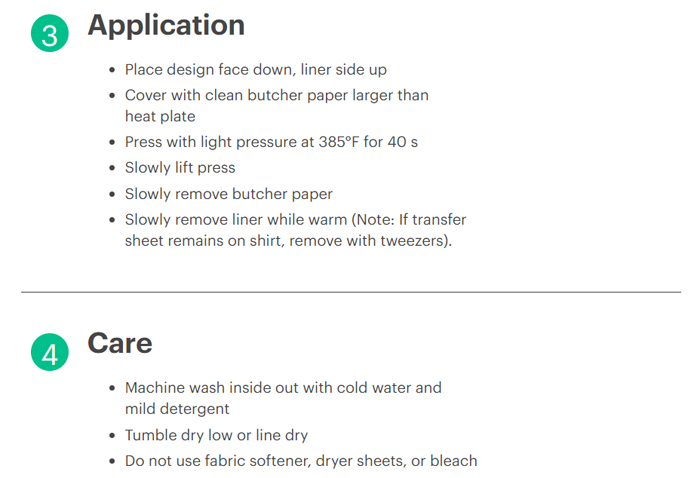
Use your EasyPress 2 to apply heat. Make sure that your EasyPress is larger than the design that you are applying to the blank. You want to apply heat to the entire project at once. If heat is applied a second time, it can lighten the design.

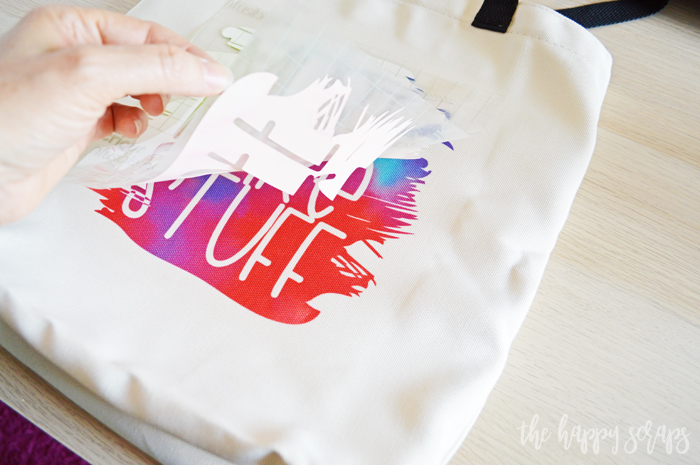
Make sure to read the heat guide instructions for the material you are using. For a tote bag, it is warm peel. It is seriously amazing when that transfer sheet is pulled up to reveal the infused ink on your blank. It’s magical!! And so vibrant!
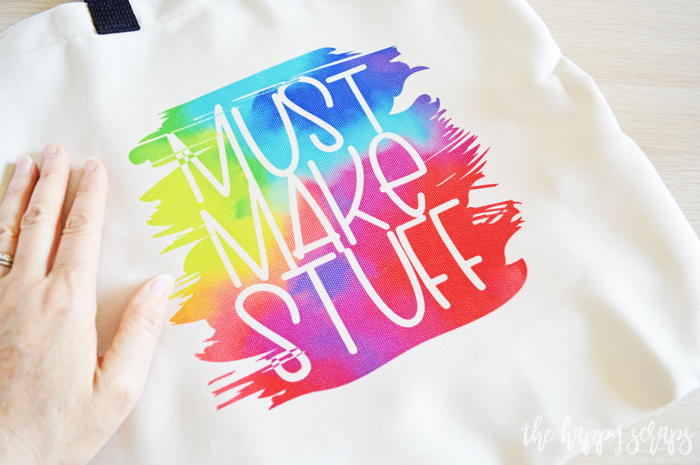
When I was done with this tote, I wanted to squeal with delight! Aren’t the bright colors just so fun?!
I hope these tips have helped you to know How to Use Cricut Infusible Ink. If you have any questions about it, please let me know!

If you’re like me and need a fun tote for craft supplies, then what are you waiting for? Grab the supplies and make one of these! 🙂
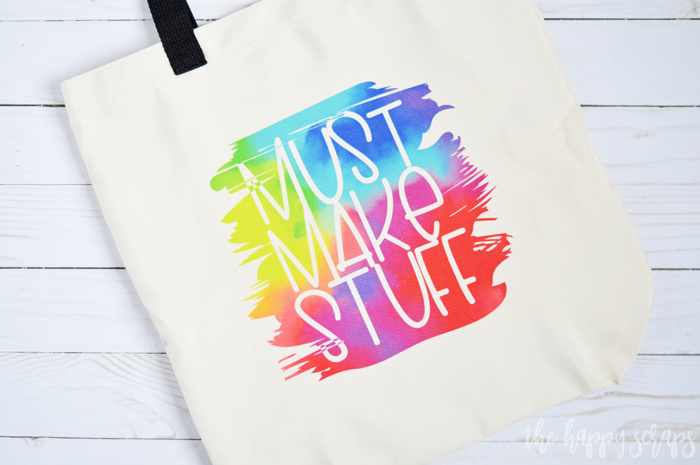
You’ll love carrying your stuff around in this Must Make Stuff tote!

This tote will be perfect for carrying around Cricut Joy supplies so you can craft on the go anytime!

If you enjoyed this How to Use Cricut Infusible Ink post, then be sure to check out my other Cricut projects I’ve shared!

Leave a Reply