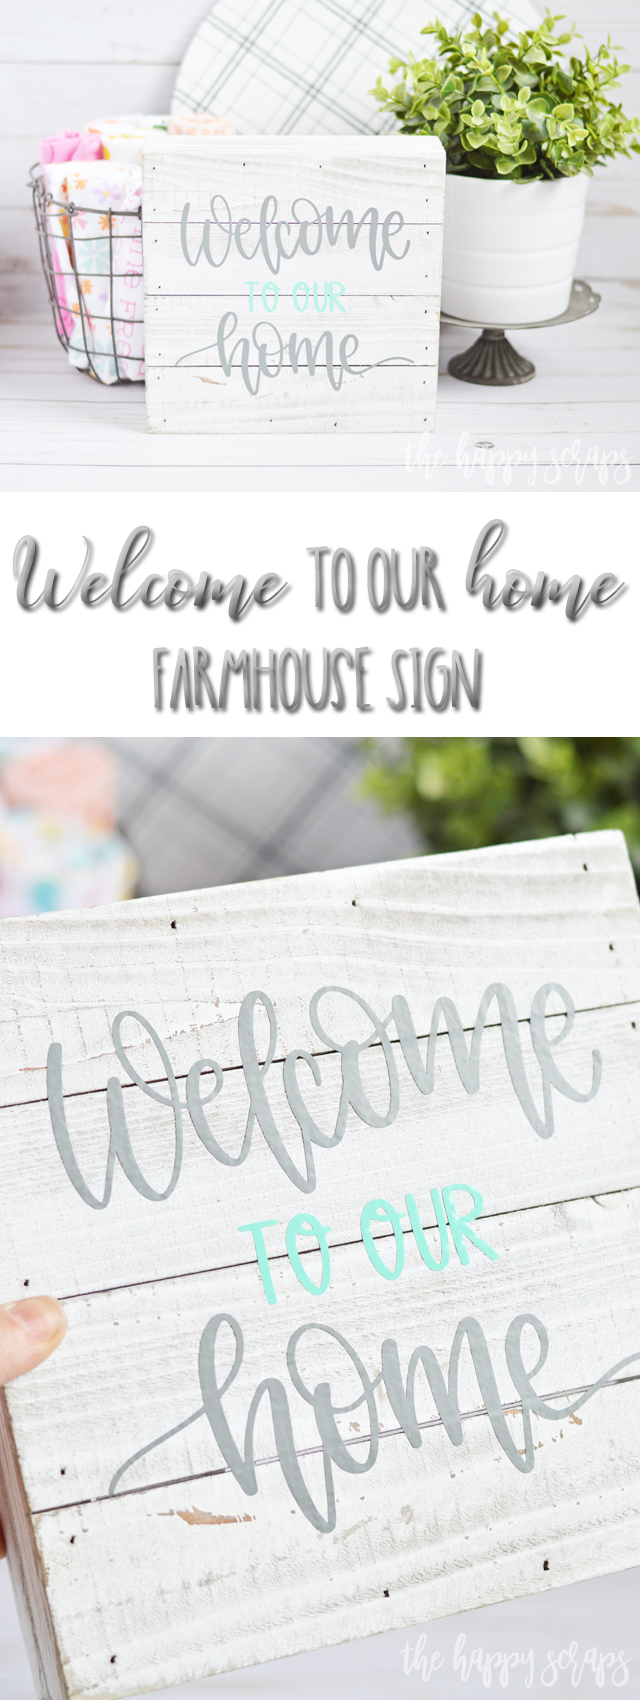
Yesterday I took myself out for some retail therapy. While I was out, my three year old and I got some lunch, and I had a Coke. Most might think this isn’t a big deal. Well, I don’t drink caffeine often, it makes me feel kind of weird and I don’t like what it does to my body, so I try not to drink it. Anyway, I drank it yesterday. The other thing that caffeine does to me is gives me lots of energy, and I mean LOTS! 🙂 So, after I had my Coke at lunch, I wandered the aisles of Target for a little while before I had to pick up my son from school and take him to work. By the time I got home, I had about 1.5 hours to do some things before I had to leave to pick him back up from work. I got two projects done in that time. This never happens, I blame the caffeine. Ha! Anyway, this Welcome to our Home Farmhouse Sign is one of this projects I finished. This is a super simple sign that really didn’t take long to make.
This Welcome to our Home Farmhouse Sign post contains affiliate links. If you click on an affiliate link and purchase something, you won’t pay anything extra, but it will help support this blog. All ideas and opinions are my own.
Welcome to our Home Farmhouse Sign Supplies:
- Cricut Maker
- Gray Adhesive Vinyl
- Mint Adhesive Vinyl
- Transfer Tape
- Weeding Tools
- Scraper Tool
- Blank Wood Sign
- Design Space Cut File

I found this design in Design Space (if you have Cricut Access, it is included). I sliced the design apart so I could make it with two different colors. I also added two little triangles, one for each layer. You can read a little more about why I added the triangle here. It makes it so much easier to layer vinyl this way!

I sent the design to be cut on the Cricut. If you have more questions about cutting adhesive vinyl, check out this post.
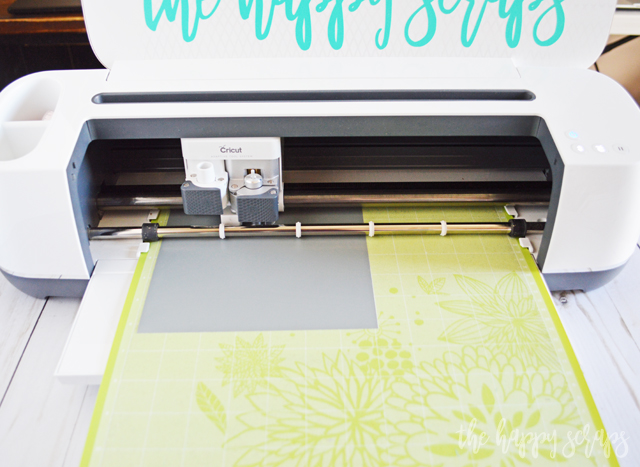
After the design was cut, I used my favorite weeding hook to weed the designs.
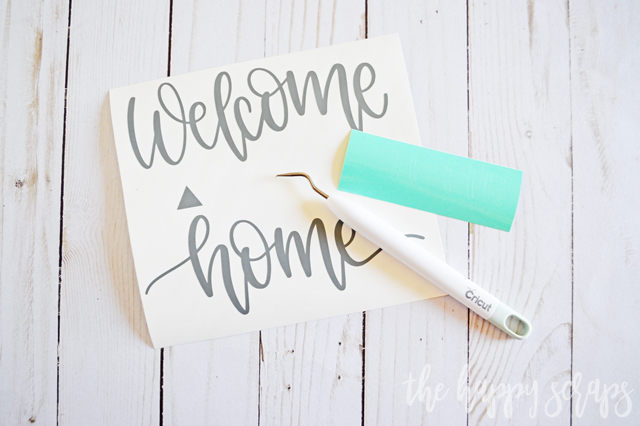
Grabbing the transfer tape, I applied it to the mint layer first. Then I layered it over the top of the gray layer, making sure to line up those triangles.

Once the design was ready, I peeled the backing off of the vinyl and then I took the triangles off. I placed it on the board where I wanted it. I used my cute little tape measure to make sure it was centered. NOTE: I’ve used these kind of boards a couple of times, and vinyl sometimes doesn’t want to stick to them. I used some strong grip transfer tape and stuck to this board all over it a couple of times to pull up anything that might want to stick to the vinyl, and that seemed to do the trick for this one.
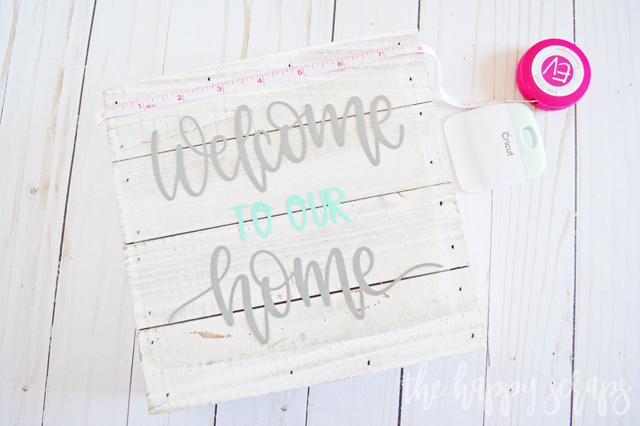
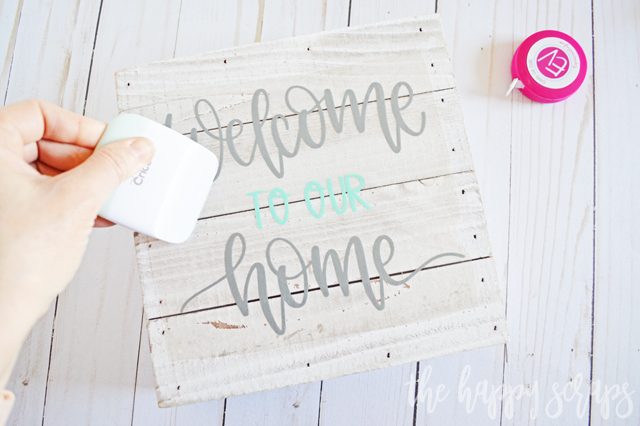
Using the scraper from the tool kit, I made sure it was good and smooth on the board.
Then I carefully peeled up the transfer tape, at an angle, making sure that the vinyl was all stuck down well.
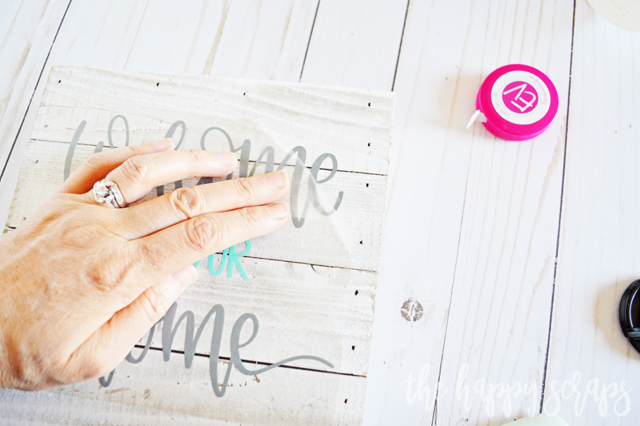
Once I had the transfer tape completely off, I used my hand to go over all of the vinyl one more time. That’s it! This fun + quick project was all done. It probably took me no more than 15 minutes tops!
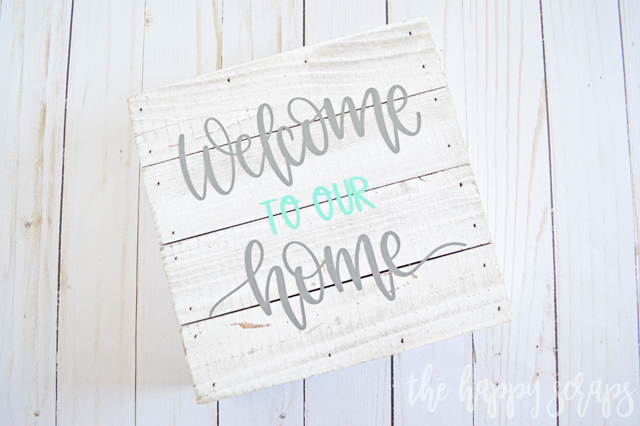
I bought the blank sign because I wanted to use it for a wreath on my front door. I haven’t found a wreath that will work just yet, so for now, I’ll just have this cute Welcome to our Home Farmhouse Sign in my home. When I do find the perfect wreath, I know where this will have a home. 🙂
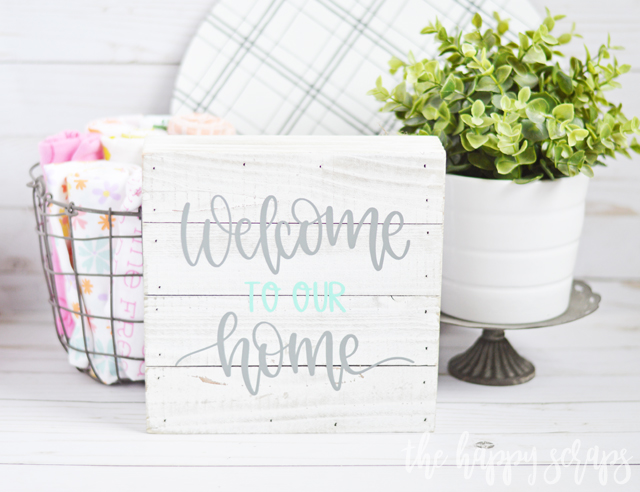
This Welcome to our Home Farmhouse Sign is perfect for a shelf, mantel, or even a gallery wall.
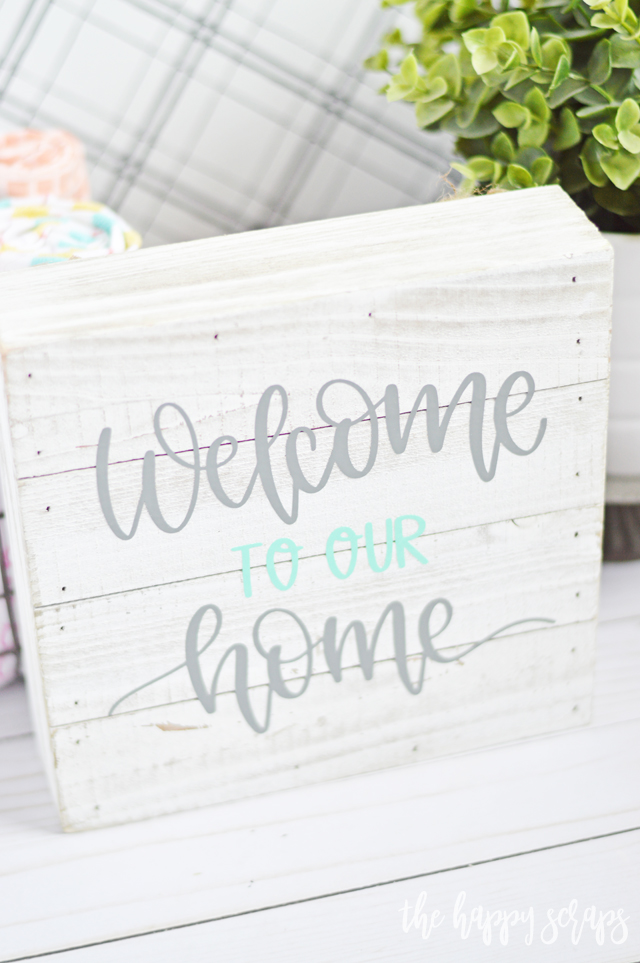
The vinyl is stuck on there well and it’s not going anywhere. I love the texture of this sign as well.

Do you have the perfect place in your home to have this fun sign?
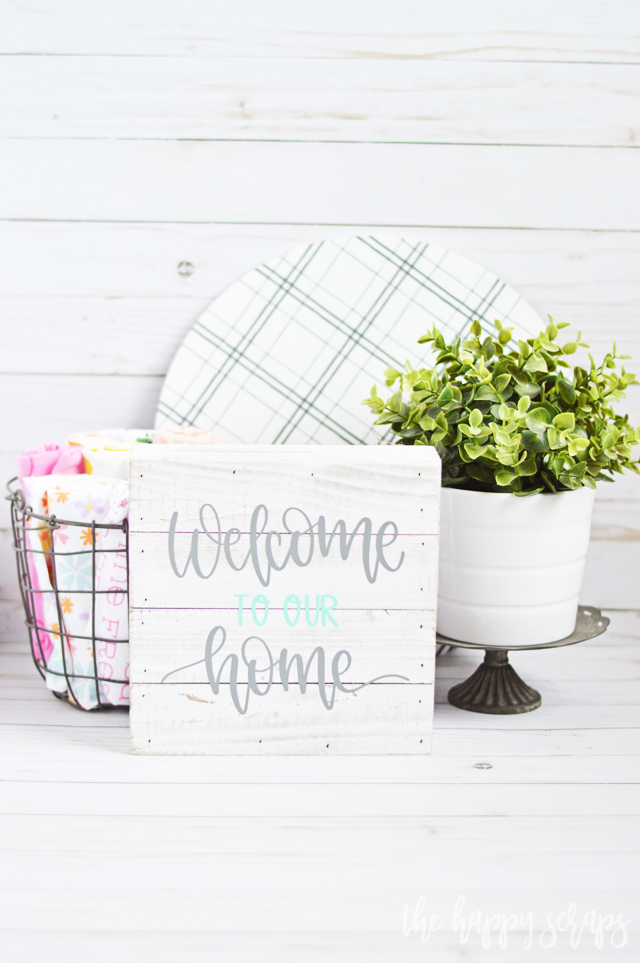
After you get your Welcome to our Home Farmhouse Sign made, stop by and check out some other fun projects to make with your Cricut.

Leave a Reply