Depending on my mood, I enjoy having my boys help in the kitchen. Sometimes I’m not patient enough to have them help. 😉 Anyone else? Anyway, my three year old enjoys helping, and I’d say that my patience have gotten better the more kids I’ve had. He’s number five and I’m more willing to let him help in the kitchen than I was with my first four. I guess that’s one of the perks of being the youngest, right? Anyway, when I put on my apron, my boys always want to wear an apron too. I usually put one of mine on them (I have several) and they are so big! For the older boys, it totally works, but for my three year old, my aprons drown him! I finally decided to do something about it! While wandering the aisles of Hobby Lobby one day, I found some blank children’s aprons, so naturally I didn’t just buy one, but two! I got this cute I’m Flippin’ Awesome Kids Apron put together for my three year old, and he couldn’t be more excited about helping in the kitchen now, because he has his very own apron to wear!
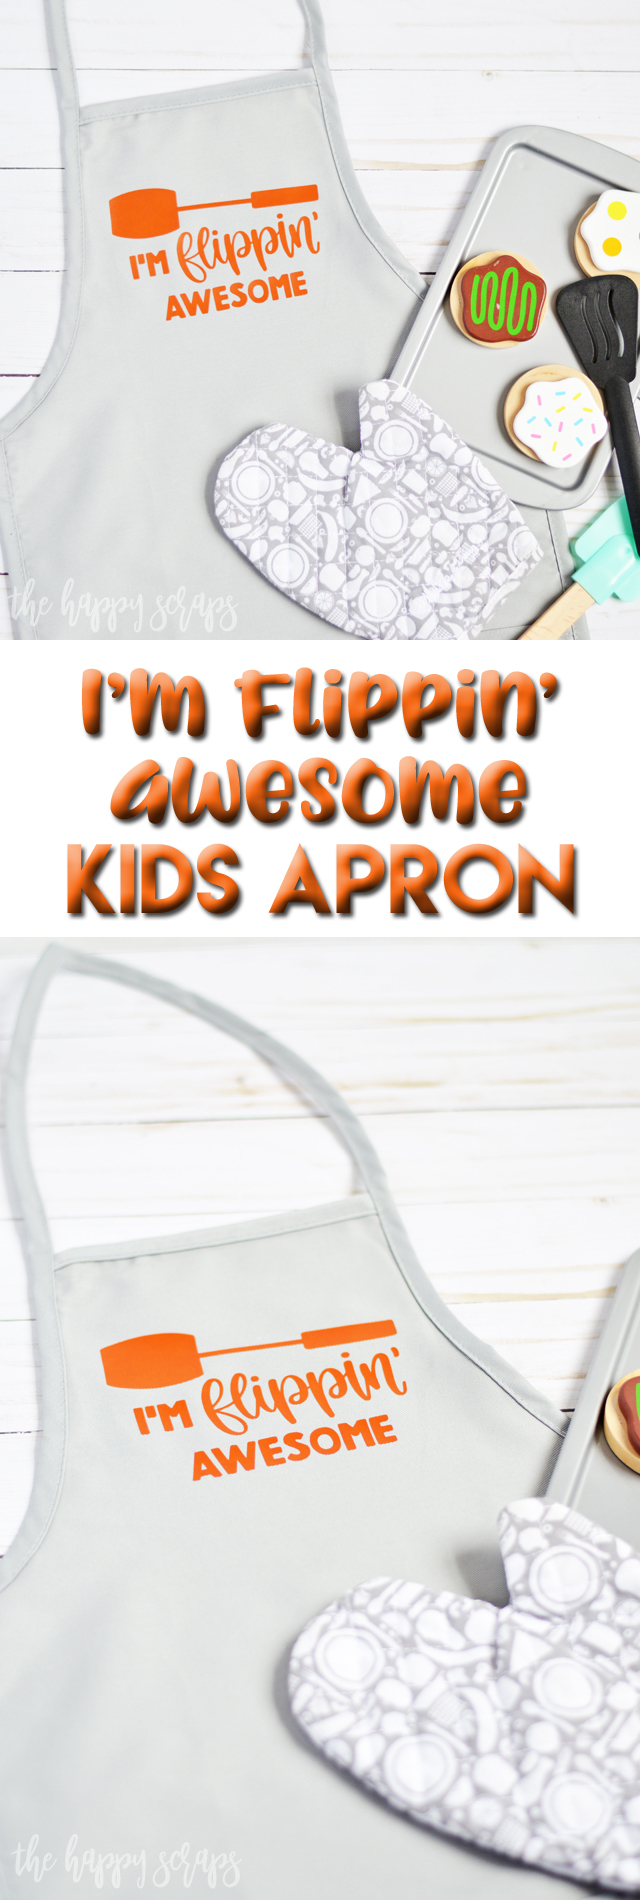
This I’m Flippin’ Awesome Kids Apron post contains affiliate links. If you click on an affiliate link and purchase something, you won’t pay anything extra, but it will help support this blog. All ideas and opinions are my own.
I’m Flippin’ Awesome Kids Apron Supplies:
- Blank Apron (I found mine at Hobby Lobby)
- Easyweed HTV (I used Texas Orange)
- Weeding Tools
- Cricut Maker (or other Cricut that works with Design Space)
- EasyPress 2 (The 6×8 was perfect for this project)
- EasyPress Mat (The small one is great for this project)
- Tape Measure
- Design Space Cut File
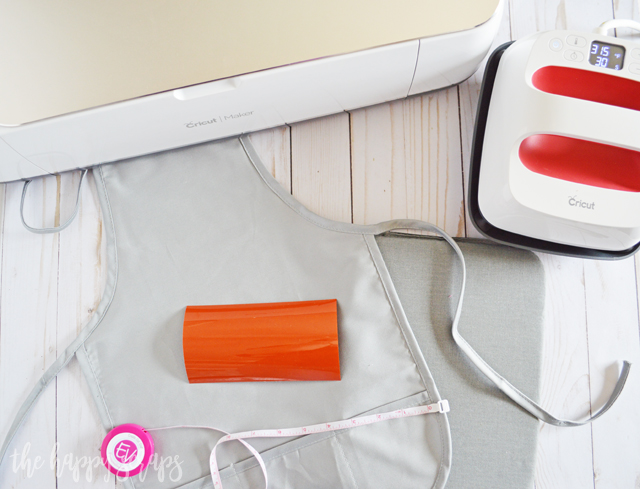
Once I had picked up the blank apron, I had everything on hand to make this. I got all of my supplies pulled together and got to work.
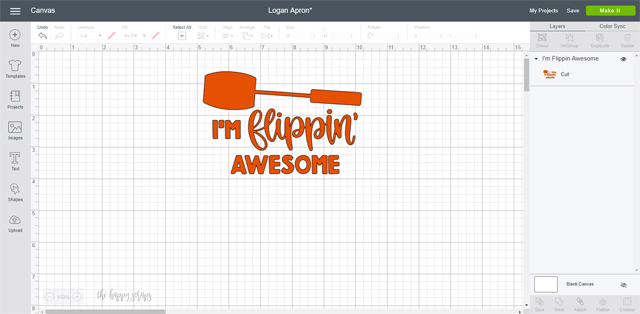
This fun design is in Cricut Design Space (included in Cricut Access if you have that). After looking through several options for this apron as well as asking my husbands opinion on a few of them, I decided on this one. I sized it to what I needed, then sent it to be cut. Always remember to mirror your image when cutting HTV!
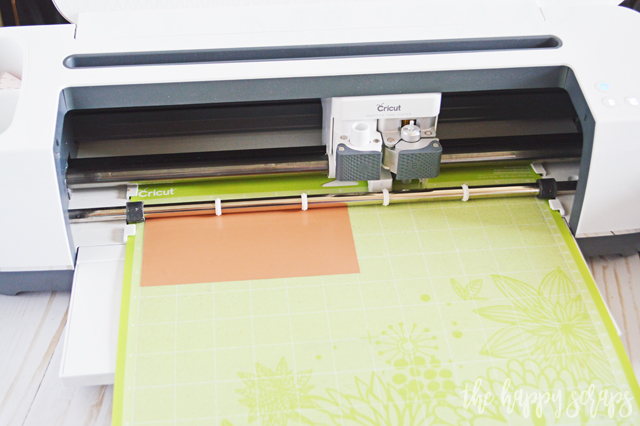
Placing the HTV, shiny side down onto my mat, I was ready to cut. If you’re looking for more tips on cutting HTV, check this out!
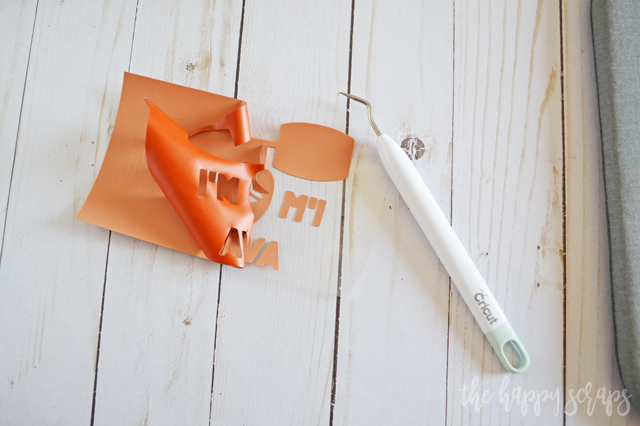
Once cut, I used my favorite weeding tool to weed the HTV.
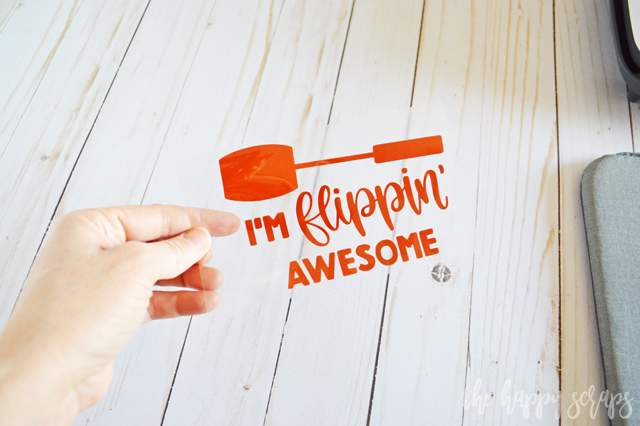
Now it’s all ready to be put on the apron.
I measured to make sure that I was placing it in the center of the apron. Once I had it just right, I was ready to apply heat.

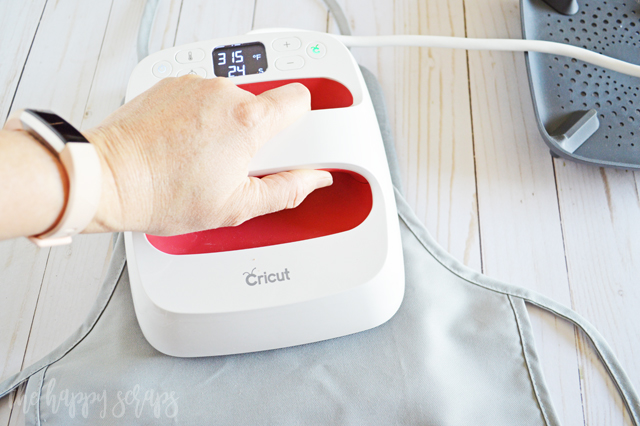
Using the suggested settings in the EasyPress Interactive Quick Reference Guide, I set the EasyPress to what I needed and when it was hot, I pressed the design.
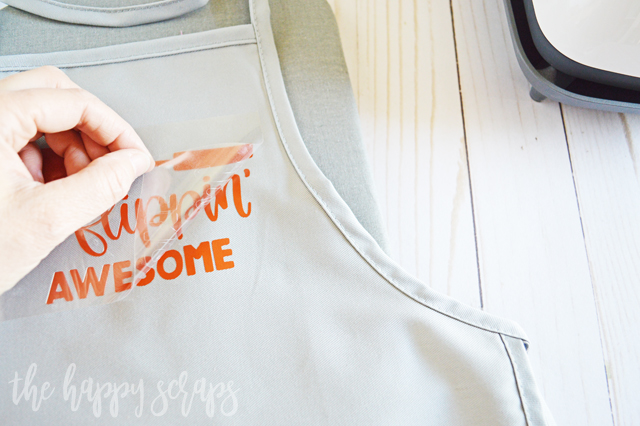
While it was still a little bit warm, I peeled up the carrier sheet.
My little three year old couldn’t be more excited about wearing his I’m Flippin’ Awesome Kids Apron! He is so much more excited to help cook in the kitchen now, and he was pretty excited about it before!
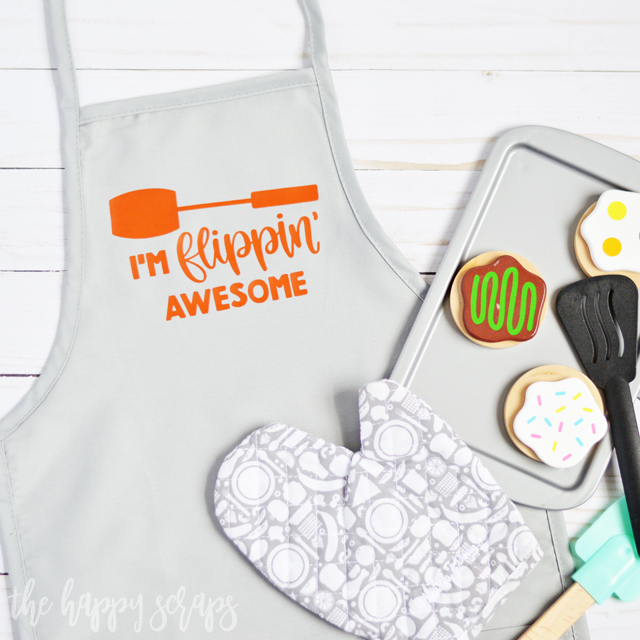
I’m pretty excited to have him help me in the kitchen too + excited for him to have his own cute little apron to wear!
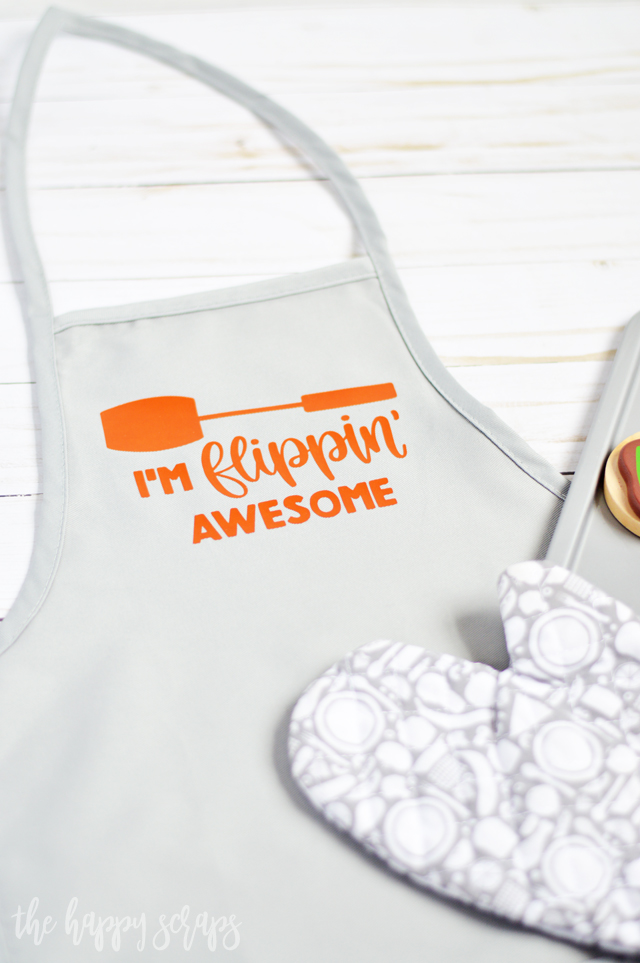
I also love that this project was so super fast to make! I love projects like that!
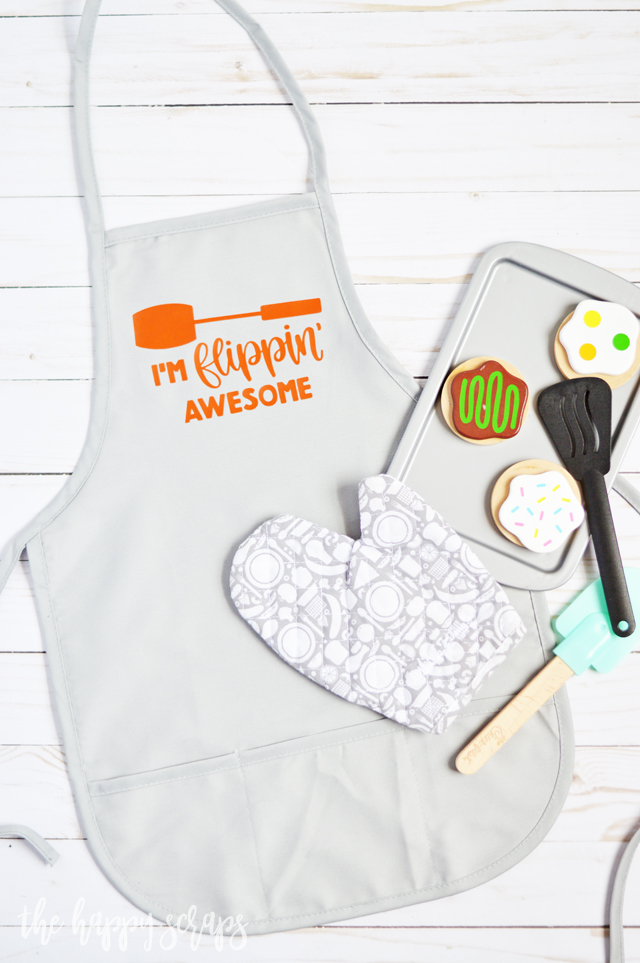
If you love creating quick + easy HTV projects, then be sure to check out some of the other projects that I’ve shared!

Leave a Reply