This Farm Sweet Farm Front Porch Sign with the Cricut Maker 3 post is a sponsored post written by me on behalf of Cricut. All opinions are 100% mine.
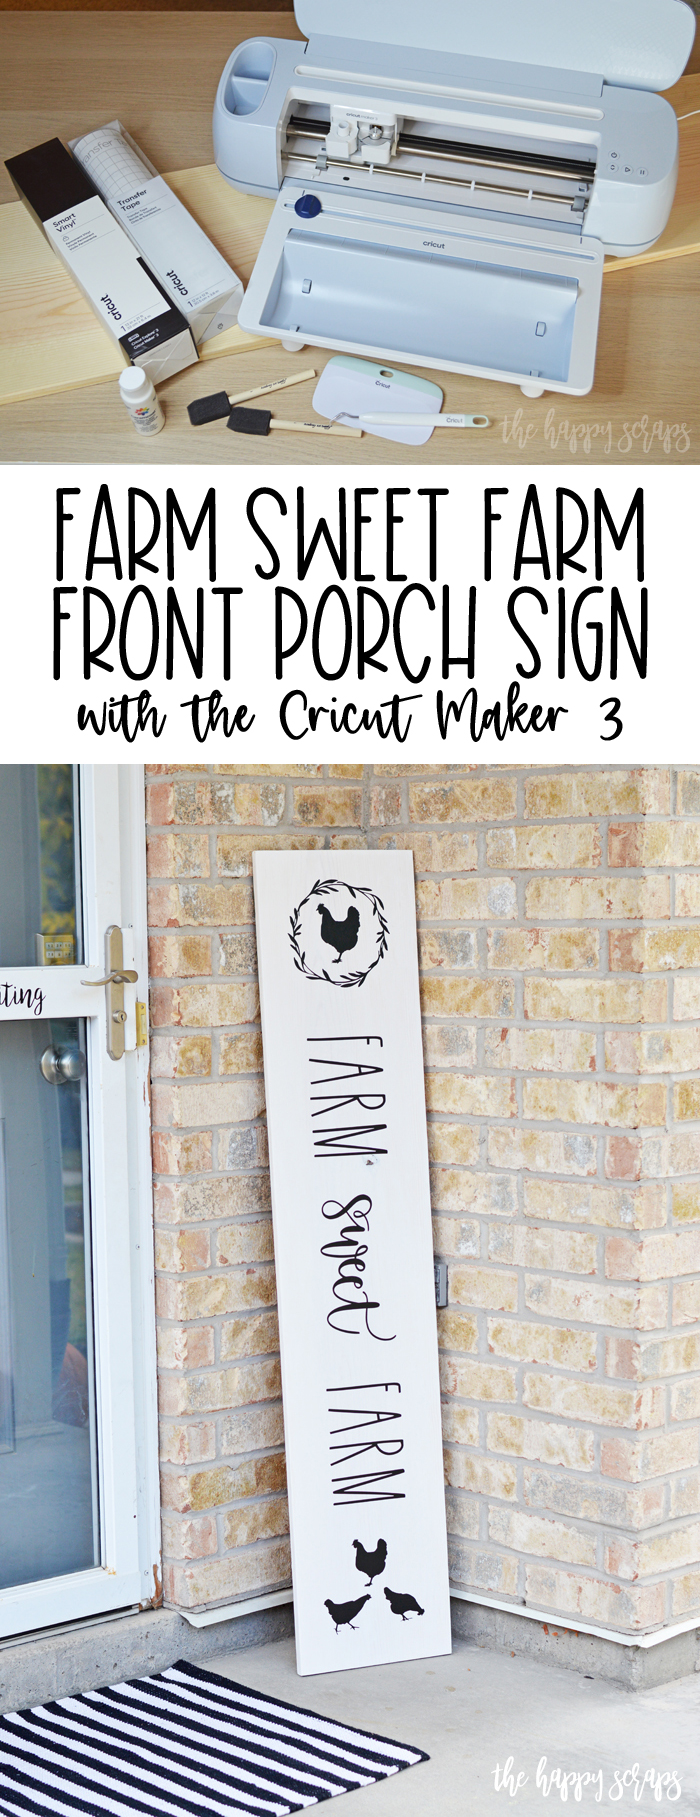
When I started thinking about this project and how I wanted it to turn out, this is not what I had in mind, but as it evolved, I couldn’t be happier with the way it turned out! This Farm Sweet Farm Front Porch Sign was seriously one of the easiest and fastest projects to make, mostly because I was using the Cricut Maker 3!
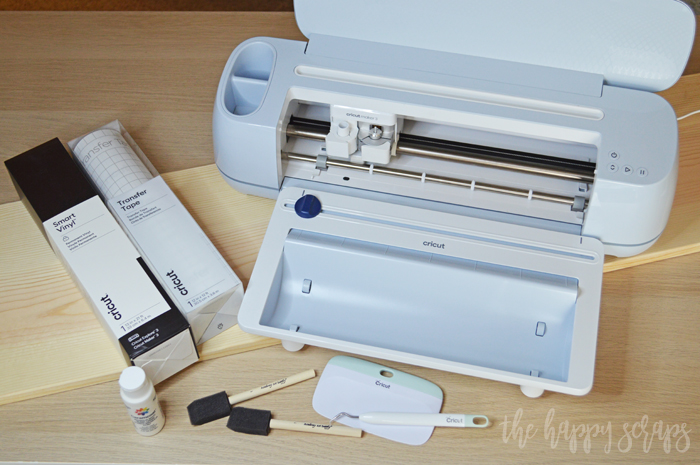
This Farm Sweet Farm Front Porch Sign post contains affiliate links. If you click on an affiliate link and make a purchase, you won’t pay anything extra, but it will help support this blog. All ideas and opinions are my own.
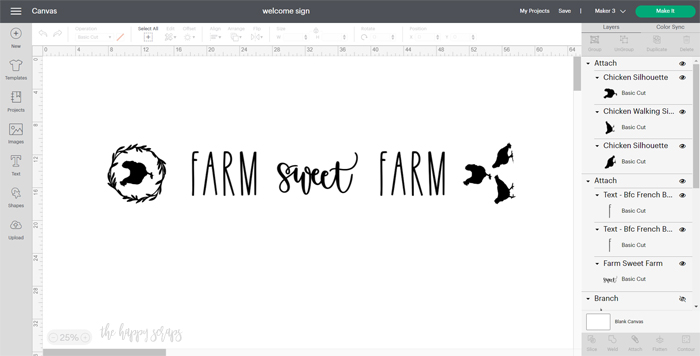
Once I had all my supplies collected, I got the design ready to cut. Using designs found in Design Space, included with Cricut Access, I put the design together and then attached it all, so I could cut it in one long piece. I’m loving that the Cricut Maker 3 can cut up to 12 feet long! It’s a game changer! No more having to piece long projects together.
Cutting the Design
Once the design is ready, send it to be cut on the machine. Load the Smart Vinyl into the machine using the Roll Holder. The Roll Holder is handy because it holds the roll (obviously) but it also has a cutting blade on it so you can trim the vinyl after it’s done being cut by the machine.
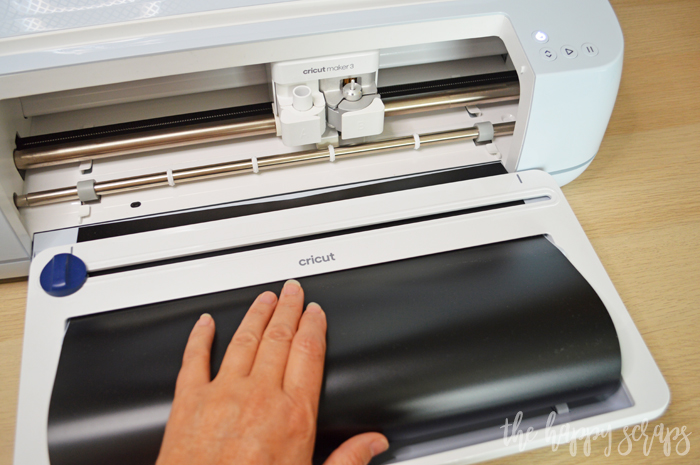
The Cricut Maker 3 is amazingly fast! I couldn’t believe just how quickly this project was cut out!
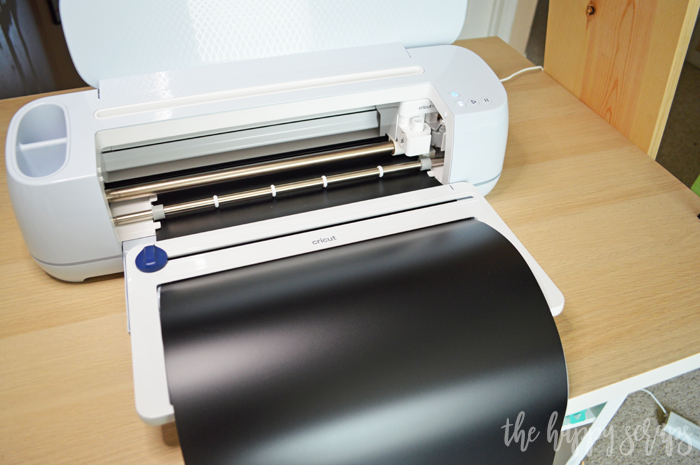
Once the machine was finished cutting, I trimmed the excess vinyl. I always save the scraps, do you? You never know when they might come in handy.

Lay the cut design on a flat surface. Now you’re ready to weed it.

I started weeding by doing the smaller pieces on the design.

Then moved onto weeding the rest of the design.
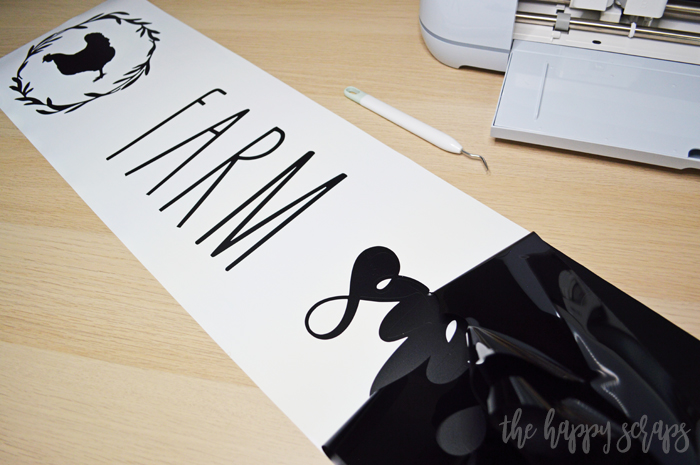
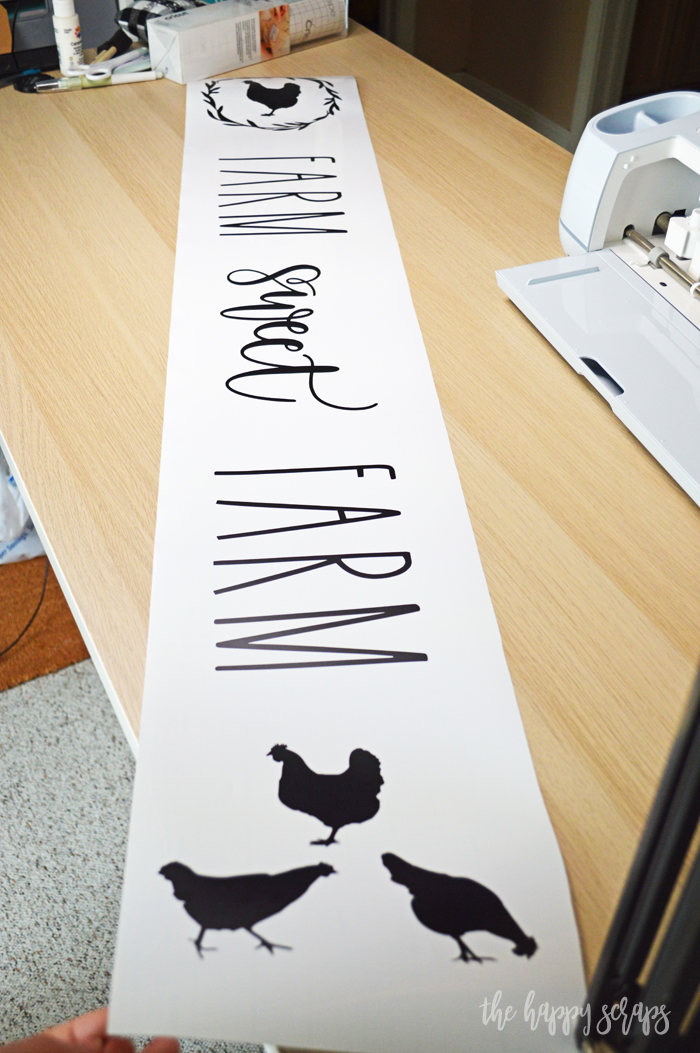
Once weeded, it is ready for transfer tape.
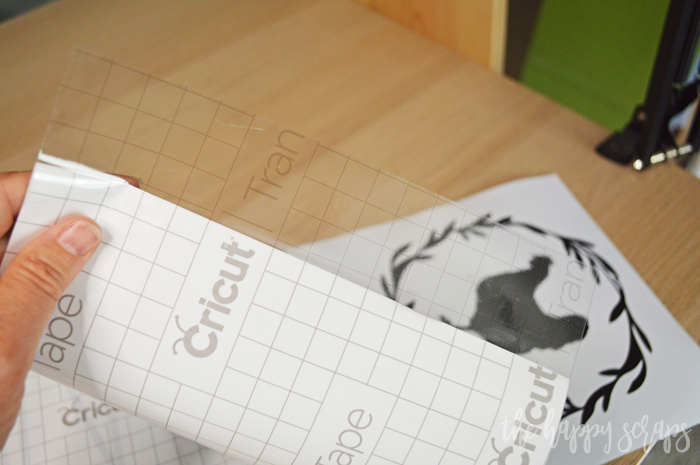
To apply the transfer tape, cut a piece that is the size you need. Then peel up one end, and fold the backing away from the tape.
Place the exposed tape onto one end of your design. Using the XL Scraper, make sure it is on there good.
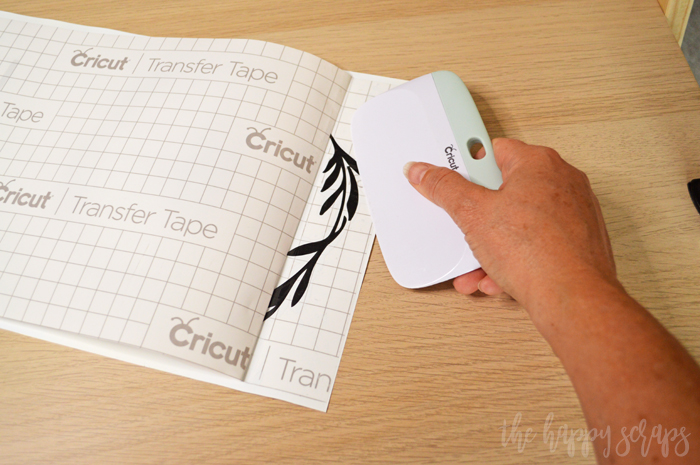
Slowly pull the backing off while also scraping the top to secure the transfer tape to the vinyl design.
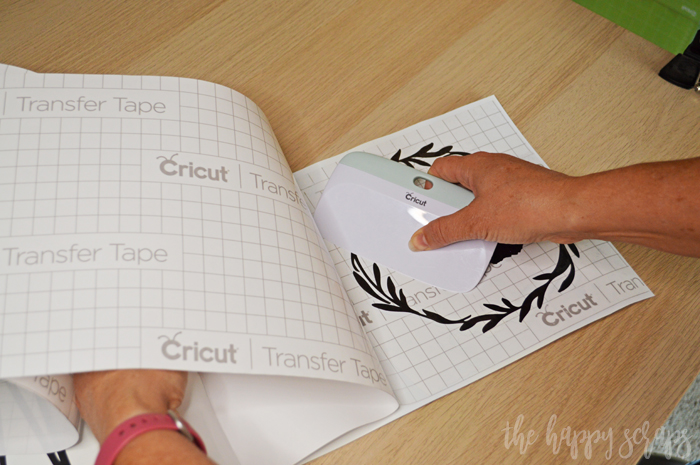
Before you know it, you’ll have the transfer tape finsihed.

Prepare the Board
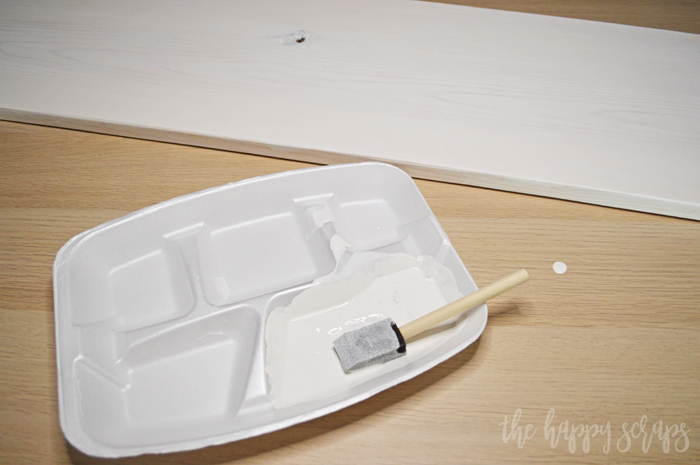
Before painting, sand your board if desired. Using a bowl or tray, pour some paint onto it, then add a little bit of water. Mix well. Add water until you get the consistency that you’d like to paint with. I wanted a white washed look, and this worked perfectly for that.
Assembling the Sign
Once the paint is dry, with the backing still in place, place your design onto the board. Measure to make sure it is centered and just where you want it. Use some painters tape to secure it in place. Using the hinge method, apply the vinyl.

Peel the backing from a portion of the design.

Place it down on the board, then use the scraper to smooth it out really well. Then peel the rest of the backing off and place the rest of the design onto the board.
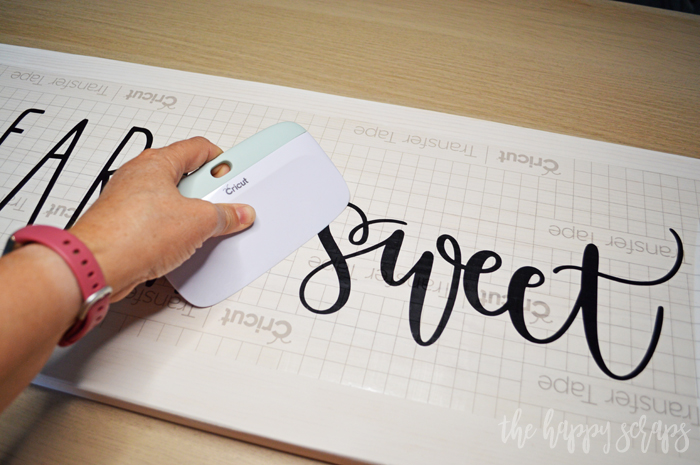
When the vinyl is all smoothed out really well, you’re ready to remove the transfer tape.
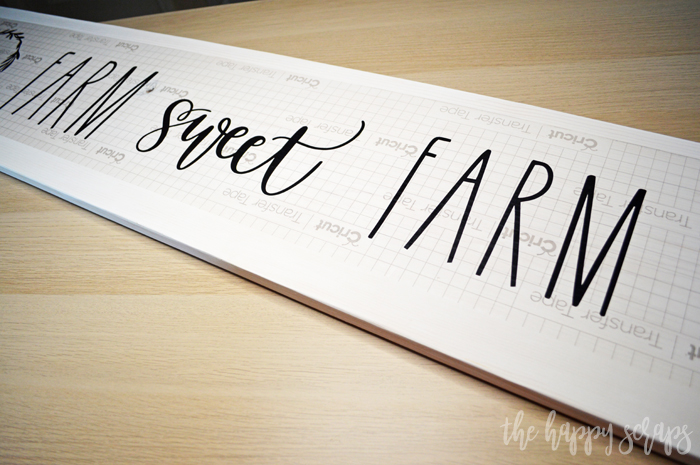
From one corner, carefully peel the transfer tape. I like to pull at an angle. It tends to help so you are pulling all of a specific piece of vinyl at once.
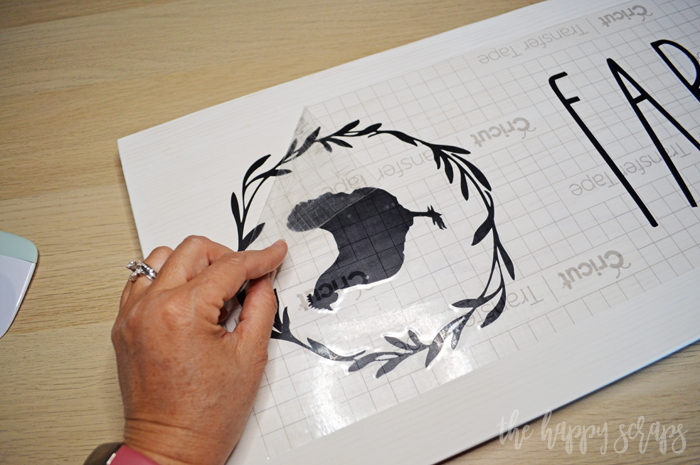
Continue carefully removing the transfer tape until you have it all removed.

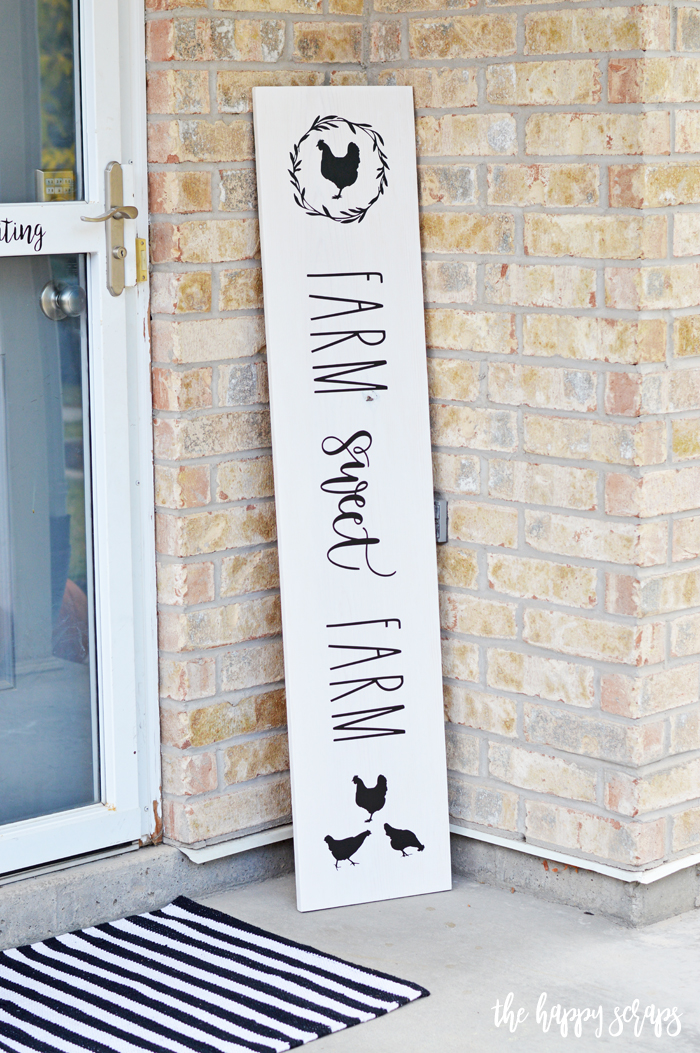
That’s it! You’re all finished and your cute Farm Sweet Farm Front Porch Sign is ready for the porch!
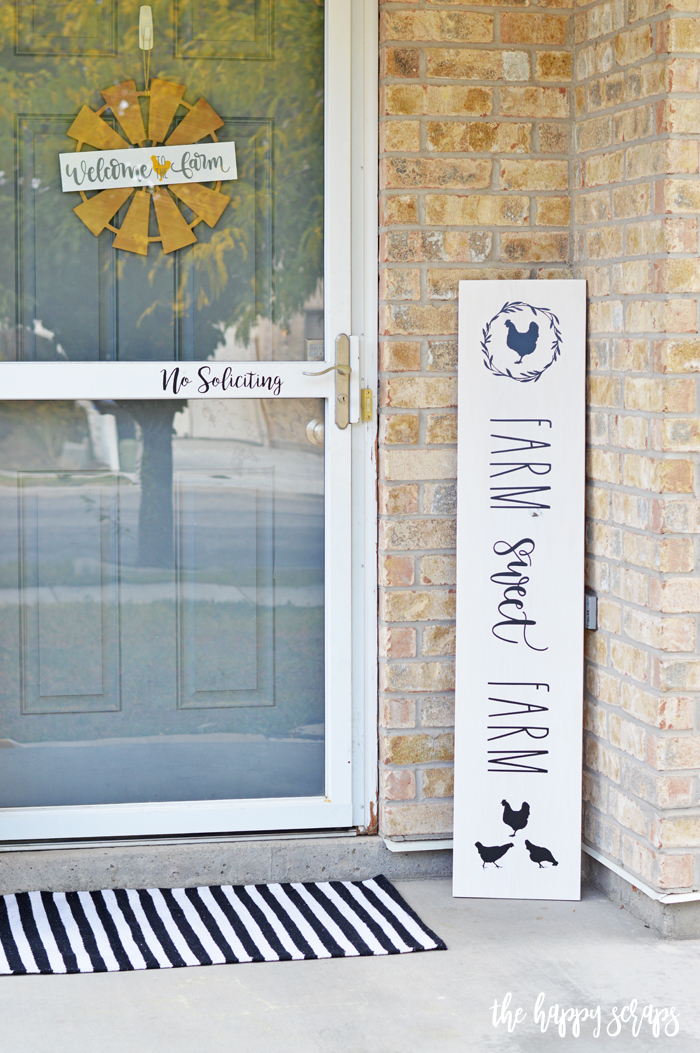
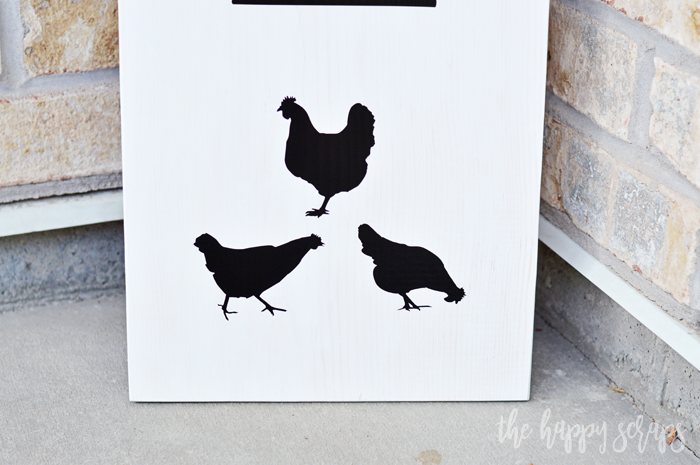
The great thing about making a sign like this is that you can customize it however you want! You could add chickens like I did, or you could do cows or pigs or whatever! You could even do pumpkins in place of the chickens! The possibilities are endless!
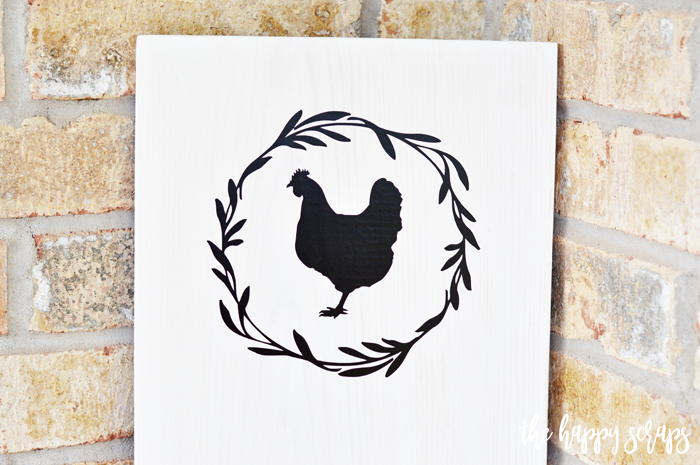
I love the chickens I added because I’m a chicken mama!
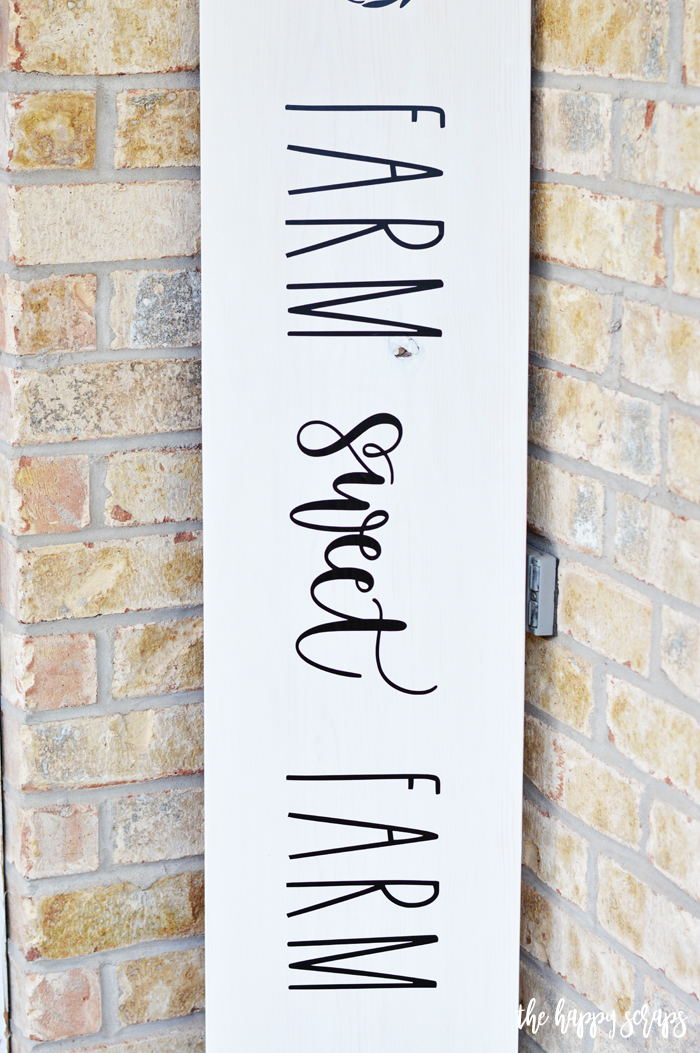
The way the lettering all turned out makes me happy! I typed Farm, and then used the word Sweet from another design. It worked perfectly.
Every time I pull in my driveway or walk to my front door, this Farm Sweet Farm Front Porch Sign just makes me happy! It’s the perfect addition to the front porch!
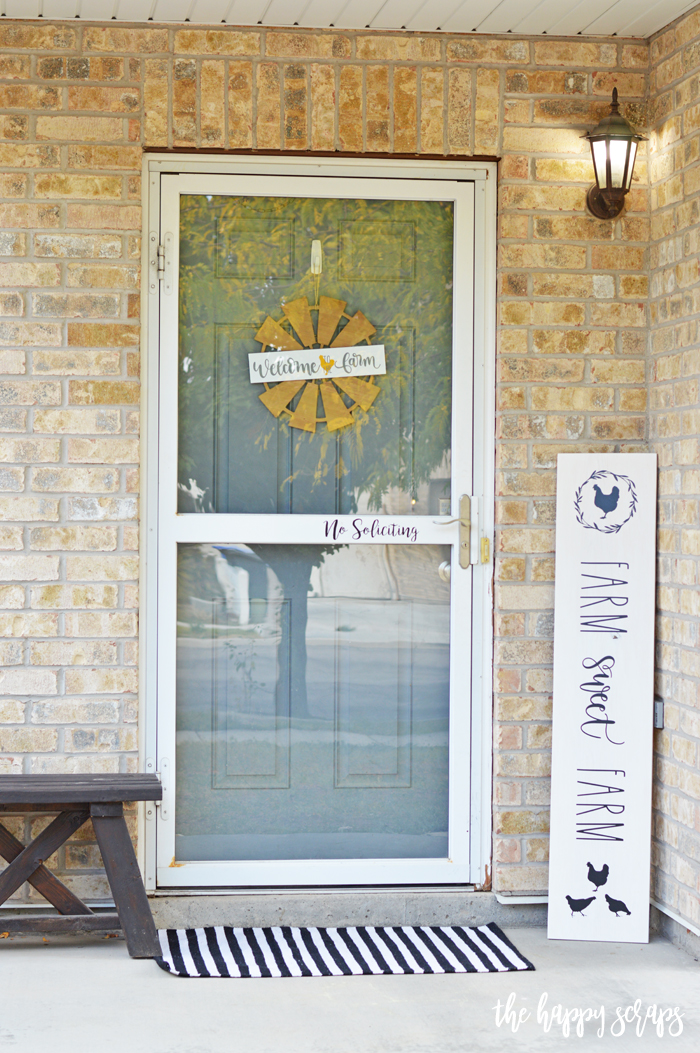
What would your front porch sign say if you made a custom one, just for your home?
If you enjoyed this project, then be sure to check out the other Cricut projects I have on this blog.

Leave a Reply