Does anyone else feel like this summer is just flying by!? I can’t believe we are to the middle of July! I’ve been busy playing with and entertaining my my kids and haven’t had time to take pictures and post this week. It’s been a crazy FUN week! Debbie has been visiting family and friends in Utah this week, and it was SO fun for us to get to hang out! Last weekend, Debbie and her kids came and we went shopping together, scrapbooked together, stayed up way too late chatting together (but it was SO worth it!), and just had fun spending time together, and watching our kids play.
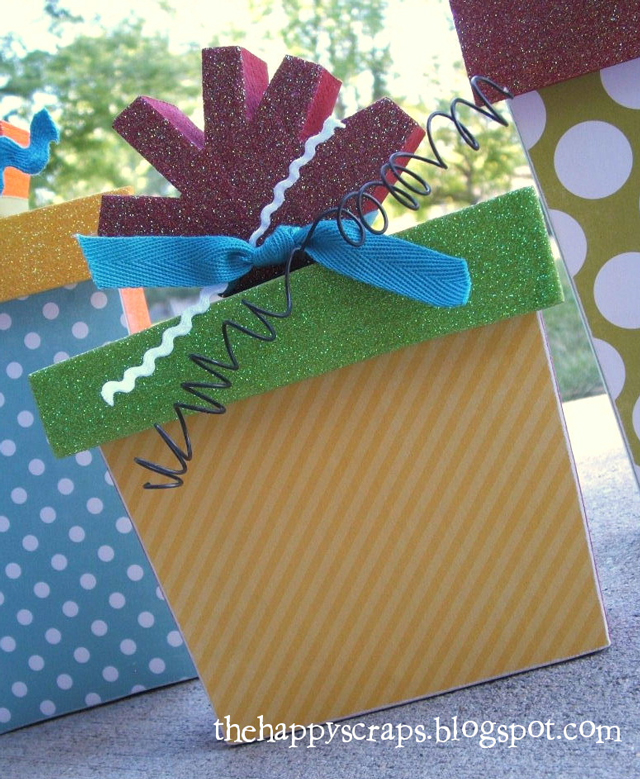
Tomorrow is my son’s 5th birthday. I picked up these adorable presents and Happy Birthday blocks a while back from The Wood Connection. I’ve been so excited to finish them, but just hadn’t gotten to it until this week. I knew I wanted to get them done for the birthday tomorrow, so I made it a priority.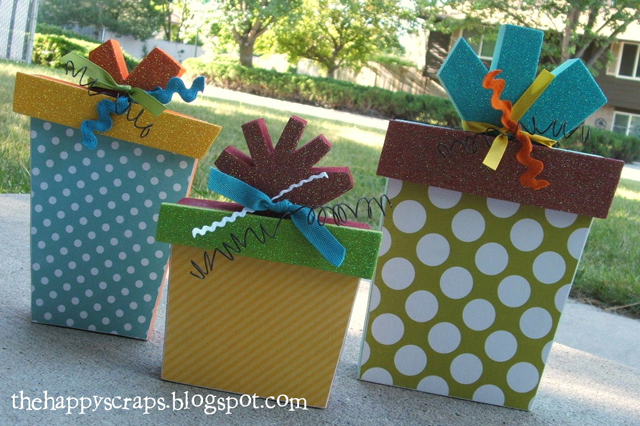 I was SO excited to figure out how to do glitter well! I’ve used it several times before, but it never turned out quite like I wanted it to. This time, I painted the wood where I wanted the glitter. Let it dry, and then painted on some Mod Podge where I wanted the glitter, then dumped colored glitter on. It worked like a charm!
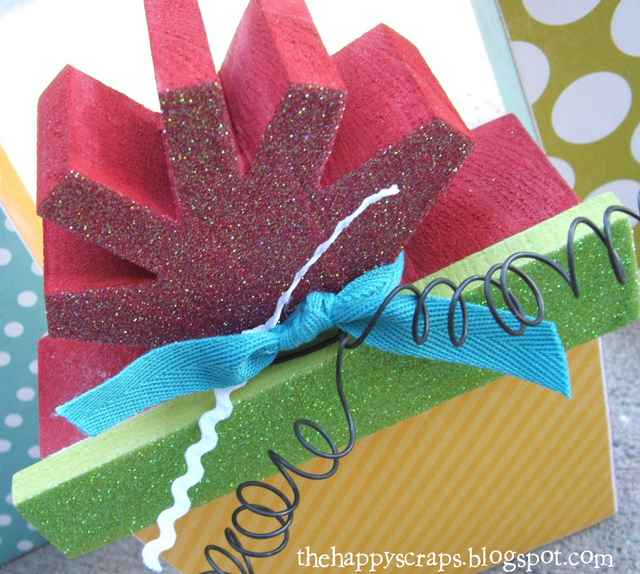
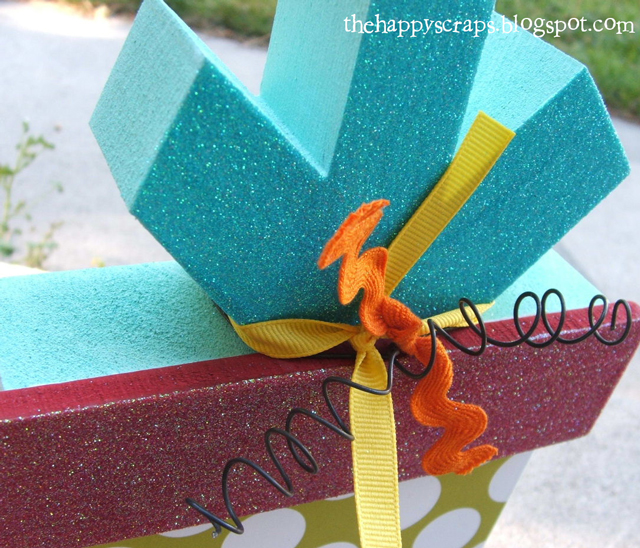 I also used ribbon and wire to embellish the tops.
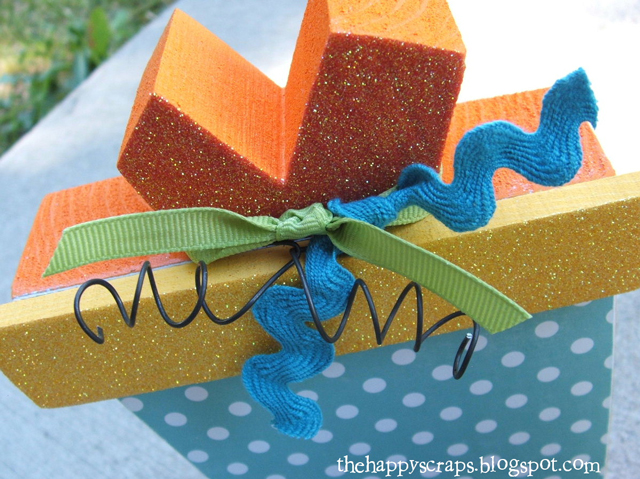
 If you’ve been reading this blog long, then you probably know that I really like Echo Park Paper! The papers I used are from the Dots & Stripes collections. You can see them here and here. They were lots of fun to play with, for both of these projects.
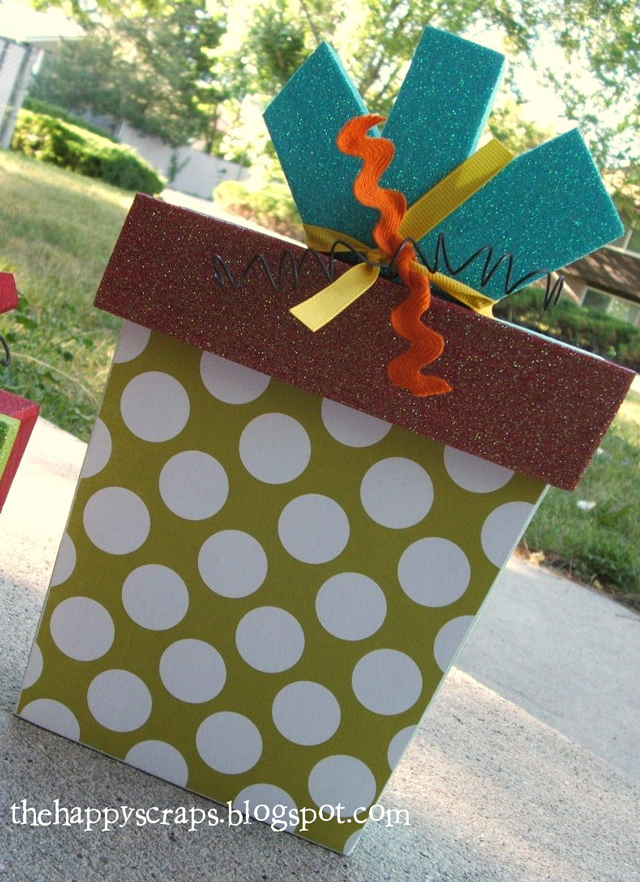
 These are wood blocks, sitting on a big wood block, along with the balloons. I LOVE how the black vinyl pops on these. I used the same paper as above.
 I did the same glitter technique on the balloons.
 I added wire and ribbon to the balloons as well.
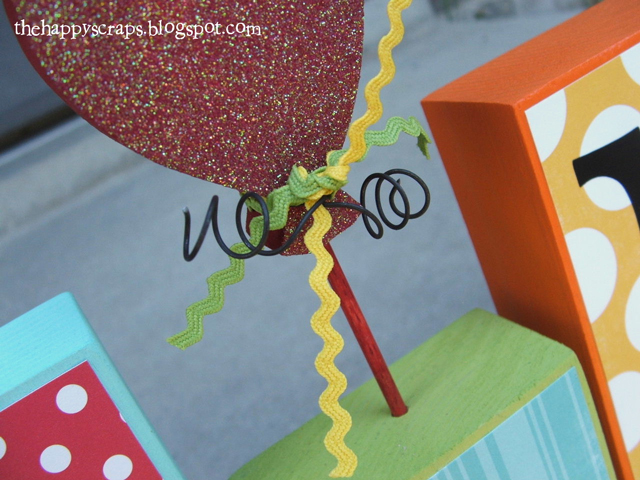 I LOVE this font. It’s from my Lyrical Letters Cricut cartridge. It has 7 different fonts on it, and it’s such a fun one!
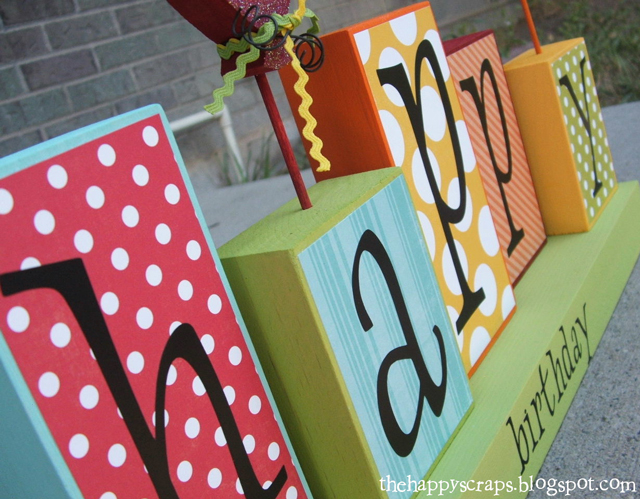 This is the only thing I wish was a little different. I wish the word birthday was a little more spread out. Now that I’ve done it, I would know better how to space it on my Cricut to get it to cut spaced out. I just recently learned how to kiss cut vinyl, for things like this (the word birthday, not happy), and I’m LOVING it!
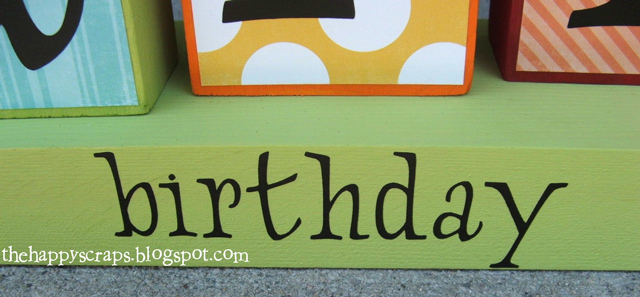 This is how I have them all set up in our house, and my boy is pretty excited for his birthday tomorrow!
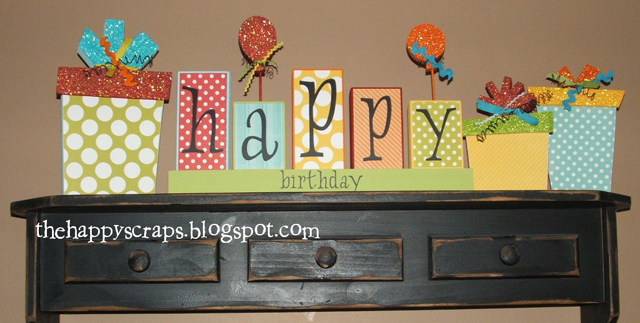 These wood designs are copyright of The Wood Connection. I purchased them unfinished. If you would like to purchase your own, head to The Wood Connection! They have very reasonable prices.

Leave a Reply