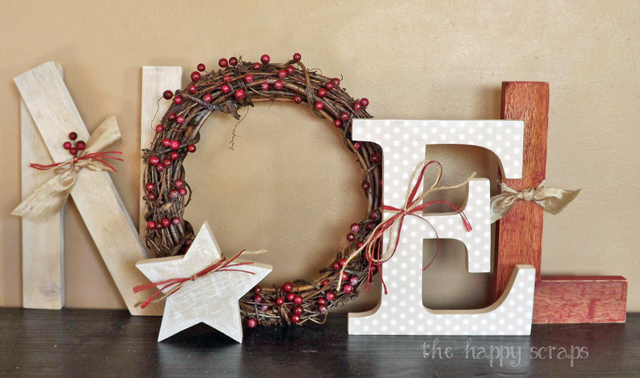
I’m pretty sure that when it comes to sharing/writing tutorials, sometimes I’m just not that great at it! Ha! I have the hardest time remembering to take pictures of the progress. It’s easier for me to just craft away and then take pictures when it’s all done. 🙂 How about you? If you are a blogger, then you probably know what I’m talking about. Today I’m going to share with you one of my very favorite decor items for Christmas. Yes, I realize that it’s still a little while until Christmas, but I just can’t wait any longer to share this. Let me just say, these pictures really don’t do this NOEL justice. I tried to get good pictures, but you just can’t see some of the little details until you see it in real life.
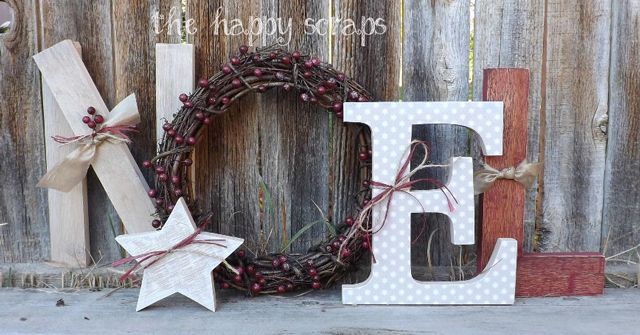
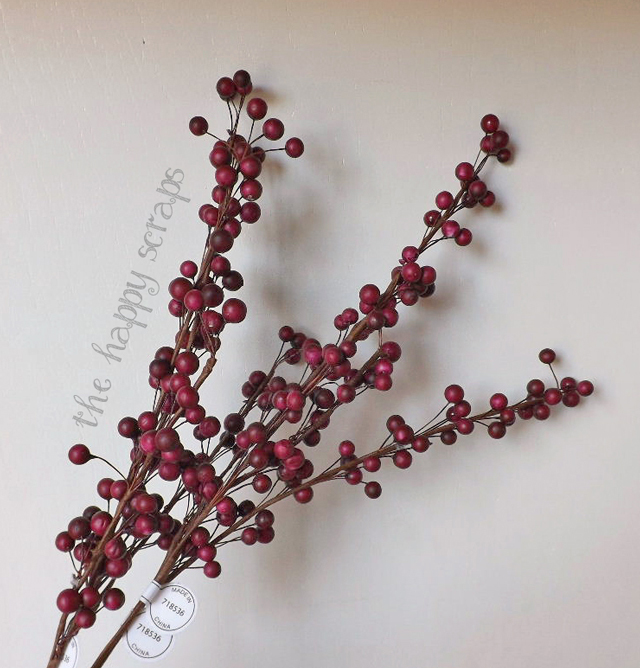
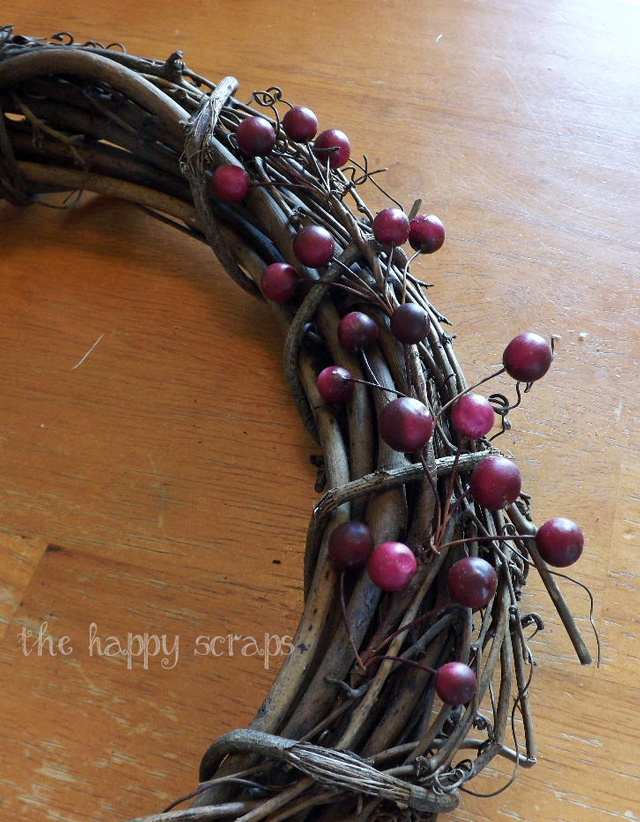
If you are on Pinterest, then you have probably seen this version of NOEL. I saw it last year, and I pinned it and loved it! I love the simplicity of it. Well, when I had the chance to get my hands on this (from The Wood Connection), I jumped at it. I knew that I wanted to use the same color scheme as most of the Christmas decor that I already have, so I picked up these berries from Hobby Lobby.
I got my wreath.
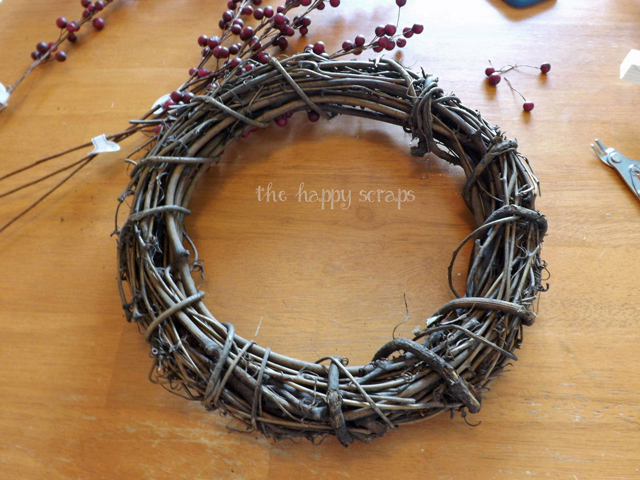
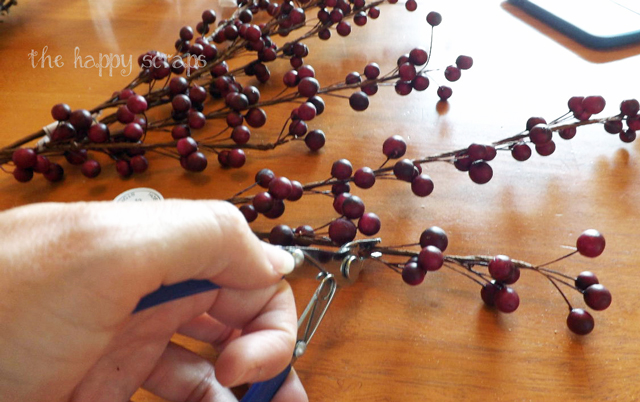
Then I just stuck the end into the wreath, and put the wire where I wanted it. Cut as many berries as you need to finish your wreath.
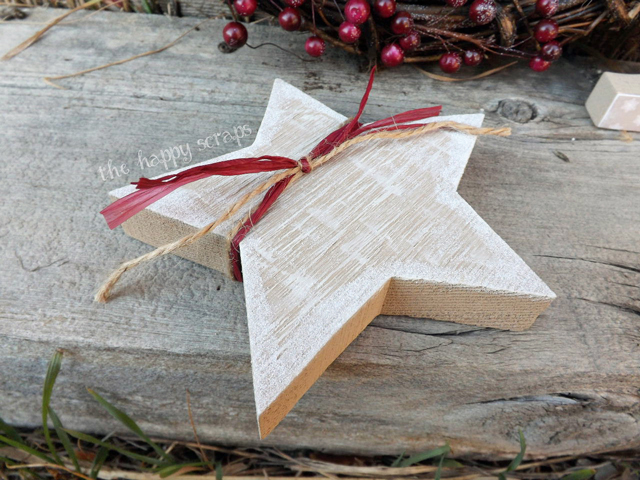
Next, I painted my star. This wood was a little tricky to work with, it leaves slivers in your paint brush. (Better in your brush than your fingers, right?!) I painted the star Bamboo color, and then I used my white paint to try to distress it. It didn’t work quite like I thought it would, but I love the way it turned out. After I got the white paint on, I used some Mod Podge and put it around the edges and added some glitter. I used some white glitter that reminds me of snow.
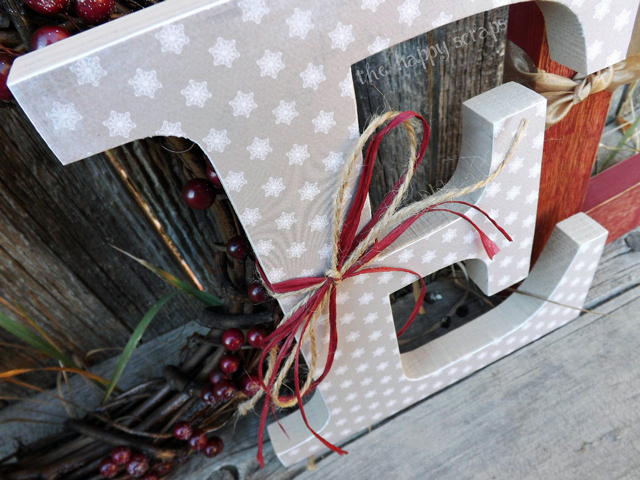
On the E I decided I wanted to use some patterned paper, and I wanted the design to be faint, and this paper was just perfect for it. I painted the back and sides first (using the same Bamboo paint I used on the star), then after tracing my letter, I cut the E out and used wood glue to glue it on. I used an emery board to sand the edges of the paper on the wood.
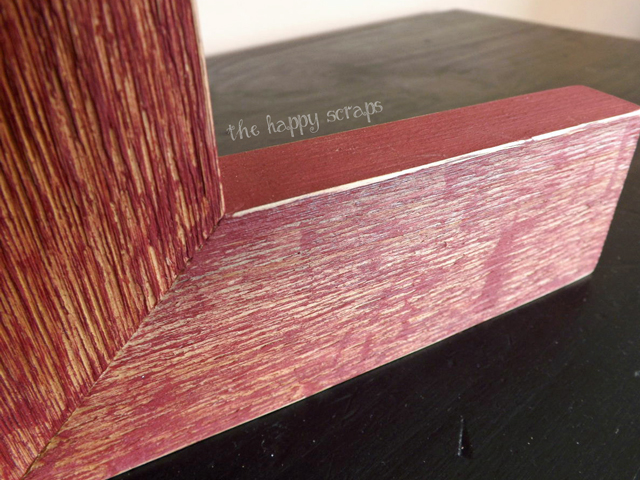
For the N, I decided I wanted to try white washing. At least that’s what I’m calling it. I didn’t follow a tutorial of any kind, I just put a little bit of white paint on a paper plate and then I added some water. Not too much though. I mixed the water and paint together and then used my paint brush to paint it on. It turned out being exactly what I wanted for the N. I lightly sanded the top when I was done, just to make sure there wasn’t any little pieces of wood sticking up that could give slivers.
On the L, I used a dry brush technique. I would get just a little tiny bit of paint on the end of my sponge brush, and very lightly paint over the texture. I didn’t want the paint to get down into the cracks. After I painted I lightly sanded the top and the edges to distress it.
Once I had all the letters just how I liked them I used some Mod Podge, Matte Finish, Clear Acrylic Sealer. I love this stuff. It gives things just a slight sheen and makes my projects feel more finished.
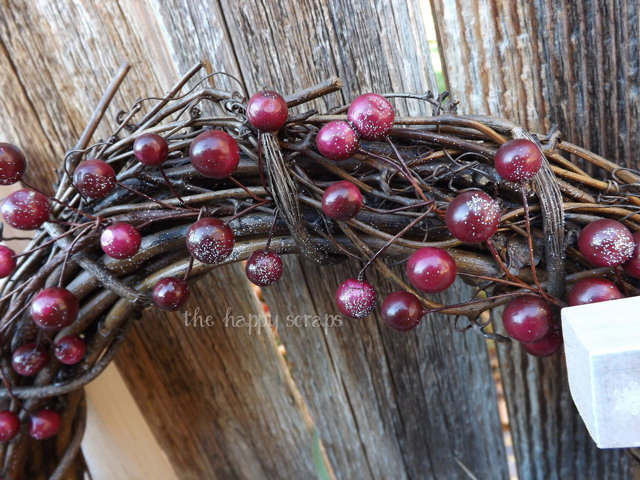
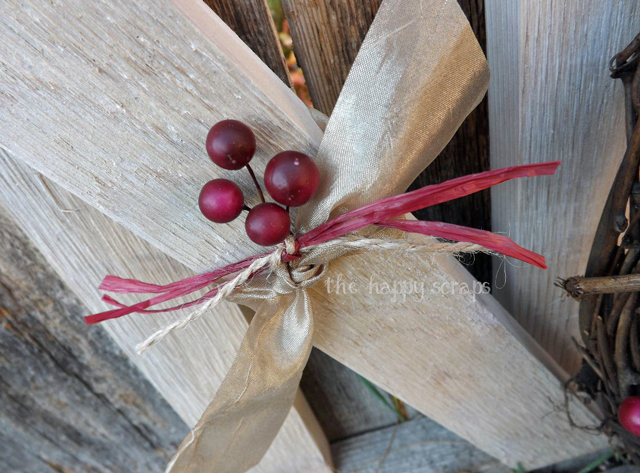
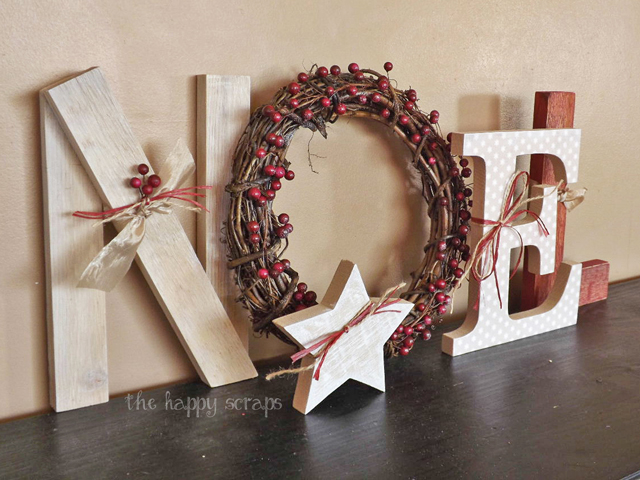
While I was coating everything with the Mod Podge sealer, I decided I wanted to add some of the snowy glitter to my berries and wreath. Now it shines and sparkles. 🙂 I added ribbons to the letters and star, and berries on the N. I think the addition of the ribbon for embellishing adds the perfect touch to finish the project.
What do you think? Do you love it as much as I do? I can’t wait to decorate for Christmas! (Well I guess I can wait, cause I don’t decorate for Christmas until after Thanksgiving.)
When do you decorate for Christmas?

Leave a Reply