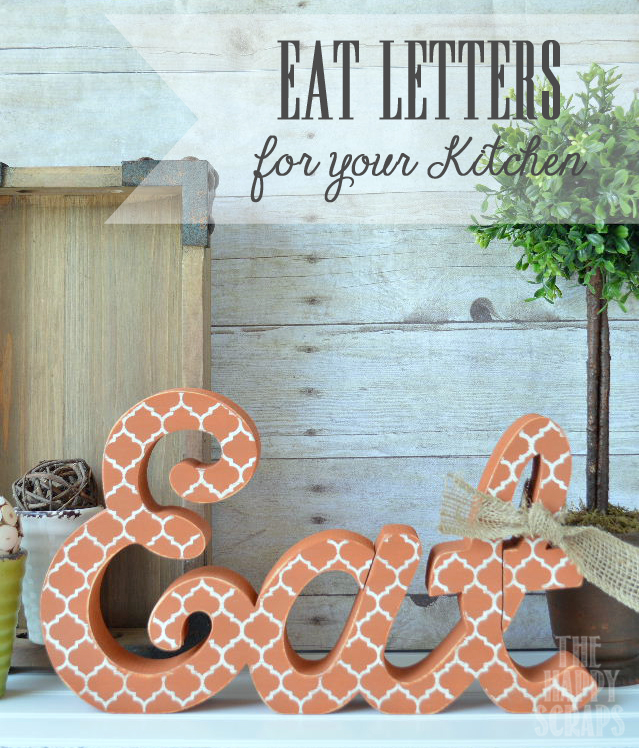
I’m so excited to share this project with you today! Everyone knows that EAT letters are a big thing to have in your kitchen, right? I’m going to show you how I made mine, and tell you where you can get your own (two styles to choose from), and make them to match YOUR kitchen! 🙂
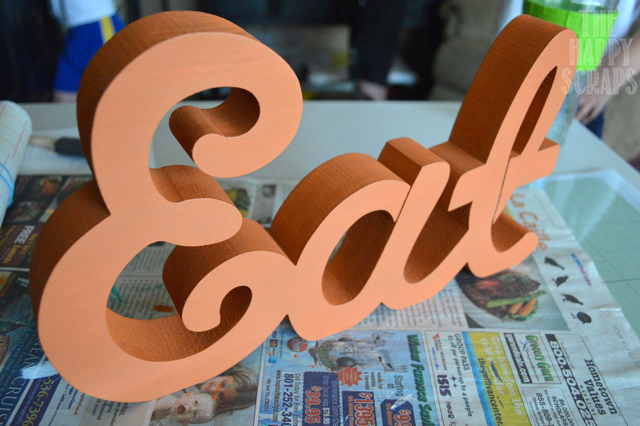
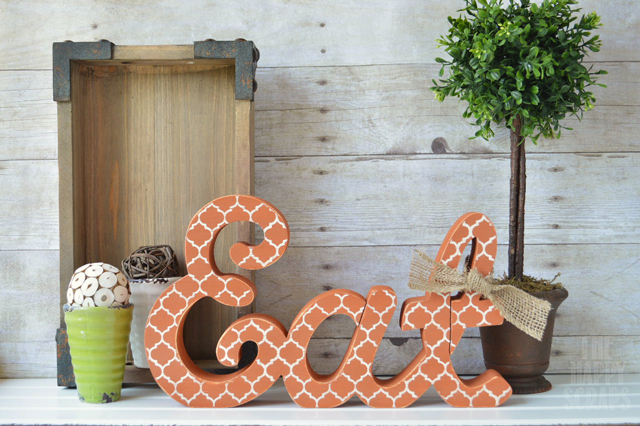
I started with my plain Cursive Eat wood (approx 8.5″ tall and 14″ long). I painted the face of the wood light ivory, and then followed by painting the entire piece a burnt orange color that matches my kitchen.
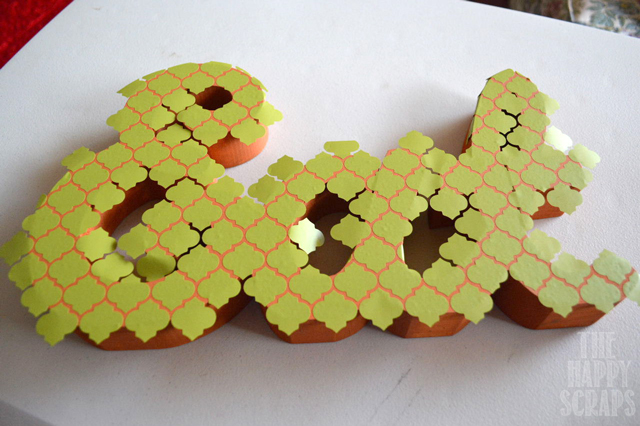
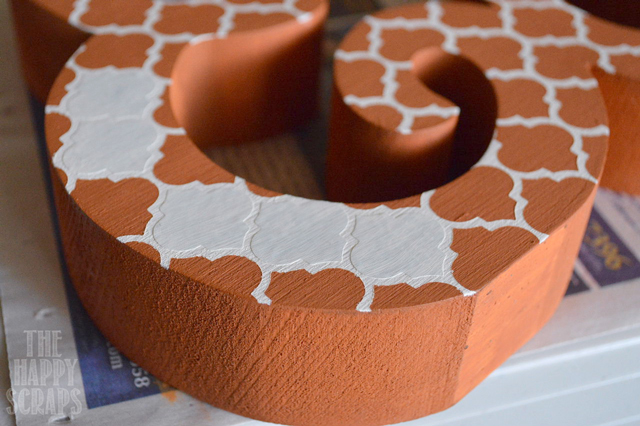
Next, using a quatrefoil stencil that I cut out on an electronic die cutting machine, I put it on my wood.
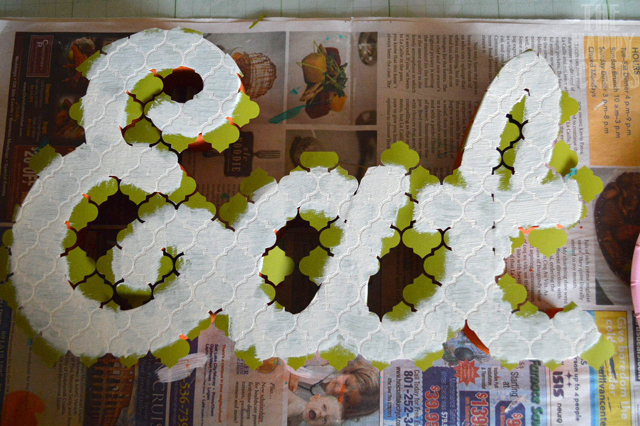
Using light ivory paint, I painted over the stencil.
Then carefully peeled the stencil off. The parts that hung over the edges were easy to get off, but the ones the didn’t hang over were a little more tricky. I used a vinyl “weeding” hook to get them, off, but you have to be careful so you don’t damage your wood.
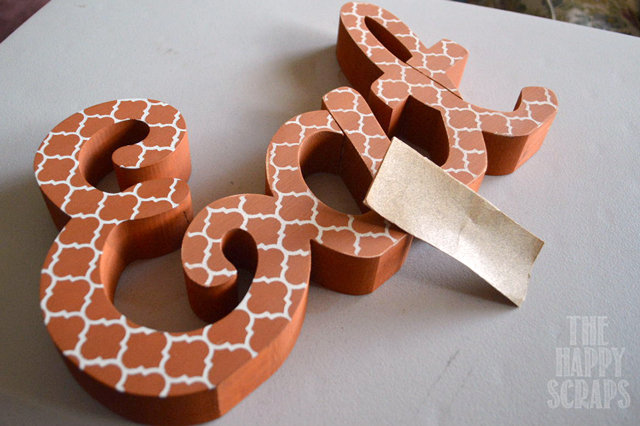
Once you have all the vinyl off, you are ready to distress it. Just lightly sand it until you get it looking just the way you’d like.
After I had it distressed, I sprayed it with a sealer to give it the finished look.
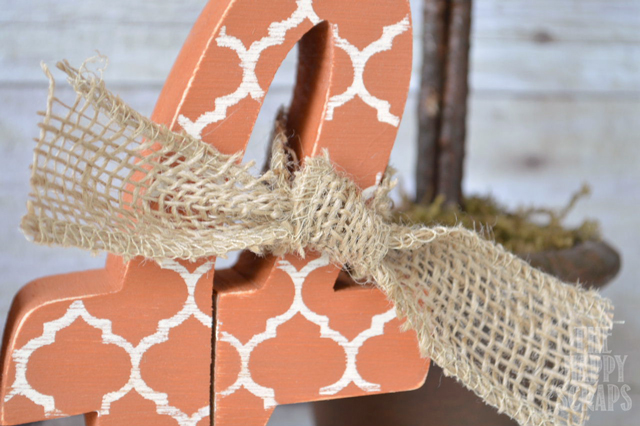
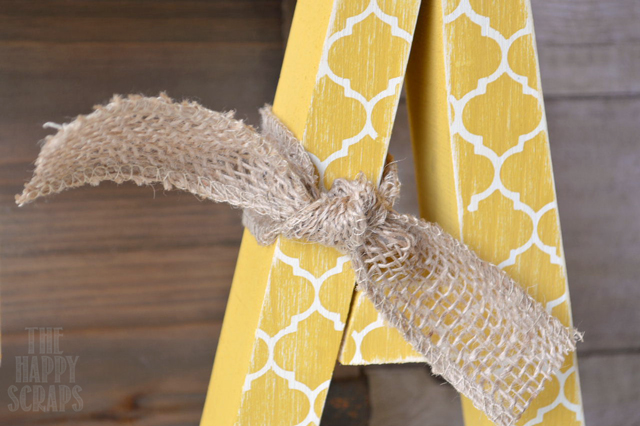
And also tied some burlap ribbon on the t.
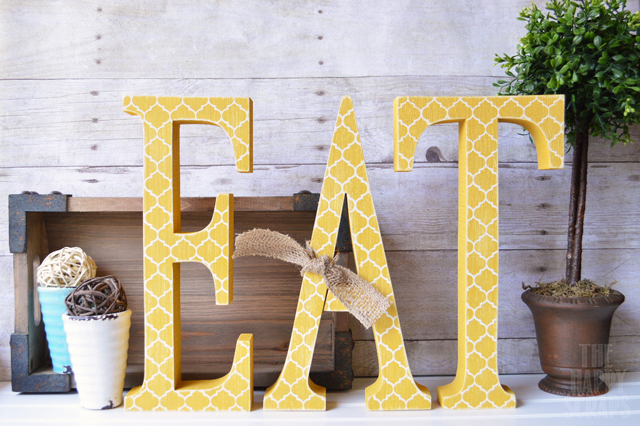
Here is an example of the other style of letters. These are 12″ tall.
I love the way the distressing turned out on this one!
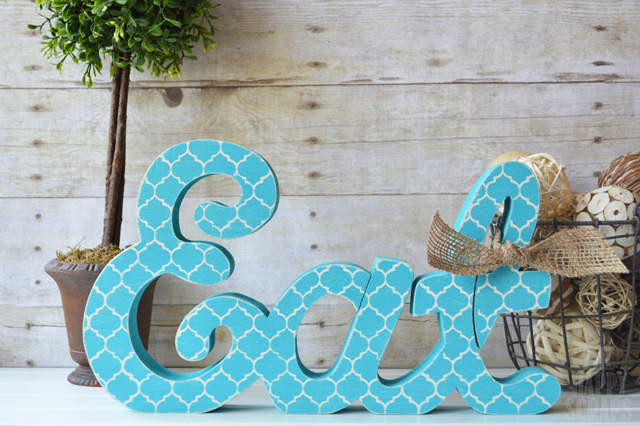
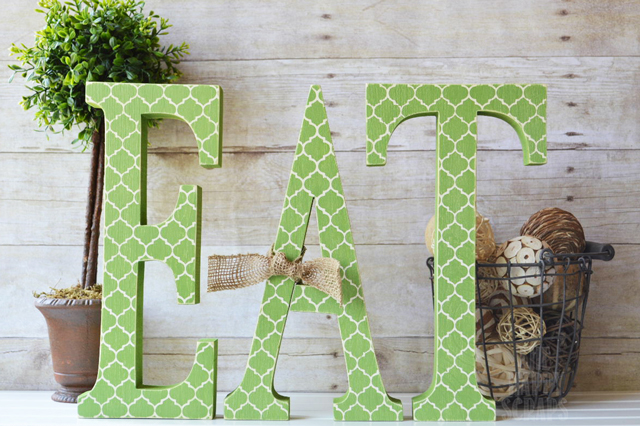
Are you wondering how these would look in blue or green, well, I have those to show you as well. I can just picture it in red too, wouldn’t that be cute!
This kit was available to buy through The Wood Connection, but it was for a limited time only, and is no longer available. I do have the Burnt Orange Cursive and Large Yellow sets available in my shop.

Leave a Reply