I’ve had both this shelf and table for quite some time. The table is one that my husband had made for me as a gift, at least 10 years ago (probably longer) and I’ve had the shelf for at least 8 years. My brother in law made both of them. I’ve LOVE them! I decided a little while back that this table & shelf needed a makeover! I wanted to lighten up the living room. I had also heard about the Chalky Finish paint from Decoart and thought it would be perfect for this project.
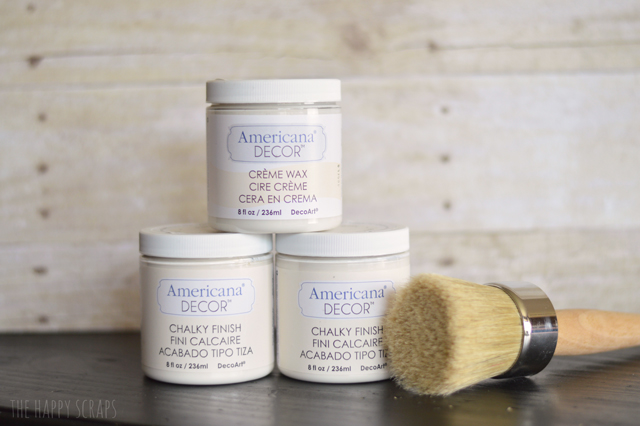
Decoart sent me their paint, wax and brush to try. All opinions shared in this post are my own.
When I got the box of paint and wax in the mail, I was so excited! I wanted to get started right away, but that didn’t happen. Last weekend, I decided it would be a good time to start painting the table. I’ve heard so many good things about this chalky finish paint that I was anxious to put it to the test. I was painting from black to white. What better test could their be?
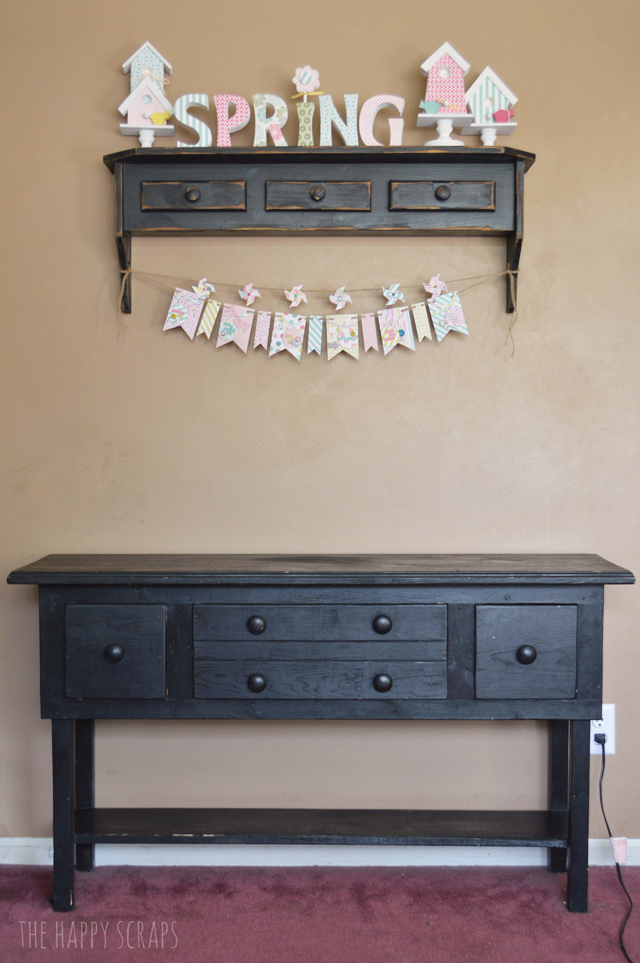
Here is the before picture. To begin with, I wiped the table and shelf down really well, and made sure the surfaces were clean. There is no need to sand with this paint, and priming is optional.
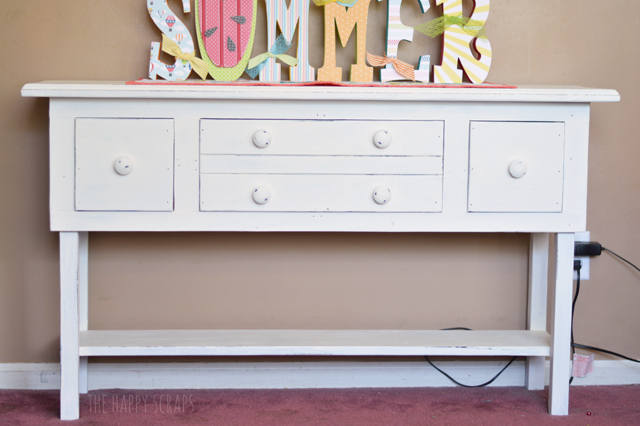
I started painting in the house, and decided I’d rather paint outside, so I hauled the table out. I used the brush that I got with the paint (pictured above) and it worked really well, but I later learned that brush is actually the waxing brush. I painted the whole table with it and it did work. 🙂 I gave the table a few good coats of paint, until the black wasn’t showing through anymore.
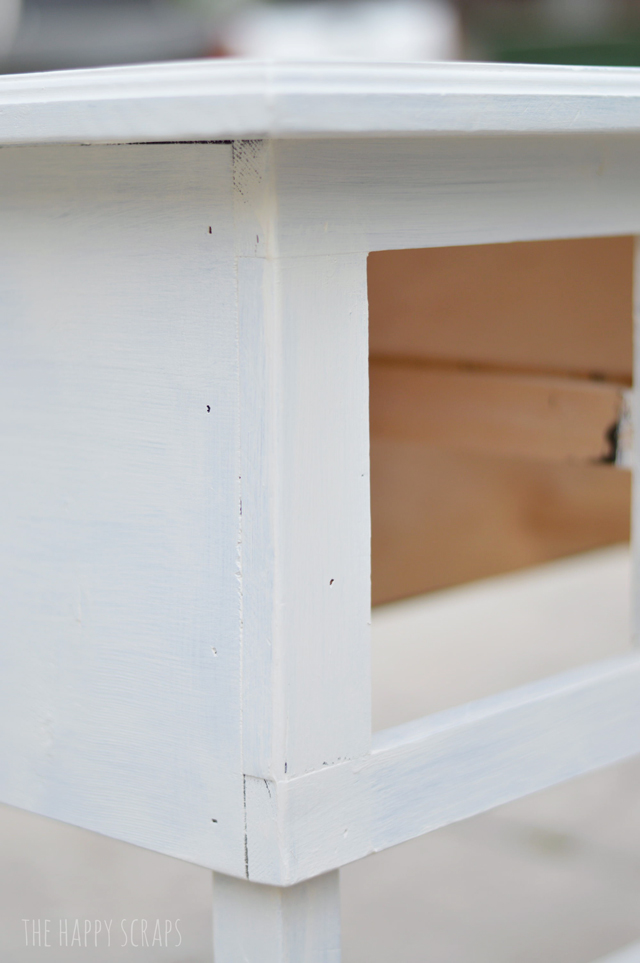
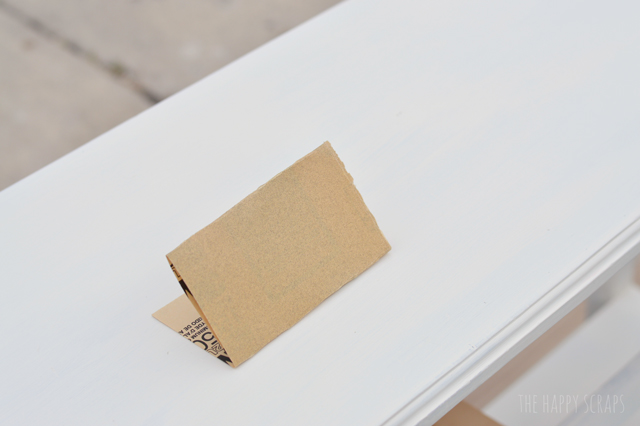
Once I was done painting the table, I used a fine piece of sandpaper, and lightly sanded everywhere. Since I had used the waxing brush, it had shed a little bit, so I was able to get the paint brush hairs off of the table by sanding.
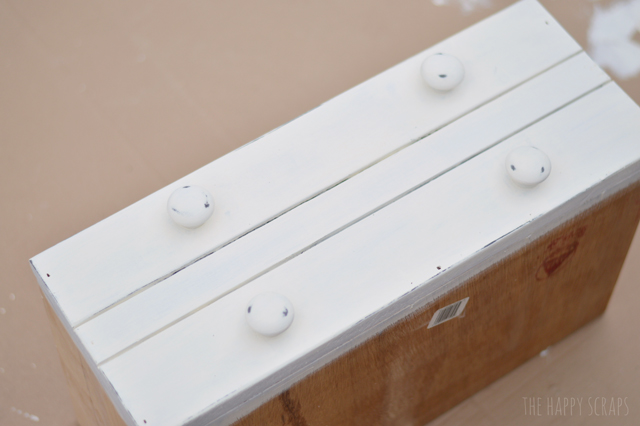
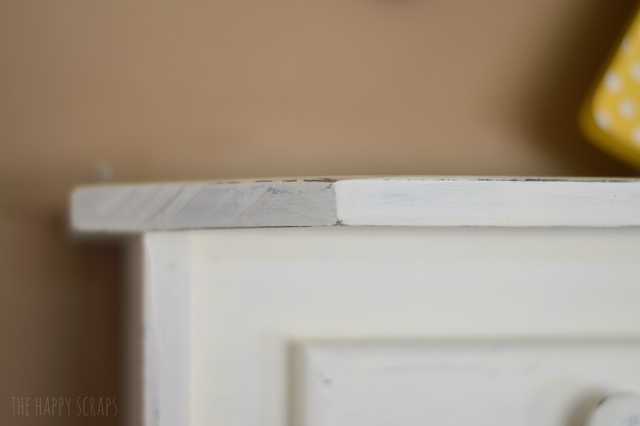
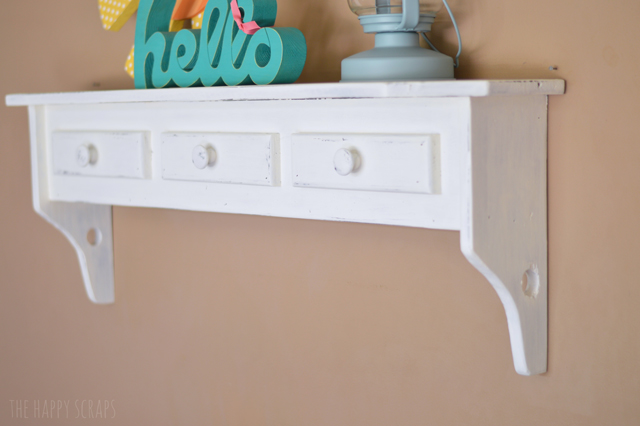
I also distressed the edges and knobs on the drawers just a little bit, letting the black shine through.
Before I started painting the shelf, I learned that any paint brush would work. I used a 1″ foam brush to paint the shelf. I wouldn’t recommend doing a large project with a 1″ brush. 🙂 It worked, it just took a long time. There were some tight spots that it worked well in though. The shelf needed a couple more coats of paint than the table. If I were to do it again, I would prime it first, just for the simple fact that I was going from black to white, and I think it would have taken less paint. Once the shelf was painted I also distressed the edges of it.
I think my very favorite part was the waxing. It went so quick, and it was just fun. It didn’t have to be painted on perfectly, so that was nice. Once the wax it dry you can buff it with a clean cloth.
Maybe the waxing seemed to go faster, because I only did one coat, and that was faster than painting multiple coats of paint. 🙂
When I first finished the table and put it back in the living room, I told my husband that I didn’t know if I was going to like it. It is a huge change to go from black to white! But over the last few days, the white has grown on me a lot and I am completely in love with it!
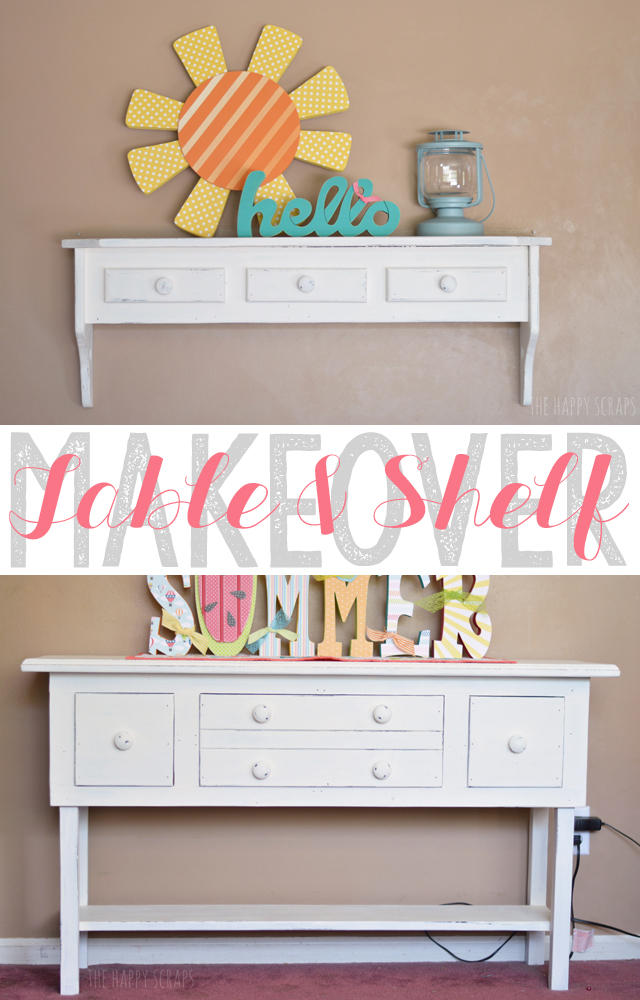
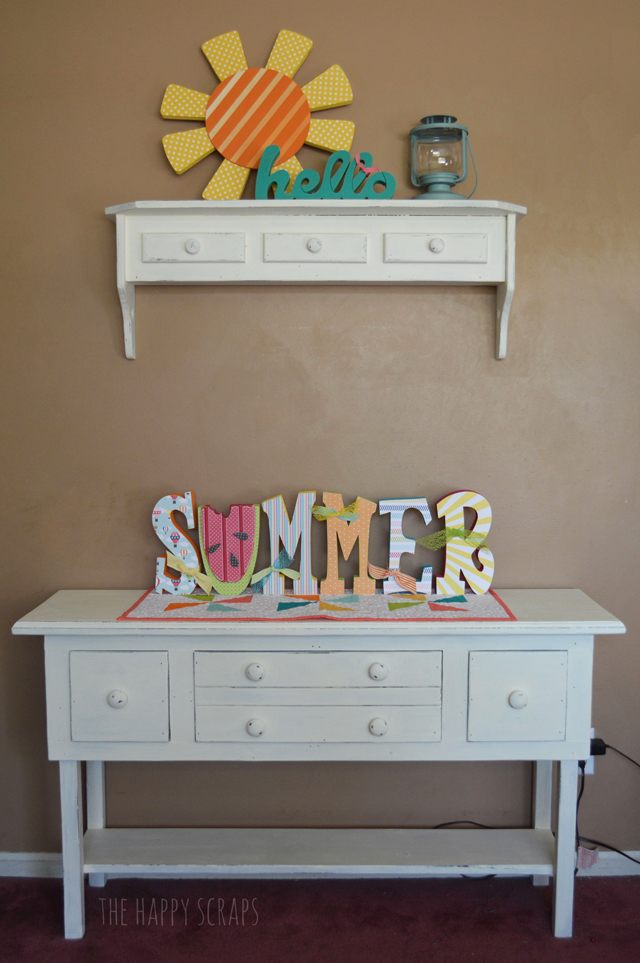
The table and shelf together, all decorated, look so refreshing now!
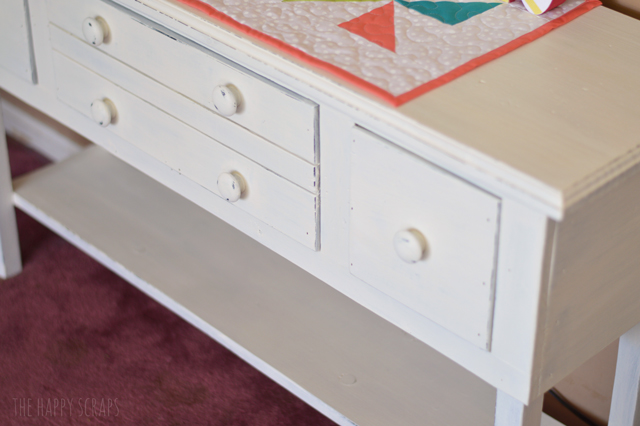
Here is the after picture. Can you believe the difference that a little bit of paint can make? By the way, it took about 12 oz of paint to paint both of these, that is 1 1/2 bottles of it. This paint goes a really long way!
So, have you ever tried chalky finish paint? What is your favorite color? What projects have you finished with it? I have a mirror frame that I am going to paint with it next!


Leave a Reply