Have you ever wanted to make your own cookbook or create and bind your own book of any kind? Well, I have. For a long time. Years ago, I worked in an office, and used a binding machine all the time for booklets I had to make for products that we sold. I loved that machine. I would have taken it home with me, if they would have let me. A few years after leaving that job, I remember seeing these at home binding systems, like the Cinch from We R Memory Keepers. Oh boy, it made me so happy! I knew that having a Cinch at home was a lot more likely than one of those big binding machines, and recently WRMK sent me one, and now I just want to bind all the things! Seriously, I could go crazy with this fun new toy. But for today, why don’t I just show you how I put this fun DIY Cookbook together with the Cinch.
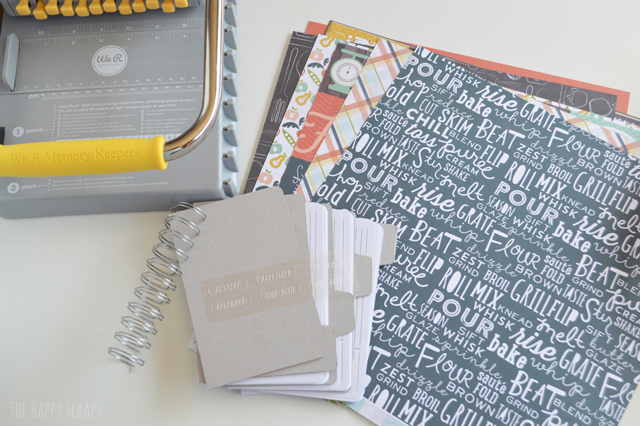
First off, I had to go on a hunt for the paper I wanted to use. It makes me sad that scrapbook paper stores are dwindling. The one that is near my house has a large selection, but they don’t always have the newest lines, so I had to call around to find this fun line. It is from Echo Park Paper and it is called Made from Scratch. Isn’t it a fun line, perfect for a cookbook.
I had the Recipe book kit from WRMK, and it included the binding, chipboard, and cards. Then of course I had the Cinch Binding System as well. Besides some embellishments and adhesive, that is all you need for this project.
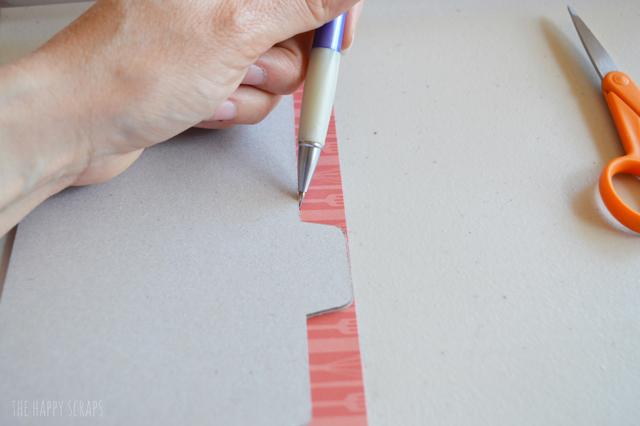
I traced my chipboard onto the back of the paper I wanted to use.
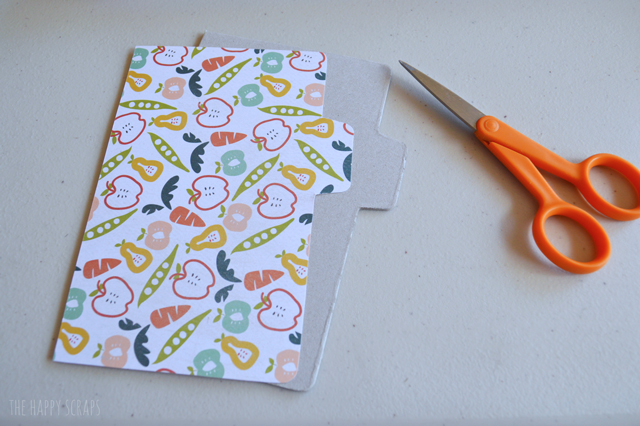
Then I cut it out, glued the paper on (a Xyron sticker maker works great for this!), then embellished each divider.
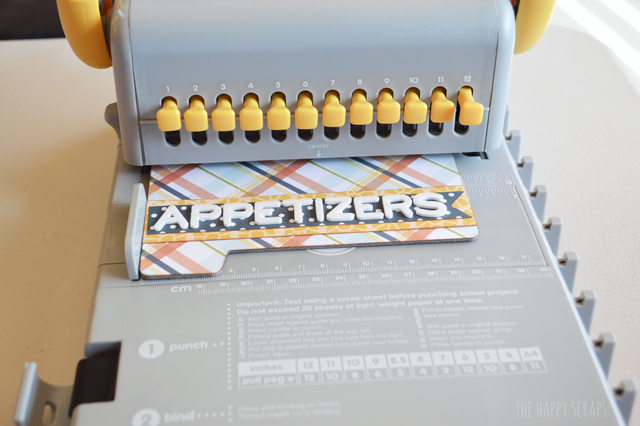
Once all the pages were ready, I started punching. Note: Make sure you do a trial punch before you start punching your project. Because this was the first time using this machine, the hold punchers had a lot of oil on them. I’m glad the oil got on my scrap of paper, and not my project.
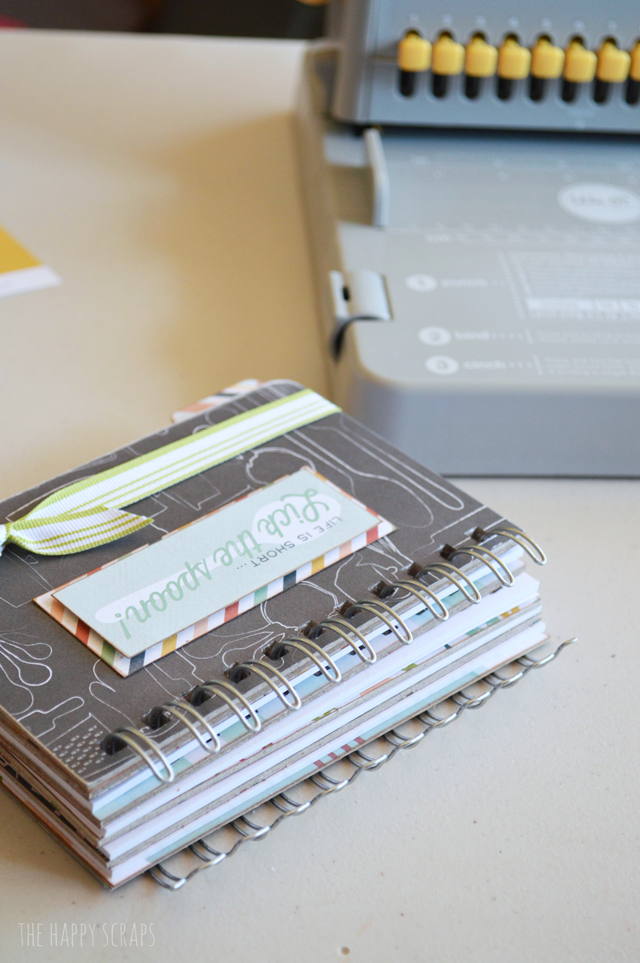
Once I had all the pages punched, I put the binding on. Because I used some thicker embellishments, I ended up using a larger binding, than what the kit came with. If you keep all the pages flat, you’ll be able to use the binding just fine. Once you have your binding on, you place it in the back of the machine, and pull the handle, and it squeezes the binding, closing it, so your book stays together. It couldn’t be any easier!
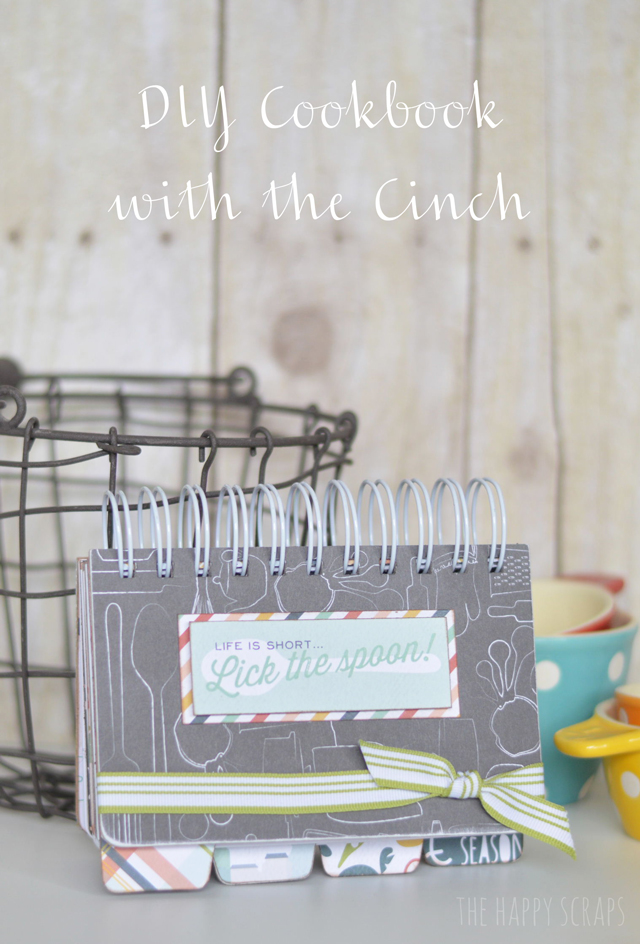
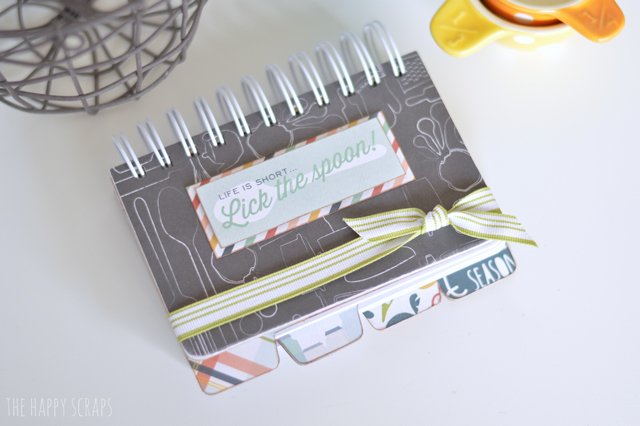
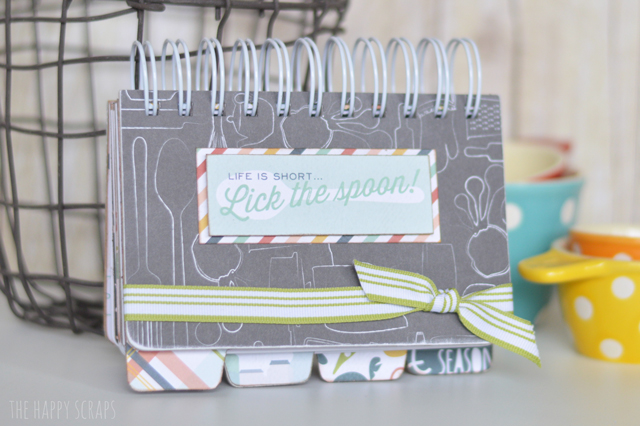
I love the way the finished cookbook looks. This is the front cover.
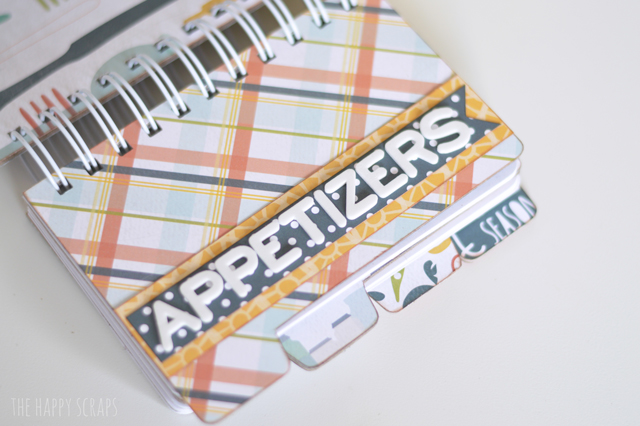
The Appetizers divider.
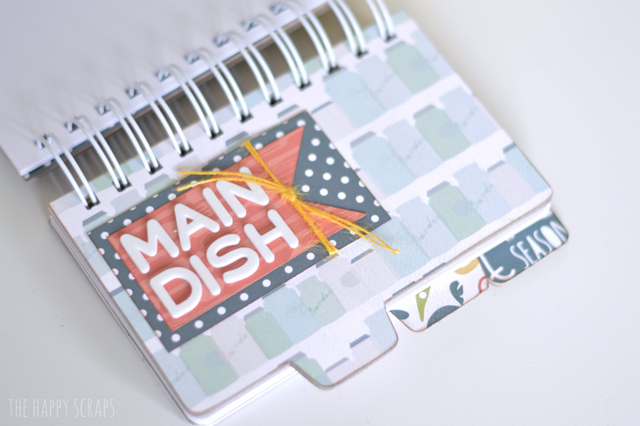
The Main Dish divider.
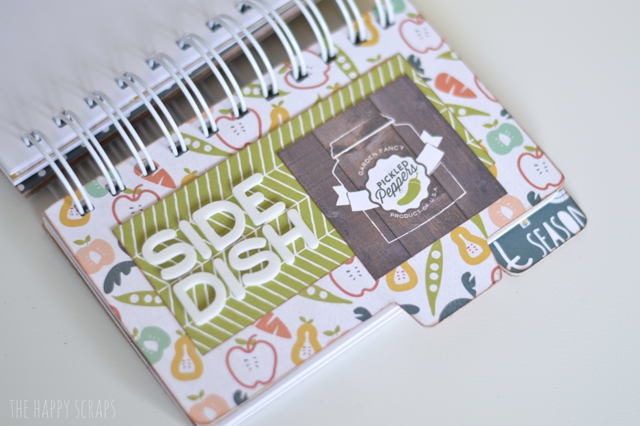
Side Dish divider. I love the “Pickled Peppers” paper that I added.
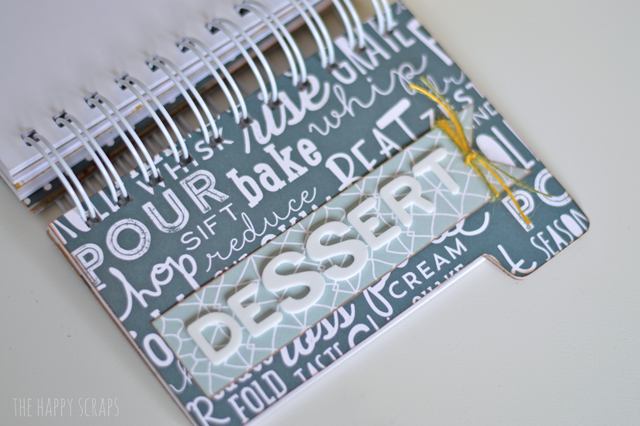
The Desserts divider. This is the last one I did, and I had run out of the letter “s” with the set of thickers I was using, so I had use some other ones. I had fun inking the edges of the papers, and adding twine and ribbon in various places.
Now I just need to find all those loose recipes I have floating around, and put them into my cute, new little cookbook!
So does this make you want to make your own DIY Cookbook or what? I had this done in under an hour, once I tracked down the paper. 😉

Leave a Reply