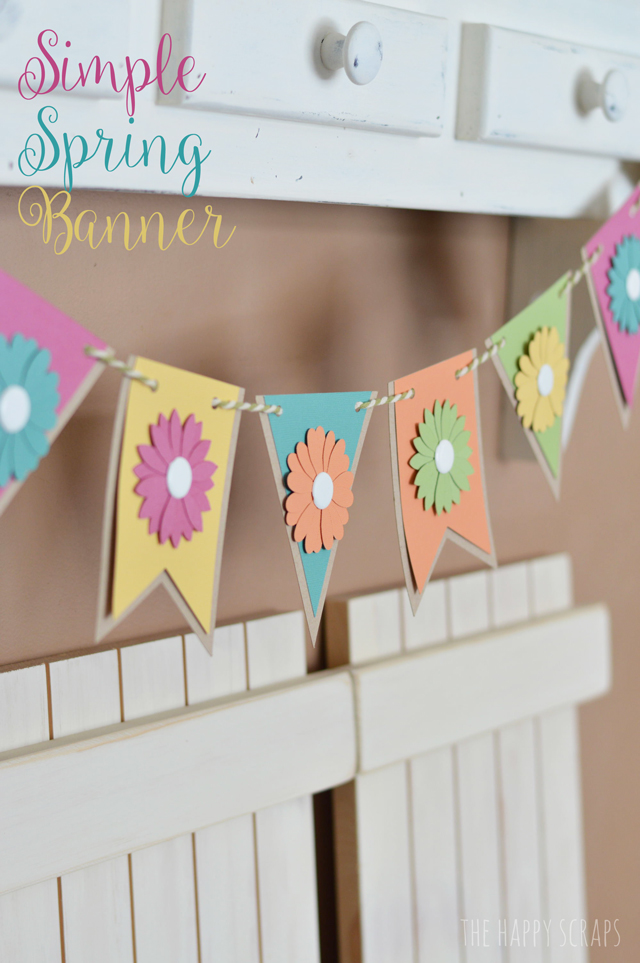
The last few weeks around here, it has felt like Spring. Even bulb flowers have started to bloom! But, the other day when I was working on this Simple Spring Banner project, it was snowing. It snowed ALL day. It is much needed moisture, and I’m not complaining by any means. I just thought it was funny that it had felt like Spring, and the day I decide to make this Spring Banner, it snows! I’m sharing this project as part of Crafting in the Rain’s A-Z Crafting Series. I chose the letter B so I could make a banner. 🙂
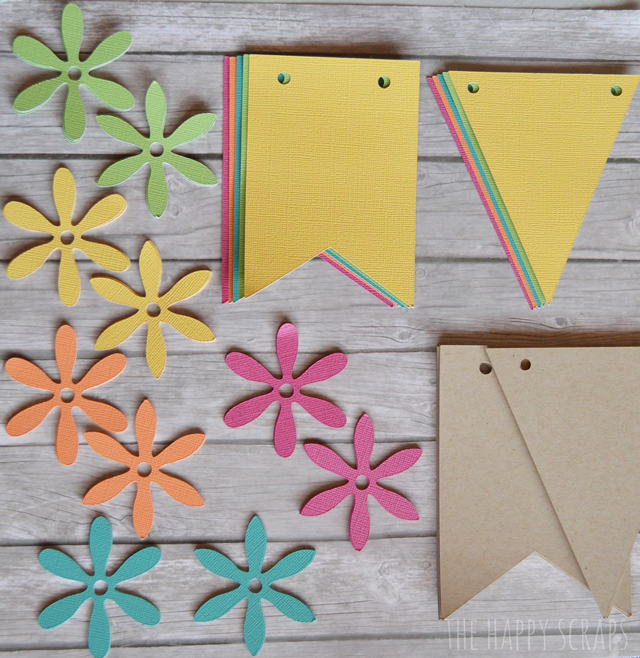
To put this banner together, you’ll need:
- A variety of colored cardstock
- Kraft cardstock
- Paper flowers (3 of each pattern, in each color)
- Large Brads or buttons
- Large Baker’s Twine
- Digital Die Cutting Machine. I used my Cricut Explore. (optional: you could hand cut the banner pieces and use a punch for the flowers.)
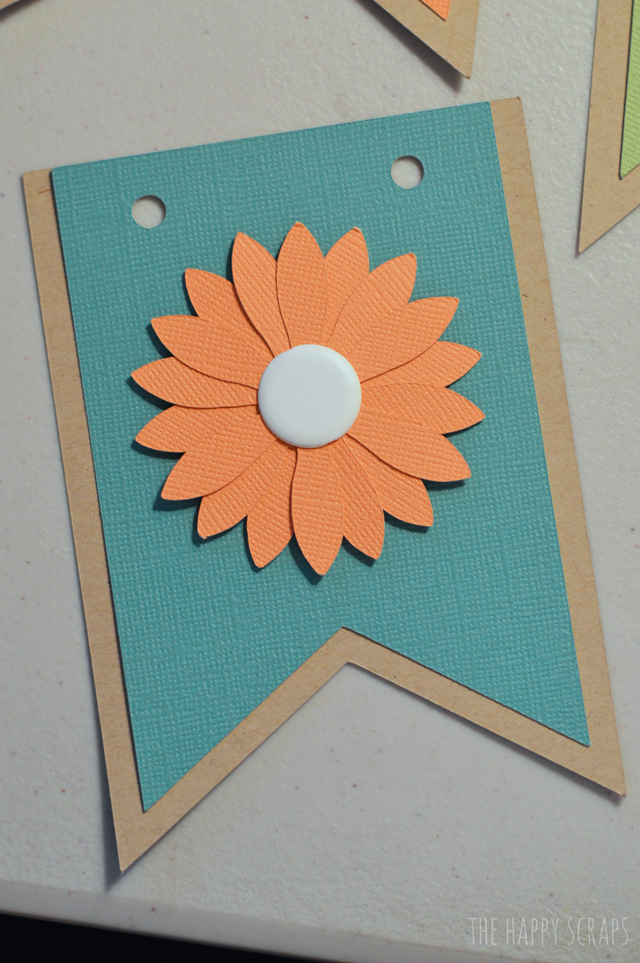
I put the large brads through the center of each set of flowers.
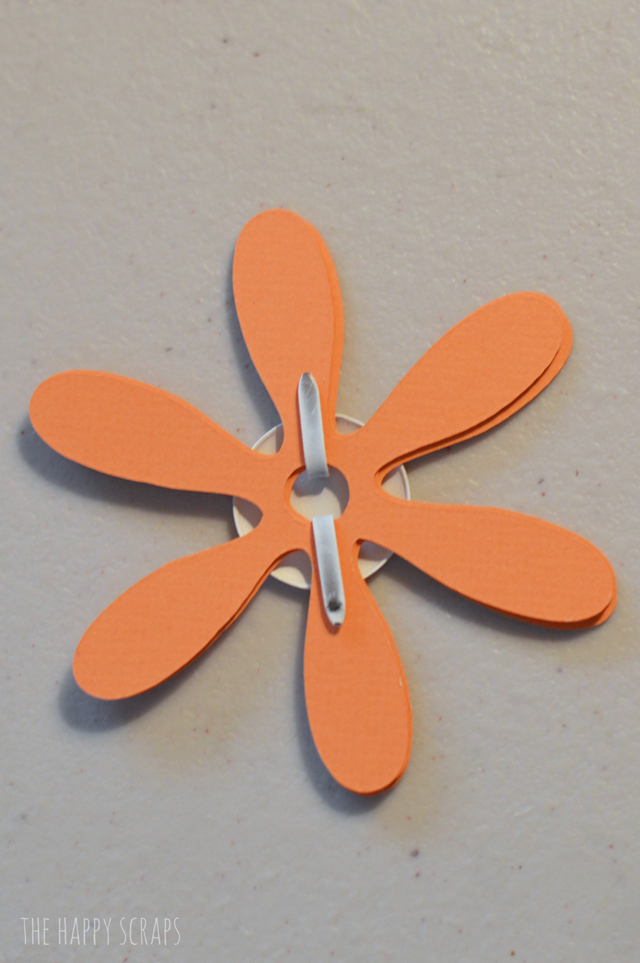
Spread the flower petals out, then tighten the back of the brad to make sure they stay in place.

Add dimension squares to the back of the flowers.
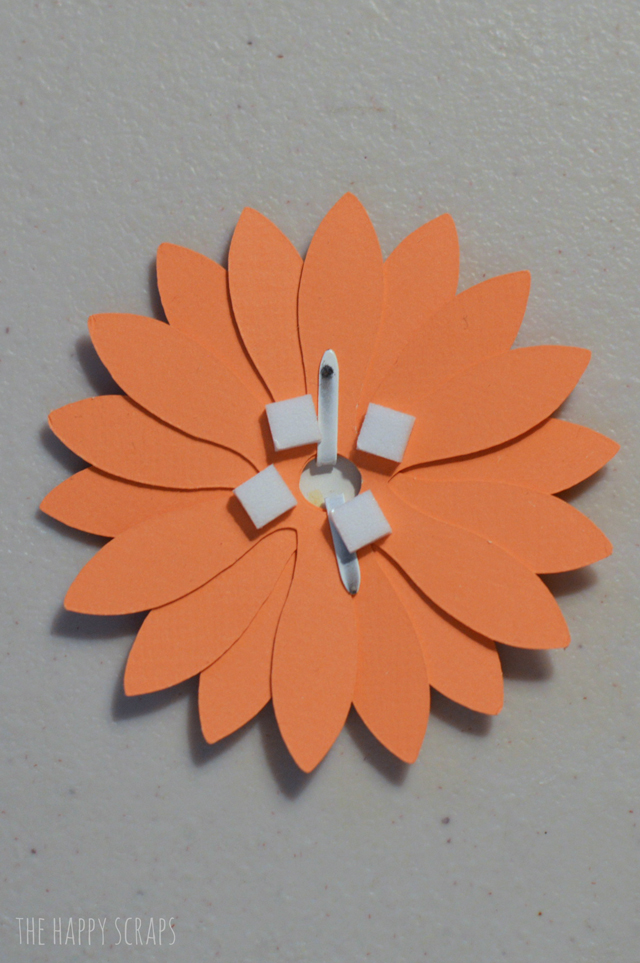
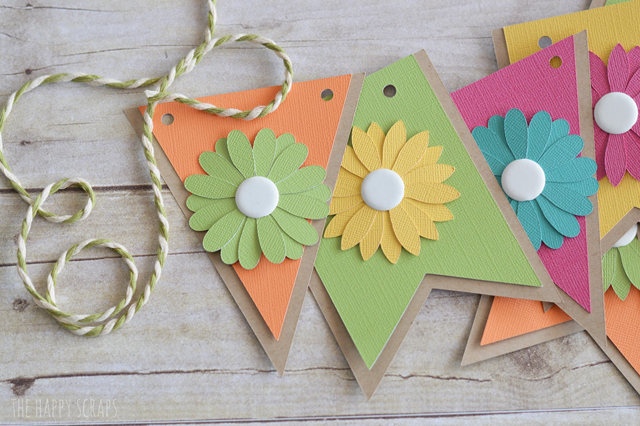
Put your banner pieces together using a little bit of adhesive between the holes. You only need to attach the banner pieces together at the top. Add the flower.
Use your large baker’s twine to lace the banner pieces on to.
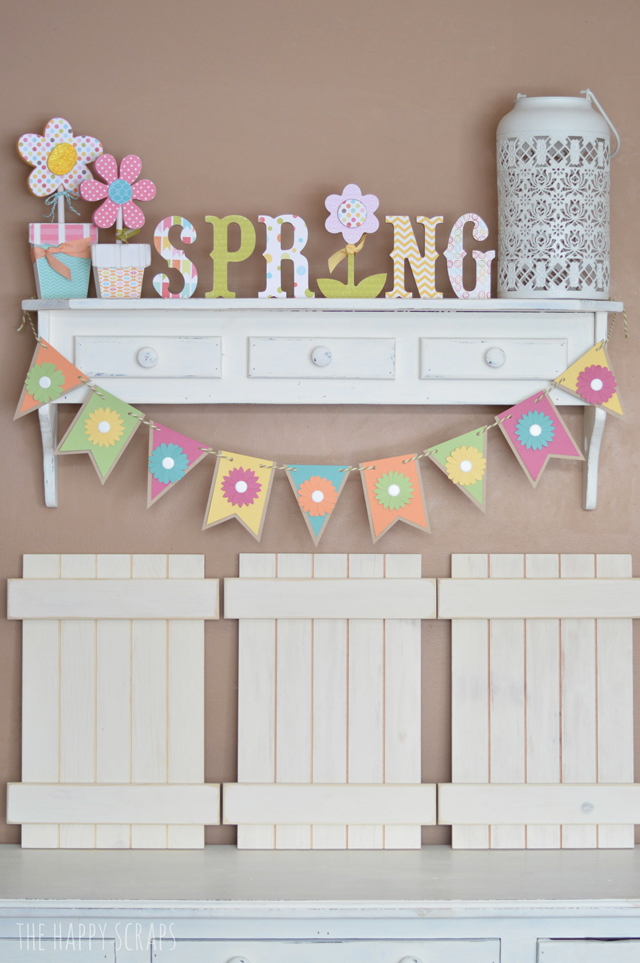
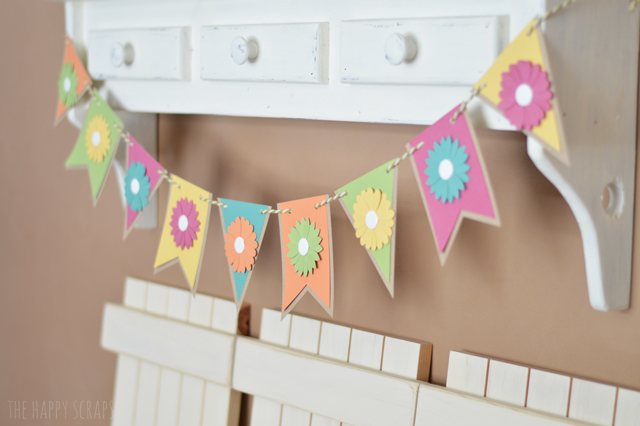
Find a place to hang up your bright, cheerful, colorful banner for Spring!
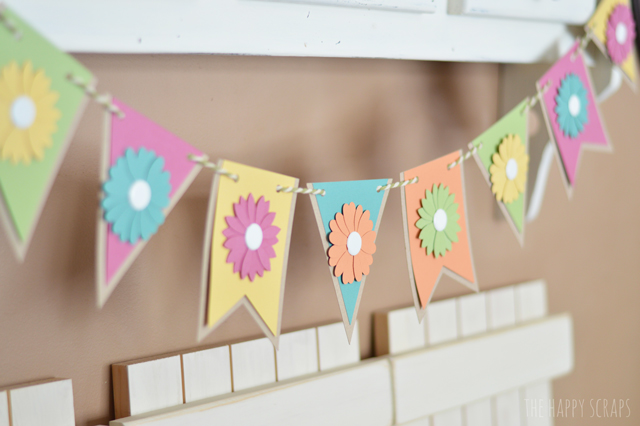
I added mine to my shelf, but this would be cute on a mantel, or just put on the wall as well.
I love how simple this banner was to put together!
I’m sharing this banner as part of the A-Z Crafting Blog Hop at Crafting in the Rain. See the other fun projects below.

C is for Can Windsock for St. Patrick’s Day by Sowdering About
D is for Debonair Dog Coasters by Blue i Style
E is for Arrow Embroidery Hoop by Occasionally Crafty

Leave a Reply