I received compensation and product in exchange for this post. All opinions and ideas are 100% my own. This post contains affiliate links. I only share products with my readers that I personally love and use.
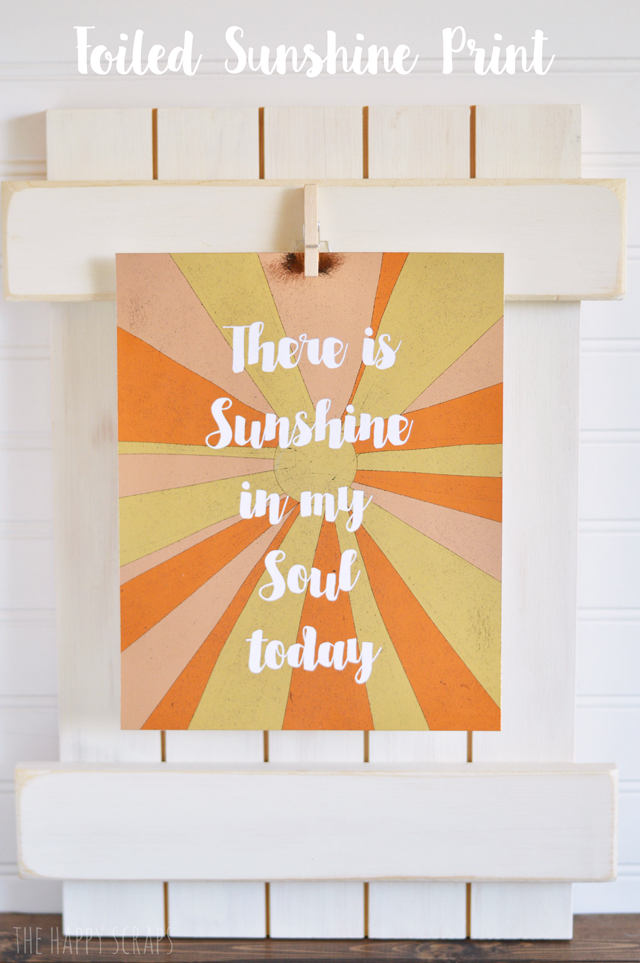
Isn’t the summer time wonderful, when the sun shines so brightly on us?! I love it! Today I decided I wanted to create this print, and foil it to look like a Sunshine. Let me introduce you to my new Foiled Sunshine Print.
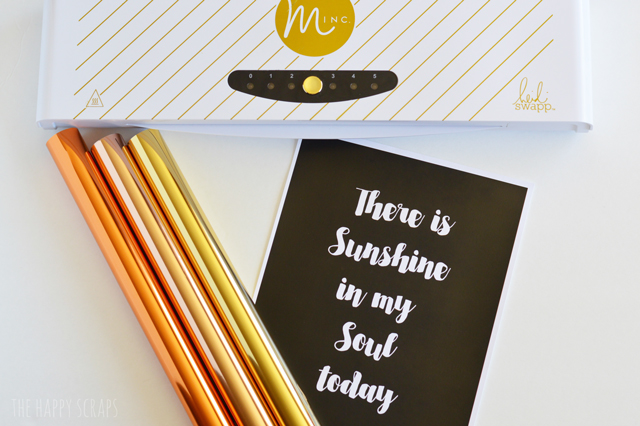
If you want to put this project together yourself, here are the supplies you’ll need:
- Heidi Swapp Minc Foil Applicator
- Gold Minc Reactive Foil
- Rose Gold Minc Reactive Foil
- Orange Minc Reactive Foil
- Sunshine Printable
- Scissors
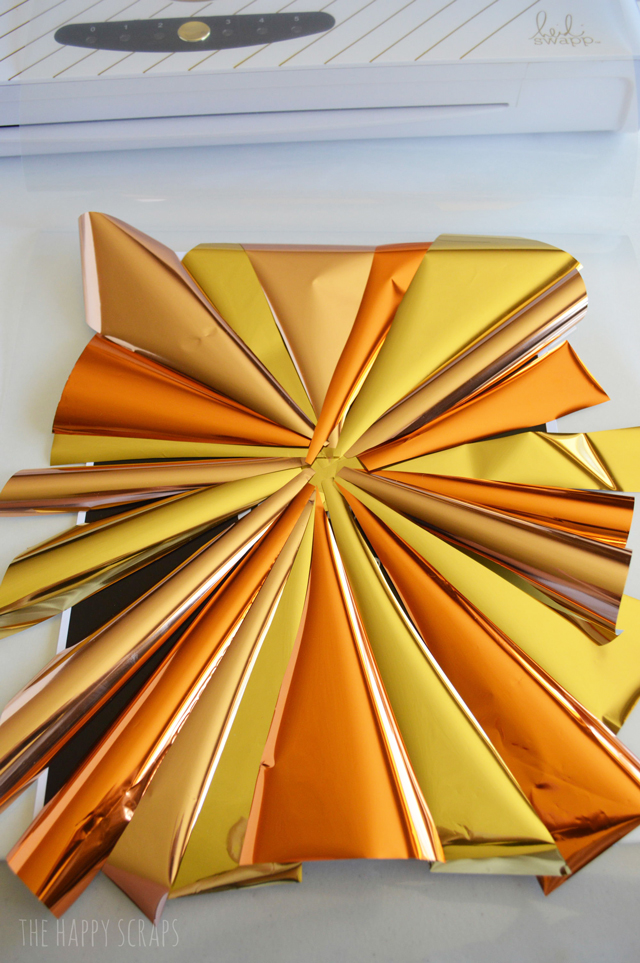
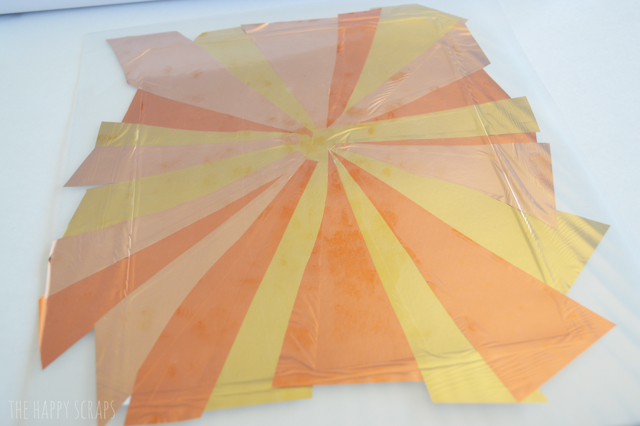
After you print out your printable, you’ll start cutting out pieces of foil. I cut a circle to put somewhat centered, right below the word sunshine. Then I added the triangular shapes on top of the circle.
Once I thought I had enough pieces of foil to cover the whole paper, I started rolling the top of the transfer folder down. This was a very long and tedious part of the project, making sure that there was no black ink showing.
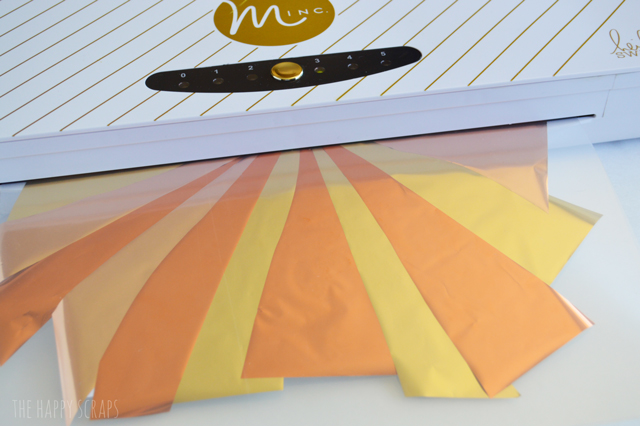
Once I had all the foil in the right place, it was ready to go in the magical Minc Foil Applicator!
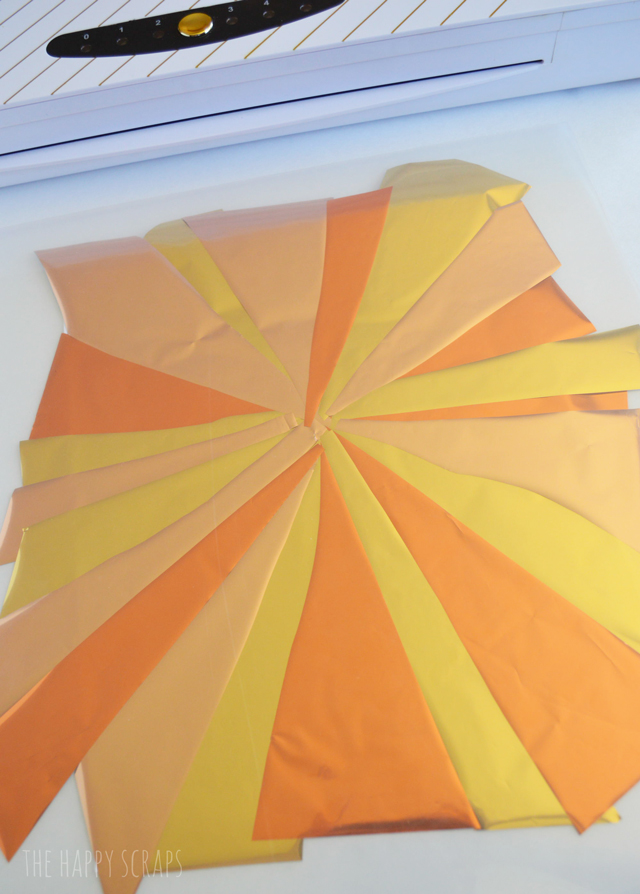
I used heat setting 3, and put it through the Minc.
Because of all the layers, I was hesitant for how this would turn out. I was excited to open up the transfer folder and see though.
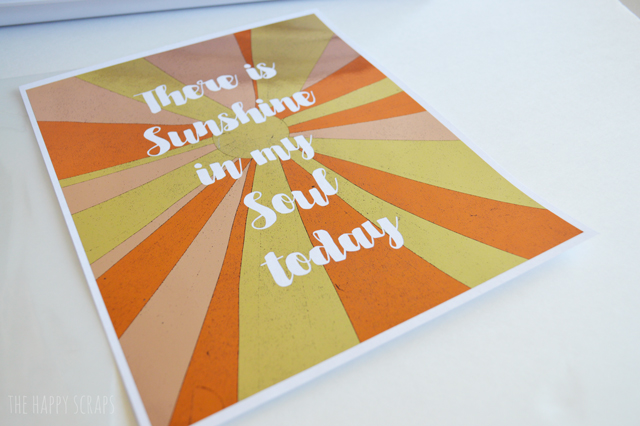
I pulled the foil off, and I LOVED it. I love the uneven lines of the sun rays, don’t you?!
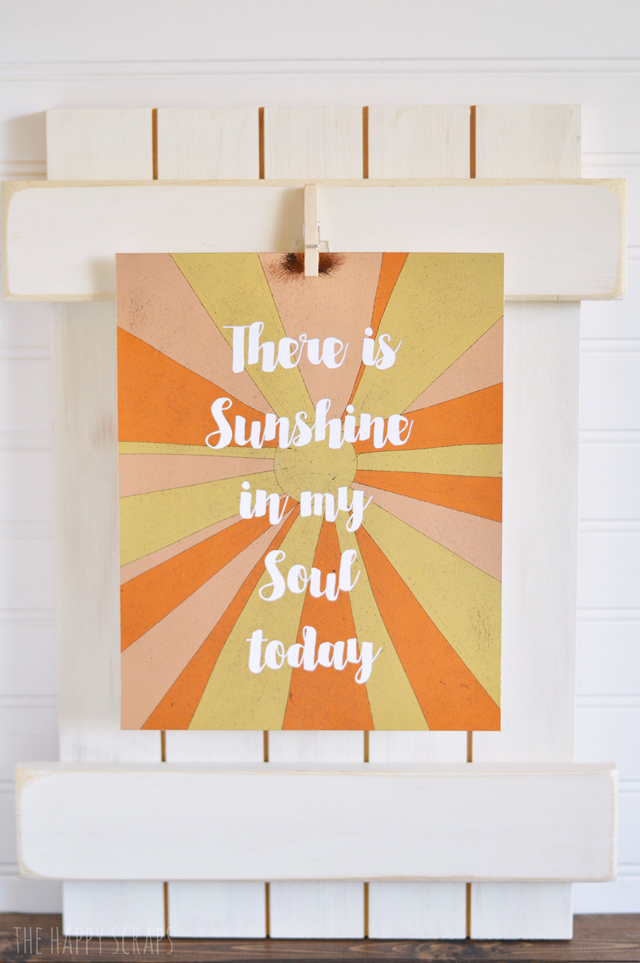
I trimmed the print down to an 8×10, and then I hung it up. Isn’t it pretty?!
I like it so much! I think I might even play around and see what this print looks like with foil all in one color. Wouldn’t it be pretty with teal or mint foil on it?!
If you haven’t gotten yourself a Minc Foil Applicator yet, you need too. Amazon has it for just over $100 right now. That is a great deal!! You can also find the Minc at JoAnn and Hobby Lobby along with all the accessories you need. Using the Minc is the easiest way to foil all the things. 🙂


Leave a Reply