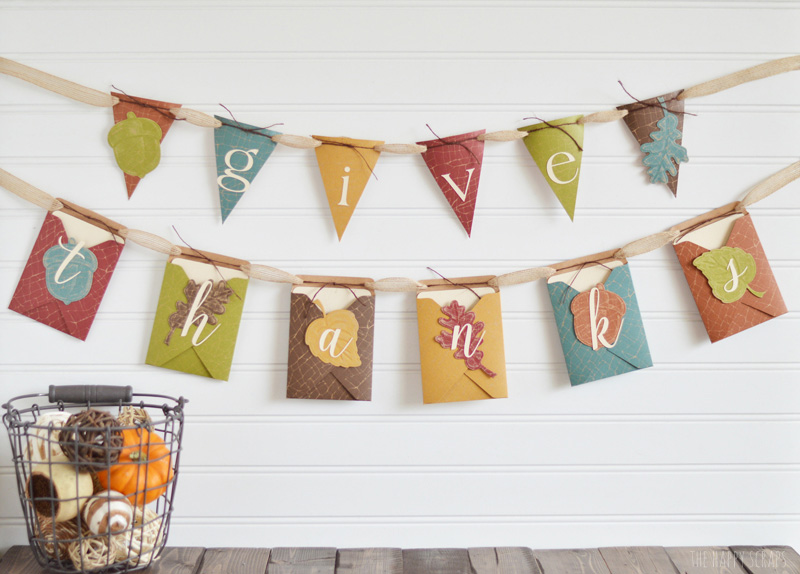
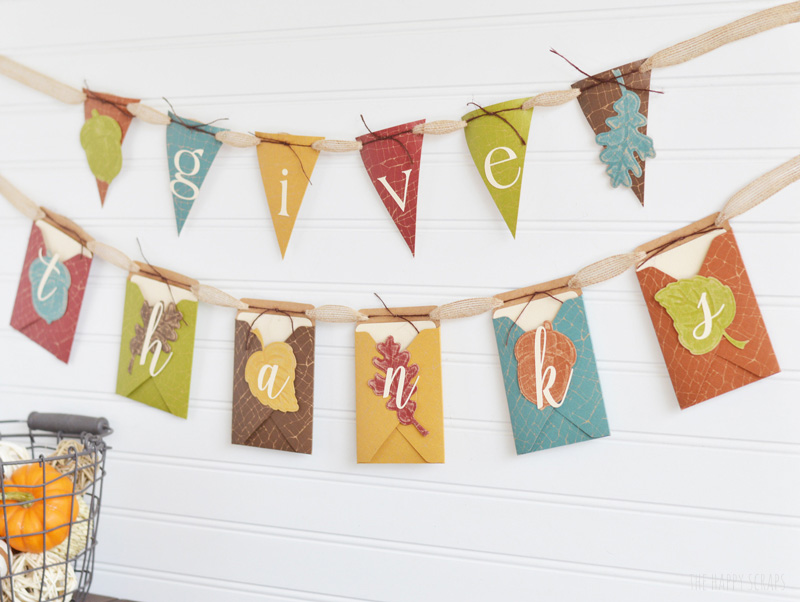
At this time of year I always find myself thinking about what I’m thankful. Things like a warm home, a sister that lives close by, my mom, my sweet boys and my hard working husband, just to name a few. I think about these things all year long, but I seem to think about them more this time of year. I think that is why Thanksgiving is one of my favorite holidays. I also love Thanksgiving because it’s a time to get together with a lot of family and sometimes those family members are ones that we don’t get to see often, so I enjoy it. Do you ever think about writing down those things that you are thankful for, especially this time of year? This Give Thanks Pocket Banner is the perfect way to write some of those things down.
This posts contains affiliate links.
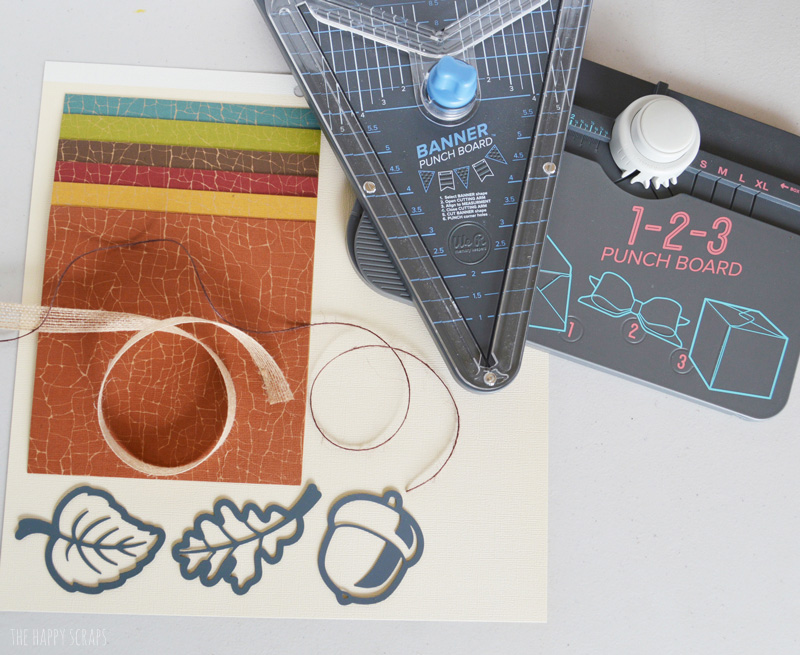
Give Thanks Banner Supplies:
- Fall Colored Cardstock
- Cream Colored Cardstock
- Leaves & Acorns Embossing Dies
- Burlap Ribbon
- Thin Brown Twine
- Banner Punch Board
- 1-2-3 Punch Board
- Adhesive
- Sand-it Gadget
- Cricut Explore
- Cuttlebug with Rubber Embossing Mat
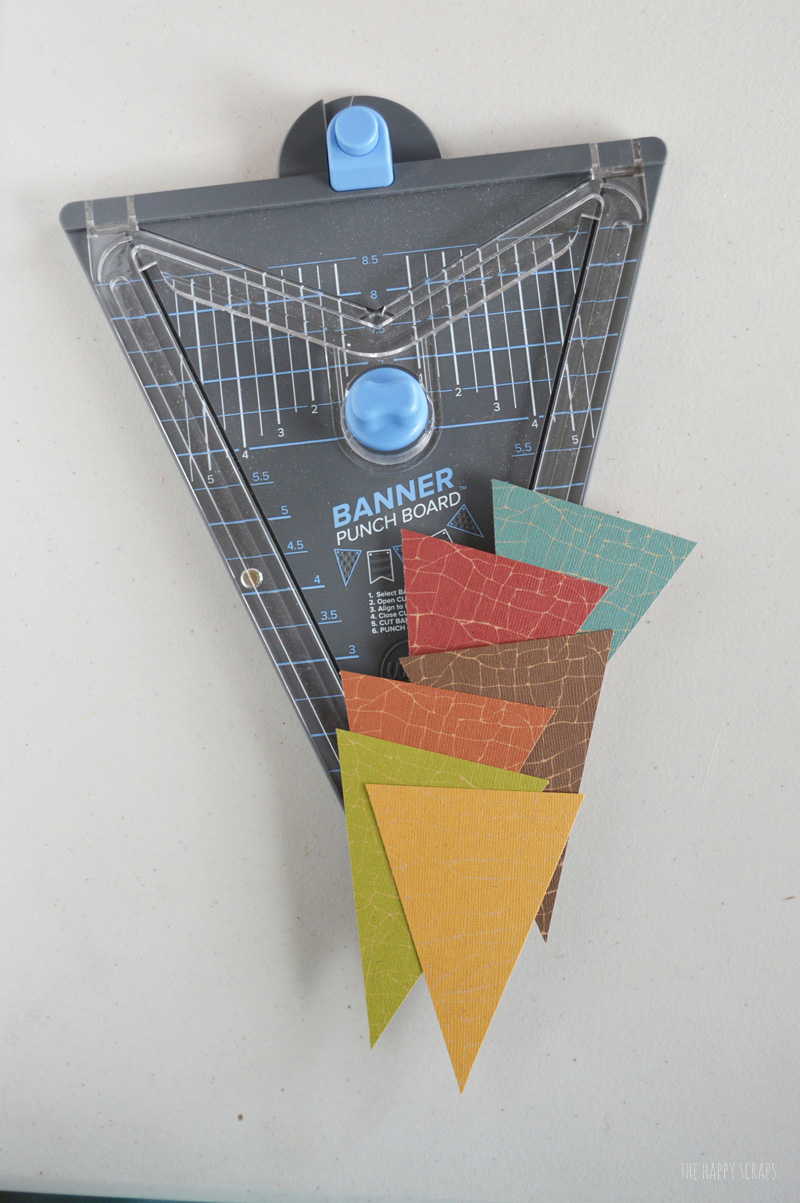
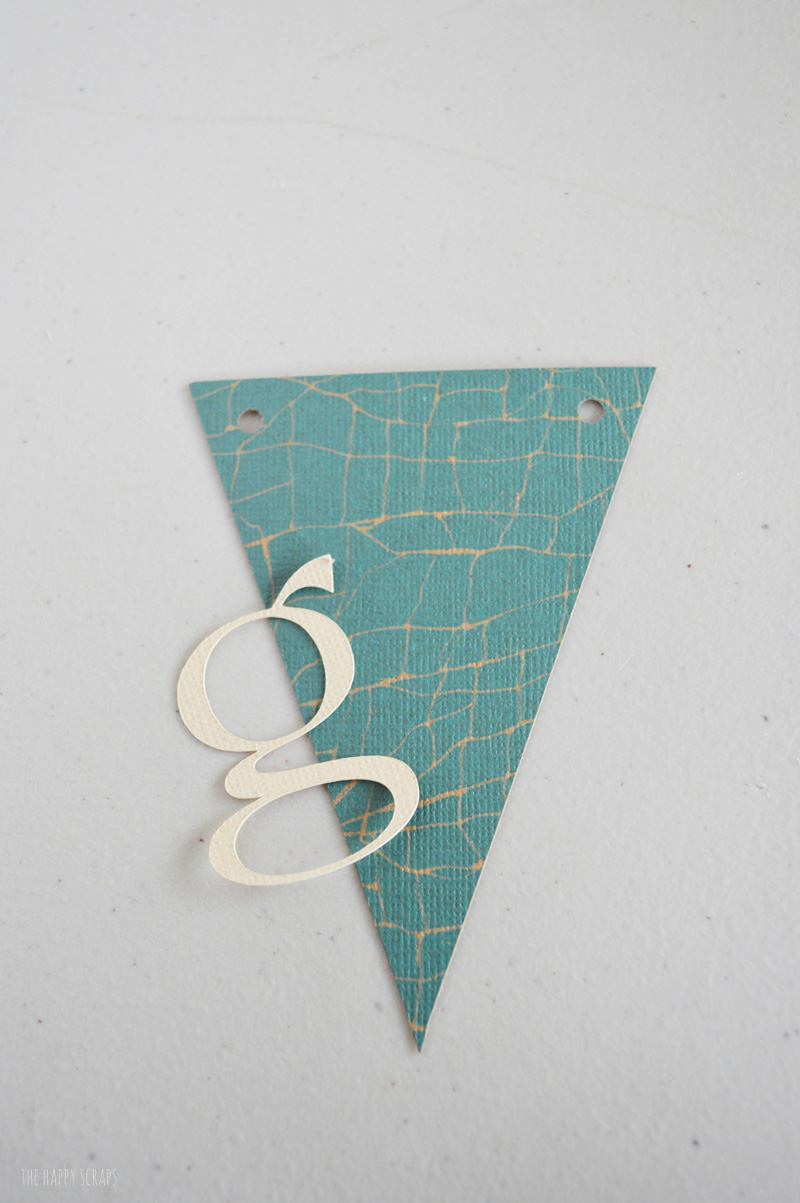
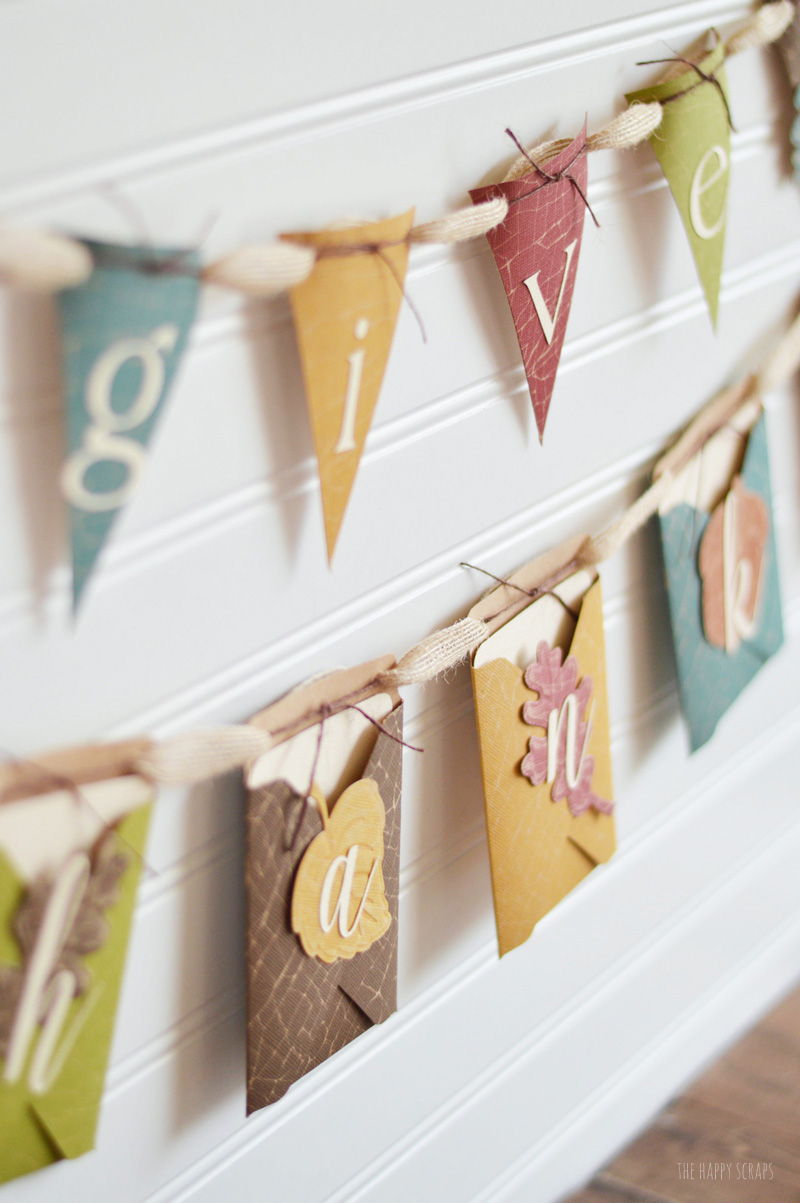
Start out by using your Banner Punch Board to cut out the triangle flags for the top of the banner. Cut them at 4″. Punch the holes at the top corners of the flags.
Use your Cricut Explore to cut out the letters for “give thanks”.
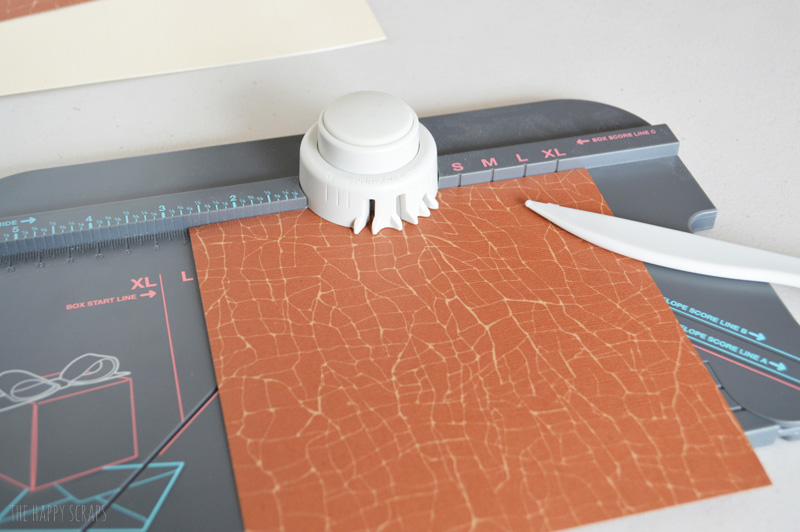
Cut your colored paper down to 6×6. Use the 1-2-3 punch board to punch and score according to the envelope directions. Skip the last step of scoring the last flap, but punch all four sides.
Round your corners using the punch board.

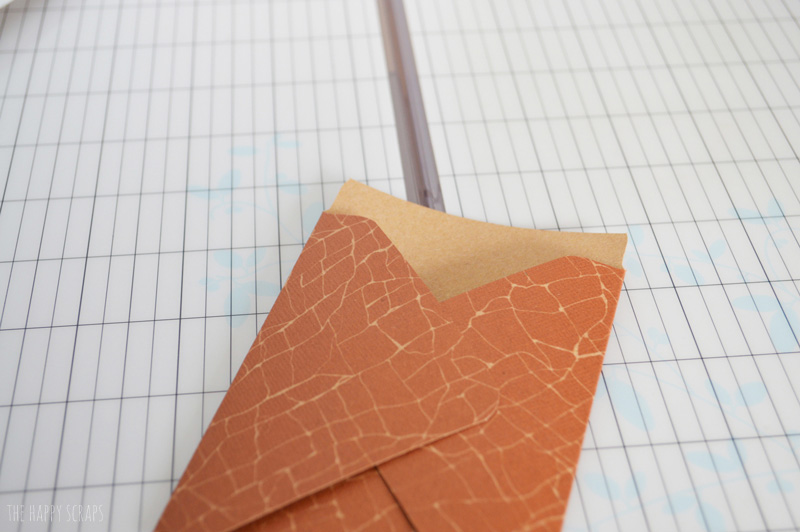
Fold your envelope, leaving the top open. Use adhesive to secure it.

Trim the top of the envelope off.
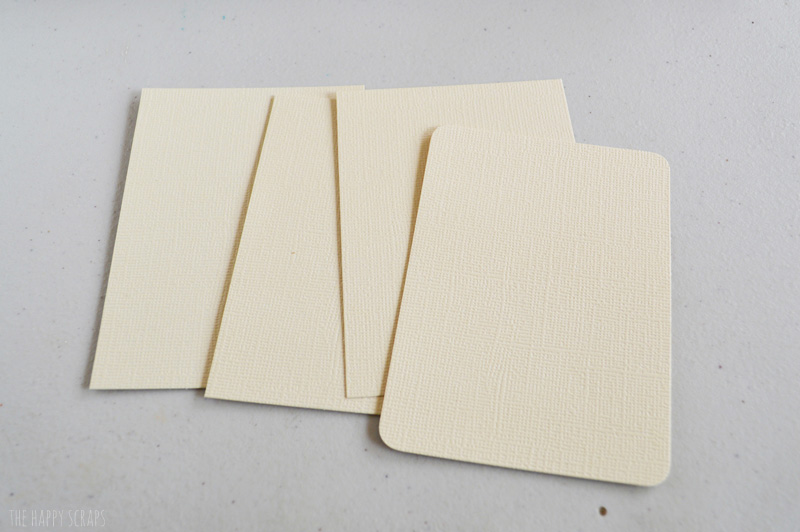
Cut your cream colored cardstock to fit inside your pockets.
Get your leaves and acorn dies out along with your Cuttlebug with the rubber embossing mat. Place the dies on the cutting mat.
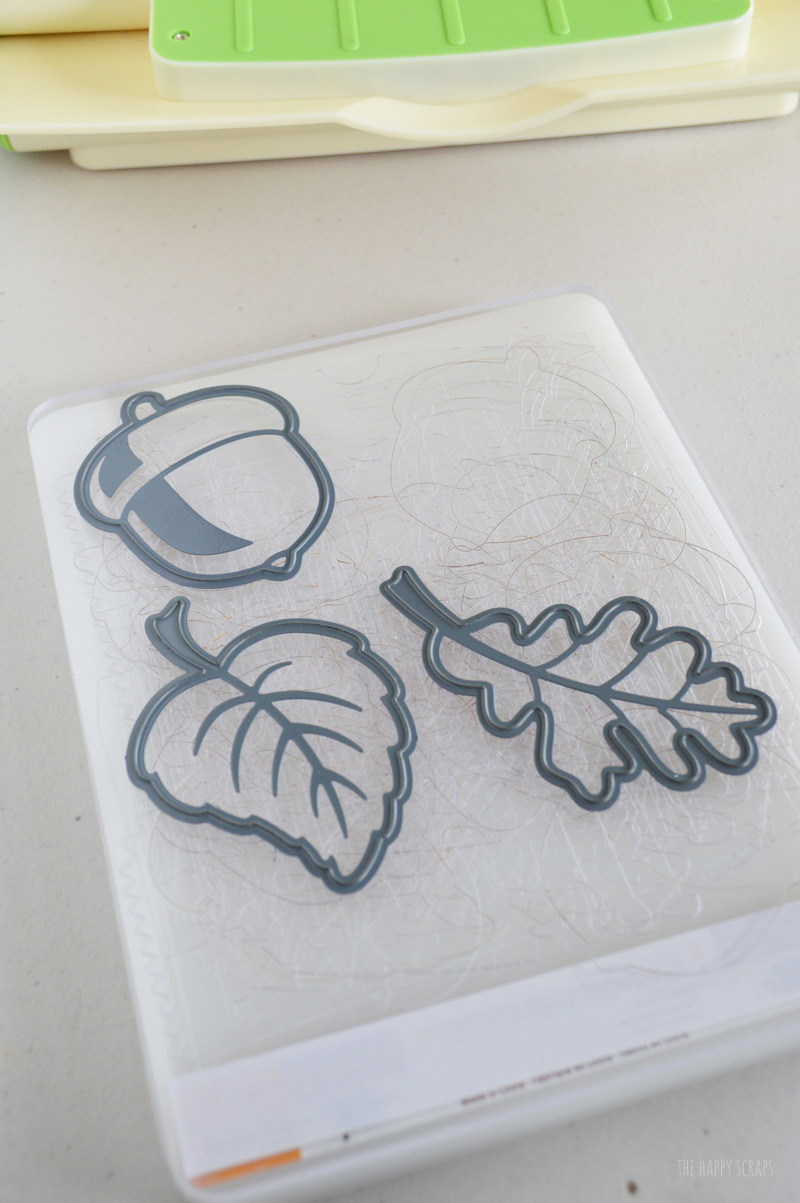
Place your paper, colored side down, the rubber embossing mat, then the plate on top of the dies.
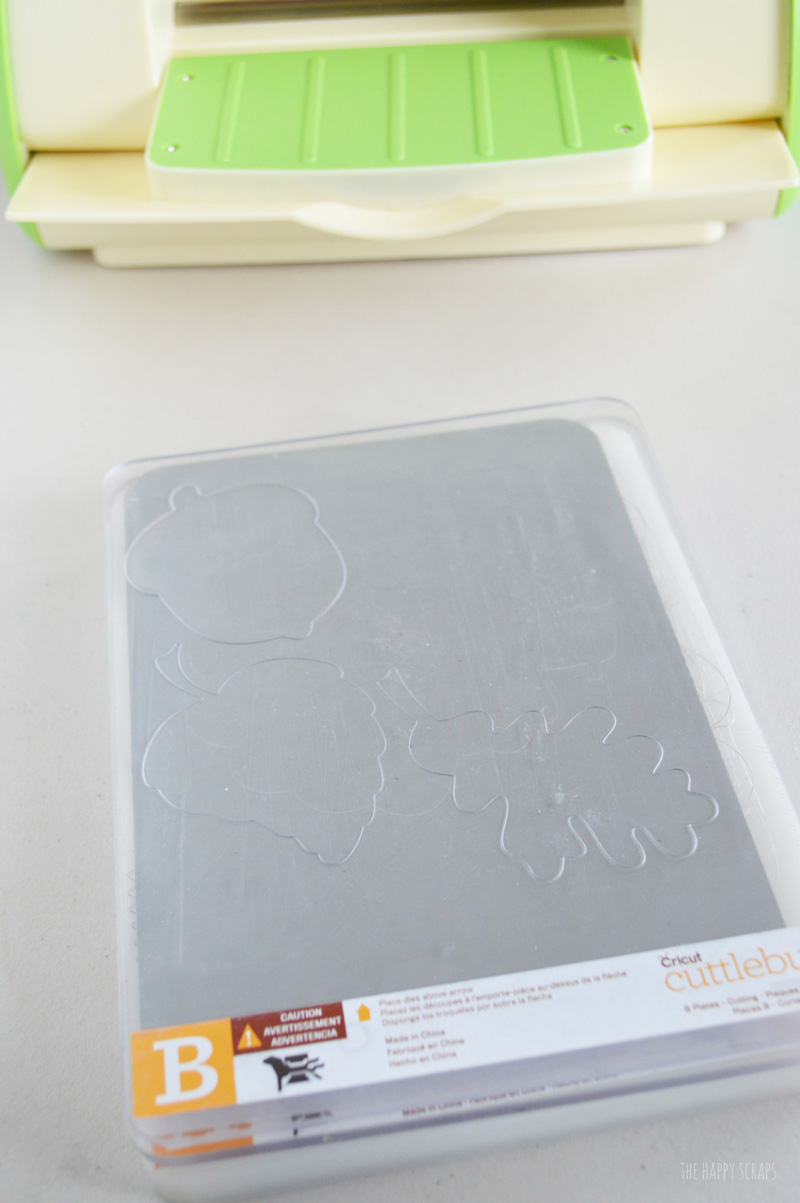
Roll it through the Cuttlebug, then pull the paper out of the dies.

Can you see the embossing on them? 🙂 Now it’s time to distress them a little bit with the sand-it gadget.
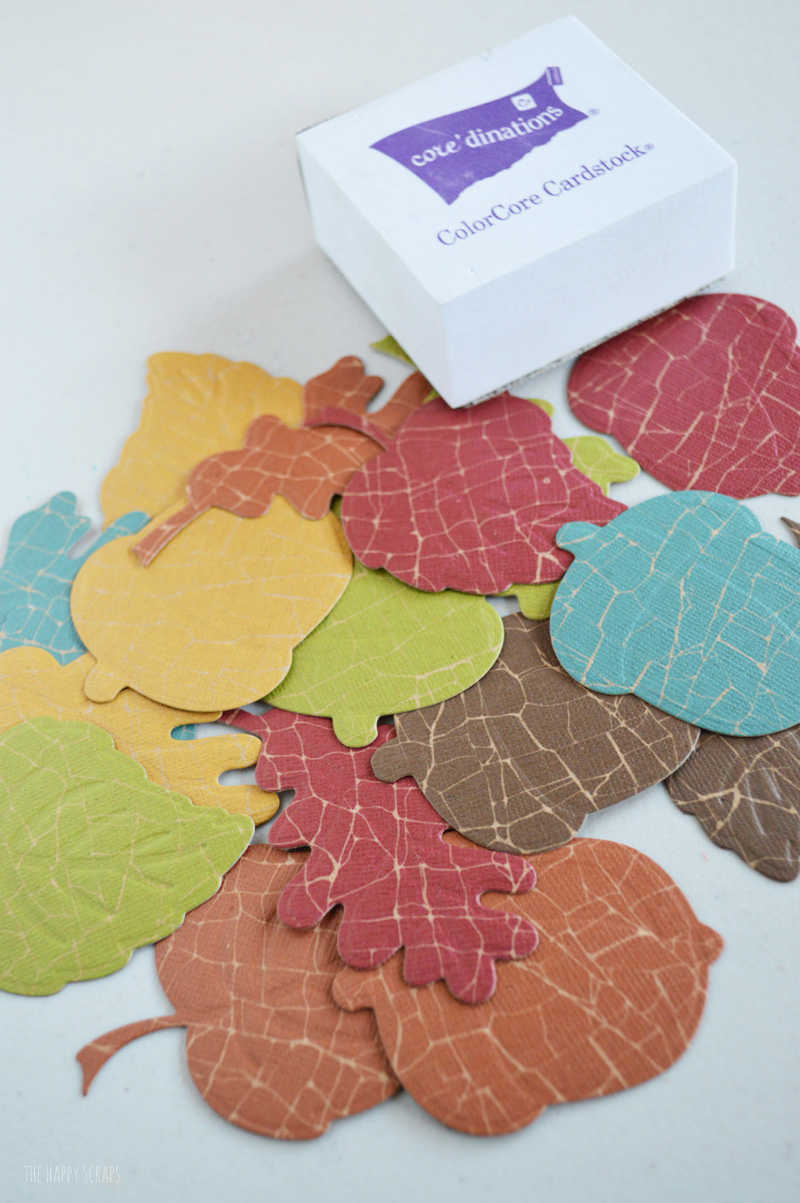
Lightly sand the tops of them.

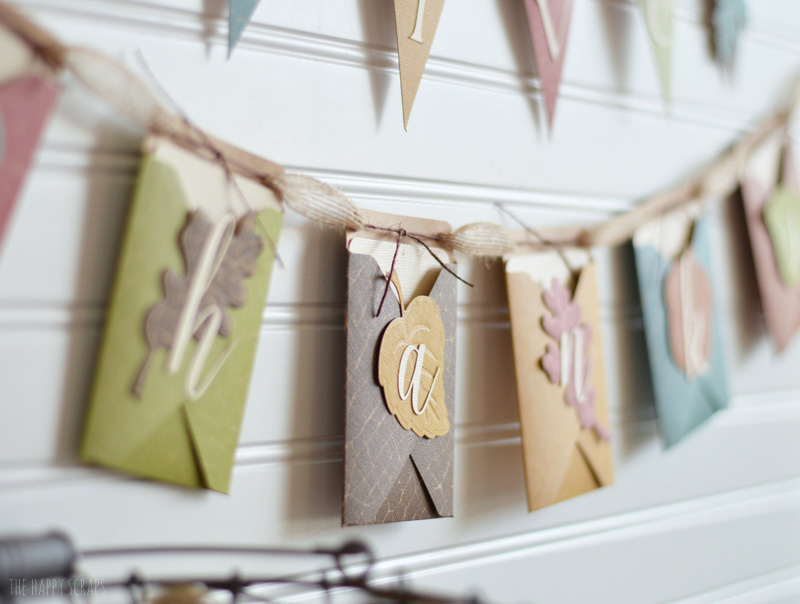
Attach one of your shapes to the front of the envelope.
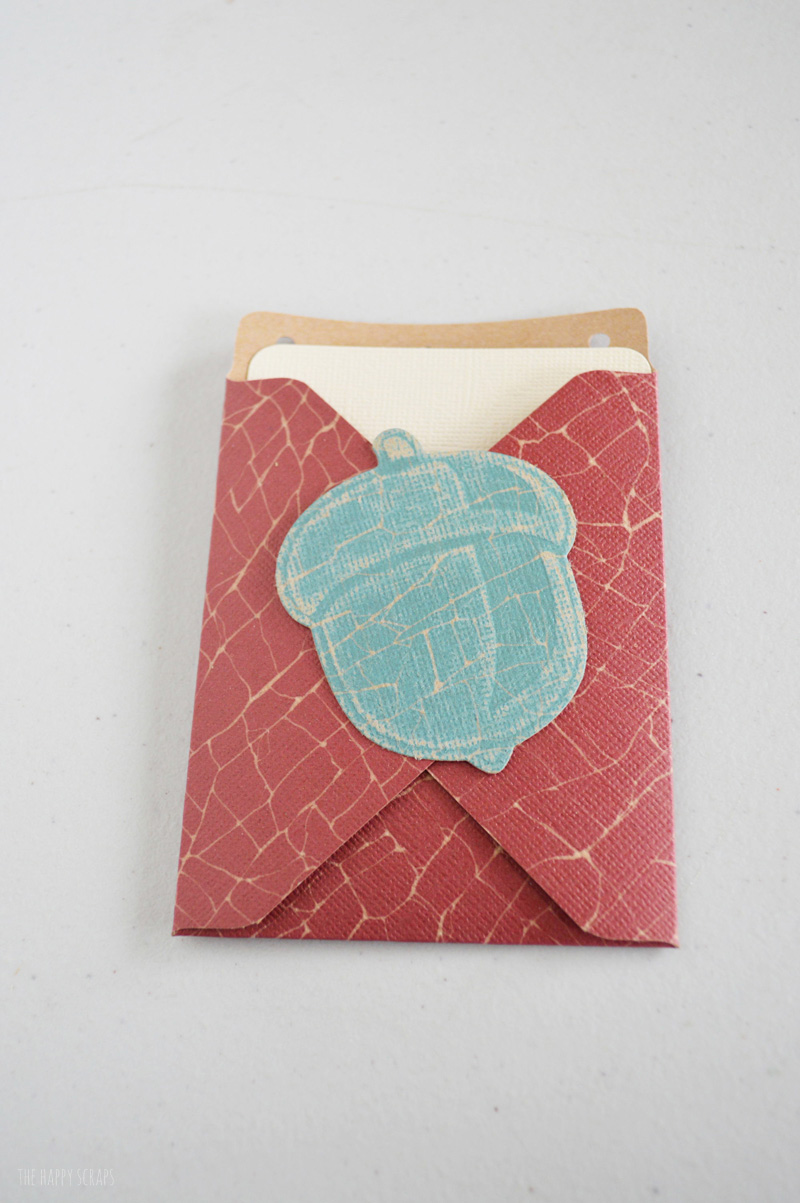
Then attach your letters.

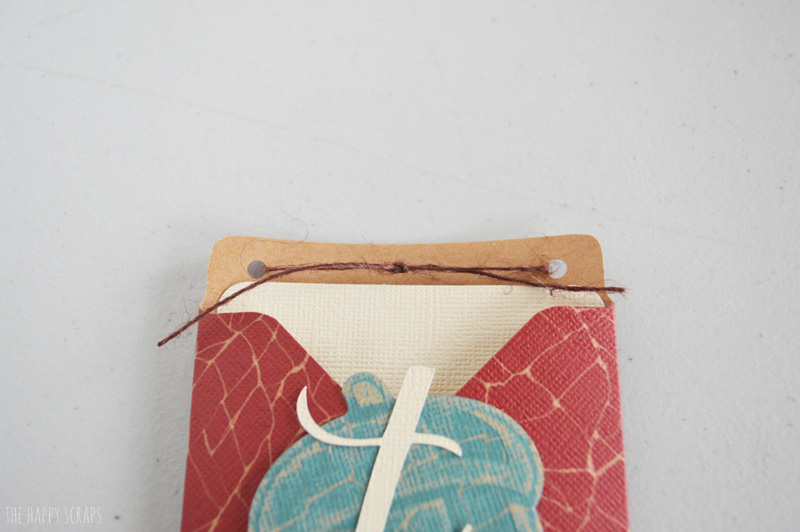
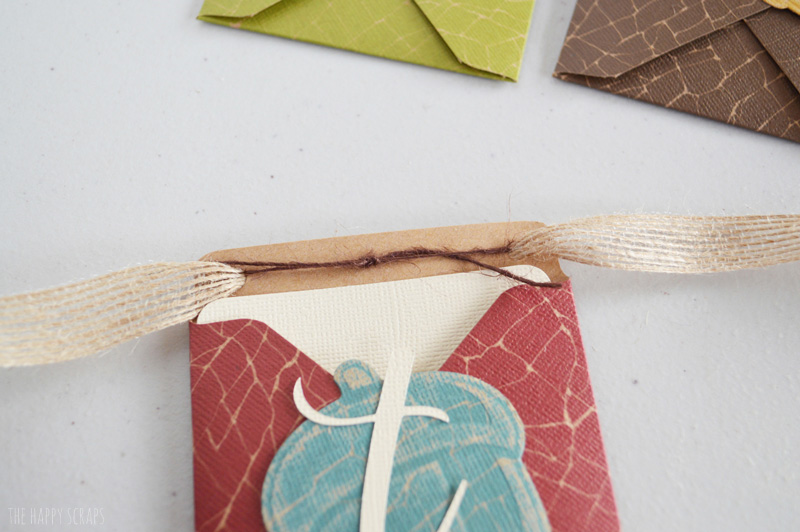
String some of the small brown twine through the holes at the top of the envelope pockets and tie.
String your banner together with the larger burlap twine.
I love the way this turned out and that it can be used to write down what we are thankful for.
What would your write down on your card?
I love the texture and detail that the added twine and ribbon add.
Grab your supplies and start making this fun banner. You’ll have it ready in time for Thanksgiving.
If you like this post, check out these other fun Thanksgiving posts.
This is a project that I shared last year on the Darice blog.

Leave a Reply