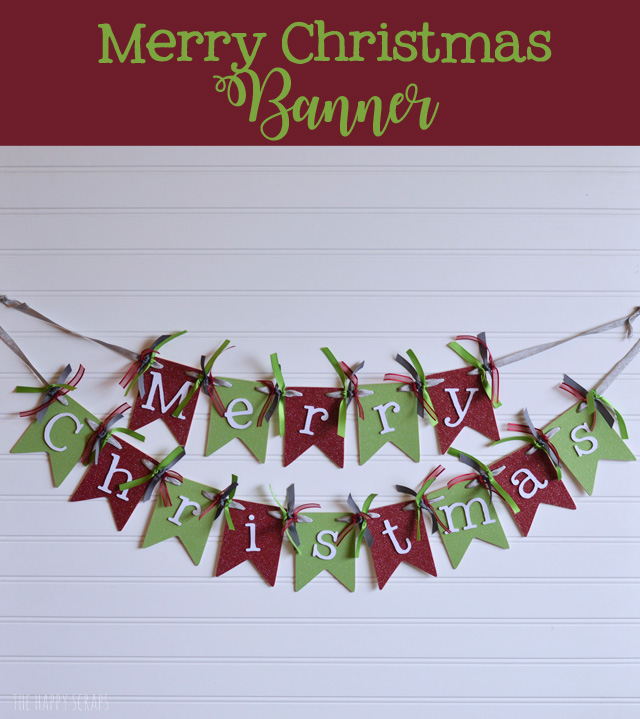
I love banners! They are such a fun way to add any decor to any holiday or occasion. This Merry Christmas Banner is the perfect addition to your other Christmas decor and the glittered paper makes it so much more festive!
This post contains affiliate links.
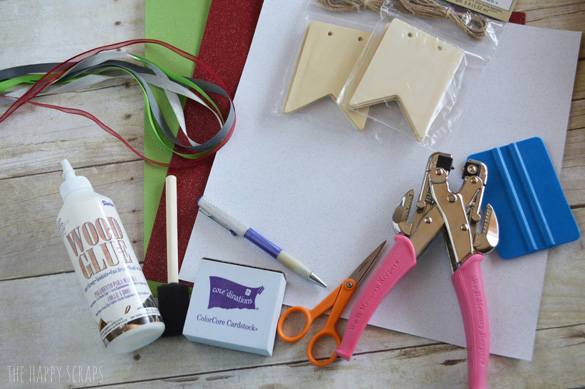
Merry Christmas Banner Supplies:
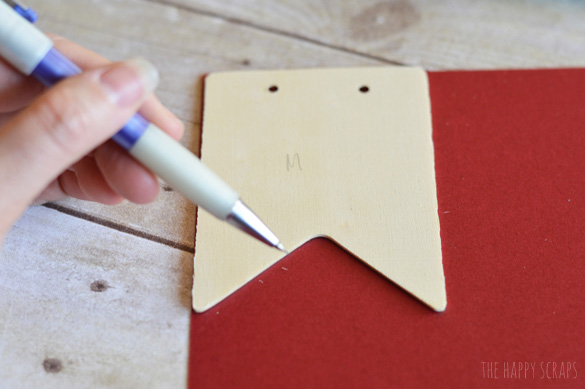
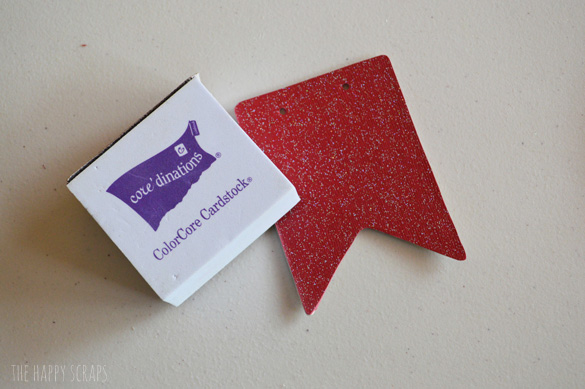
Start out by writing the letters on the back of each banner piece. Trace the front of the banner piece onto the back of your paper.
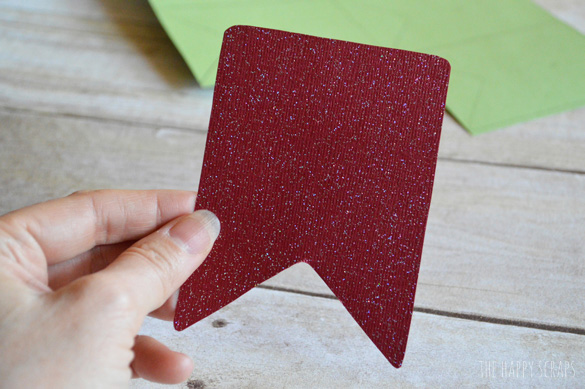
Cut your paper out.
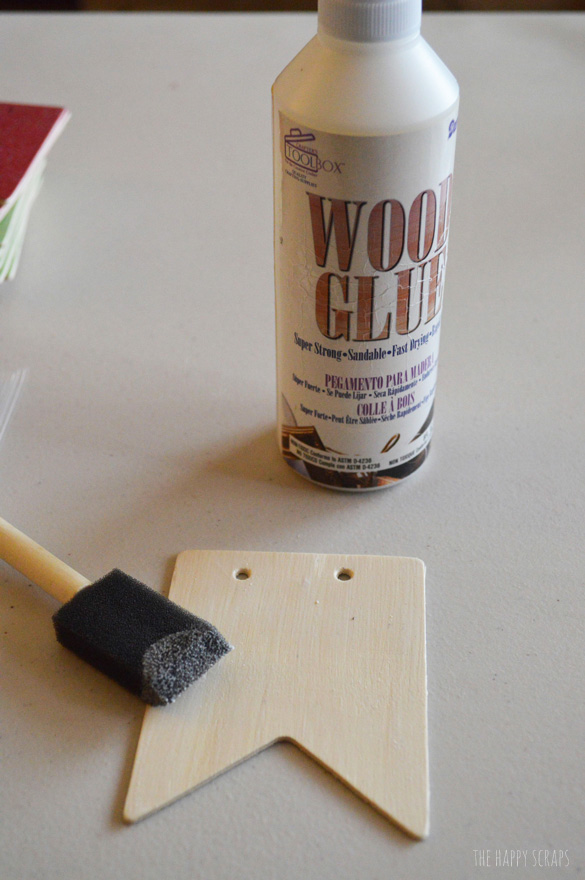
Put wood glue on the top of your wood and spread it out with a sponge paint brush.
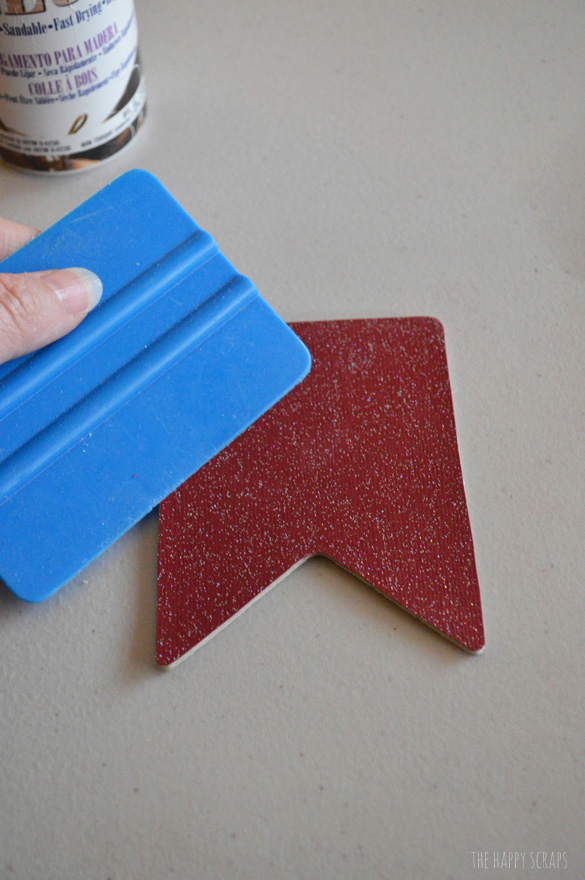
Place your paper on top of the wood glue and use a vinyl squeegee to smooth it out.
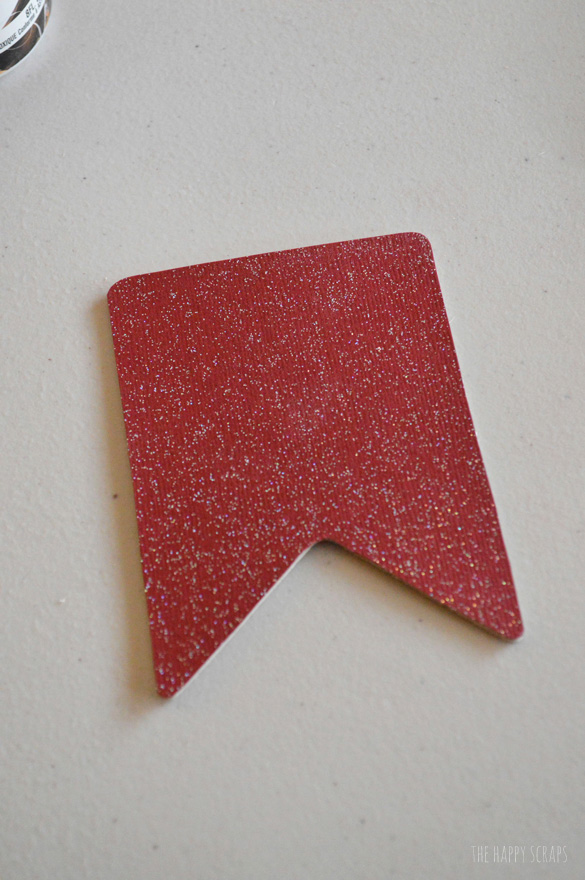
You should end up with several pieces like this.
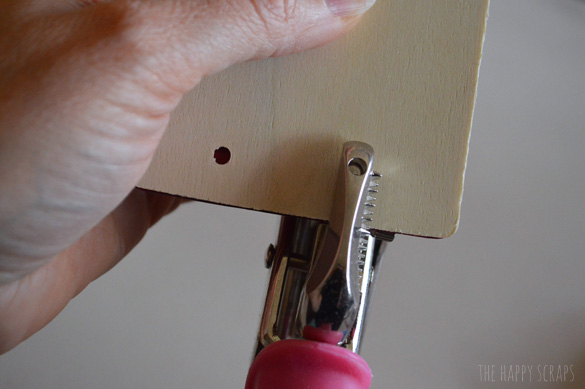
If your wood is like mine, it already has the holes in the banner pieces. Turn the pieces over and use your Crop-a-dile to punch holes in the paper.
Sand the edges of your paper so they are nice and smooth around the wood.
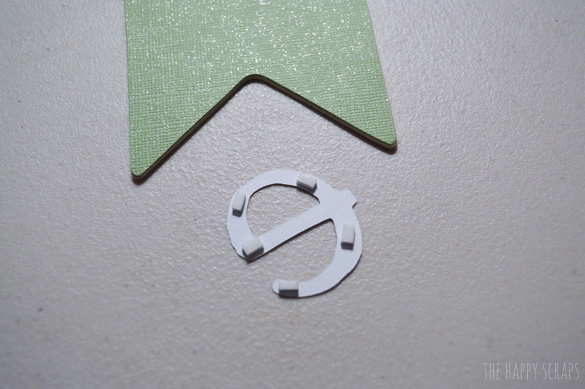
Use your Cricut Explore to cut out your letters. Apply dimensional adhesive to the back of your letters.
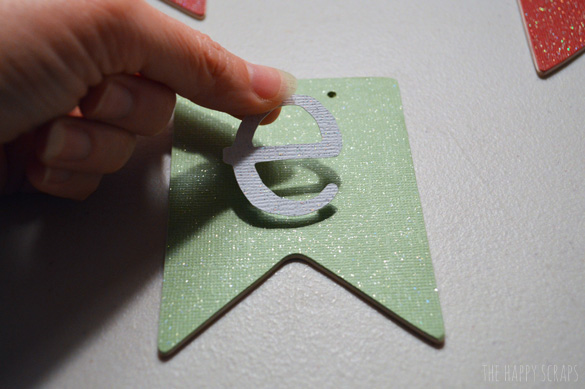
Mount the letters onto the banner pieces.
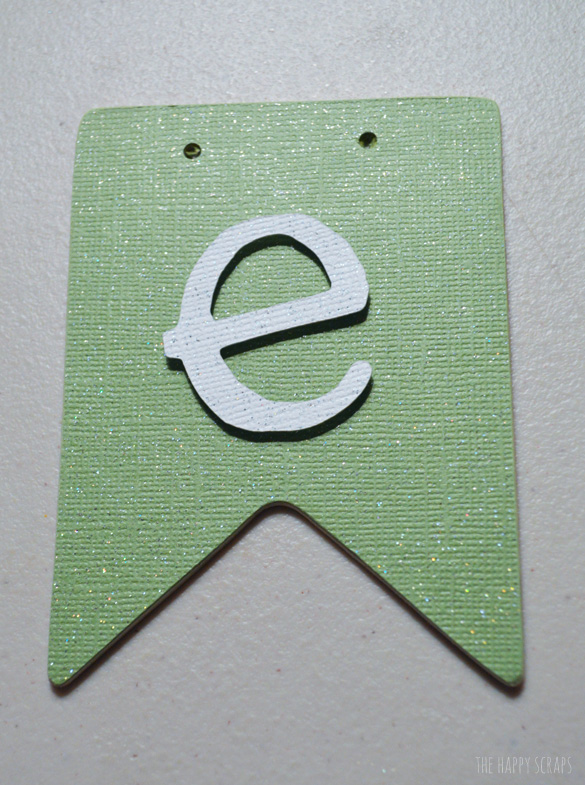
Use your ribbon to string all of your banner pieces together.
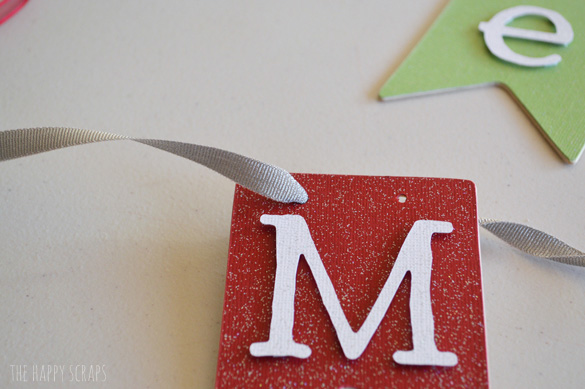
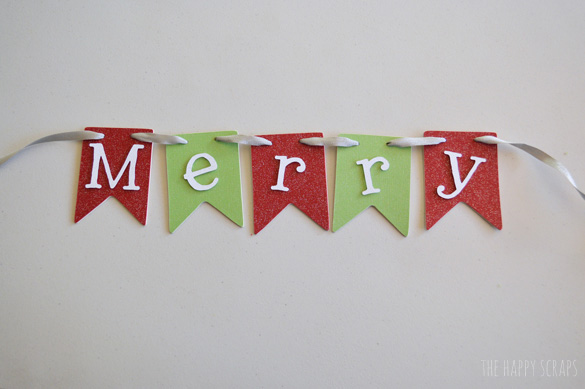
Use coordinating ribbon to tie on the ribbon between the letters.
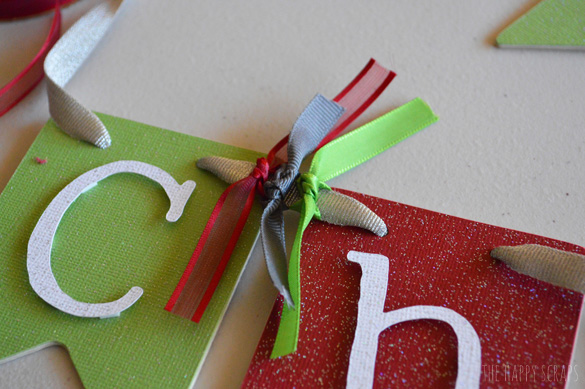
This extra ribbon adds a fun touch of texture to the project.

Isn’t the glittery paper just perfect for this project?!
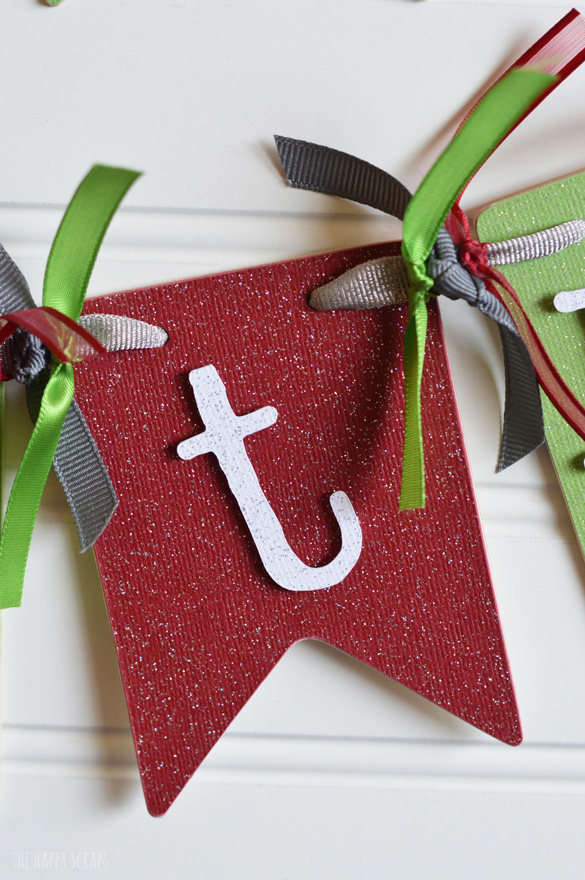
This really is a simple banner to make, and I love the way it turned out!
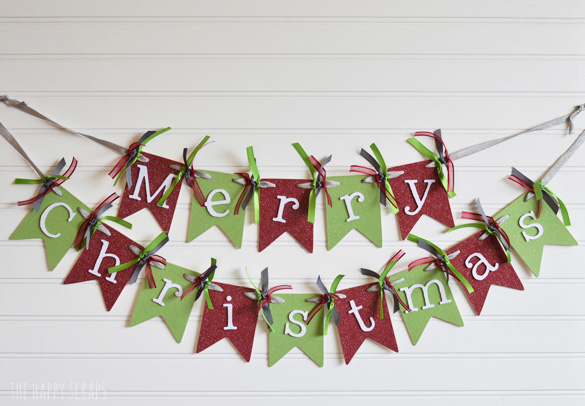
Where would you hang this fun and sparkly banner in your home?
If you are looking for more fun Christmas projects, whether it’s gift ideas, decor or neighbor gifts, check out my gallery here.

Leave a Reply