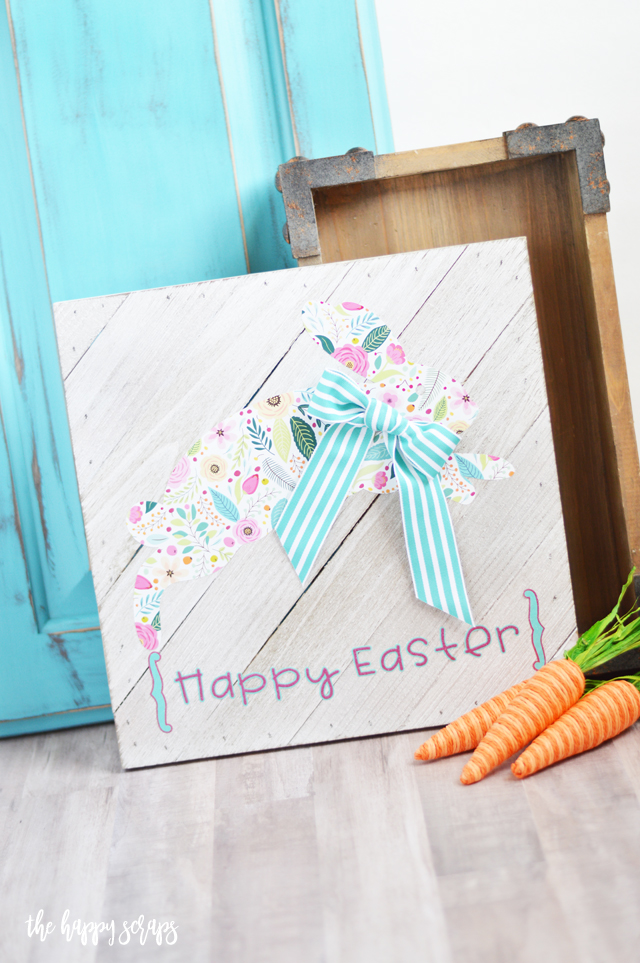
Last week, I was going to do my first real Facebook live. I was going to make this cute Quick & Easy Easter Sign live with you guys, and I tried a couple of different times, and I couldn’t get it to work. By that point, I was super frustrated and having some anxiety over it, so rather than worrying about filming it live, I just made the sign and took pictures. 😉 By the time I was done with it, I didn’t even know if I liked it, because of the struggles I’d had with the Facebook live. Well, after it sat for a couple of days, I decided that I really like this super simple project, and today I’m excited to share it with you.

This post contains affiliate links. If you click on an affiliate link and purchase something,
you won’t pay anything extra, but it will help support this blog.
Quick & Easy Easter Sign Supplies:
- Patterned Adhesive Vinyl
- Transfer Tape
- Cricut Explore Air 2 (Any of these machines will work)
- Design Space Cut File
- Weeding Tools
- Ribbon
- Wood Sign (I found mine at Walmart)

Have you guys ever bought paper or fabric and been hesitant to cut into it because you love it so much and you want to make sure that you are using it for the right project? I have, many times. And this pretty floral vinyl was the same way! But, I have to remind myself that keeping these pretty patterns of paper, fabric, or vinyl, doesn’t get me anywhere. Especially if it just sits in a box where I can’t see it, right? So, after I ordered this pretty vinyl, I told myself that I HAD to use it and soon. And I did!! I was pretty excited with myself. 😉
After the vinyl came, I thought for a few days about what I wanted to do with it and came up with this Easter Sign. Once I got my design put together, I used the Cricut Explore Air 2 to cut it out.
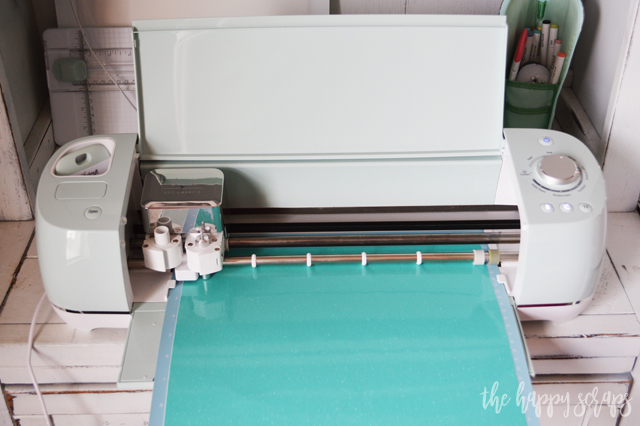
Once I had all the vinyl cut out I used the weeding tools to weed them.
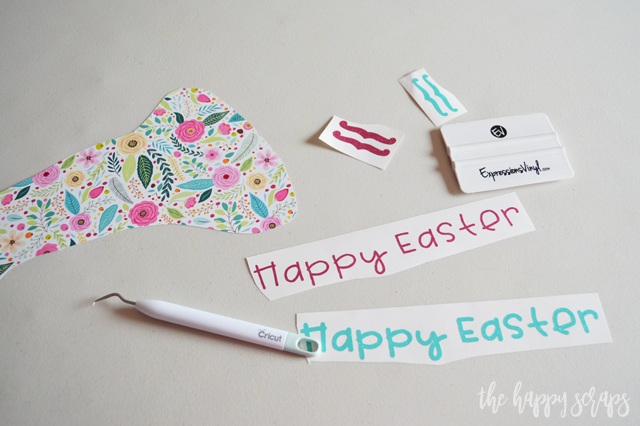
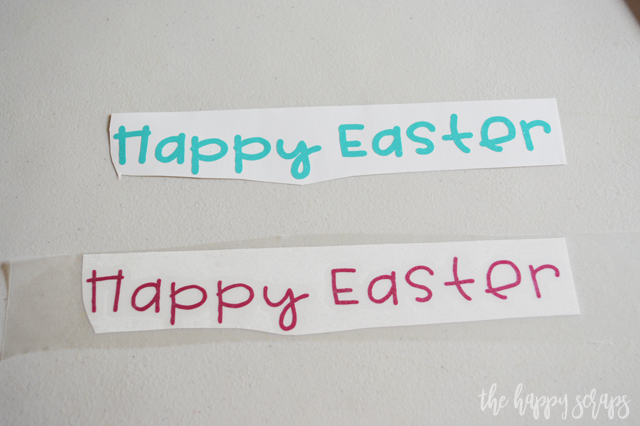
Because the lettering is double layered, I placed the transfer tape on the top layer first, peeled the backing off, then placed the top layer over the back layer of vinyl, lining them up as I did so. It can be kind of tricky, and even small pieces like this might need two people. I actually had to cut this out twice because when I went to put them together the pink stuck to the blue and it wasn’t lined up.
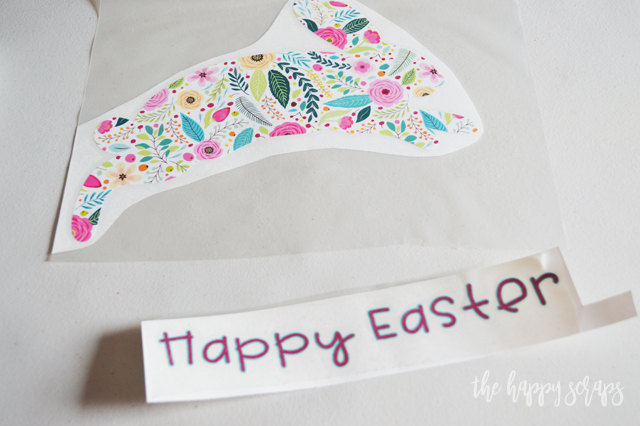
I added transfer tape to the bunny and the brackets and then I was ready to put them on the sign.
I found this sign in the crafting section at my local Walmart. It was already white washed and it even has jute twine to hang it with if I choose to. It had a little bit of some rough wood on the front, so I lightly sanded it. I was worried that the vinyl wouldn’t stick to it, so I tried a couple of scrap pieces of vinyl to see if it would stick, and it wouldn’t stick to it at all. SO (as I was feeling quite frustrated at this point) I got out my Mod Podge Sealer Spray and sealed the front of this hoping that would help, and it did!! The vinyl stuck to my board much better after that. 🙂
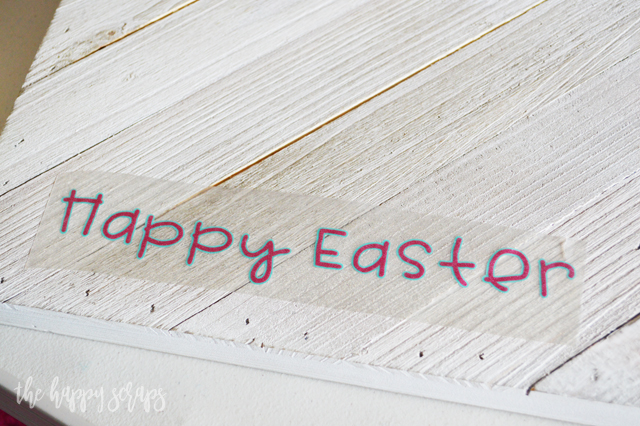
I placed all my vinyl on the board where I wanted it, and decided that the bunny needed a little something more.
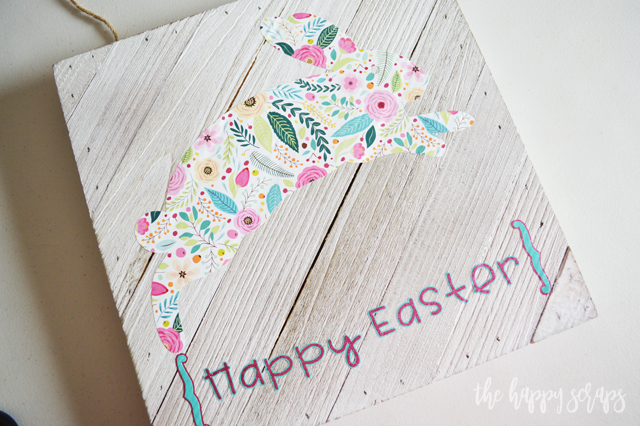
So I pulled out some ribbon, and added a bow. I think it’s the perfect finishing touch to this sign. Once I had the bow where I wanted it, I trimmed the ribbon tails.
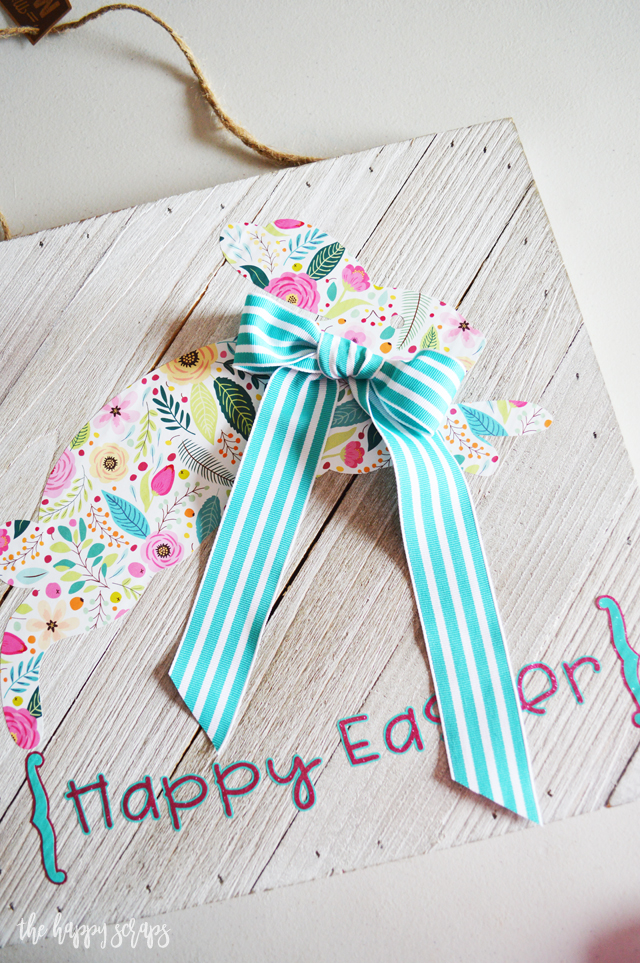
Isn’t the floral vinyl perfect for this?!
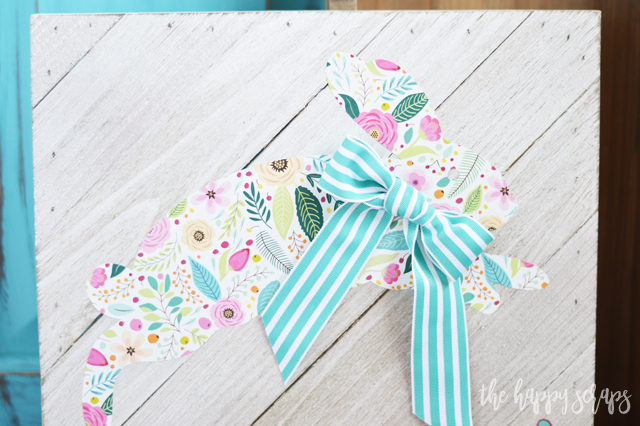
I thought this font was the perfect one for Easter too!
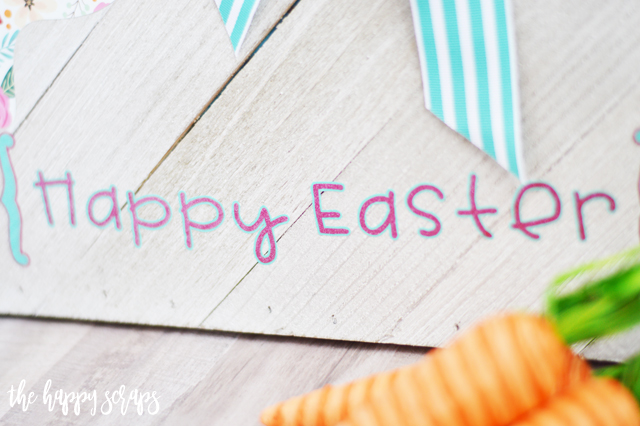
And the glittery vinyl that comes in the Blossom Adhesive Vinyl Pack?! It has the perfect amount of sparkle to it. I tried to get a good pictures, but it was pretty tricky. For the vinyl pack though, they did an awesome job of matching all of the colors together. I can’t wait to figure out another project to use this vinyl on!
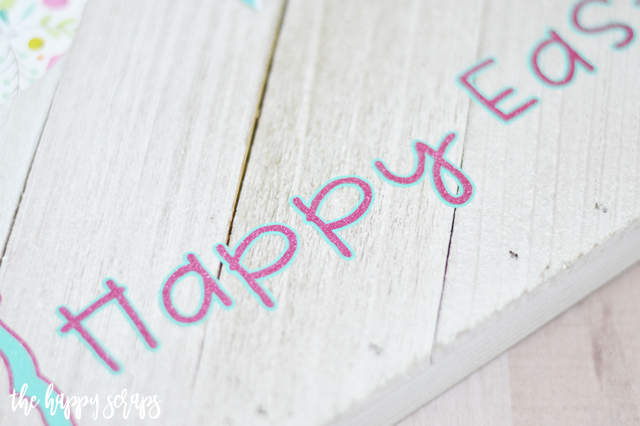
I love the way this all came together.
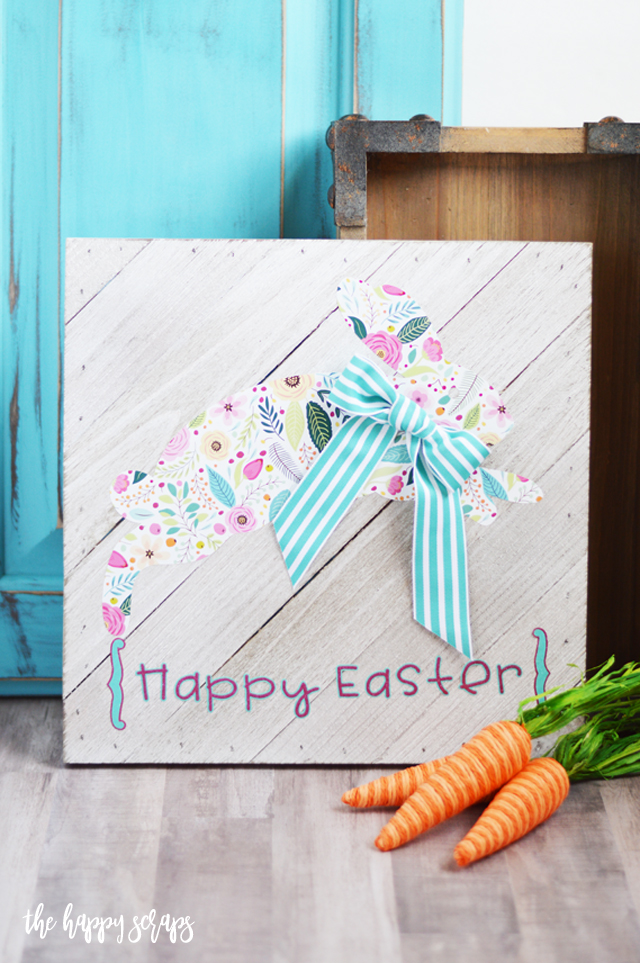
When I first finished this Quick & Easy Easter Sign, I was wishing I would have used a solid color behind the bunny, BUT I didn’t want to have to waste the bunny I already had, and after I looked at it for a few days, I decided I liked it the way it was. However, If I did it again, I think I would put a darker outline around the bunny. I think it would help it stand out a little more.
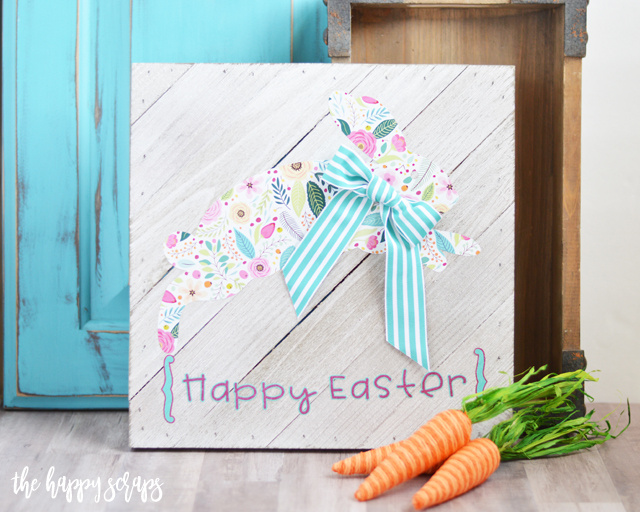
I can’t wait to pull all of my Easter decorations out later this week or next and add this cute Quick & Easy Easter Sign to them.
What kind of fun Easter Decorations do you have? You can check out some of my other fun projects here.

Leave a Reply