Hi friends! I feel like it’s been a while since I’ve been around here. I know it really hasn’t but I had to go out of town for a few days, where I had no wi-fi for my phone, and when I got back to where I did have wi-fi, I felt like I’d been away for weeks with all I needed to respond to. I was only gone for three days! My husband is the scout master and had scout camp this week. He has been trying for quite sometime to find a second leader to go to camp, but hadn’t had much luck. He finally found someone that could go yesterday and today. So, in order for him to go, late Sunday night we were figuring out where our other three boys were going (two were going to scout camp) and I was getting packed up to go to scout camp. I’ll be honest, I wasn’t overly excited to be going, but once I got there, it wasn’t so bad. I got in a lot of walking, got to spend time with two of my older boys, and got to spend a lot of time with my husband, so it was a win. The part that was hard was all the things that I knew I needed to be doing at home! I survived it all though, and now I’m home and playing catch up! Does anyone else ever feel like they are playing catch up? I planned on getting this Hello Mini Notebook project done and the post written up last night. I got it done, but when it came to writing up the post, I was falling asleep at my computer, so I’m working at it this morning. It is a fun and simple project though!
This Hello Mini Notebook post contains affiliate links. If you click on an affiliate link and purchase something, you won’t pay anything extra, but it will help support this blog. I received product in exchange for this post. All ideas and opinions are my own.
Hello Mini Notebook Supplies:
- Tropicals Variety Pack
- Parakeet Cardstock Pack
- Embossing Dies
- Embossing Folder
- Chipboard
- Adhesive
- Corner Chomper
- Cinch Machine
- Cinch Binding
- Cuttlebug
- Cuttlebug Magnetic Mat
- Office Paper
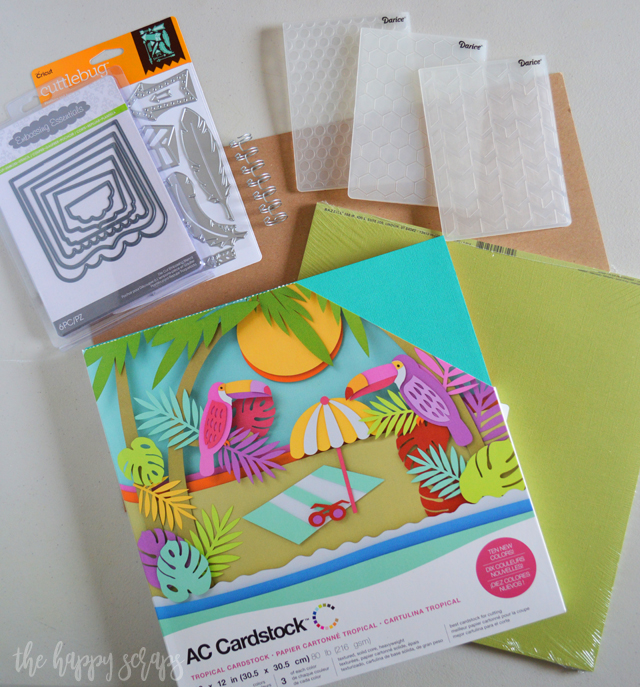
Sometimes it’s so fun to use just cardstock on a project. No patterned paper. That’s what I did with this project! I used these packs of cardstock from 12 x 12 Cardstock Shop. I love that they carry Bazzill and American Crafts cardstock. Those are my favorite kinds! I love the rich colors and the 80 lb. weight of the cardstock. This cardstock is perfect for any project from paper crafting to scrapbooking. It is acid free & archival safe and they always have all the colors in stock!
I started by deciding what color I wanted the front and back covers. I decided to use Parakeet. I trimmed my chipboard and parakeet cardstock to be 5.5″ square.
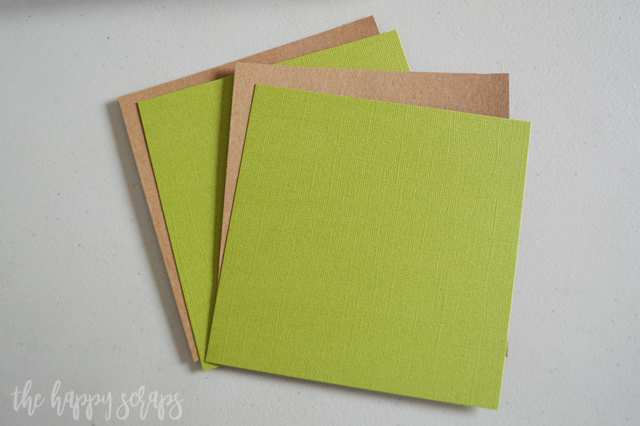
I grabbed my adhesive and applied it to the back of my cardstock the adhered it to the chipboard.

I picked out some other coordinating colors from the tropical pack that would go with the parakeet cardstock.

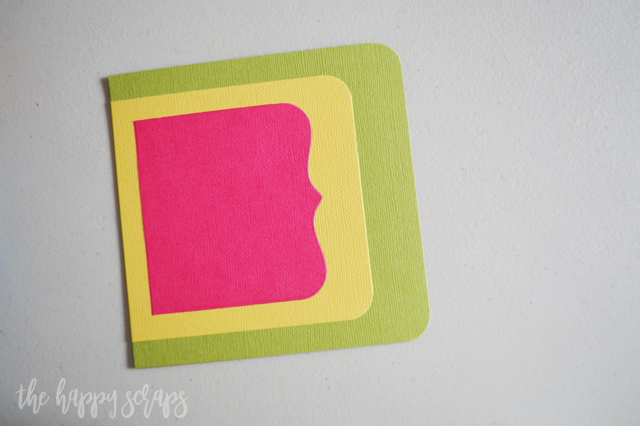
I pulled out my Cuttlebug and die set and trimmed a piece of cardstock to fit over the die, then ran it through the Cuttlebug.

I trimmed a piece of yellow cardstock to add some layering. I used the adhesive to attach everything.
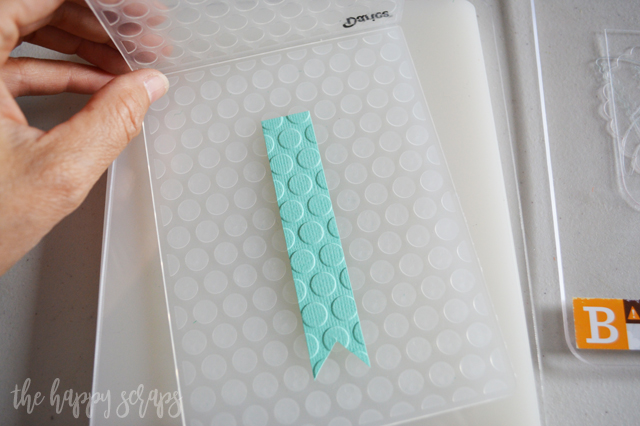
I cut a couple of flags to add to the cover. I decided I wanted to add a little texture to one, so I ran it though the Cuttlebug with an embossing folder. I love using cardstock that is dyed through for this because it doesn’t show white when I emboss the paper!
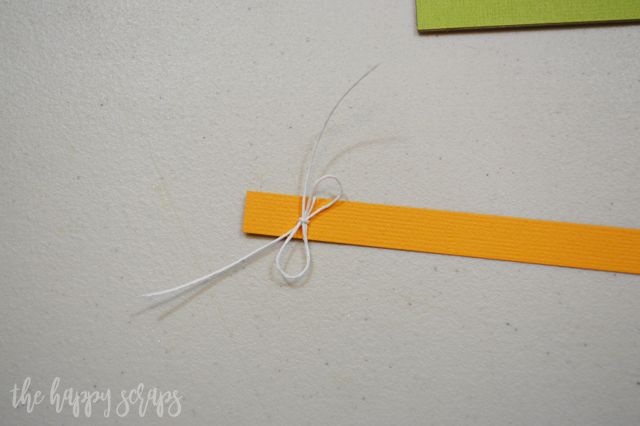
For the other flag, I tied a little bow of twine around it.
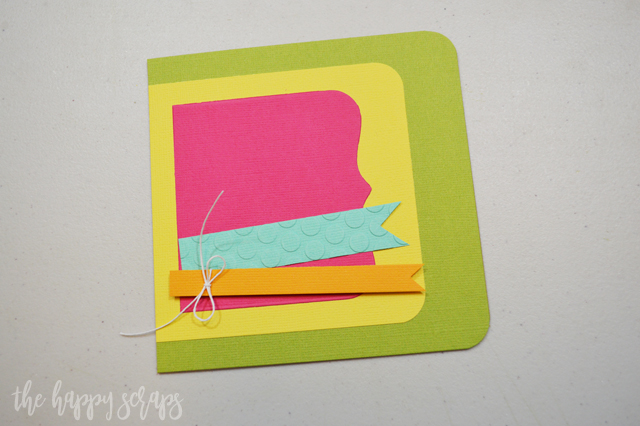
Then I attached both of the flags to the front of the Hello Mini Notebook. I used dimensional adhesive for the lower flag to add some dimension to the cover.
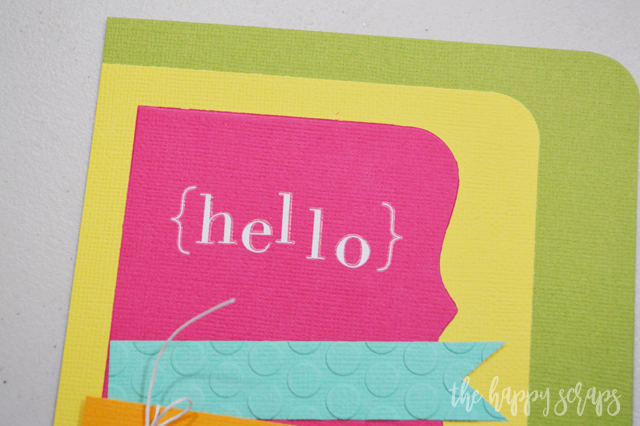
Once I had the cover like I wanted it, I added the word hello using rub-ons.
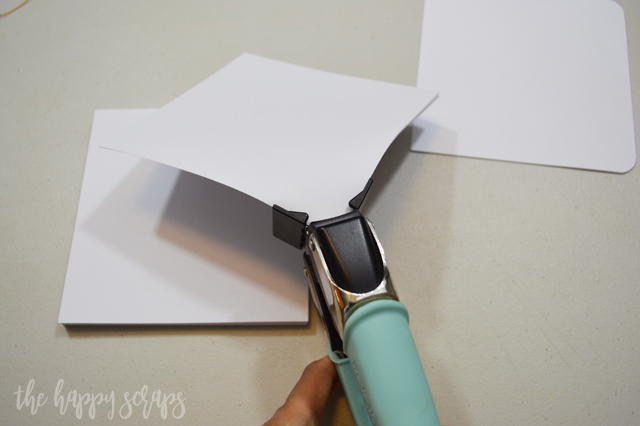
I cut several sheets of printer paper to the size I needed. Then, using the Corner Chomper, I round the corners of all of them to match up with the covers.
I figured out the setting on the Cinch so that the binding would be centered, and I punched all of the paper pages.
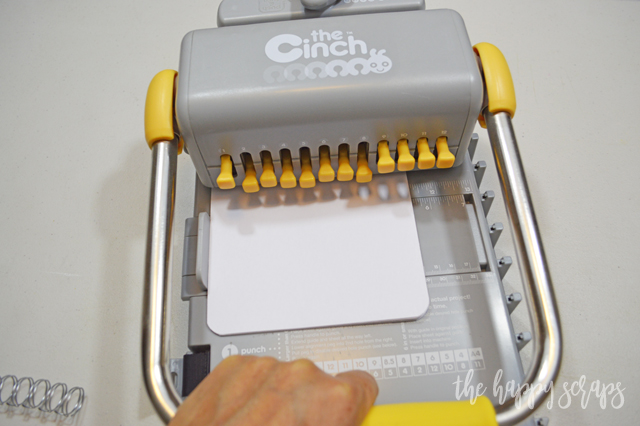
Then I punched the covers.
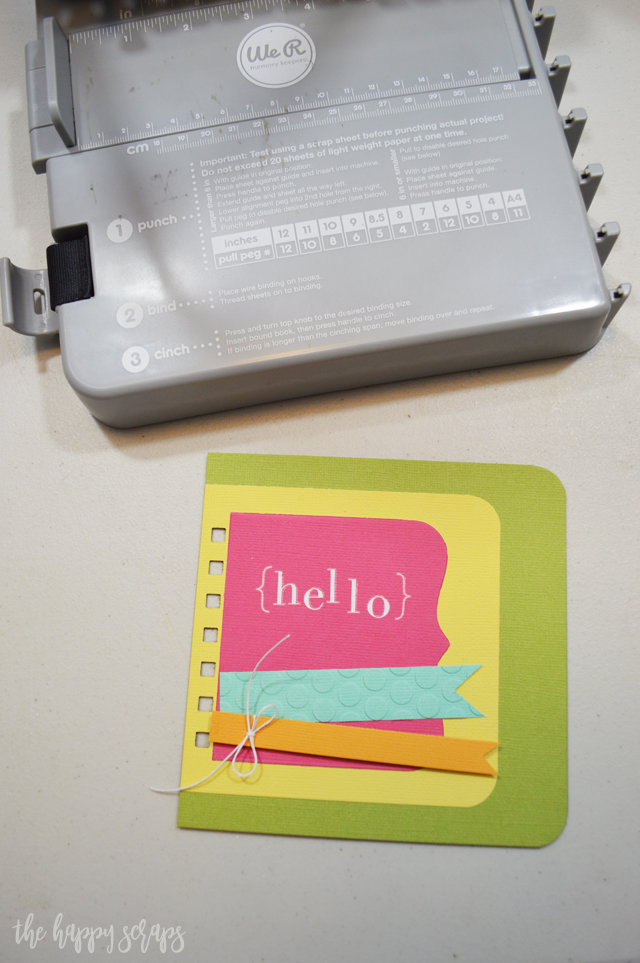
I put all of them on the binding. For a more detailed tutorial for using the Cinch, check out these posts. The inside paper goes on first, then the cover, then the back cover, upside down. This makes it so the binding edges are inside the back cover. Once you get the papers onto the binding, you use the Cinch to close the binding.
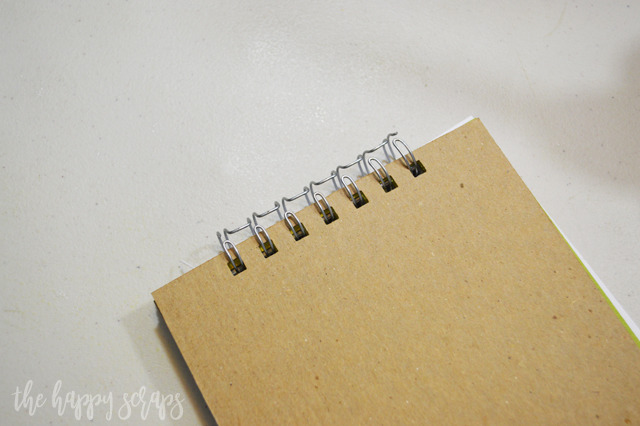
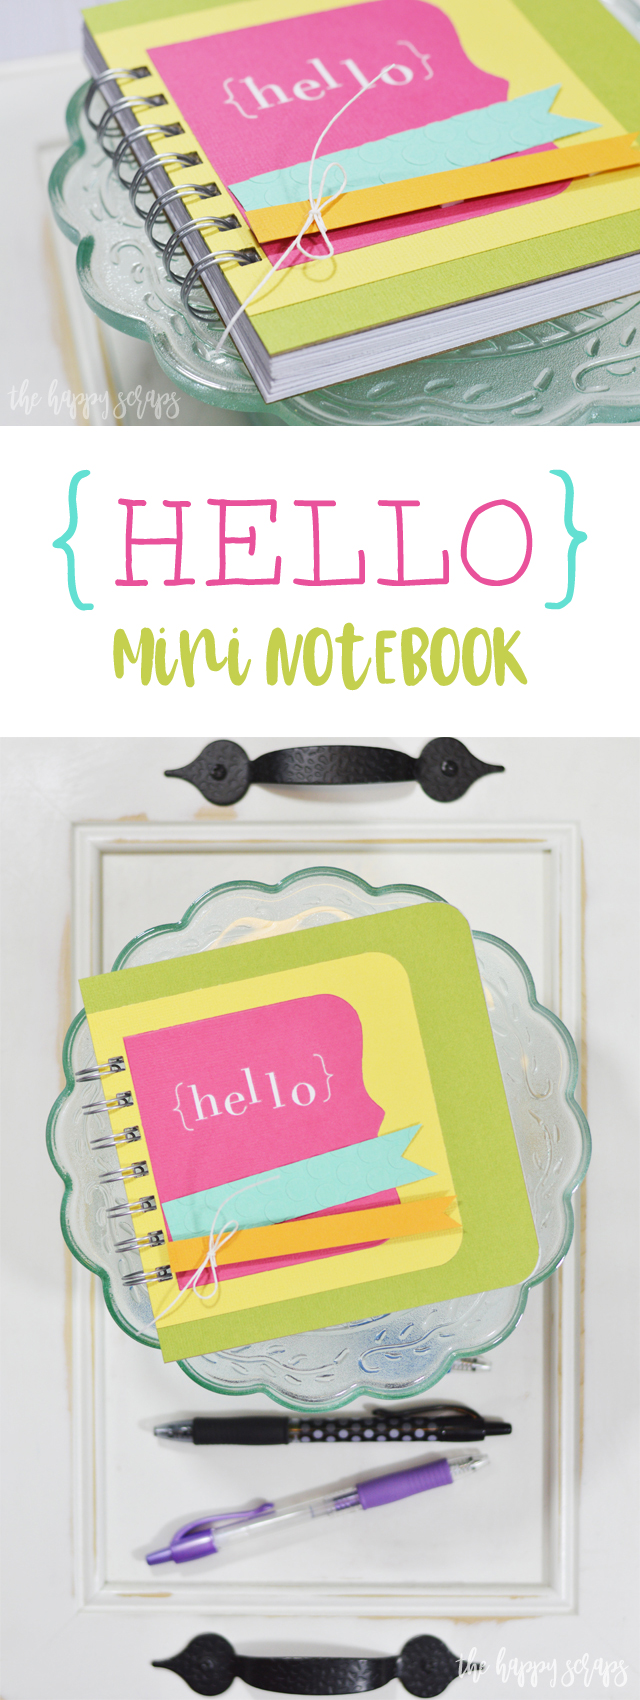
I am so excited with the way this cute little Hello Mini Notebook turned out!
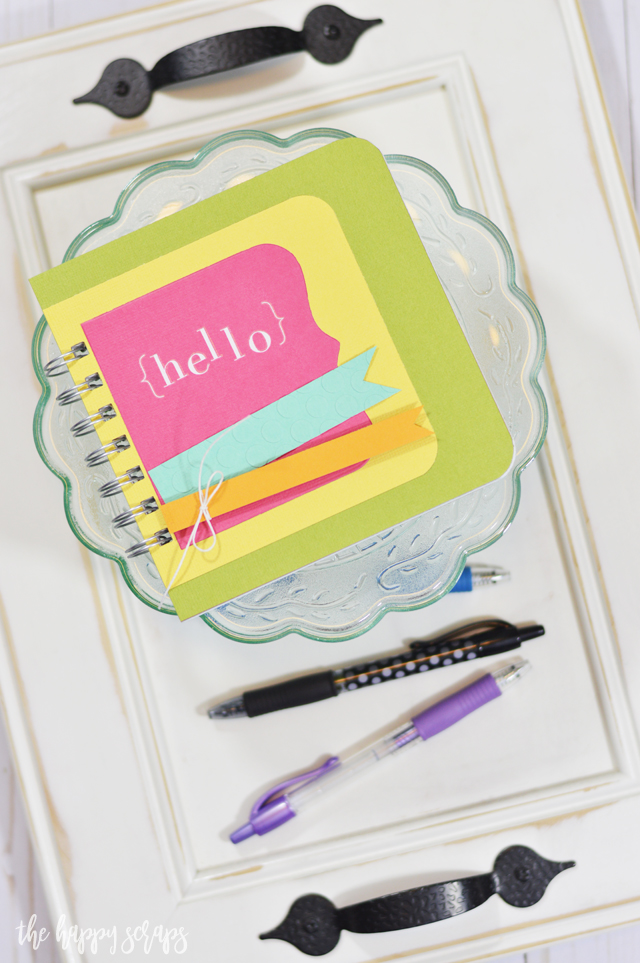
The bright colors of the cardstock are perfectly bright and happy!
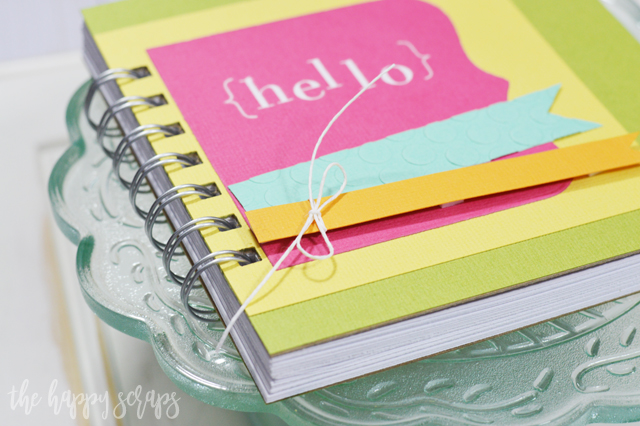
Using the rub-ons are a fun way to add any kind of word to the front. You could also use a digital die cutting machine to cut out any word you wanted.

I think I just might keep this cute little notebook in my purse to write down things when I need to.
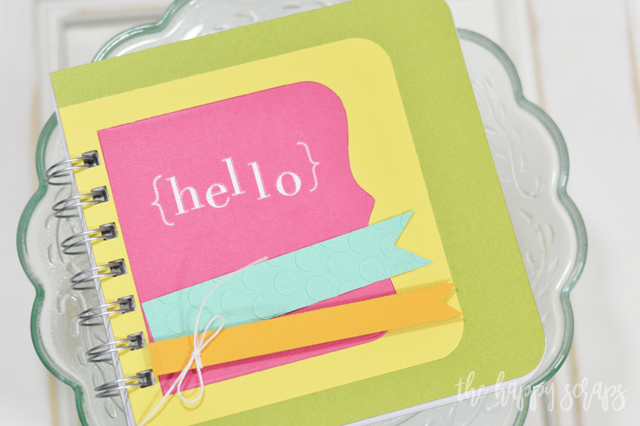
Where would you keep it?
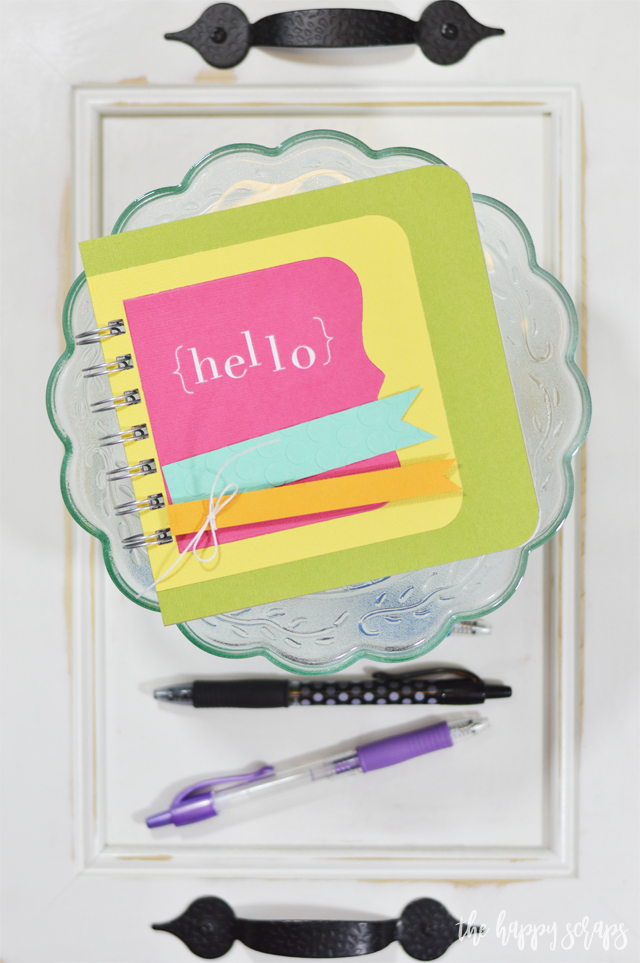
Be sure to head on over to the 12 x 12 Cardstock Shop to check out all the amazing colors of Bazzill and American Crafts Cardstock as well as their variety packs of cardstock! I’m seriously so excited to have found a place that I can get all these colors! I feel like good quality cardstock is hard to find these days! If you get it from 12 x 12 Cardstock Shop, you know it will be amazing quality!

Leave a Reply