As a mom, one of the things I like to try and do for my boys is give them little gifts for holidays. While this doesn’t always happen, I do have good intentions for it. This year, I am all set and ready for Valentine’s to get here because I already have their Valentine ready for them! These Happy Valentine’s Day Gift Tags made this little gift so quick and easy to put together. Now the trick will be me remembering to actually give them to my boys here in a couple of weeks! 😉 Side note: Do any other moms get things together ahead of time and then completely forget that they have them once the specific days rolls around? I sure do!

This Happy Valentine’s Day Gift Tags post contains affiliate links. If you click on an affiliate link and purchase something, you won’t pay anything extra, but it will help support this blog. All ideas and opinions are my own.
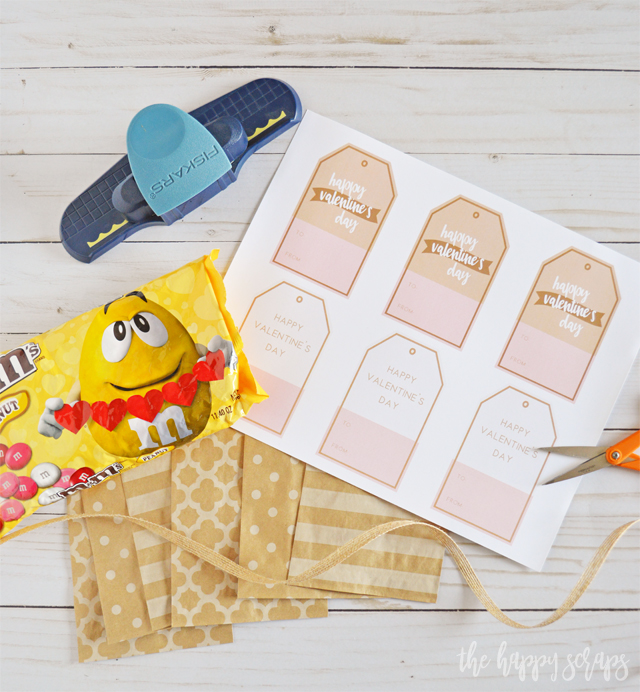
Happy Valentine’s Day Gift Tags Project Supplies:
- Kraft Paper Treat Bags
- Scallop Punch
- Paper Trimmer
- Valentine Candy
- Ribbon
- Hole Punch
- Scissors
- Printable Valentine Tags (for personal use only)
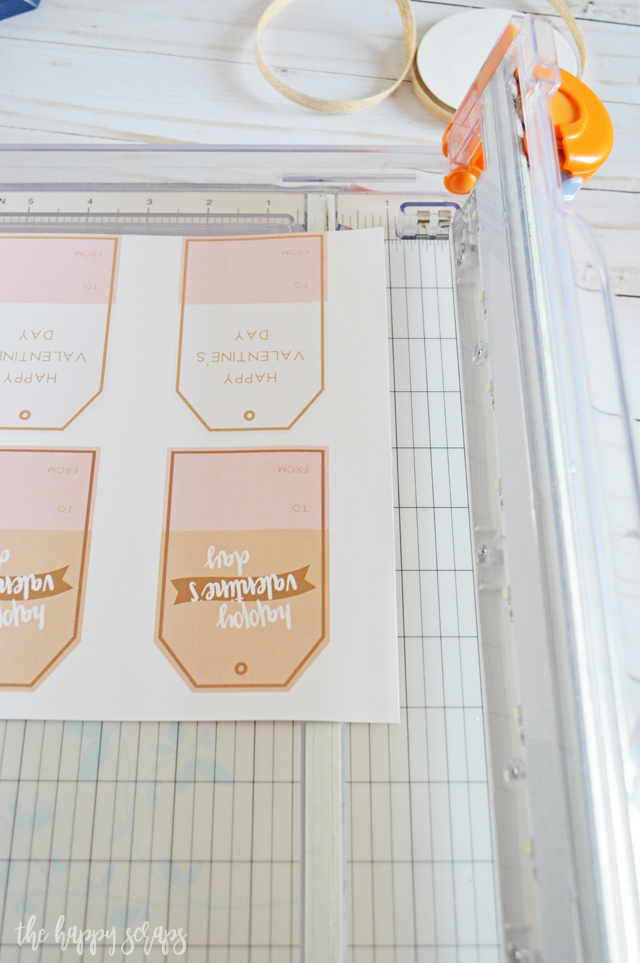
After I printed out the Happy Valentine’s Day Gift Tags, I grabbed my paper trimmer to cut them apart.
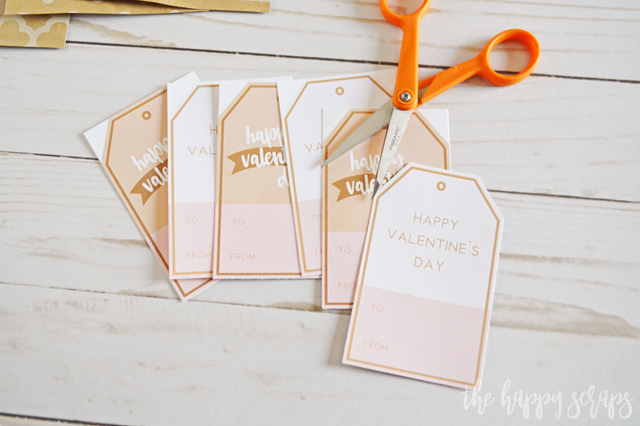
Once I had most of the tag cut, I cut the corners off with my scissors.
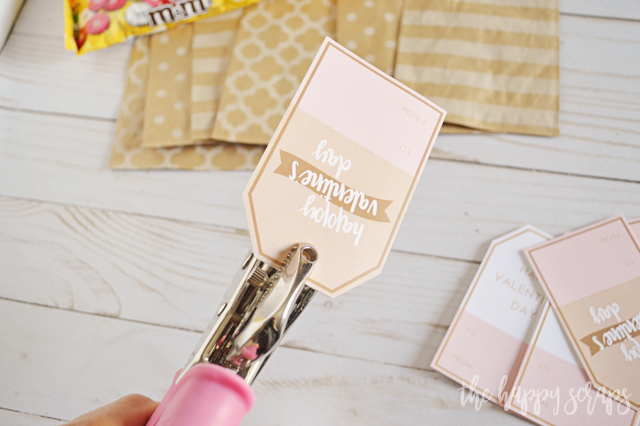
I grabbed the hole punch and punched out the hole at the top of the tag. I just lined up the hole punch over the top of the circle that was on the tag.
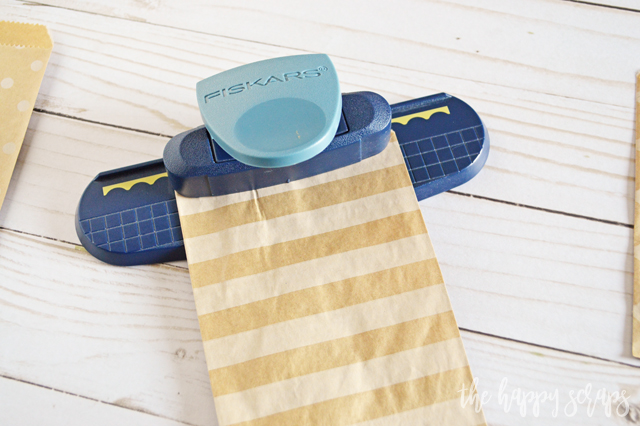
These kind of treat bags can be so fun! I’ve had lots of them in my stash for year, and I always find ways to use them. This time around, I decided I wanted to make the edge different, so I grabbed my scallop punch. I centered the bag under the punch, and then moved it to both sides to make sure I got the entire top of the bag punched.
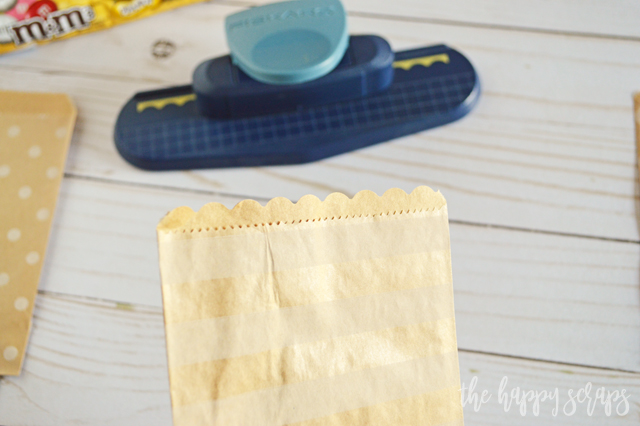
I love what the scalloped edge adds to the little bags!
Once I had the tags all cut out, bag tops punched, and candy ready, I was ready to put the bags together.

The bags were filled with candy.
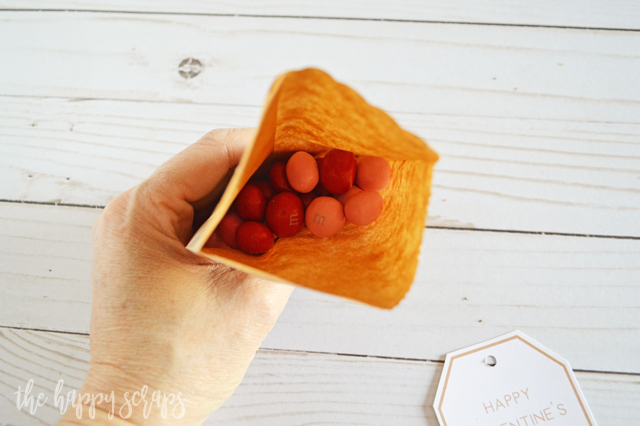
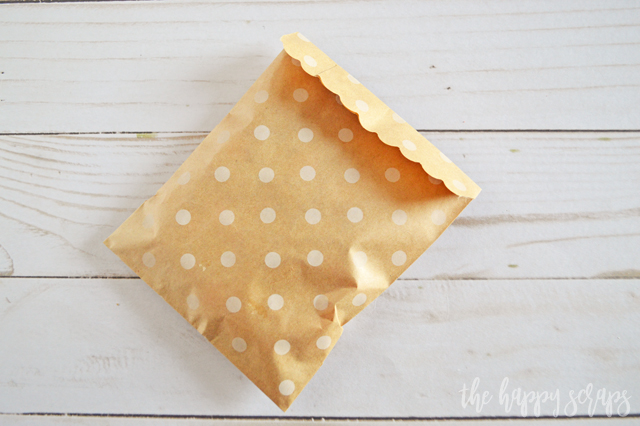
I folded the scalloped edge over.
Then I lined up the tag where I wanted it, and then punched a hole though the tag so it would be in the right place.
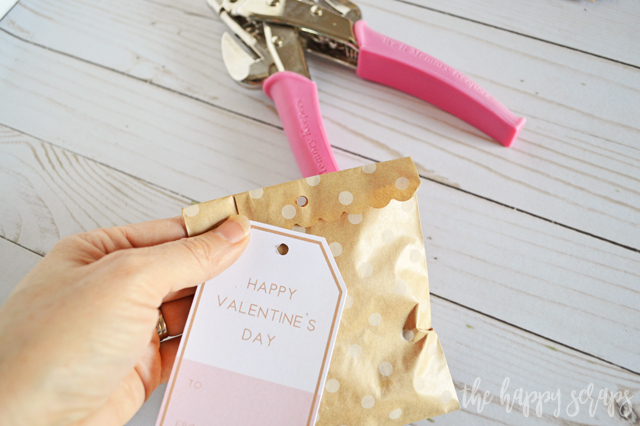
I grabbed the ribbon and tied the bag closed and the tag on.
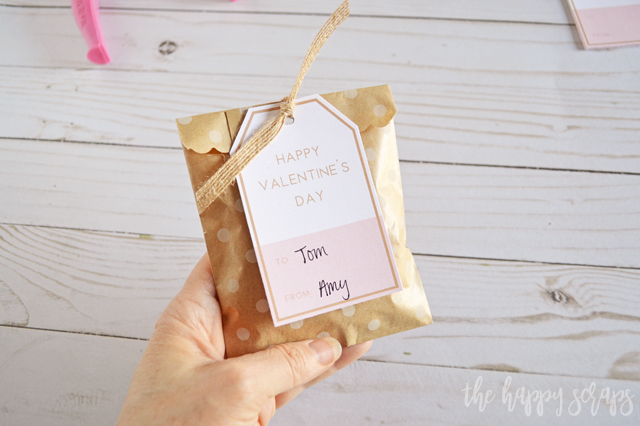
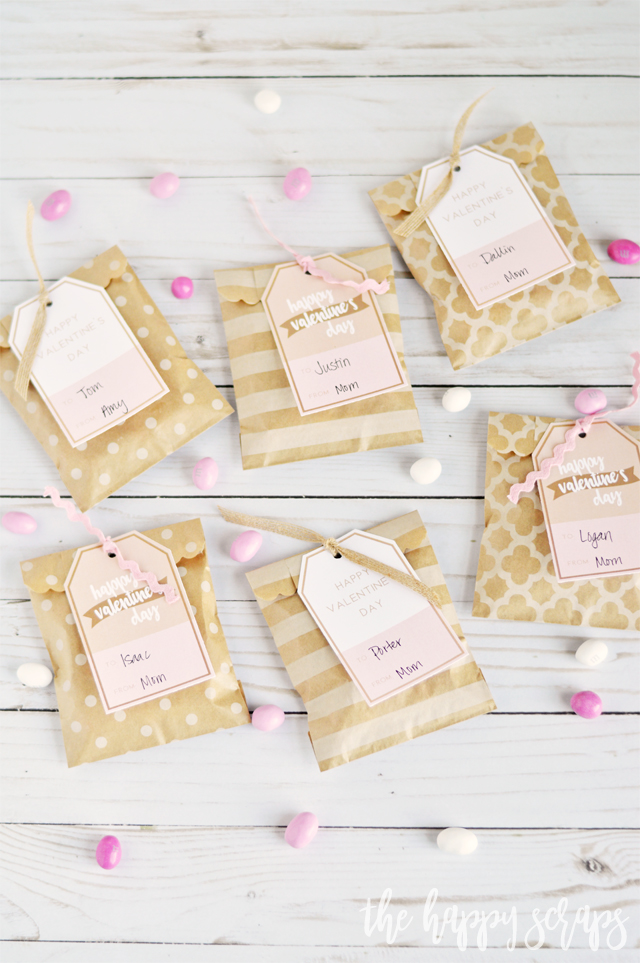
It was so quick to put these six bags together with the Happy Valentine’s Day Gift Tag and now I’ve a little something for my husband and each of my boys for Valentine’s day!

I love the different styles of the tags.

The are both so fun!
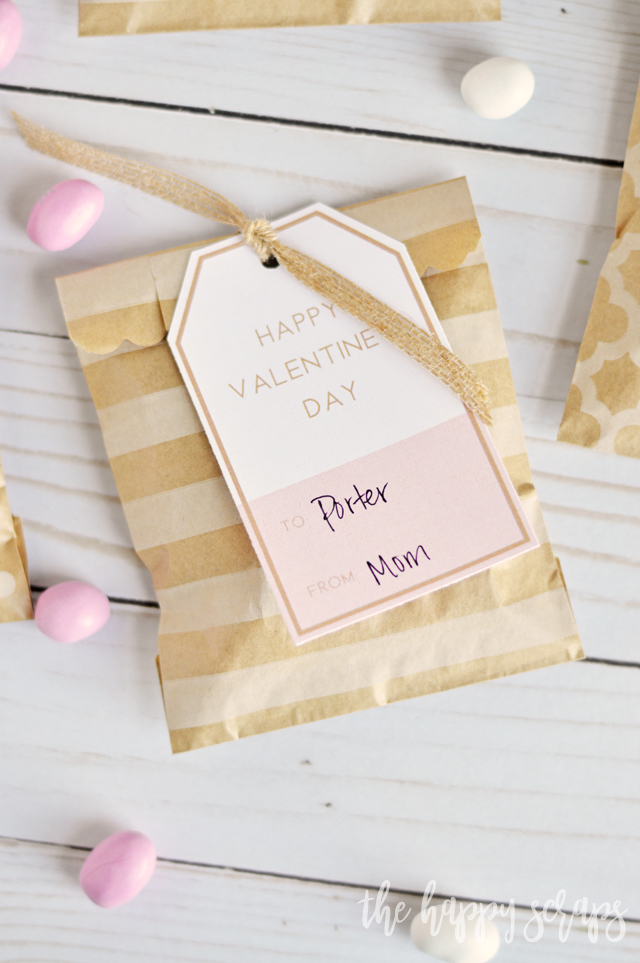
The good news is there are still some peanut M&M’s left, so I can munch on those in the craftroom, and I don’t have to wait until Valentine’s day to eat them. 😉
I’d love to see what you use these Happy Valentine’s Day Gift Tags for! Share your project on instagram and tag me @thehappyscraps! If you’re looking for other ideas for Valentine’s Day, then check out my gallery.

Leave a Reply