When you have a digital die cutting machine, one of the things that you want to be able to do is cut heat transfer or iron-on vinyl. This is one of my very favorite medium to create with! Today I want to show you How to Cut Heat Transfer Vinyl with the Cricut. One of the awesome things about cutting heat transfer or iron-on vinyl is that you can put this on so many different things. A few of my favorites are shirts, pillows & totes. When it comes to cutting the heat transfer vinyl for each of these, it is the same.
 This How to Cut Heat Transfer Vinyl with the Cricut post contains affiliate links. If you click on an affiliate link and purchase something, you won’t pay anything extra, but it will help support this blog. All ideas and opinions are my own.
Select Your Design
When I’m ready to cut something from heat transfer vinyl, I open Design Space and get my design ready. Whether I’m uploading my own design, or using something that is available in Design Space, I get it put on the mat.

Once the design is ready, I click “Make It”. The screen will look like this.
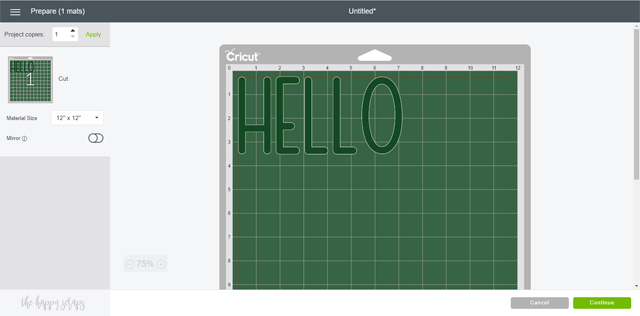
Because this is the iron-on or heat transfer vinyl, you need to make sure and mirror your image. You can do that by clicking the slider by “Mirror” on the left hand side, under the thumbnail of the mat.
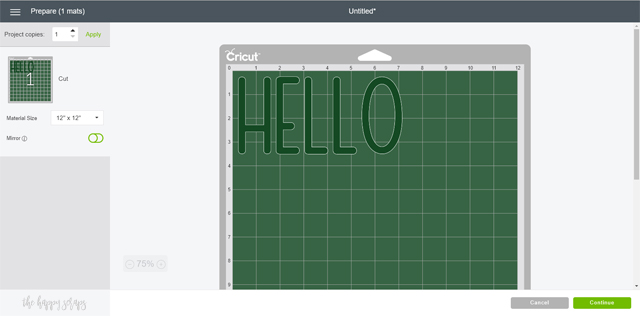
When you click the slider, it will show solid green on the left and a circle on the right of the slider, as well as the mat will show the word in reverse.
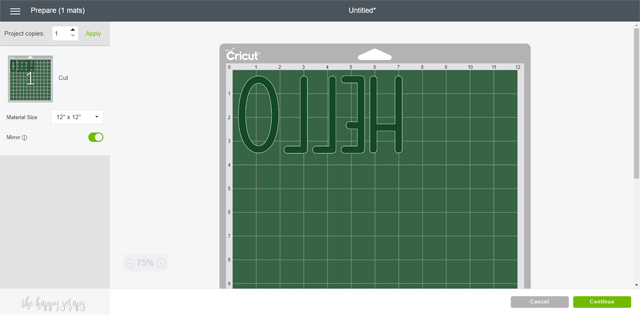
Click “Continue” and you will be prompted to choose your machine. For this I used the Cricut Maker but the Cricut Explore Air 2 also does a great job of cutting iron-on vinyl.
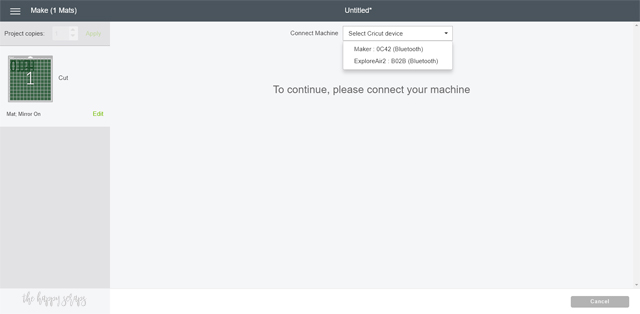
If you select the Cricut Maker to cut your iron-on/heat transfer vinyl, you’ll be prompted to set your material. I selected iron-on, but there are options for glitter iron-on, foil iron-on, patterned iron-on, etc.
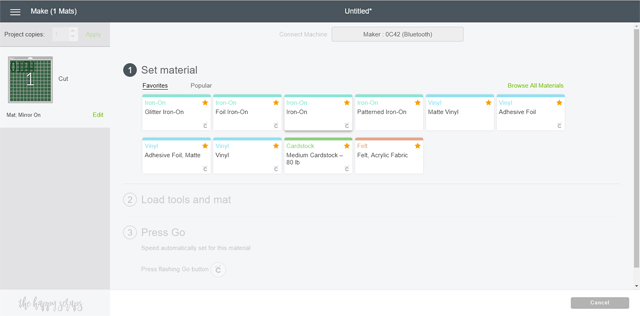
When I selected the material, the machine prompted me to insert the mat.
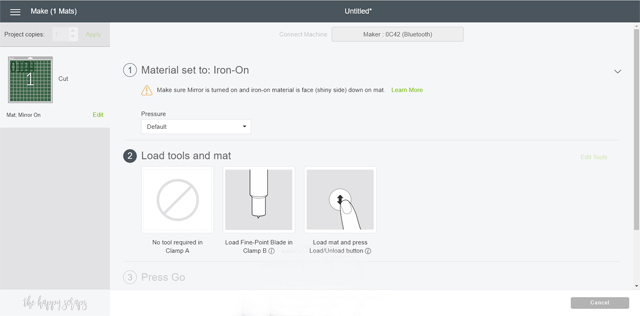
Applying Heat Transfer Vinyl to the Mat
As part of showing you How to Cut Heat Transfer Vinyl with the Cricut, I want to show you some tips for applying the vinyl to the mat. Tip: Expressions Vinyl and Cricut are both great places to get all of your vinyl!
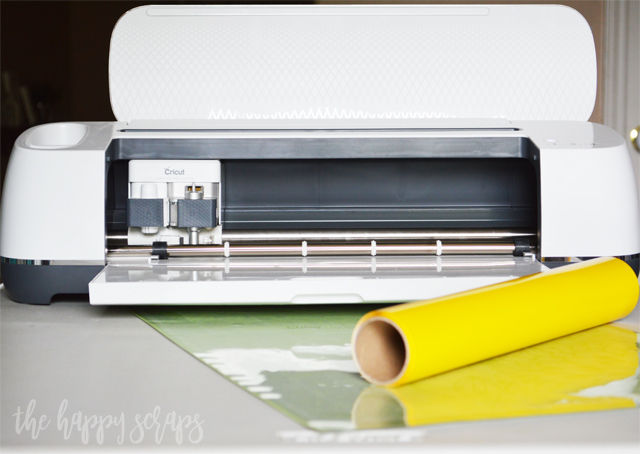
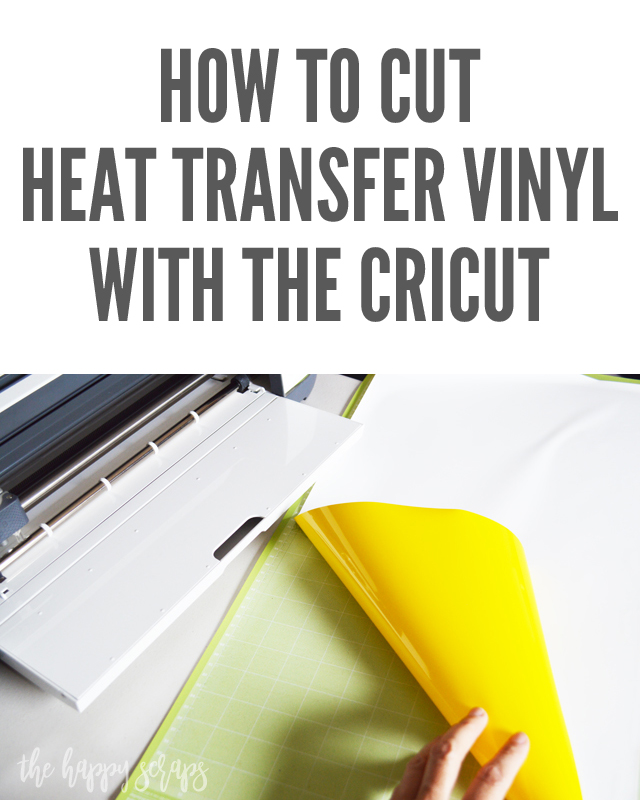
The shiny side always goes down. In this case, I had yellow and the back is white. The back of every color isn’t white. Some colors are the same on the front and back, so just make sure that the shiny side is against the mat.
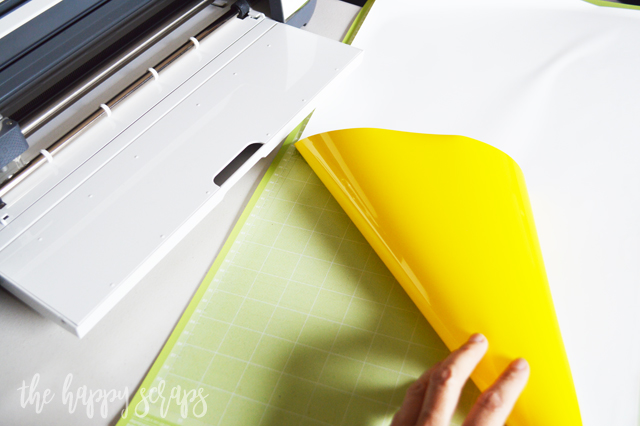
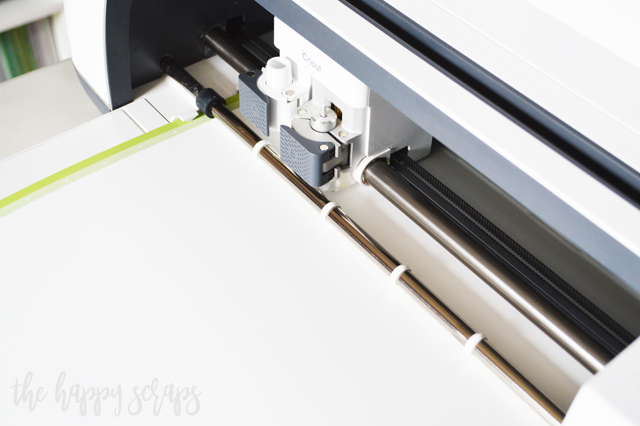
Once on the mat, insert it into the machine using the flashing arrow button. Then push the Cricut button to start the cutting.
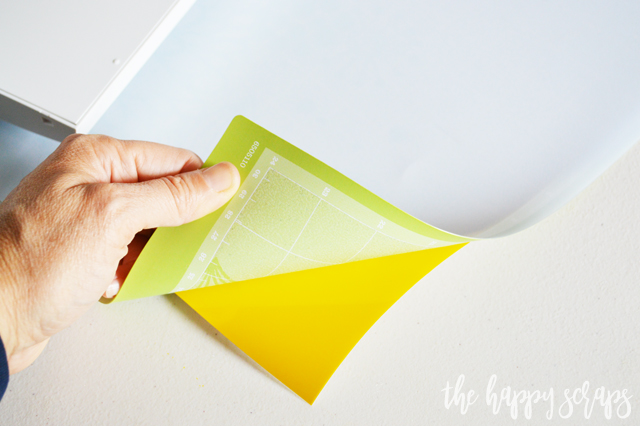
When your design is finished cutting, peel the mat from your iron-on/heat transfer vinyl. If you peel the vinyl from the mat, it can curl. The mats are durable and this method works great! You just need to be careful when you get to the last little part of the vinyl that is still on the mat, sometimes the mat can come back at you, so just hold both pieces tight. 🙂
That is How to Cut Heat Transfer Vinyl with the Cricut. Let me know of other Cricut tips you’d like me to share! I know that learning a new machine and program can be a little bit hard at times, so if you have questions, be sure to leave them in the comments and I’ll let you know. If you’re looking for more fun projects to create with the Cricut, then check out my Cricut gallery here. If you’re looking for tips for applying the iron-on/heat transfer vinyl to something, I highly recommend the Cricut EasyPress. Find details for that here.


Leave a Reply