This Cricut Infusible Ink Fall Tote & Coasters post is a sponsored conversation written by me on behalf of Cricut. The opinions and text are all mine.
Have you heard the news? The lastest material from Cricut is the NEW Cricut Infusible Ink™! I’ll admit that I’ve been super excited to try it while being hesitant at the same time. I love trying new products, but sometimes it scares me a little bit. I’ve had some sitting in my craft room since it was announced, and I finally got around trying it last week. While I do feel like there is a learning curve, I love this new product and can’t wait to create more things with it.
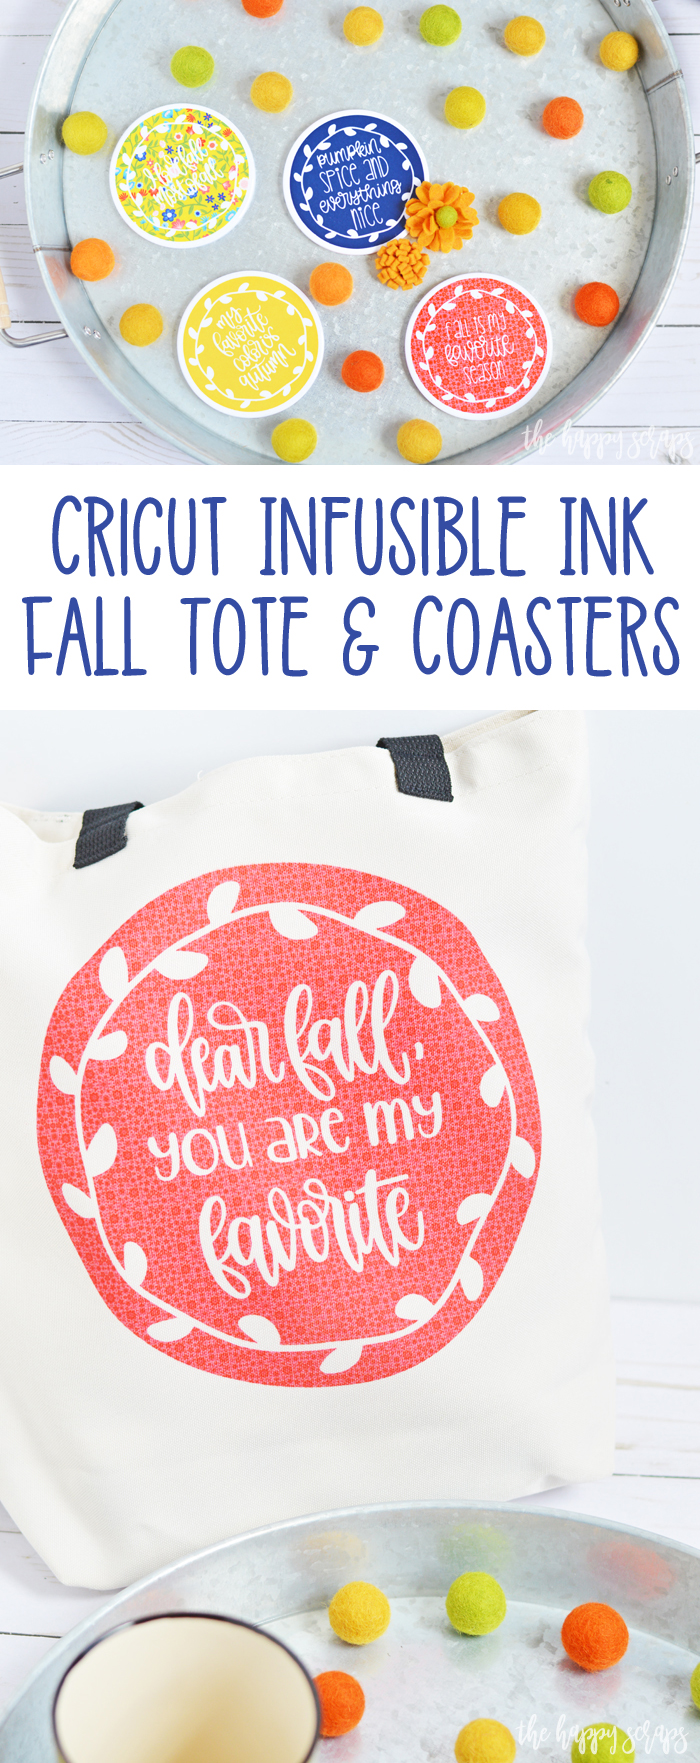
This Cricut Infusible Ink™ Fall Tote & Coasters post is sponsored content written on behalf of Cricut. I received product and compensation in exchange for this post. This post contains affiliate links. If you click on an affiliate link and purchase something, you won’t pay anything extra, but it will help support this blog. All ideas and opinions are my own.
What is Cricut Infusible Ink™?
Cricut Infusible Ink™ is the latest way to apply color to a shirt, coaster, tote or other base material! Rather than applying a vinyl or iron-on vinyl design to one of base materials, you actually infuse color into the fabric fibers using heat and Infusible Ink™ Transfer Sheets. Infusible Ink™ is completely peel-proof, crack-proof, flake-proof, and wash-proof. It’s like the fabric was printed that way. Not only does the color go on vibrant, but it stays that way too. There are no edges that you can feel, there is no added weight, and it comes out perfectly if you apply it properly. I did learn that you need a hard and firm surface to work on, or your project might turn out with some color splotching.

Cricut Infusible Ink™ Fall Tote & Coasters Supplies:
- Cricut Maker or Cricut Explore Air 2
- Cricut StandardGrip Mat
- Cricut EasyPress 2
- Cricut EasyPress Mat
- Cricut Infusible Ink™ Transfer Sheets
- Cricut Infusible Ink™ Tote Bag Blank
- Cricut Infusible Ink™ Round Coasters
- Cricut Weeding Tools
- Cricut Design Space Cut File
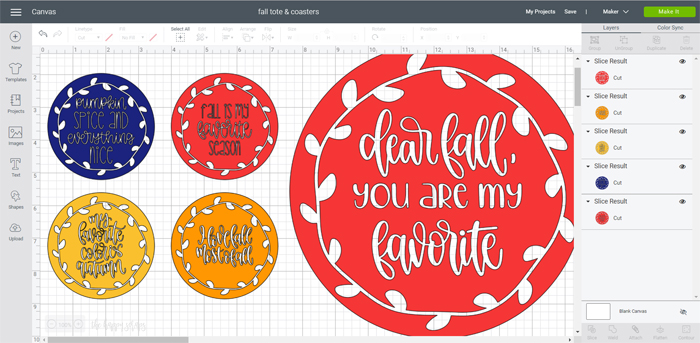
The first thing you’ll want to do when creating a Cricut Infusible Ink™ project is put your design together. Fall is nearly here, so I thought it would be fun to put together a fall tote and some coasters. Once the design was ready, I pulled the Infusible Ink™ Transfer Sheets from their box. The transfer sheets come wrapped in a black plastic with a small packet that will absorb moisture. These transfer sheets need to be stored in a cool, dry, dark place.
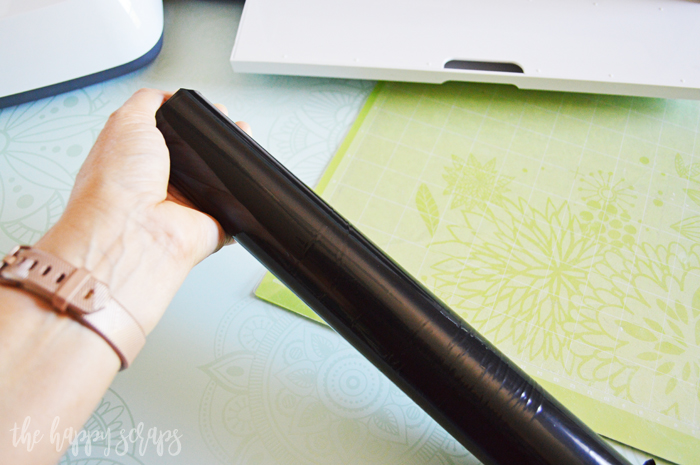
Pull the sheets out of the black sleeve and select the design you’ll be cutting first.
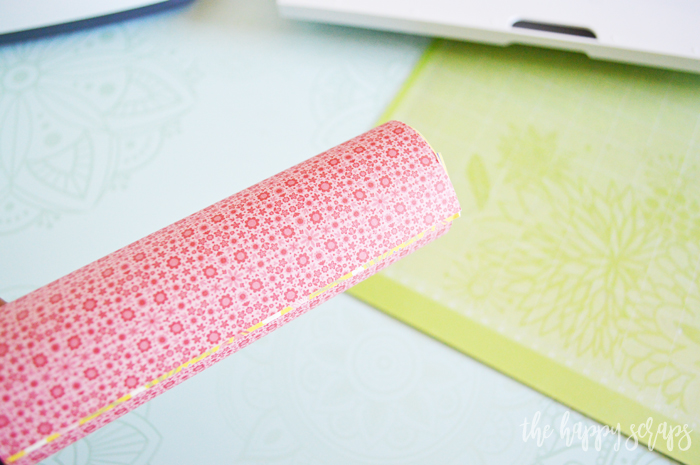
Place your transfer sheet onto your StandardGrip cutting mat with the colored design facing up. Mirror your image in Design space.
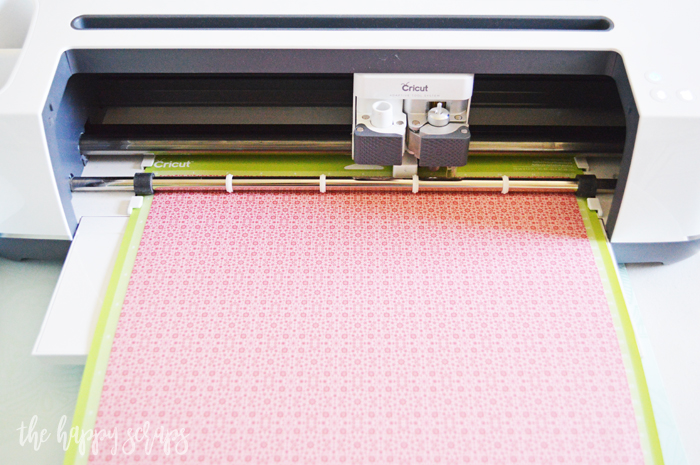
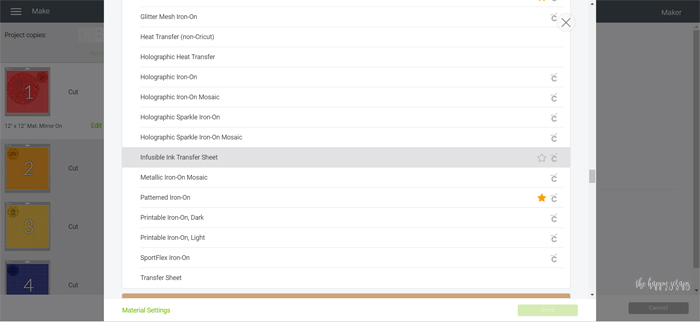
Once your mat is ready and you’ve mirrored your design, select “Infusible Ink Transfer Sheet” from the material menu. Then, when prompted, press the go button on the Cricut machine.
Creating Your Coasters
Once cut, trim around your design with some scissors. The back of the transfer sheet has a plastic carrier sheet that is slightly sticky. Roll the design slightly so that the paper side is curled, revealing the cuts. Use your weeding tool kit tweezers to removed the parts that need to be removed. Just keep weeding until it is finished. Don’t forget to get the dots on those i’s. 🙂
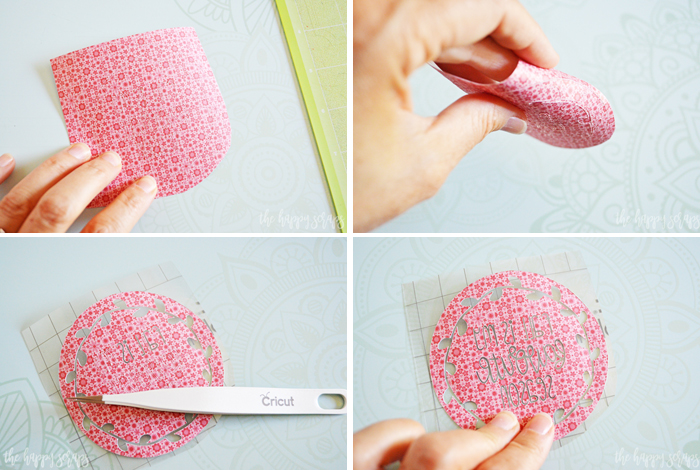
When the design is weeded, prepare your blank coasters by wiping them down with a lint free cloth. You don’t want any lint or dust under your design, as it can create blemishes.
Preheat the EasyPress 2 and get your pressing area ready. Because I was pressing on a table that has some give, I placed a wood cutting board underneath my pressing area. On top of the cutting board, I placed the EasyPress Mat. Then I placed a piece of white cardstock over the top of the mat. This creates a barrier so that the color doesn’t’ transfer onto the mat.
Place your design onto the top of your coaster, color side down. I secured my design with the Cricut Heat Resistant Tape to keep it in place. Once the design is secure, turn the coaster over onto the mat, so the bottom is showing. Cover the coaster with butcher paper. Then apply the heat. The instructions for these coasters was 400° for 240 seconds. Once the EasyPress timer goes off, carefully move the EasyPress so that the stack of paper and the coaster don’t move. Let your coasters cool completely before moving the butcher paper or the coaster.
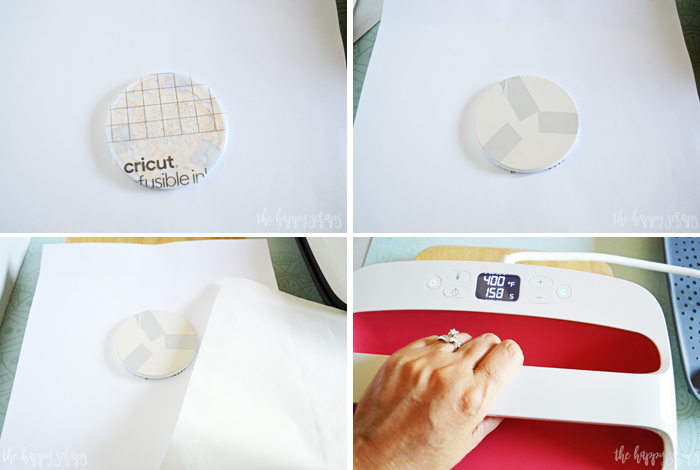
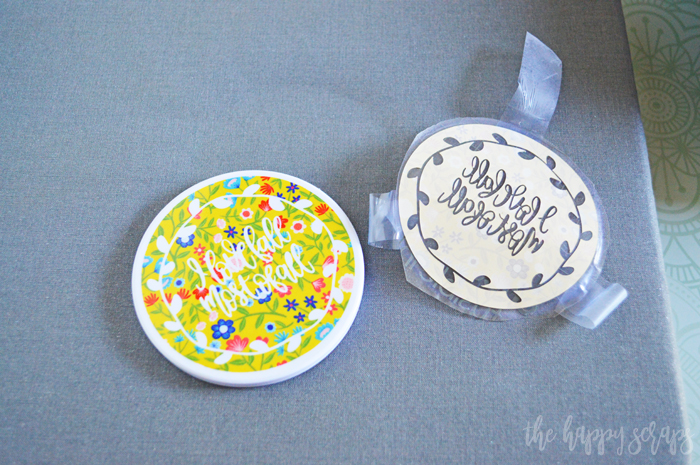
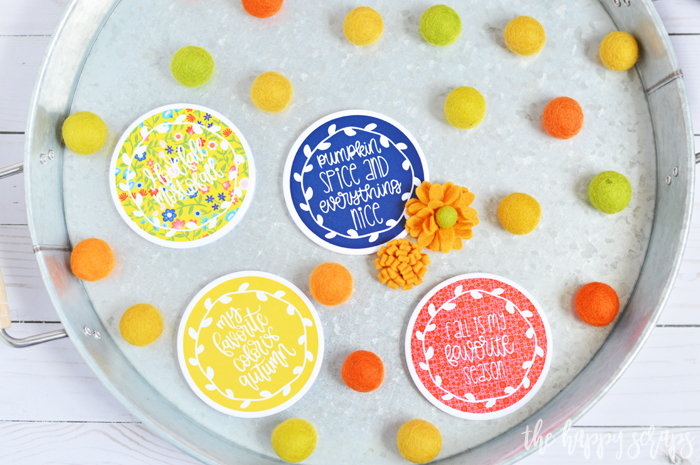
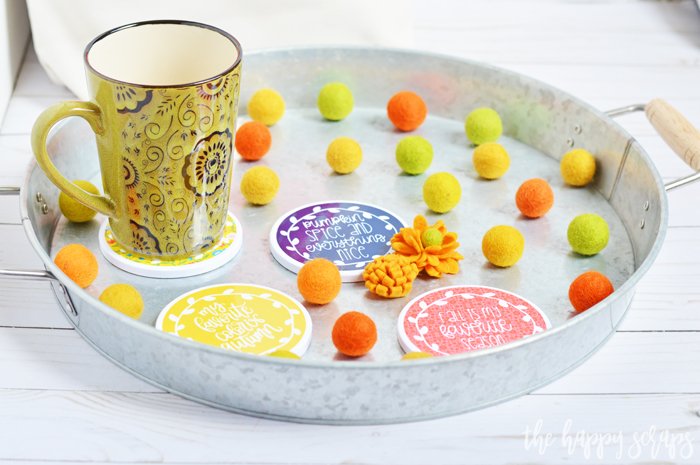
When the coaster is cooled off, carefully peel the tape from the back and pull the design off. You can see how the paper design is much lighter and the color all transfer to the coaster. It is pretty incredible! It just feels like a ceramic coaster!
If you’re still feeling a little unsure about it, be sure to read through the tutorials that you can find here.
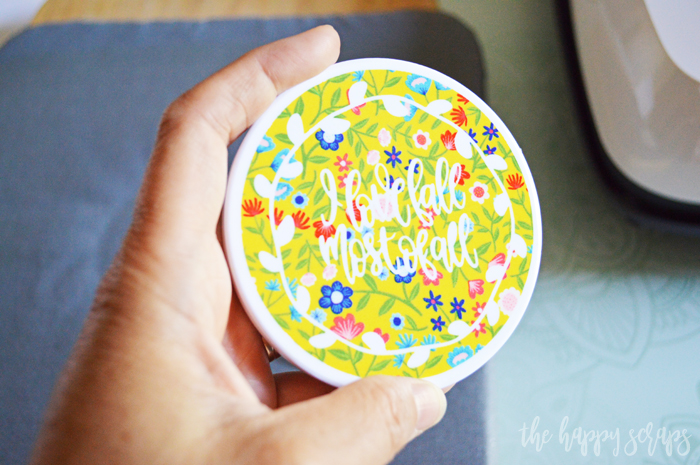
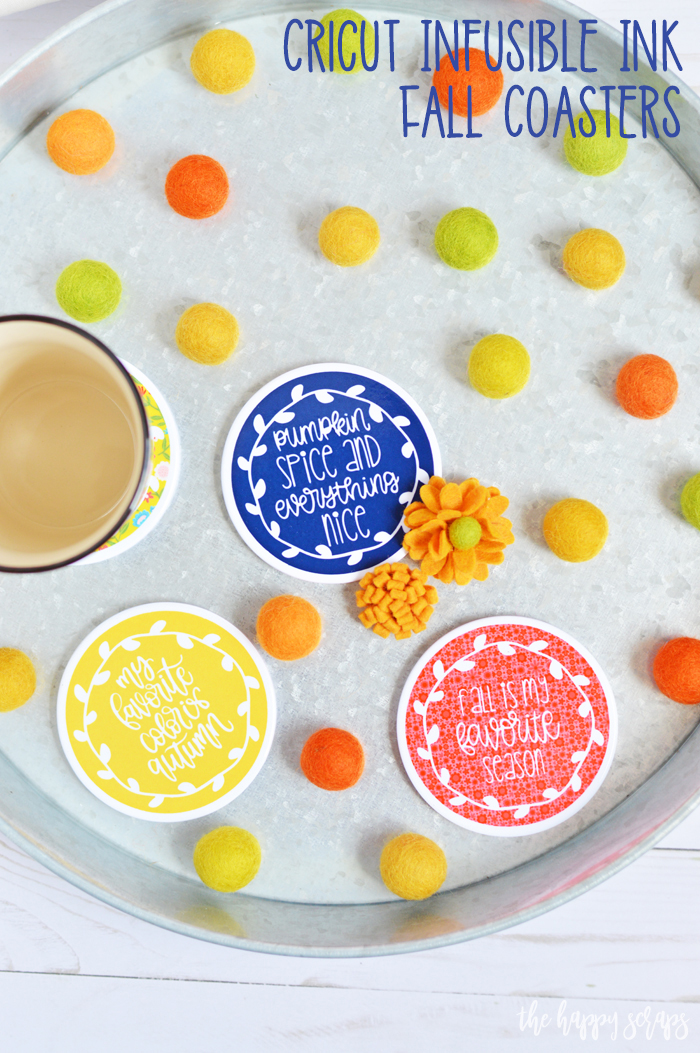
You could create so many fun coasters for all the different holidays and seasons of the year! Can’t you just imagine them now?! Plus, Cricut has so many different patterns of Infusible Ink™ Transfer Sheets that you’ll be sure to find something you love!
Creating Your Tote
The process for cutting and weeding the Infusible Ink™ for the tote is the same as for the coasters. It just needs to sized it differently. To prep the tote for the design, place a piece of cardstock on top of the EasyPress Mat, then slide both of them inside the tote. Use a lint roller to make sure there isn’t any lint on the area of the tote that you’ll be placing the design. Place butcher paper over the top of the tote and press it for 15 seconds at 385°. This removes wrinkles as well as any moisture in the tote that could cause blemishes to the design. Once cool, place the design on the tote where you want it.
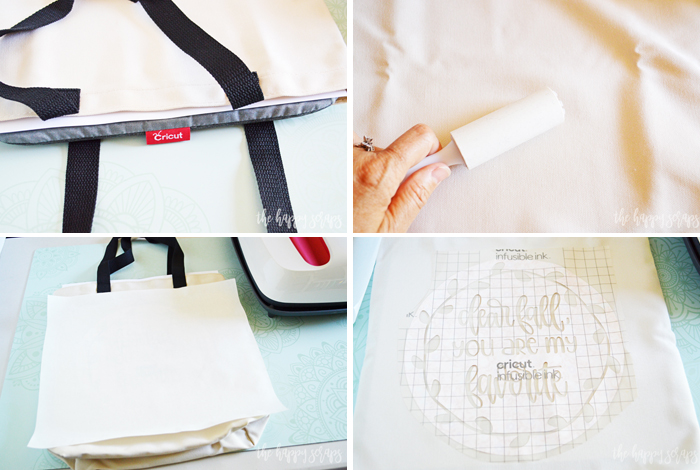
Place butcher paper over the top of the design. Set the EasyPress to 385° for 40 seconds. Press the design. As with the coasters, you don’t want to move the butcher paper or the transfer paper until the tote has cooled completely. I found that the butcher paper was wanting to move just with the air flow in my home.
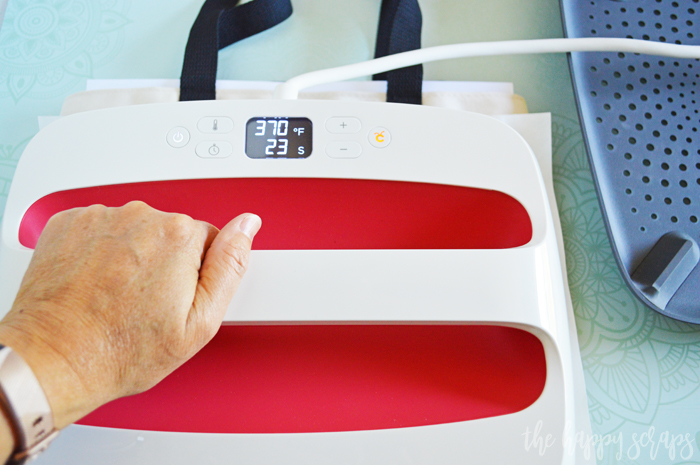
Once it was all cooled, I pulled away the transfer paper, and it was like magic!! The transfer sheets don’t look very vibrant, but they sure are vibrant once they are applied to the blanks!
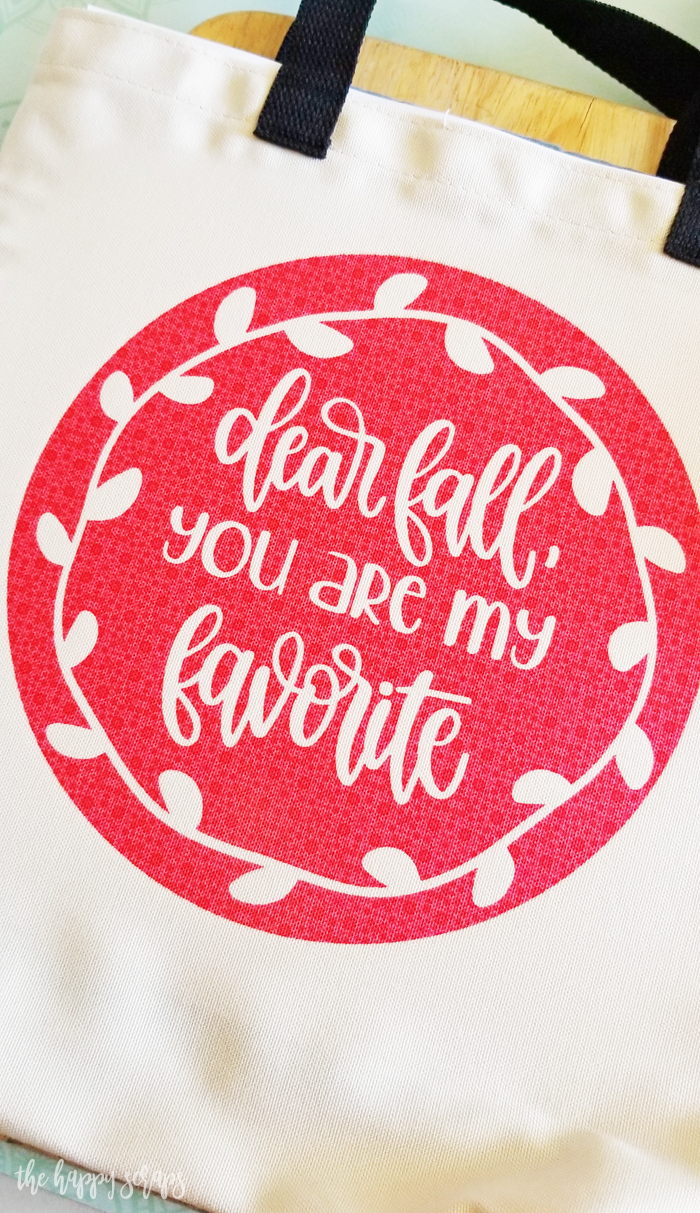
This tote is the perfect thing to take with your to those fall farmer’s markets, right?
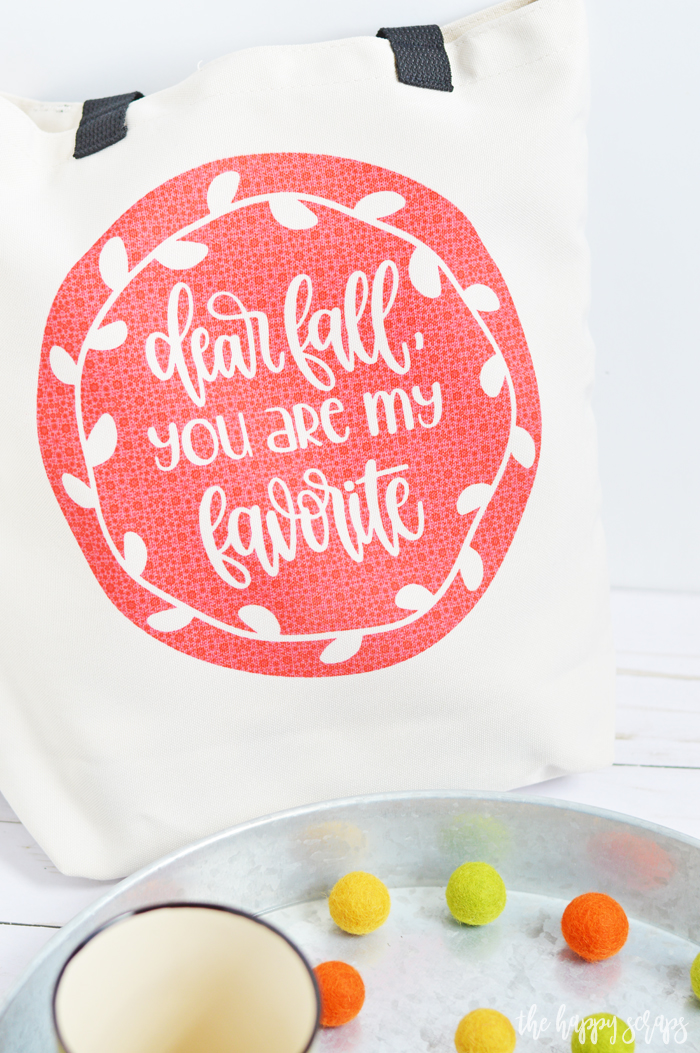
Aren’t these coasters just perfect for sipping on some warm apple cider out on the porch this fall?
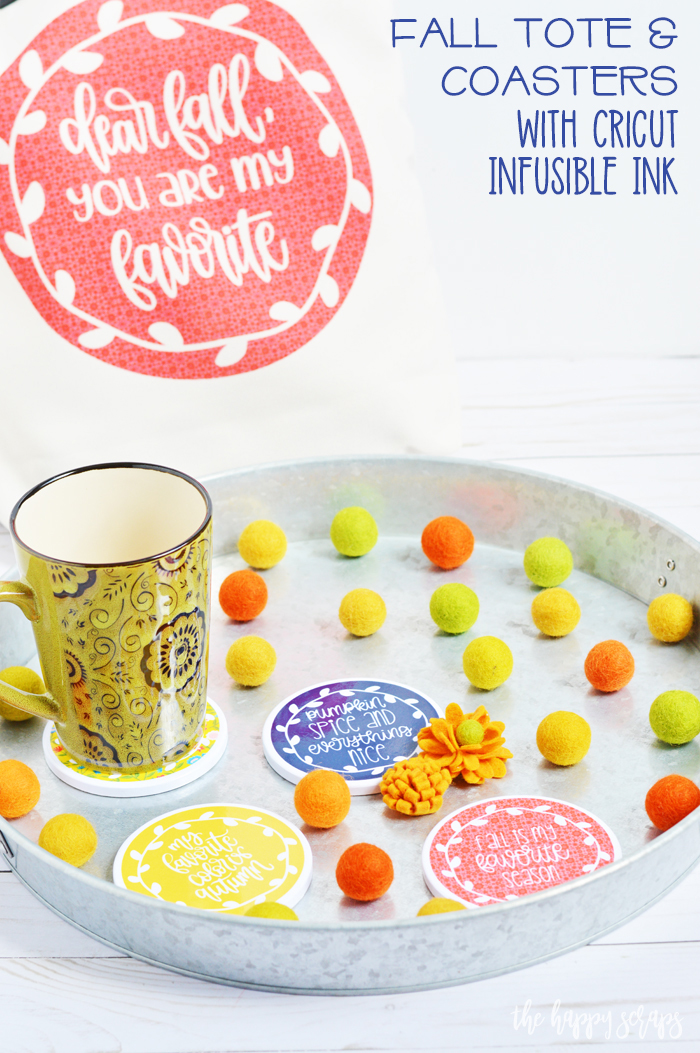
Now to answer some questions that I thought you might have.
What Cricut Machines are compatible with Cricut Infusible Ink™?
- Infusible Ink™ is compatible with the Cricut Maker and Cricut Explore family machines. You need to be able to use Design Space with your machine so that you can set it to cut the right kind of material. If you’re using an Explore, just turn your dial to the Custom setting, allowing you to select Infusible Ink™ Transfer Sheet.

Can I use my original Cricut EasyPress for Infusible Ink™ projects?
- Yes, but results may vary. All Cricut EasyPress models are compatible with Cricut Infusible Ink™. The original Cricut EasyPress will take longer and you may not achieve the same results. Also, transferred colors may not be as vibrant or saturated as the results you’ll enjoy with Cricut EasyPress 2. Your at home iron is not recommended to use with Cricut Infusible Ink™.
What materials can I use with Cricut Infusible Ink™?
- Cricut has a line of Infusible Ink™ Blanks that are specially formulated and tested to work with the Infusible Ink™ to give you the best results possible.
Be sure to check out all the information about the amazing new Cricut Infusible Ink™ and then head on into your nearest Michael’s store to pick up some fun products to get creative with.
If you’re looking for more fun Cricut projects, be sure to check out my gallery here.

Leave a Reply