Valentine’s day is this week! I’ve known this, but last night had the realization that I needed to get the rest of the Valentine’s done for my 4th grader to hand out in school. I’ll have him put them together with a little bit of help from me. 🙂 Anyway, before Valentine’s day gets here, I thought I’d share one last valentine project. This is such a fun one! It would make a great gift for anyone as well. Come along and I’ll show you how to make this Valentine Pillow Box with the Cricut Maker.

This Valentine Pillow Box with the Cricut Maker post contains affiliate links. If you click on an affiliate link and purchase something, you won’t pay anything extra, but it will help support this blog. All ideas and opinions are my own.
Valentine Pillow Box with the Cricut Maker Supplies:
- Cricut Maker
- Scoring Wheel
- Wavy Blade
- Fine Point Blade (included with the machine)
- Foil Acetate
- Red Glitter Cardstock
- Pink Tulle
- Hot Glue Gun
- Design Space Cut File

Open the Cricut Design Space Cut File. Because Design Space is now offline, these are the steps for opening the file. Click the link. Click “Open” (as long as you have already downloaded the offline version). Click “Open Design Space Desktop Application”. If there is an update on the offline version of Design Space, you may have to repeat the previous steps once the update is complete. The file should open. It may take a minute for the design to load. I know Cricut is still working things out with the new offline program, so hopefully opening projects will get easier. 
Once open, your screen should look similar to this.

When you click “Make it”, you’ll see the mats. Select your material, and once you’re ready to cut, you’ll be prompted to insert the Scoring Wheel. Watch the screen before unloading your mat, you may just need to change the blade.
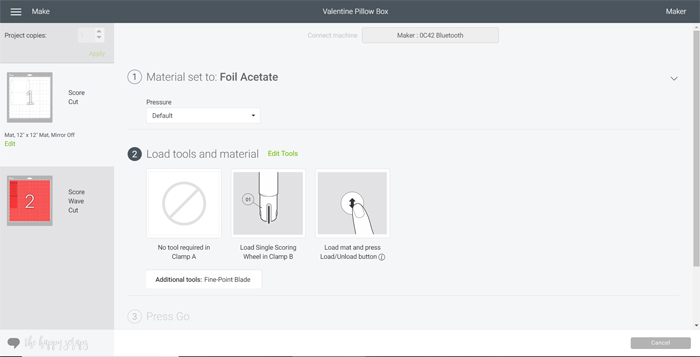
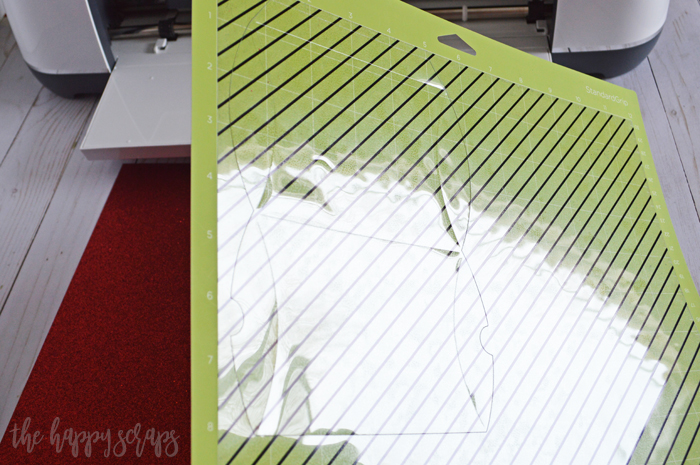
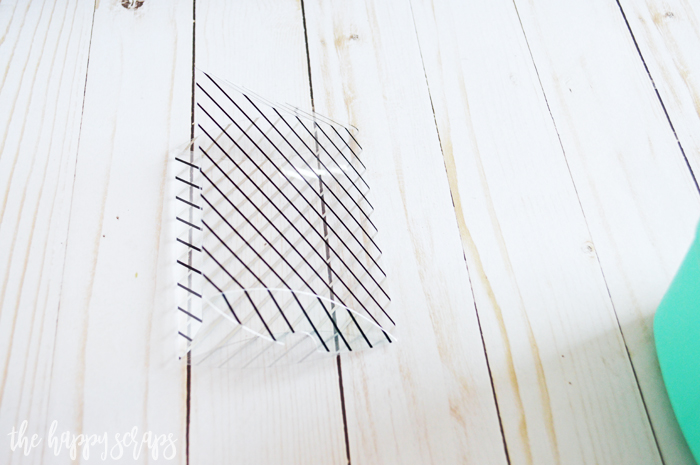
You’re foil acetate should look like this once it’s cut.
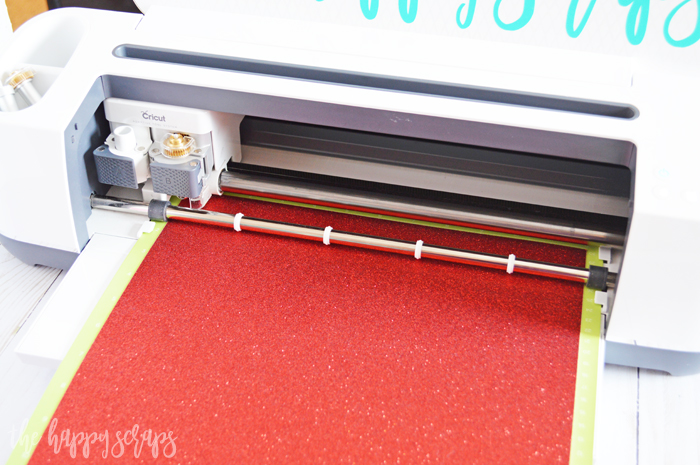
Next, you’ll cut the red glittered cardstock. For this you’ll need the scoring wheel, wavy blade, and fine point blade. Again, the prompts for these will be on the screen.
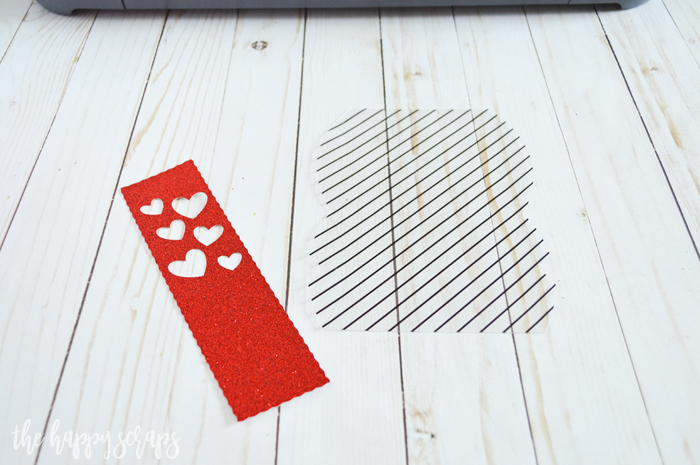
Once cut, removed the designs from the cutting mat.
Fold the foil acetate on the score lines.
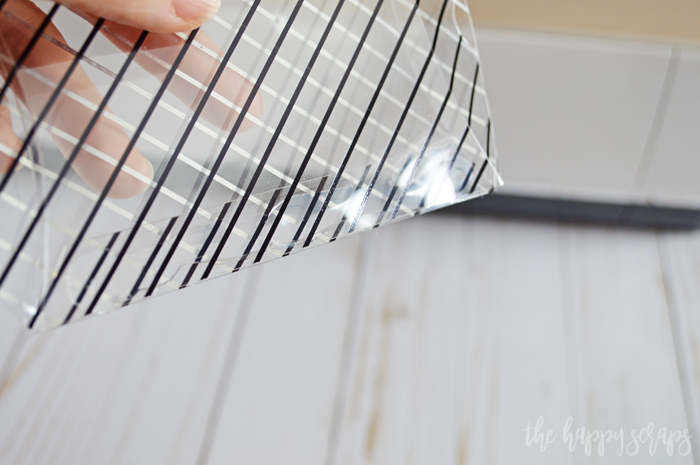
Use a hot glue gun to glue the seam of the pillow box.
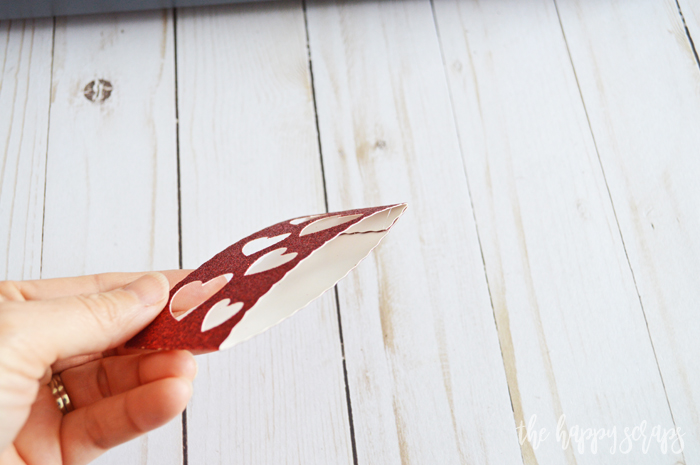
Fold the glitter cardstock on the score lines as well.
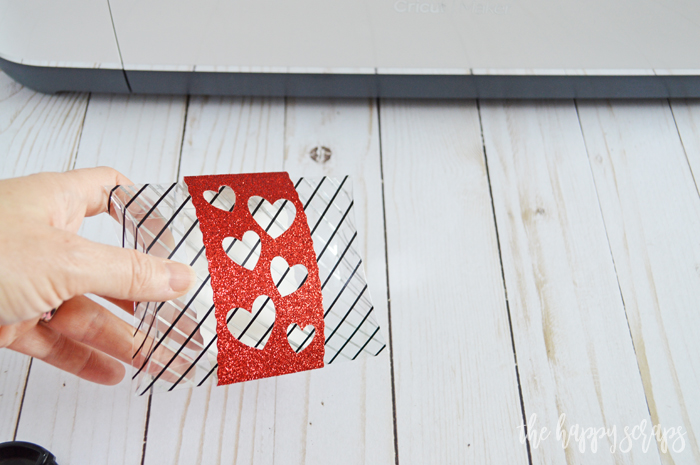
Make sure the heart band fits over the pillow box, then remove it.
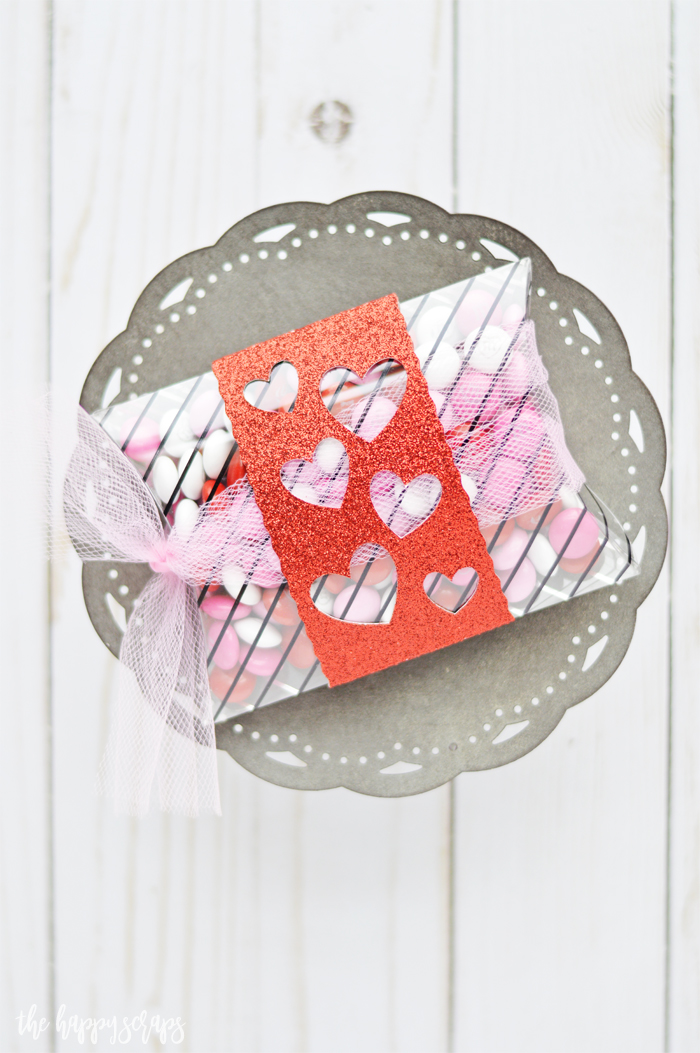
Measure your tulle, and tie it around your box, then slide the heart band back onto the box.
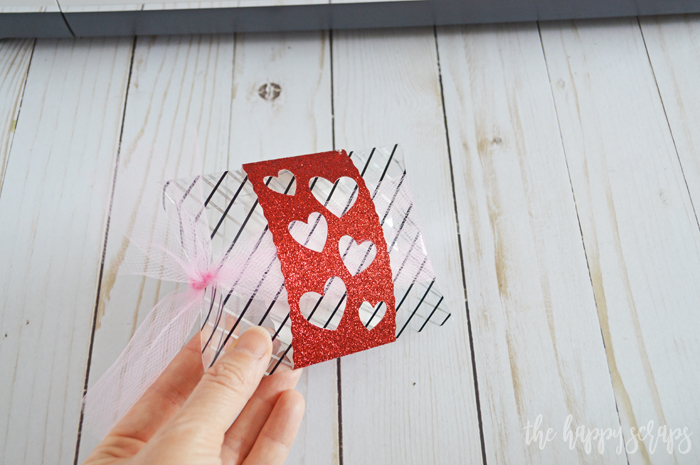
This fun Valentine Pillow Box with the Cricut Maker is all finished! It’s ready to be filled with a treat or other special items. Simply take the heart band and tulle off, fill the box, and replace them.
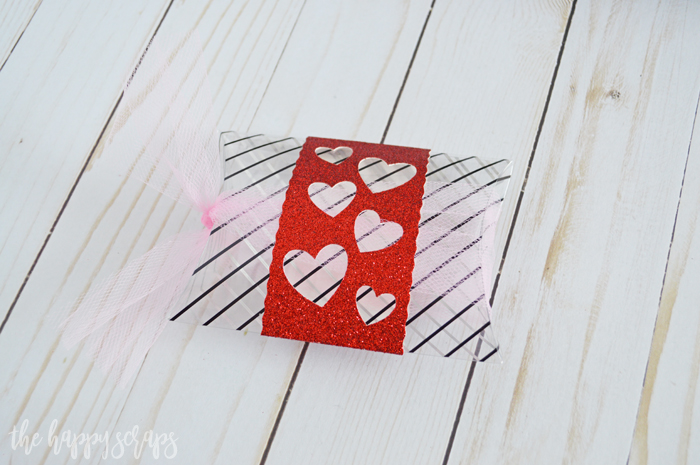
I filled this one with Valentine M & M’s. They are the perfect chocolaty treat to fill this cute box.
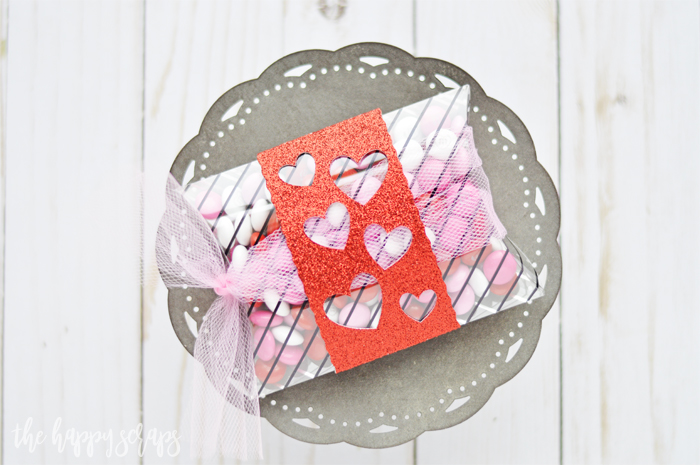
This Valentine Pillow Box would make a great little gift for your significant other!
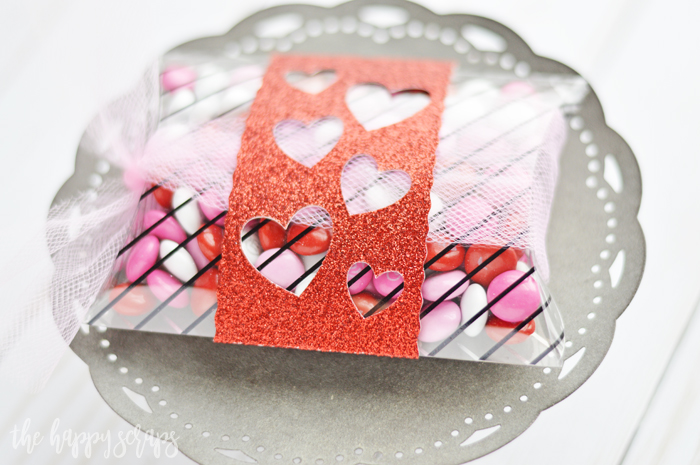
What kind of candy would you fill yours with?
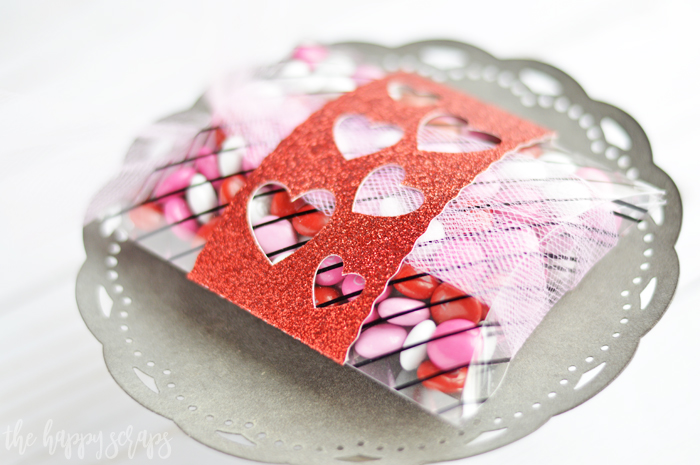
The combination of the red, black, and pink are the perfect combination for Valentine’s day, right?
If you enjoyed this Valentine Pillow Box post, then be sure to check out my other Valentine’s day posts as well as my Cricut posts.

Leave a Reply