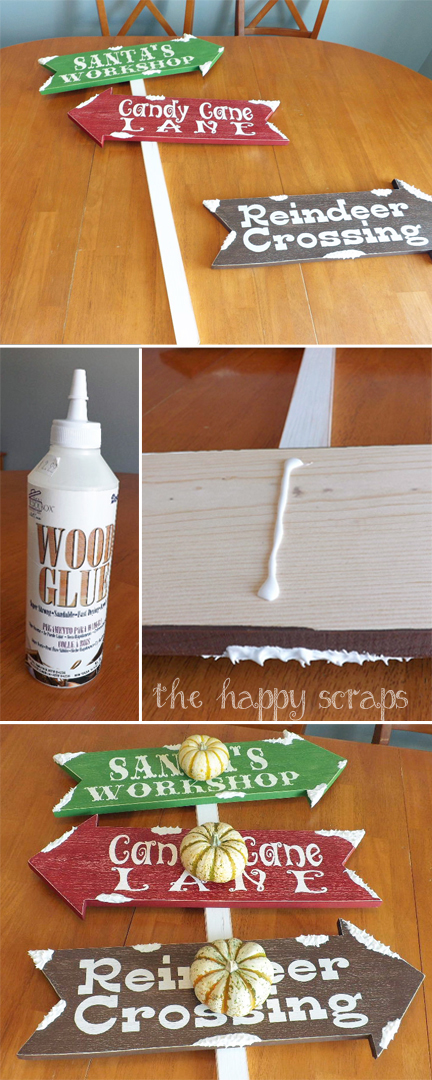
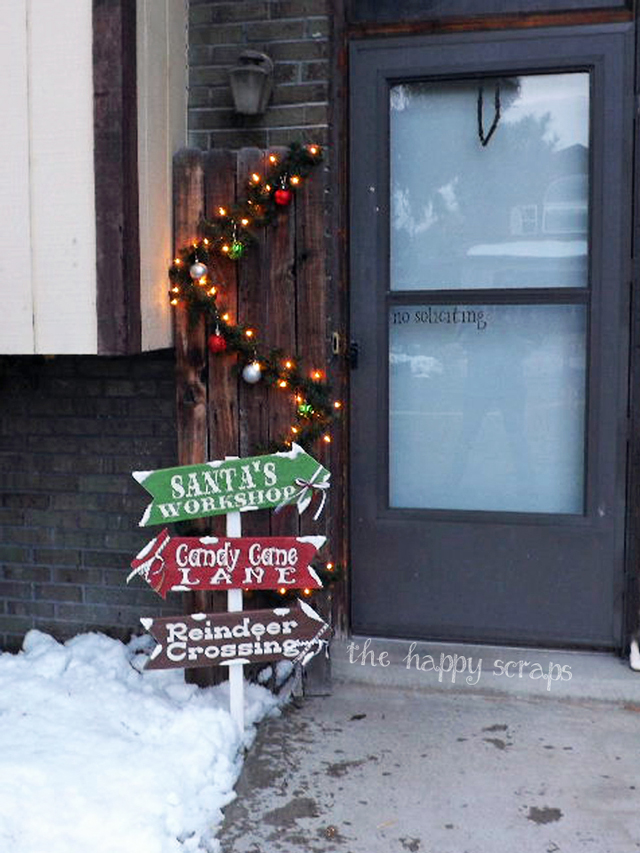
Have you seen the fun arrows that The Wood Connection has?! They are so fun! I’ve enjoyed decorating my front porch with them. After I did my Fall arrows, I knew I wanted to do some for Christmas as well, so when The Wood Connection asked me to do some Christmas arrows, I jumped at the chance. Let me show you how to make these.
I decided I wanted to do reverse vinyl on my arrows, so that I would be able to put them outside in the weather. The vinyl isn’t recommended for outdoor use.
I started by painting my arrows white, the color that I wanted my words to be. Using the transfer tape with the vinyl, I put the vinyl on. Then I painted over my vinyl, the color that I wanted my sign to be. It took two or three coats to get it as dark as I wanted. Make sure to let the paint dry well between coats. Once you have all your paint on, let it dry to the touch, and then start removing your vinyl. Mine did bleed a little bit underneath the vinyl when I painted, but I wasn’t worried about that, because I distressed it with a really fine sandpaper.
Once you have all your arrows painted and distressed, you are ready to “Let it Snow!” This “snow” was SO MUCH FUN to play with! You’ll want to stir it up before you start. You take the stick and just start putting it on where you want it. Once you have enough on, then use your stick to make some little peaks. When you have it looking just like you want it, you can add glitter if you choose. I just sprinkled it lightly on the top. You do have to let this dry for a while (I let mine dry for 24 hours). Once the “snow” was dry I sprayed my arrows with a sealer, to help the glitter stay on and to give the signs a little extra shine.
Now you are ready to put them on your post. I positioned mine how I wanted them, took them off again and then used the wood glue to put them on. Once they were glued, I put some weight on the arrows above where the glue was, to help it stay in place. I had to find something that wasn’t too big so it didn’t smash my “snow”. I let this dry for 15-20 minutes.
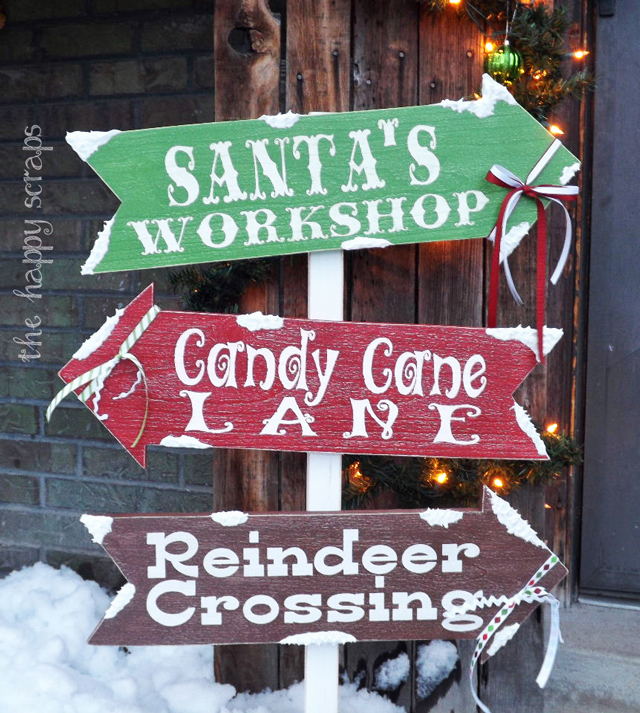
Once your glue is dry, embellish with some ribbon if you desire.
That’s it! You are all ready to take your cute sign outside and put it by your front door!
I’m sure that when Santa stops by he will think you’ve been extra good if you have these cute signs on your front porch!
I’m starting to get excited about getting all of my Christmas decorations out, are you?

Love your sign! Saw your link over at someday Crafts.
crosson5.blogspot.com
Love this! Pinning it now, great job 🙂
-Molly JustALittleCreativity.com
oh that “snow” is great!!!Came over from creations by kara…love your sign!
Darling! And where did you find that ‘snow’?
I’d love for you to come link up to my Show & Tell party. http://www.gingerlymade.com/2012/11/show-and-tell-3.html
Okay… I totally have the check out this store! Heading over to The Wood Connection now…. your stuff is just too cute not to duplicate.
Super cute!! I love it!
So, so cute!! I found you at Tatertots & Jello, where I posted my porch decorations too! But I’m in San Diego and a little jealous of that real snow you have there 🙂 Your blog is adorable!
xo,
Laurie @ Gallamore West
Here’s my porch… I even talked about your real snow! http://www.gallamorewest.com/2012/11/rustic-snow-day-porch.html
This is so cute! I love your “snow” on the sign! Thanks so much for coming out to the party at Clean and Scentsible. I will be featuring this tomorrow. Happy December!
Jenn 🙂
Amy I LOVE this!!!!
Very cute! Can I ask what font you used for the Candy cane lane sign? I love it!
Yes, just curious which fonts you used also?
I was also wondering what font you used?
These are wonderful!!! I just received my arrows from the wood connection!!! YES please let us know what fonts you used. And whats your favorite sealer?
THANK YOU for the inspiration. LOVE these!!
Hi,
I am wanting to know how you got your vinyl letters. I called out local print shop and it was going t orin about $50 for this to be printed!! Too much for a DIY project. Do you think I could just paint the letters with white paint? Thanks-such a cute project!!
I got the vinyl lettering for this project from The Wood Connection. You could contact them, and see if they still have the vinyl and possibly order some online. http://thewoodconnection.com/the-wood-connection-locations/
So you wouldn’t happen to know the fonts for these?
No, I don’t have any idea what fonts are used. I didn’t cut these myself. Sorry.
How big length & width are the arrows?
On the straight part of the arrow, where the words are, they are about 6″ tall. From tip to tail they are 22″ long.
Thanks for sharing Amy, it looks so cute!
Wondering what fonts were used and what sizes? Thank you!
I didn’t cut the vinyl for these arrows, I got it from The Wood Connection. I don’t know what the fonts are that they used. Sorry.
I know this is an old post, but did you buy the unfinished arrows from wood connection? If so, they don’t sell them anymore. Could you tell me the measurements (LxW) so I could possible make them? Thanks
The arrows are from The Wood Connection. You can reach out to [email protected] and see if she can help you. Because they are not my design, I want to leave it up to them if they want to give out the dimensions.