As some of you know, I was able to help out with my sister in laws wedding a couple of weeks ago. I posted about it on Facebook a little bit, and also shared some sneak peeks on Instagram. Between my mother in law and I we decorated the space. I honestly had so.much.fun making decorations for this and helping to pick out some of the other decor.
My sister in law wanted the vintage look along with chalkboards. She likes burlap and wanted to keep things simple. I think it turned out quite pretty, if I do say so myself!
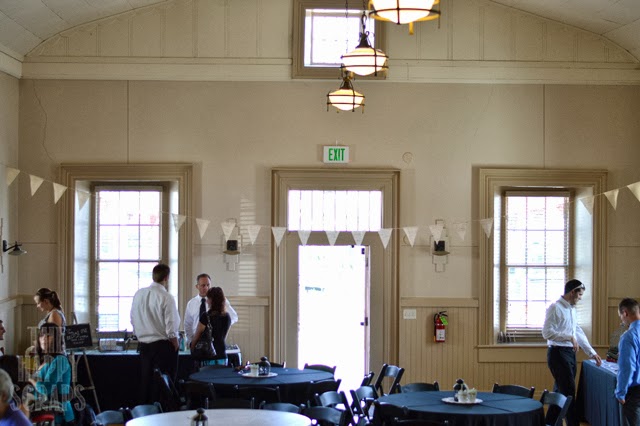
Let me just start by telling you about the day of the wedding. They had rented the cute little Pioneer Hall for the wedding. It isn’t huge and the cute building has a vintage feel to it. The wedding was scheduled to be held at 2:00pm immediately followed by the luncheon. Then the open house would start at 6:00pm. So we packed up all the decor and wearing our pajamas, headed over there to set up. We worked like crazy to get things set up. My husband and I left there at 12:40pm to get home and showered and get our selves and boys all ready and we were supposed to be back there by 1:30pm. I thought there was NO WAY! I figured I’d have to do my hair curly. (I have naturally curly hair and sometimes I put mousse in, but it isn’t my preferred way to style my hair, especially for a wedding.) Thank goodness I had picked up some dry shampoo a couple of weeks prior, and it worked like a champ this day! And I’m happy to report that we made it back to the wedding by 1:40! I couldn’t believe we made it!
I have to apologize for some of these pictures. They look grainy, the lighting wasn’t great, and I was trying to snap pictures quickly, I didn’t even get some of the pictures I wanted, that day was so crazy. 🙂
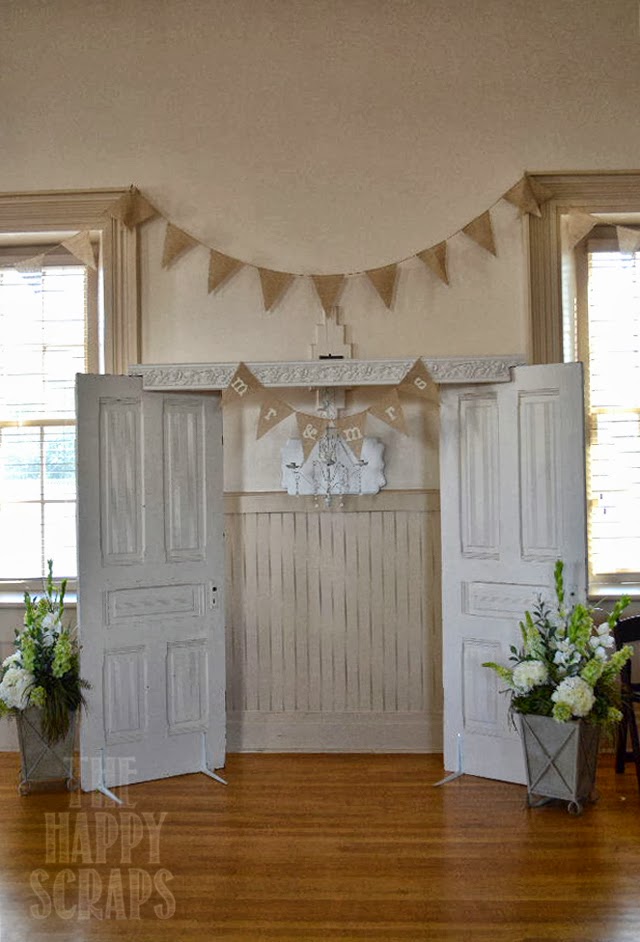
This is the backdrop. We rented the doors, floral boxes, and chandelier from Flower Patch. I made the Mr. & Mrs. burlap banner. I just cut vinyl out with my Cricut, using the Doodletype cartridge, and used the reverse vinyl technique to stencil the letters onto the burlap. Then I just hot glued the burlap to some twine. If you notice the white shaped plaque in this picture, we had a Occupancy 118 sign right smack dab in the middle of the backdrop. We were having quite the time trying to figure out how to cover it up, and it wasn’t working. When we ran home to get ready for the wedding, I grabbed a few different boards, and this is what we ended up using to cover it up. It might look a little out of place, but I’ll tell you, it looks 100 times better than having the brown occupancy sign!

Here is a better look at the Mr. & Mrs. banner.
Here is the part of the other burlap banner. I bought 2 yards of burlap and then traced triangles onto it. My sister in law cut them all out and then I glued them onto the twine. We ended up having enough to string it across the width of the building once, and then we put it across the wall that had the back drop. I only got one really bad blister from the glue gun while doing this. And this would be why I don’t create late into the night. 🙂 It never ends well. Ha!
The bride also had this trunk that she had people leave advice in. So I made a banner for that as well. I got there and the banner was too long, so I pulled it apart, and thank goodness I had brought my glue gun along, and was able to put it together so it would fit. I think this is such an adorable idea!
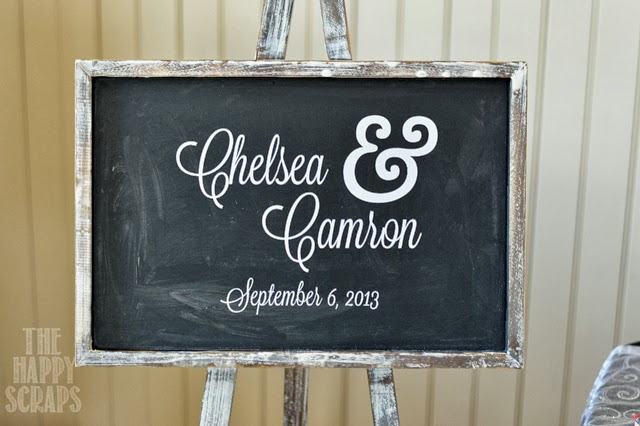
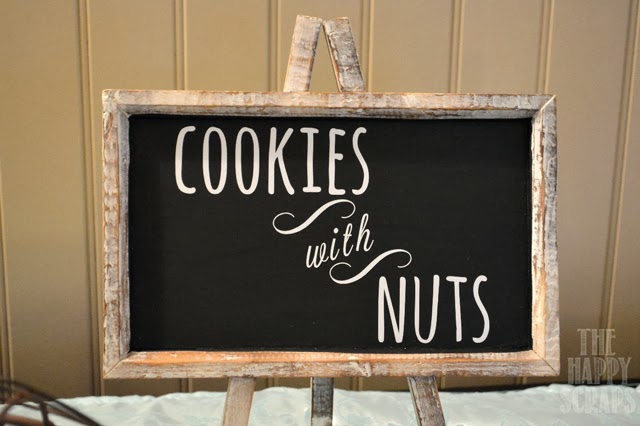
My mother in law and I found these adorable chalkboards, and they went perfectly with the style she was going for. My sister in law told me what she wanted on the boards, and then I cut the vinyl to look like chalk.
Here is another one of the chalkboards. Also, I made several of these photo blocks. I was lucky enough to get to take engagement pictures of these guys, so I just printed a few of the 8×10’s and then put them on the blocks.
I love this cute bird cage that they found to have people put cards in.

We used several chicken wire baskets, as well. I got almost every one of these from Pick Your Plum. The round one came from Taipan Trading.
There was another chalkboard and photo block at the book.
One thing that the bride wanted for the ceremony was this fun saying. I love it and think it turned out adorable. This is where we got our inspiration from.
Because the sign above was specific to the ceremony, I made a different vinyl to go on that board for the open house. SO, I had to change it out in between.
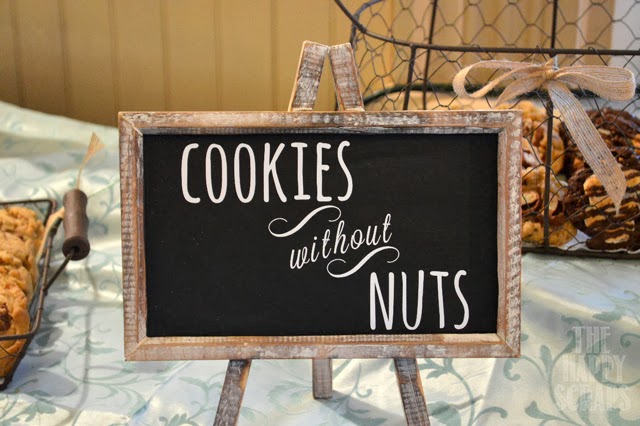
For the open house, we stayed with keeping it simple and we just had cookies and lemonade. The Pick Your Plum baskets worked perfectly for this.
Here are the small chalkboards that were used for the food.
The drink table. You can see what the occupancy sign looked like. There were two of them, one on each side of the room.
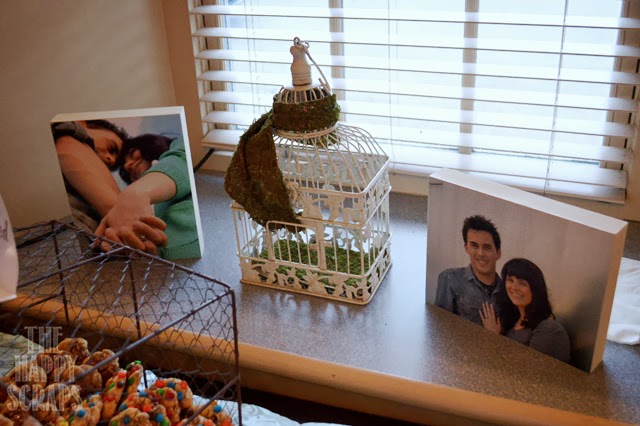
Here are a couple more photo blocks and a bird cage. The cage is also from Flower Patch.
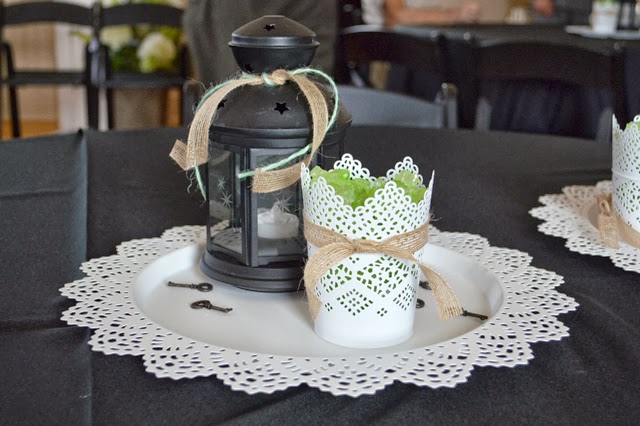
This is what we did for the center pieces for the open house. IKEA! The best part was, since we had to change up the room a couple of times, we just got these all ready before hand, and then just had to pick them up and set them on the tables once they were ready. We just added some ribbon and they were ready.
Here is the gift bench. We rented this from Flower Patch as well, and the gifts banner came with it! It was a perfect match! The yellow flower ball decor that you can see on the right hand side of this picture was also rented.
This was so fun for me to get to do! It was a lot of work, but so fun, and I’m thankful to Chelsea and Camron and my mother in law for letting me help and be a part of it! 🙂









Leave a Reply