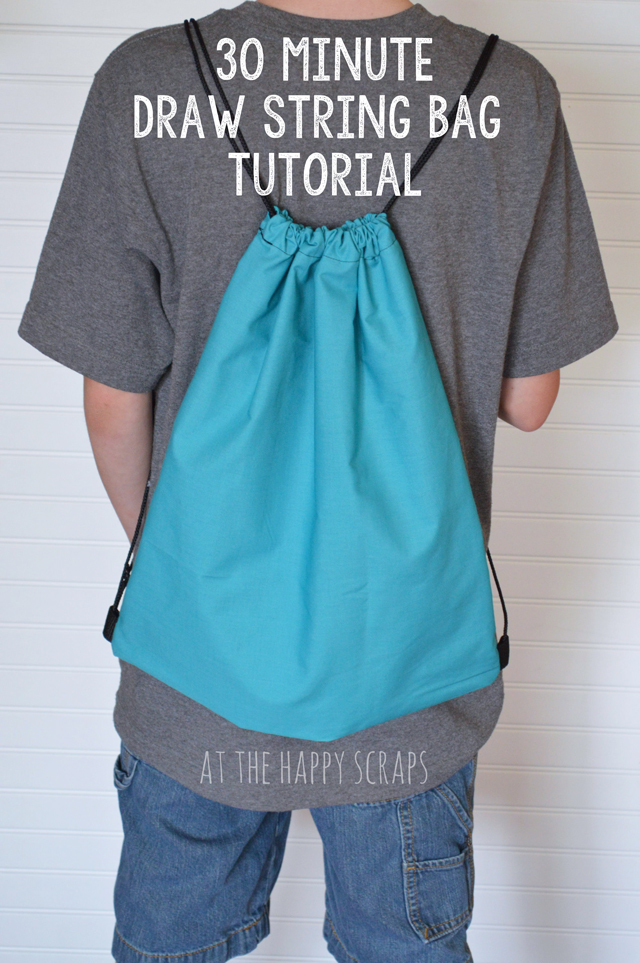
My oldest is going to middle school this year. He’ll be starting 6th grade in a couple of weeks, I’m not so sure I’m looking forward to him growing up like this, but what can I do? 🙂 I know he’ll be fine, he is a good kid, but sending them off to middle school is scary. I’m not looking forward to him going to high school in a few years! Anyway, when we went to the middle school orientation a few months ago, we were told that the kids could use a locker, but they recommended that they just use a bag. Not necessarily a back pack, but a draw string bag. So, I decided to see if I could figure out how to make one. It was fun figuring this out too, because I taught my soon to be 6th grader how to sew. It was some fun one on one time with him. (He doesn’t seem to get much one on one time with me since he has three younger brothers.) Today, I’m sharing the 30 minute Draw String Bag Tutorial with you. This post is picture heavy, but I hope that helps to show you how I made this.
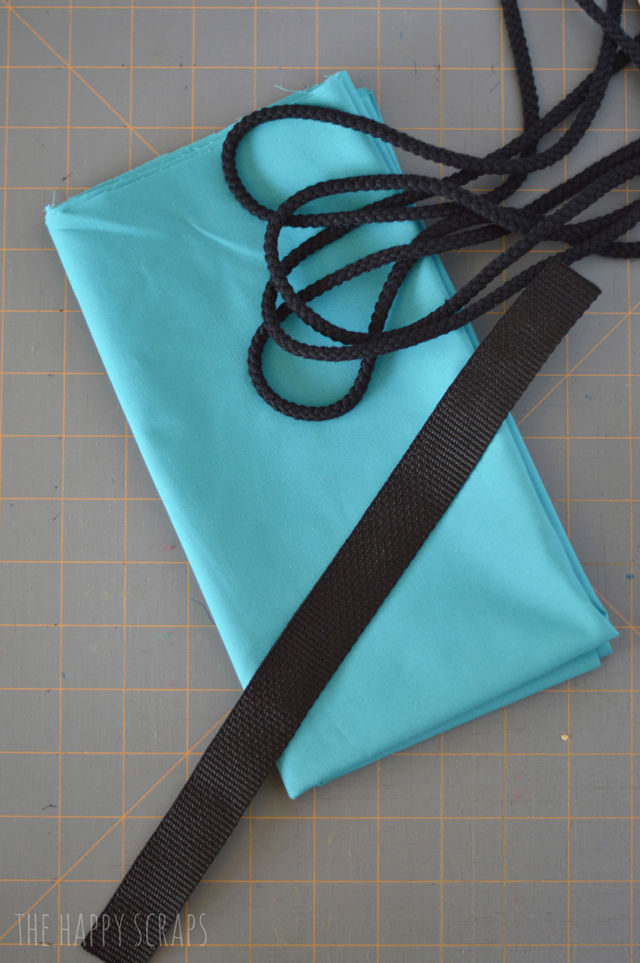
Start with your supplies. You’ll need:
- 1/2 yard of fabric (I used cotton, but if I were to do it again, I’d use something a little more durable)
- 4 yards cording (I tried to find nylon, but I couldn’t find any that was very large)
- 6″ webbing
- thread, scissors, cutting mat, rotary cutter
- sewing machine
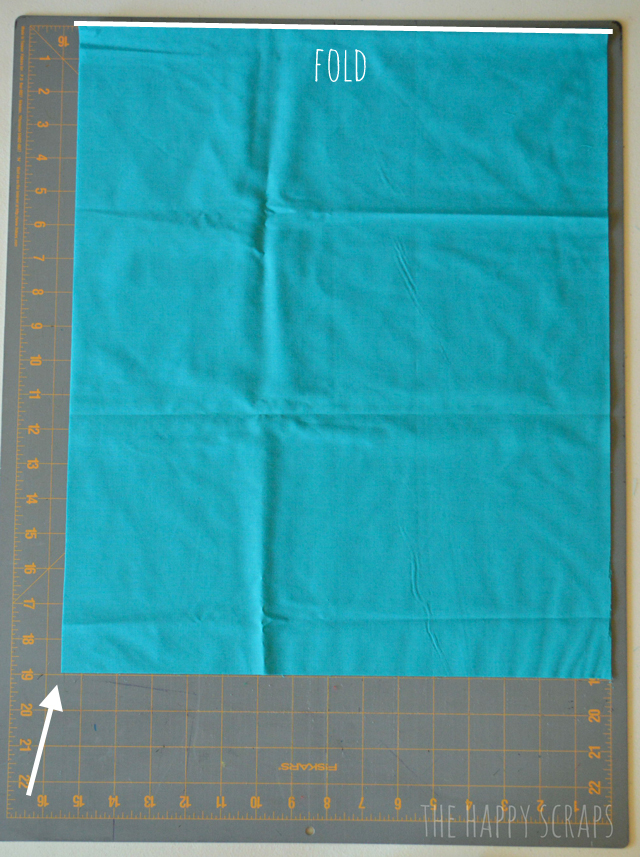
Start by cutting your fabric. Lay your fabric on your cutting mat, keeping a fold at the top. Cut your fabric to be 15.5″ wide by 19″ tall. If you were to open up your fabric after you cut it, it would be 15.5″ by 38″.
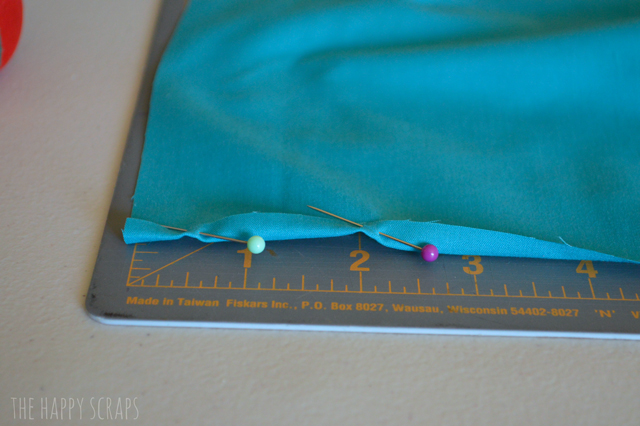
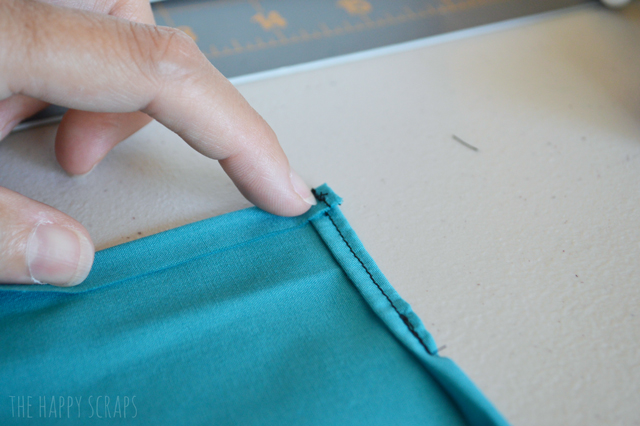
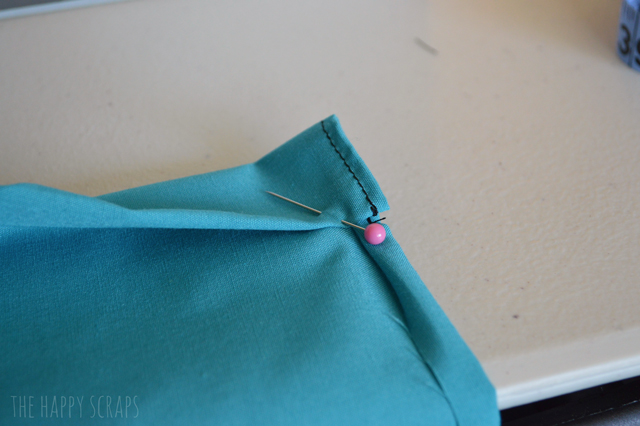
Open your fabric, and on each corner, you need to roll the fabric in about 1/4″ (you can double roll, for a more finished seam) and pin about 2 1/2″ down.
Sew a seam for about 2 1/2 inches. Once all four corners are sewn, fold the top down about 1/4″
and then again about 1″ and pin. Pin all the way across the top (the 15.5″ width).
Sew across the top. This is making sleeve for the string.
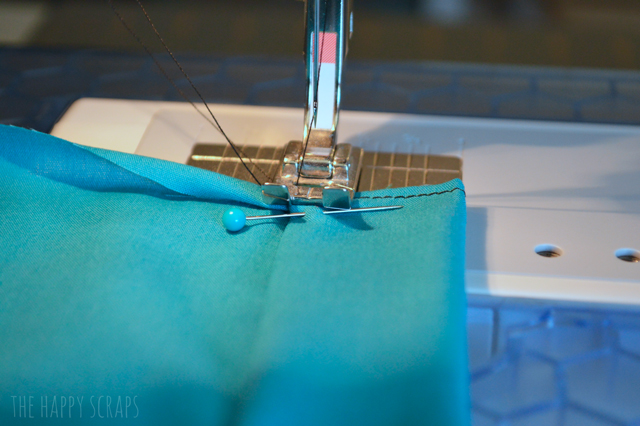
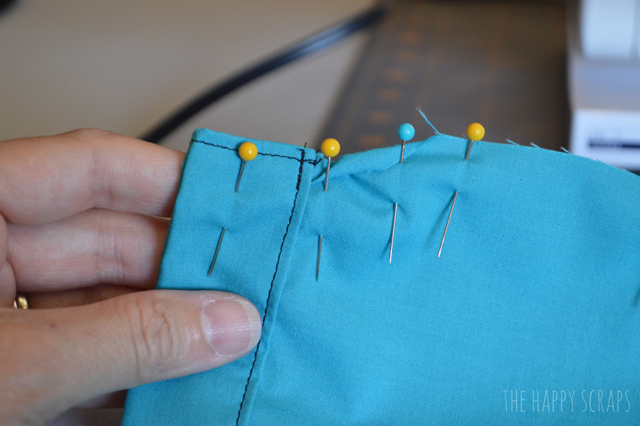
Once you have the top of both sides sewn, fold your fabric, right sides together, and start pinning the sides. Because you folded in the top, you need to pin it so it gets back to the width of the bag.
At the bottom corner, you need to add your webbing. I used a lighter to melt/finish the ends of the webbing before I put it in the bag. Use a 3″ piece and fold it in half. Line up the melted ends of the webbing with the edge of the bag, right at the bottom before the fold. Pin it well, so it stays in place. Once you sew along the edges, you’ll sew it into place. I went over it three times, to make sure it would have a good hold. Do this to both sides of the bag. Then trim the corners.
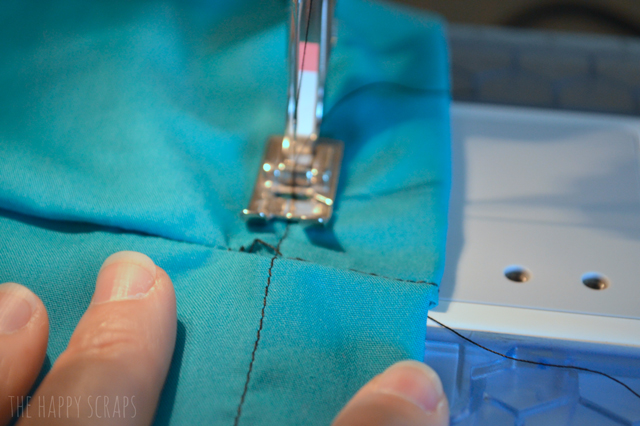
Now turn your bag right side out. It should be resembling a bag now. 🙂 At the top, you need to reinforce the seams. Just below the sleeve for the string, sew back and forth on it about 3 times. This will help it to hold up to the string being pulled through it constantly.
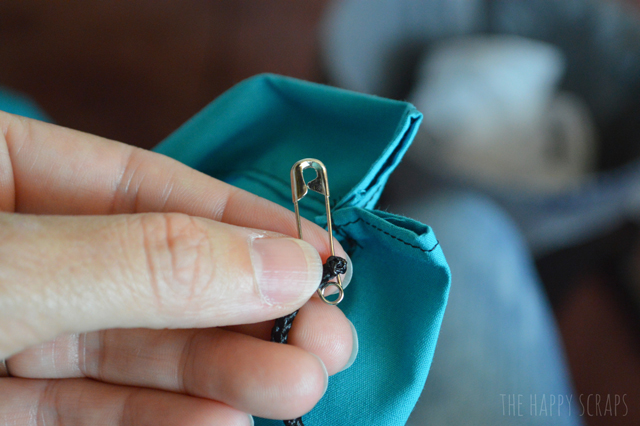
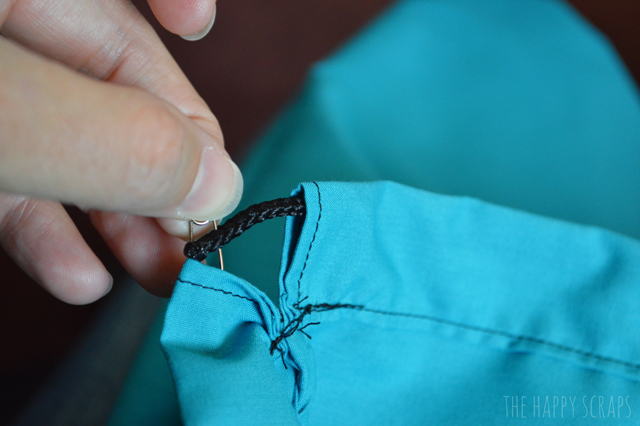
Cut your cord/string into two, 2 yard lengths. With your string, if you are using nylon, melt the ends. Put a safety pin through one end and start pushing it through one of the sleeves.
When you get to the end, turn, and push it back through the other sleeve.
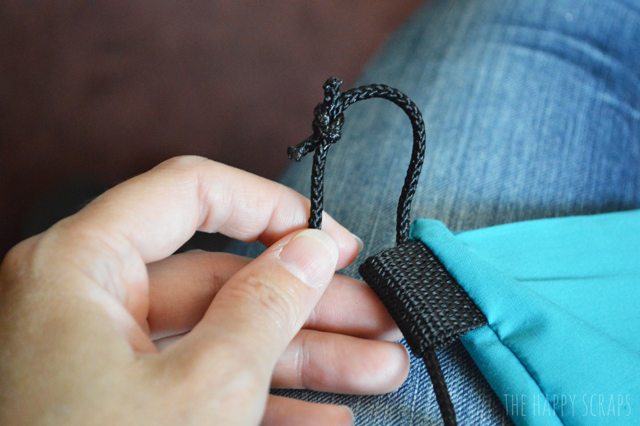
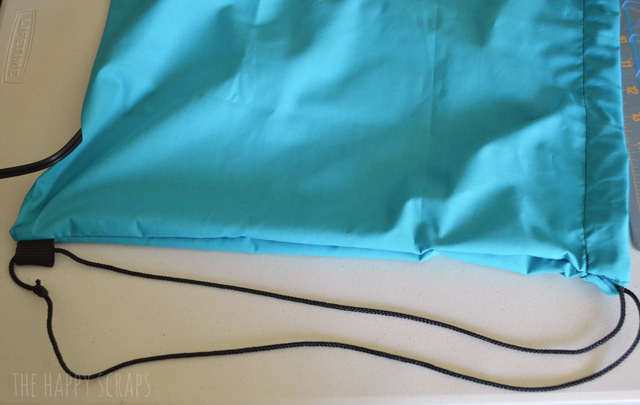
Even out the ends, so you have the same amount on each side. Take the strings down the side, put one through the webbing loop and then tie it.
It should look like this when you are done. Now do the same thing to the other side.
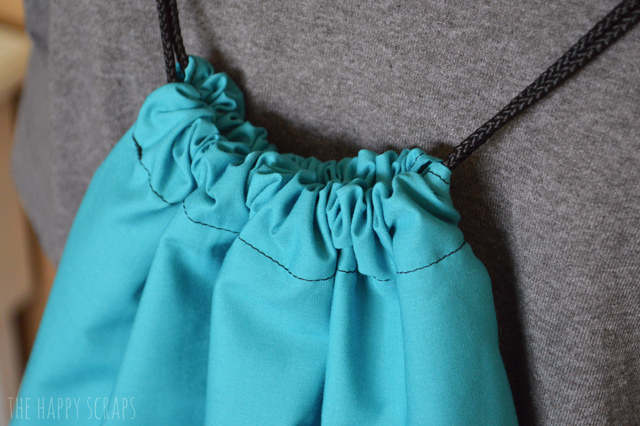
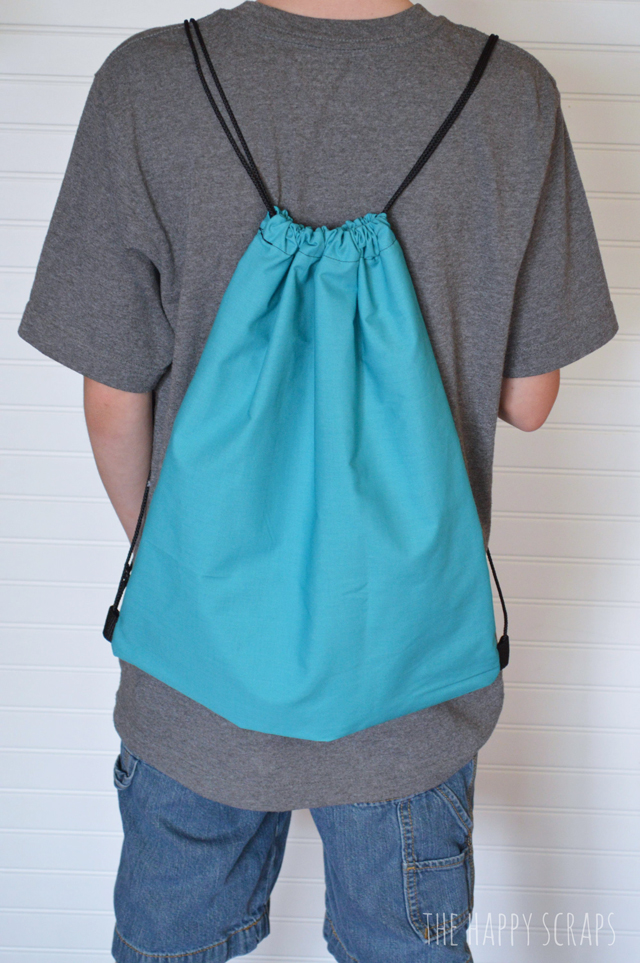
Once you have the string in and secure, you are finished! You should be able to pull both sides of the string, and the bag will close like this.
My son was so excited to make his own bag for school! You could whip some of these out for your kids, or help them make their own.
I hope this tutorial makes sense, but if it is clear as mud for you, please email me or comment and let me know what questions you have.


Leave a Reply