Disclosure: This project is being considered for a prize as part of the Cricut Design Space Star Challenge from Cricut.
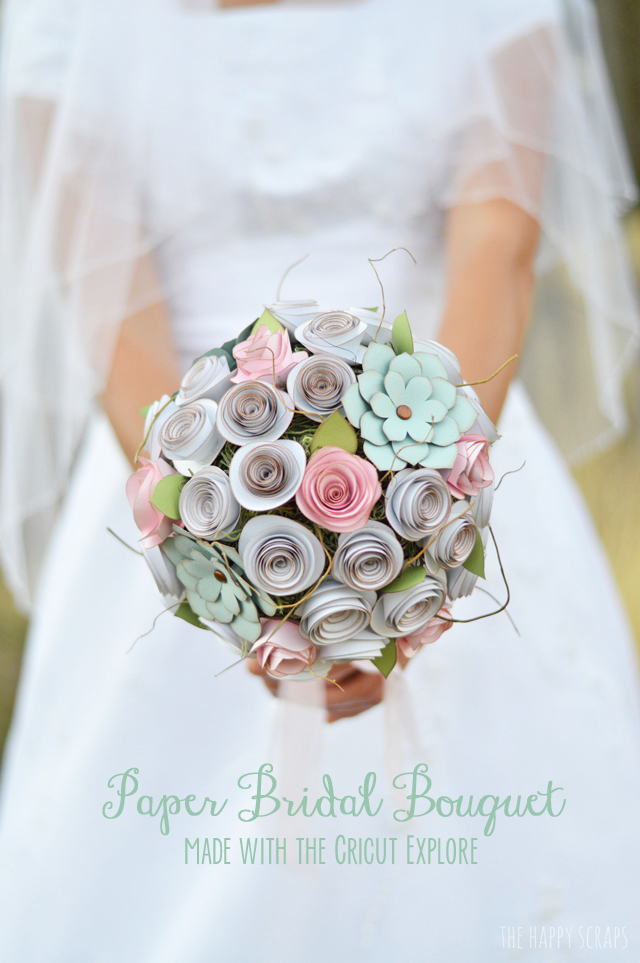
You know when you have a project idea in your head, and when you start creating it, you just hope that it turns out as well as you imagined it? Sometimes they don’t turn out at all, but in this case, this DIY Paper Bridal Bouquet turned out WAY better than I had imagined. So much so, I have butterflies because I am SO excited to share it with you! The overall theme for September for the Cricut Design Space Star Challenge is Wedding/Celebrations and Team 14 (my team) chose a Floral/Woodland theme for our group. I will add links to all of my teams posts at the bottom as they become available.
To make one of these for yourself, you will need:
- Cricut Explore
- 15-17 sheets of white cardstock (I used Core’Dinations Pearl cardstock that has a shimmer to it)
- 3 sheets of light pink cardstock
- 1 sheet of mint cardstock (succulent flowers)
- 1 sheet of light green cardstock (leaves)
- 1 brown ink pad
- 1 cosmetic wedge (optional)
- bundle of sticks with various sizes
- 5″ styrofoam ball
- spanish moss
- brads
- burlap ribbon
- sheer pink ribbon
- glue gun & LOTS of glue sticks for it
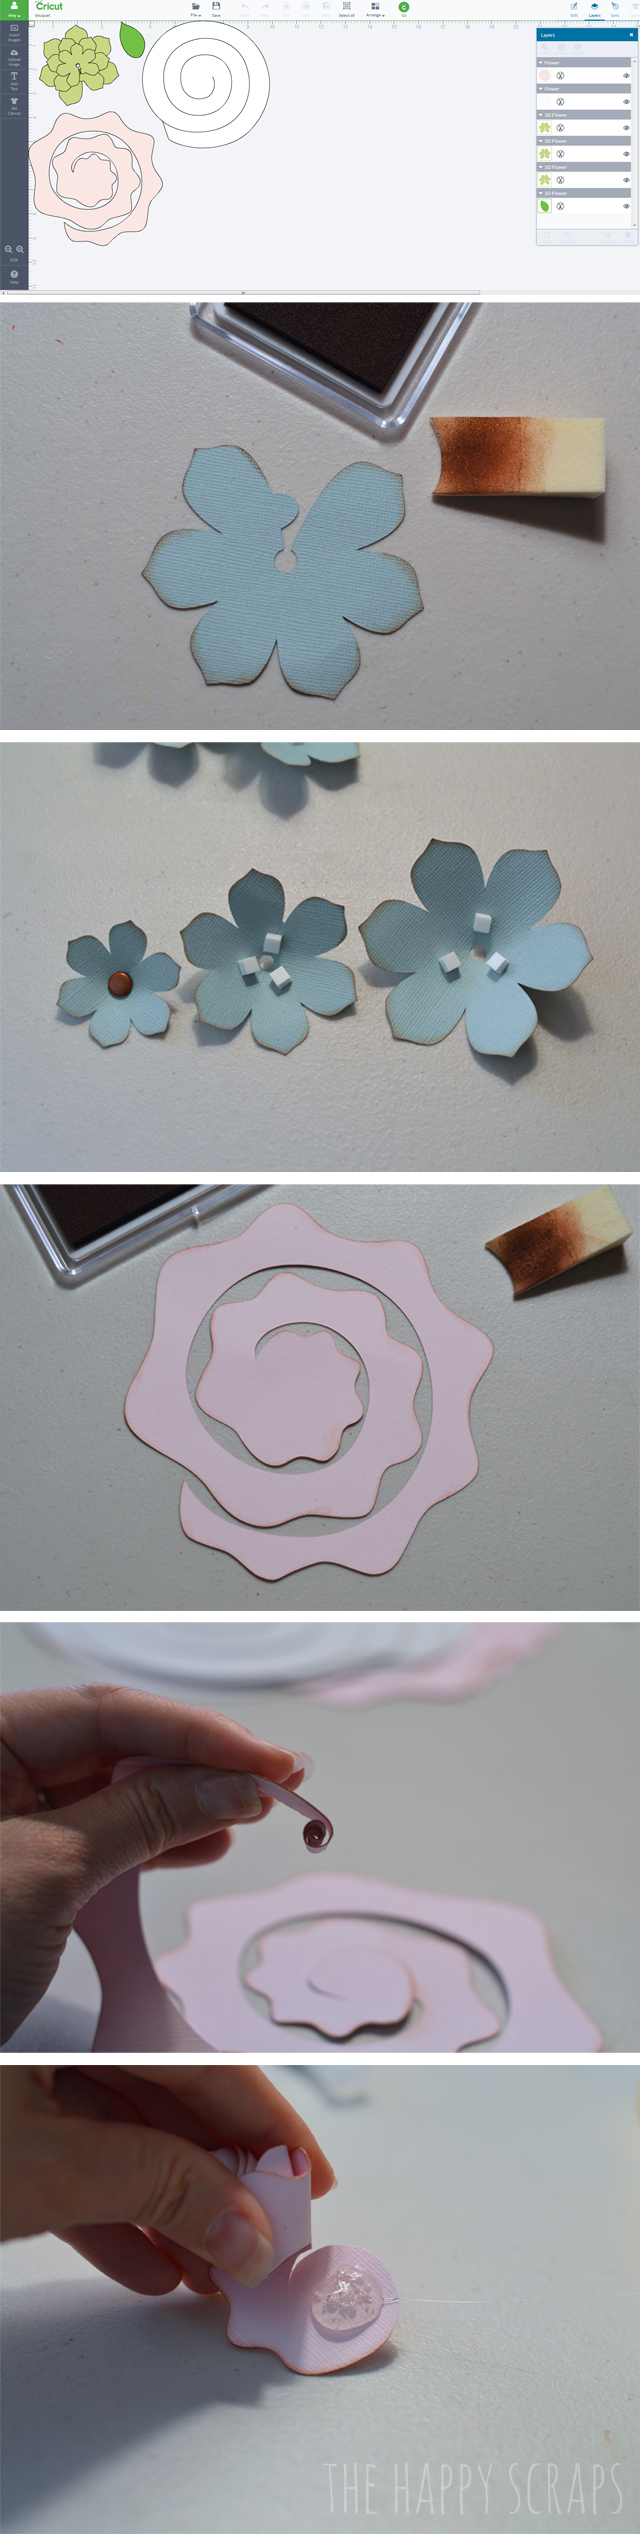
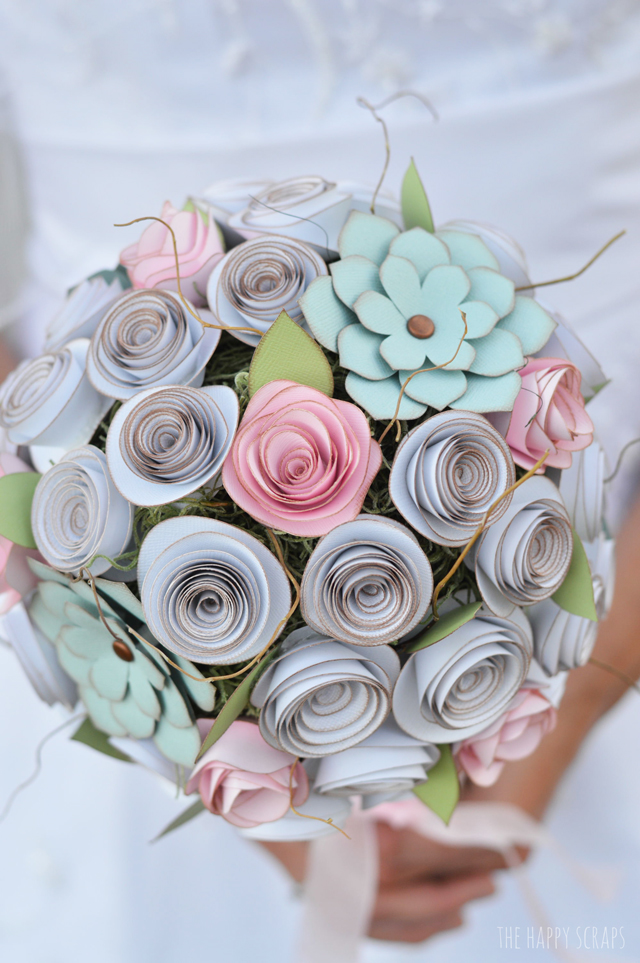
After you collect your supplies, you’ll need to cut your flowers. I cut out 68 white flowers, 12 pink flowers, 20 leaves, and five mint succulent flowers. I did have some white and pink flowers left when I was finished. You could probably cut 60 white flowers total. Here is a link to the file I used to cut my flowers. Using the cosmetic wedge, or just the edge of your ink pad, ink all the edges of your paper. This will take a while. 🙂 You could skip this step if you’d like. Once you have your flowers edges all inked, you can assemble the flowers. For the succulents, I used two layers thick of foam adhesive squares. So six on each layer to have them spaced properly. For the white and pink flowers, you just roll them up and glue them once you get to the center. I have a better tutorial for them here, if you’d like to see.
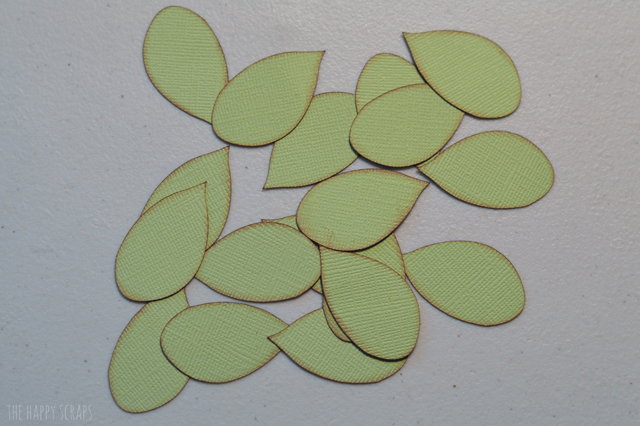
These are the leaves after they were all inked.
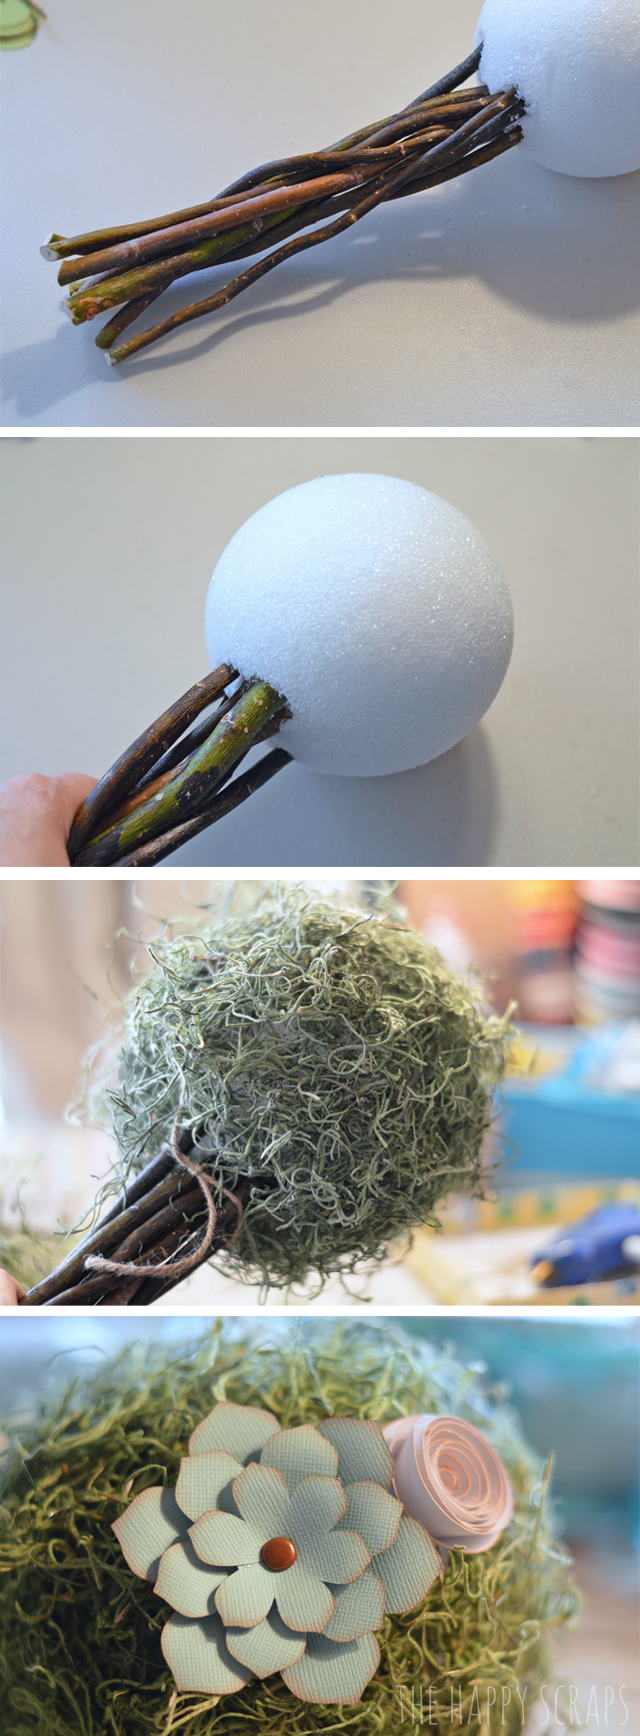
Once you have all the flowers rolled up, the really time consuming part is done. 🙂 Using your sticks, cut a bundle a little longer than the length you want for the handle. Hold them together as tight as possible and push them up into the styrofoam ball, just a little bit. Once you have them up in there, add hot glue to make sure they are secure. Once that dries, use the hot glue to glue your spanish moss to the styrofoam ball. It doesn’t have to be perfect because it will mostly be covered up with flowers. Now that you have the moss on, you can start gluing your flowers on. Because of the moss, you’ll have to hold the flowers tight against the styrofoam until it dries. Some of my flowers needed a little extra glue added after I had them glued on, because they felt loose.
Just keep gluing until you have this!! Once I had my flowers on, I added the leaves, and then put some really small sticks in the bouquet. I used burlap ribbon to wrap around the handle, and then added some sheer pink ribbon. Simple and elegant!

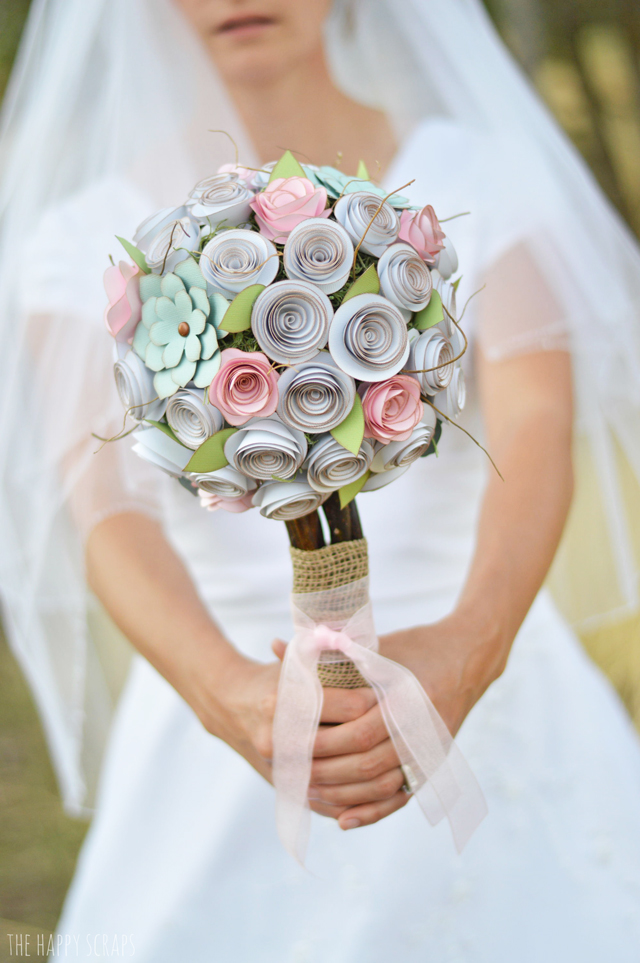
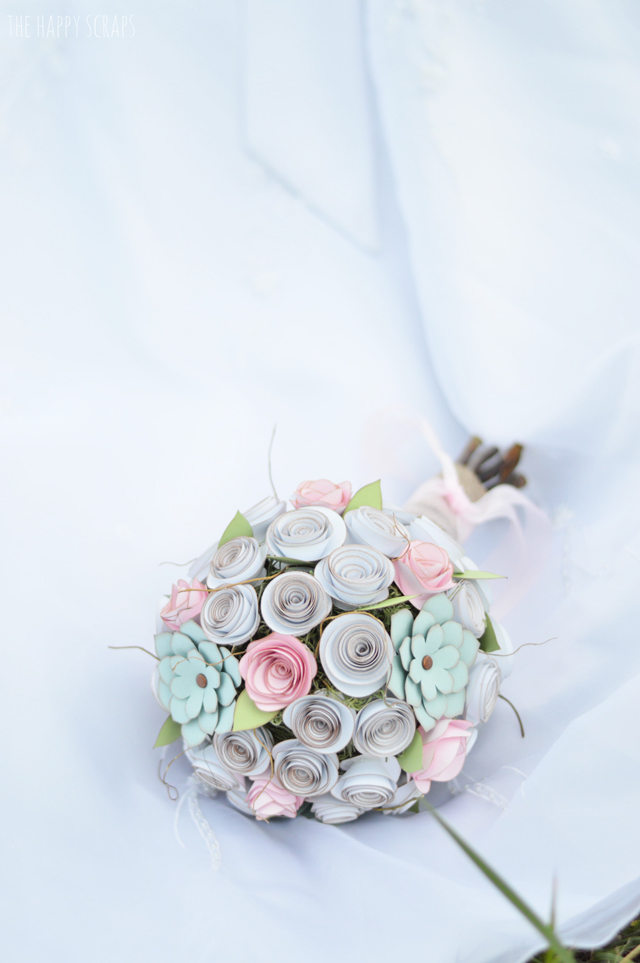
Wouldn’t you want to carry this for your bouquet?? And, it wouldn’t die when you were done, you’d be able to keep it forever!

Just a few last things. Have you heard of the Cricut – I Made It contest? Read below!
It’s time your creativity pays off so you can really make it. Cricut has just announced the second phase of the Cricut – I Made It! contest and this time they’re awarding one winner their own Make it Now™ project line to be sold in Cricut Design Space™!
To help create your line, Cricut will fly you to their headquarters in Salt Lake City to work side-by-side with their design team. Then you and a guest (you could always pick me!!) will enjoy an all-expense paid stay at the Grand America Hotel – a luxury resort in Salt Lake City, home to the best skiing in the world.
The winner will be featured on Cricut.com and every time a Cricut user purchases your project, you’ll earn money. Cha-ching! Cricut will even help with your publicity.
Cricut has partnered with the The Design Network – a premier online design channel – to showcase the Cricut- I Made It! winner this fall. You’ll get a spotlight feature on a network dedicated to celebrating great designers and their creative star power.
Cricut’s judges, including DIY Diva Alison Deyette and two creative directors from Cricut, will pick 50 finalists from the best project entries based on creativity, use of materials and technique. Who will pick the ultimate winner? You, the public, will vote online in October.
To enter the Cricut – I Made It! contest, all you need is a photo of an original project. You can upload up to five photos (which can be five individual projects or multiple photos of one project).
You have until September 30, 2014 to enter. What are you waiting for? It’s time you Made It big! Head to cricut.com to enter today.

- Kim at 733 Blog created a DIY Rustic Wedding Invitation. You don’t want to miss it!
- Asia from A Sparrow’s Nest created this amazing Woodland Tablescape.
- This Paper Flower Wedding Chandelier that Melanie from Artzy Creations made, is stunning!
- These Monogram Favor/Gift Tags from Rachel at Pencil Shavings Studio, are Gorgeous.

Leave a Reply