Disclosure: I was provided some of the product used in this post by Stampin’ Up!, but all opinions are 100% my own.
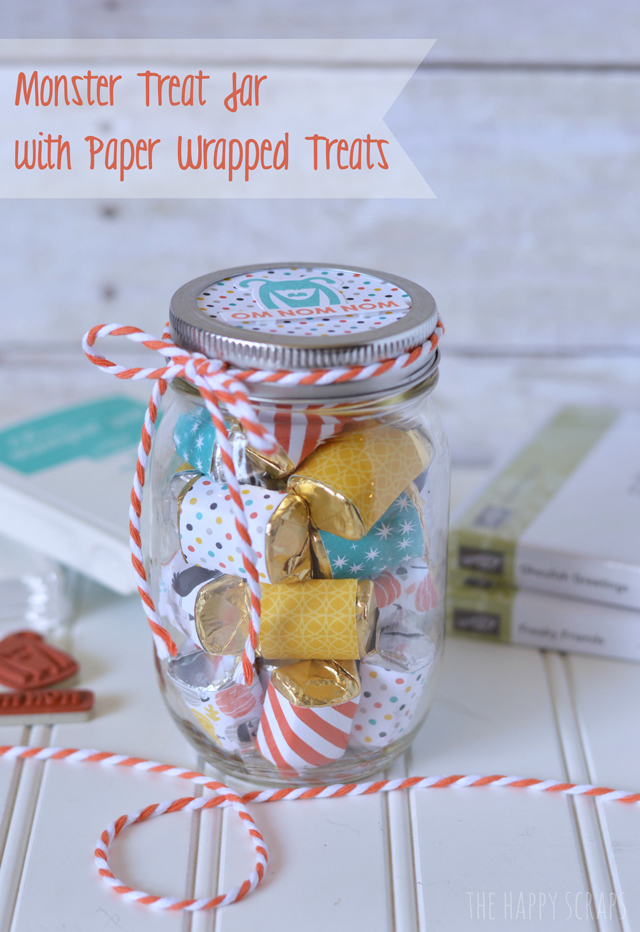
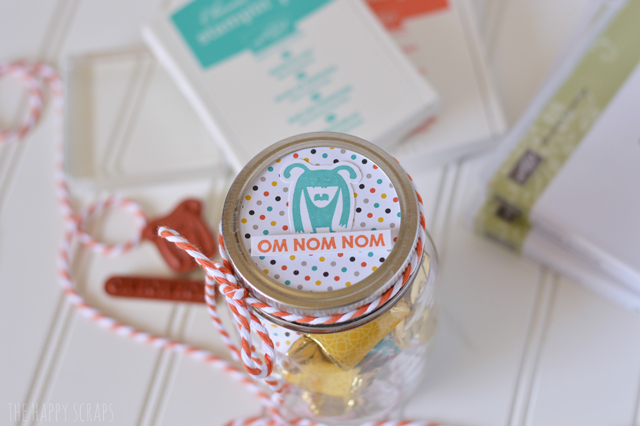
Today I am sharing my first Halloween project with you. This is a fun and simple one! This Monster Treat Jar was so fun to put together, but it also came together really easily and quickly. It would be perfect to give to a friend, or teacher for Halloween, but you can also just keep it for yourself.
To make your own, you’ll need:
- Ghoulish Greetings Stamp Set
- Freaky Friends Stamp Set
- Motley Monsters Designer Series Paper
- White & Tangerine Tange Two-Tone Trim
- Whisper White Cardstock
- Stamp Block
- Bermuda Bay Classic Stampin’ Pad
- Tangerine Tango Classic Stampin’ Pad
- Paper trimmer
- Scissors
- Adhesive
- Stampin’ Dimensionals
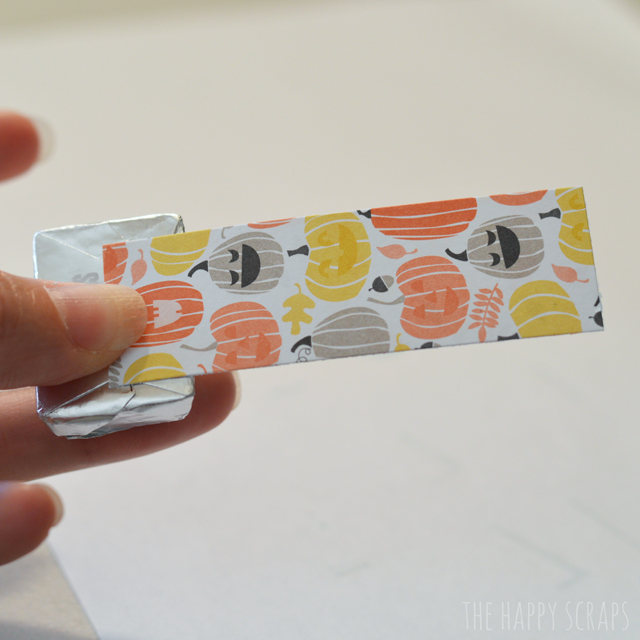
Ok, let’s get started. Let’s wrap up our candy! Cut some 1″ strips from the Motley Monsters Designer Series Paper. Once you have your 1″ strips, cut them into 3″ lengths. Use your adhesive on the back side of one end of the paper strip.
Using the end that DOES NOT have adhesive on it, hold it in the middle of the back of your candy. I used Hershey’s Nuggets.
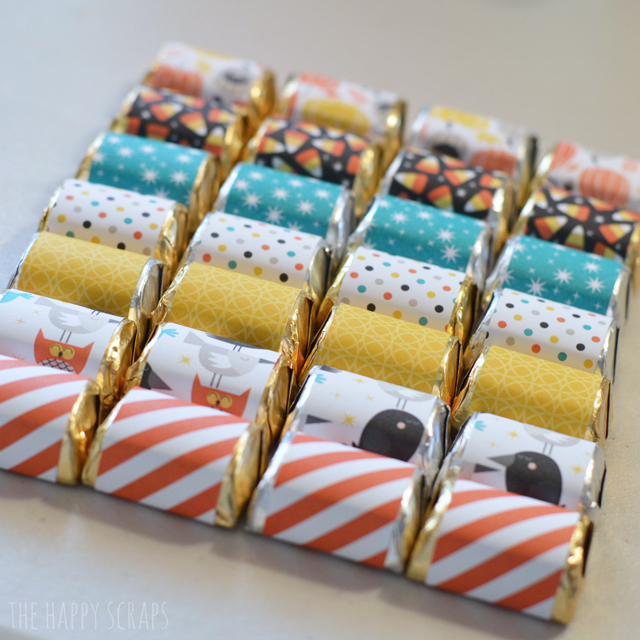
Wrap the paper around the candy, and stick it back to itself with the end that you put the adhesive on. This makes it easy to get the paper off the candy. You can slide it right off.
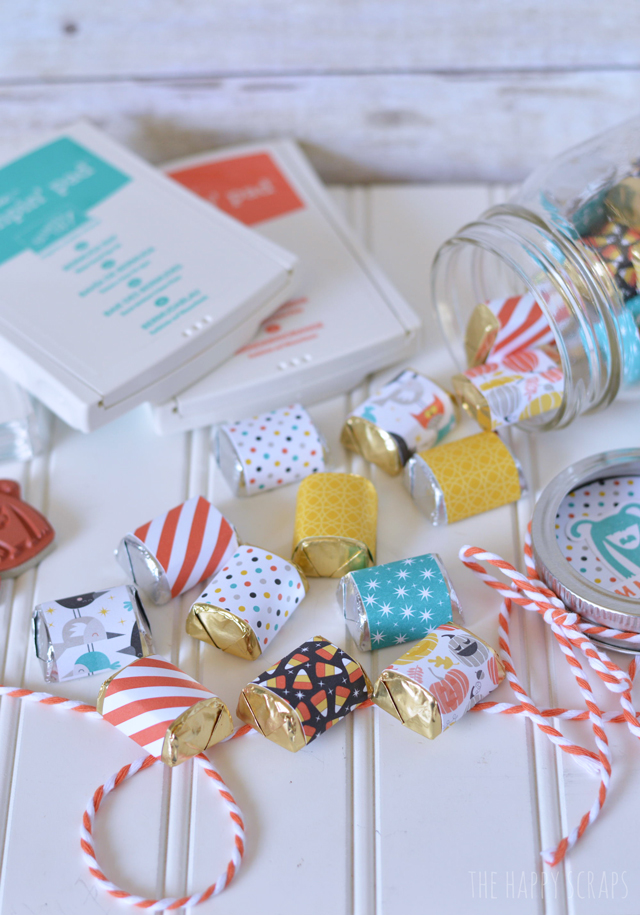
Use several different papers to give variety on the candy.
Put all your little treats into a pint size mason jar.
Trace your lid insert onto patterned paper. Cut it out. Now, get out your stamp sets, whisper white cardstock, and ink. Stamp your images onto the white cardstock. Cut them out. Use your adhesive to stick the monster onto the lid. Grab the Stampin’ Dimensionals and adhere the OM NOM NOM stamp to the lid as well.
Finish it off by tying some White & Tangering Tango Two-Tone Trim around the lid. Now you are finished.
Sit back and enjoy some chocolate! 🙂
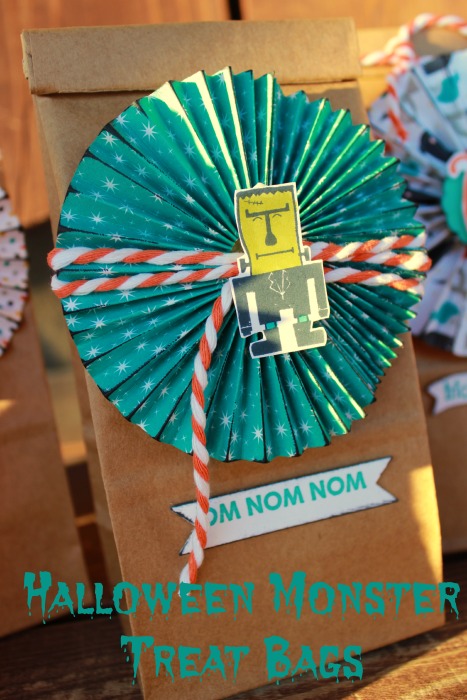
If you’d like to see another project made using the same supplies, jump on over to Summer Scraps. She is sharing these fun Halloween Monster Treat Bags.




Leave a Reply