This project was originally created and shared on the Core’dinations blog. You can see it here.
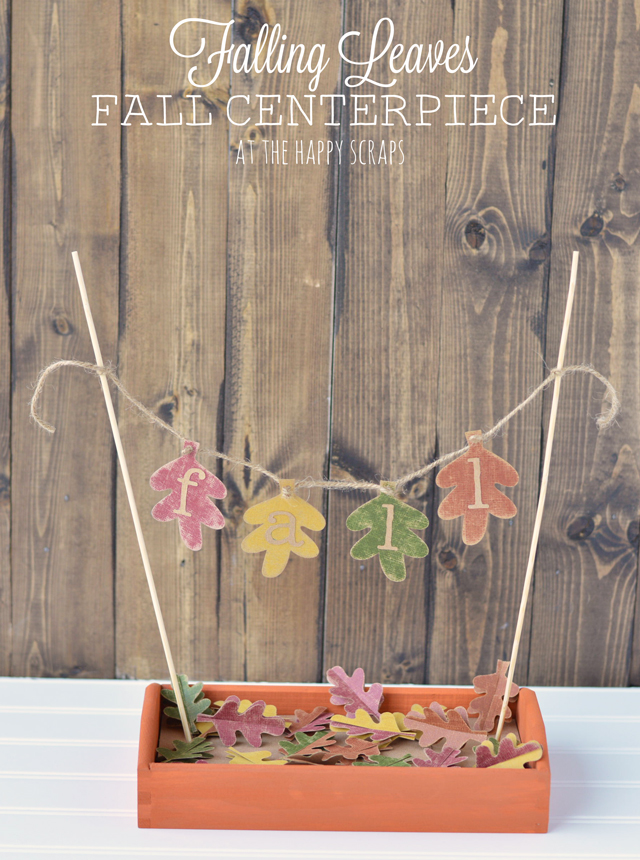
I don’t think I’ve said much about this, but a little while back, I found out that I was chosen to be on the Core Blog Design Team. It is pretty exciting! I get to post on their blog a couple of times a month (through December), and so far, it has been fun. This is the first project that I shared on their blog, and today, I’m sharing it with you!
You’ll need these supplies or some similar: (I’m linking to these products so you know exactly what I’m referring to. Some of these are affiliate links.)
- Tim Holtz Kraft-Core Nostalgic Collection (Fall colors)
- Sand It Gadget
- Kraft Cardstock
- Wood Box Tray
- Foam Core Board (I got mine at the dollar store)
- Paint
- Paint Brush
- Bamboo Skewers
- Jute Twine
- Scissors
- Hole Punch
- Cricut Explore Machine
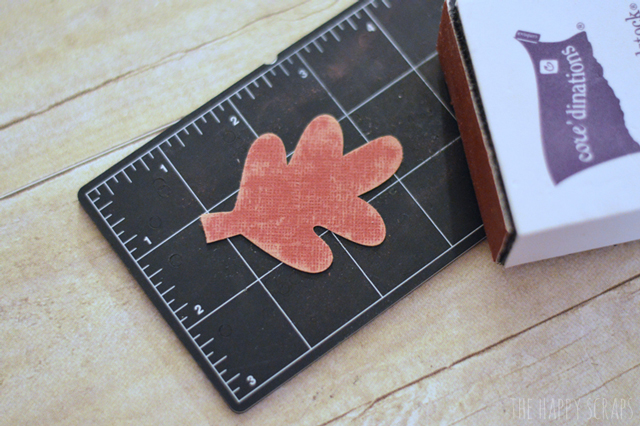
I started by cutting out some leaves and “fall” letters.
This paper is so fun because you can sand it and it will show a different color coming through from the back. Using the Sand It Gadget, I sanded my leaves,
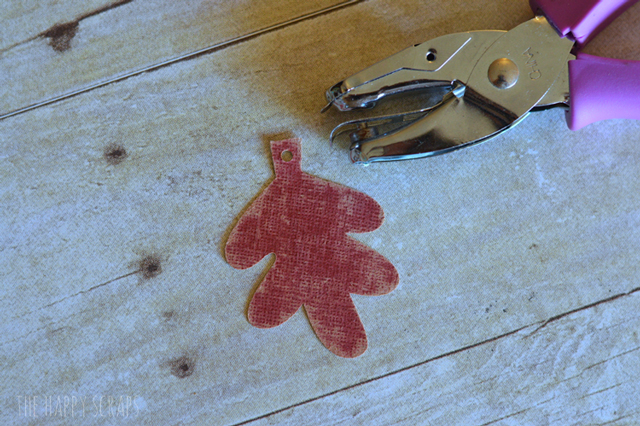
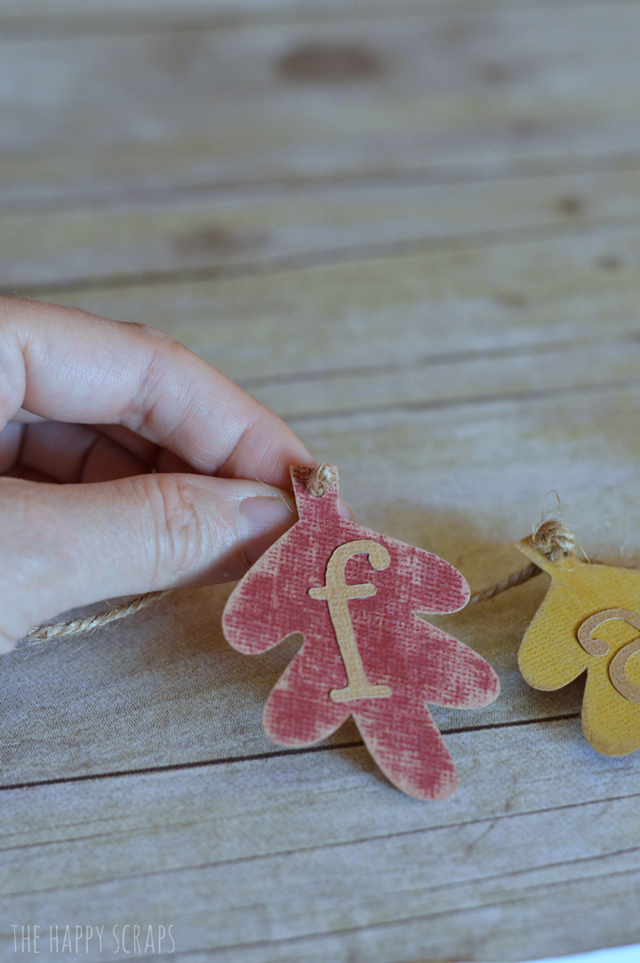
Once sanded, use your hole punch to punch a small hole in the top of the leaf. Glue your letters onto the leaves.
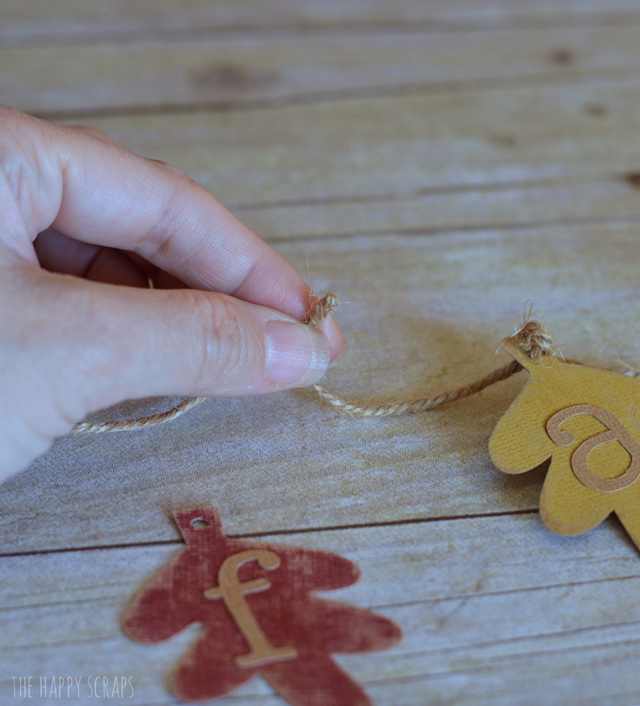
Measure how long your strand of jute twine needs to be, and add a little extra, just to make sure you have enough. To hang your leaves, create a loop.
Then slip the leaf onto the twine. Because it is looped, there is no need to tie it.
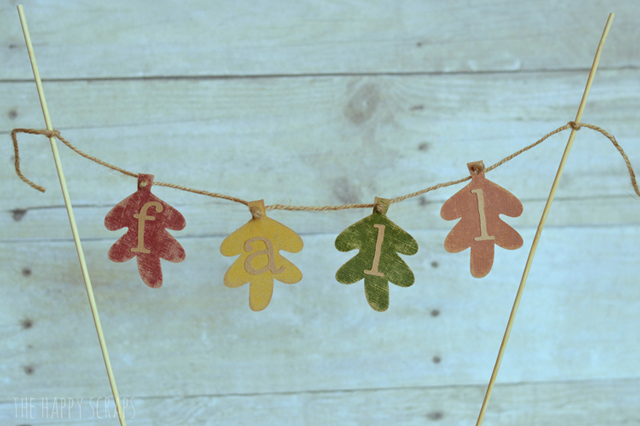
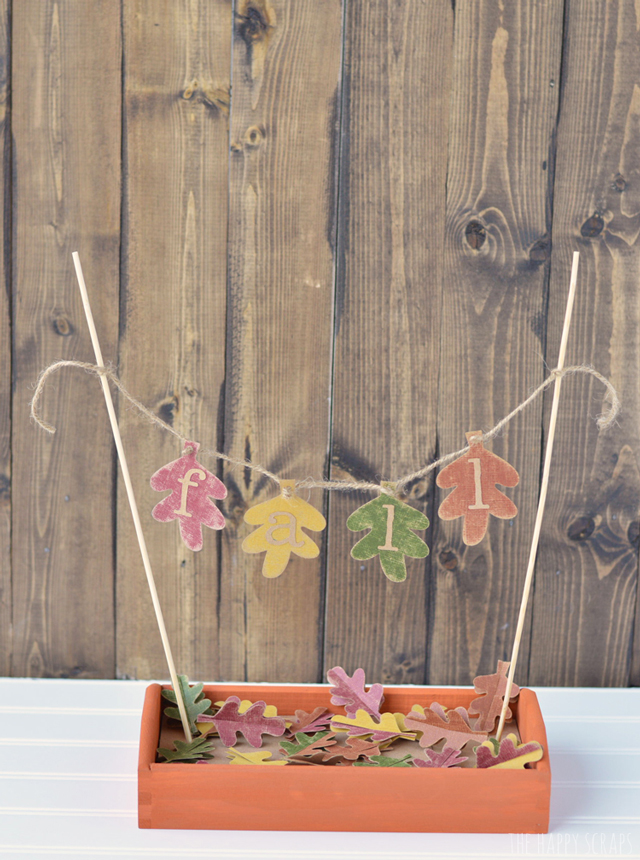
Tie your small leaf banner onto a couple of bamboo skewers.
Now, paint your small wood box.
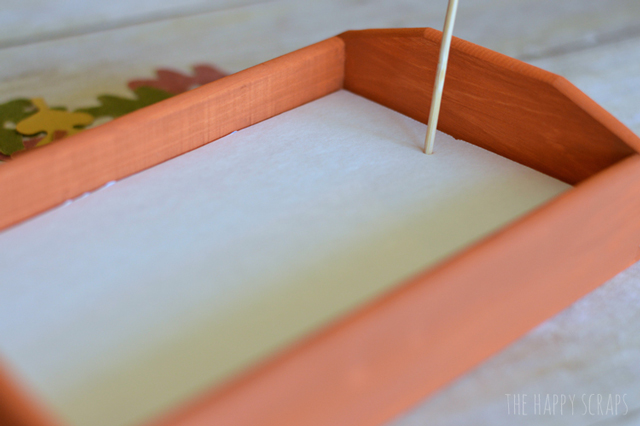
Once the paint has dried, cut two layers of foam core board to fit in the bottom of your box. Lay them in the box, then poke your skewers into them.
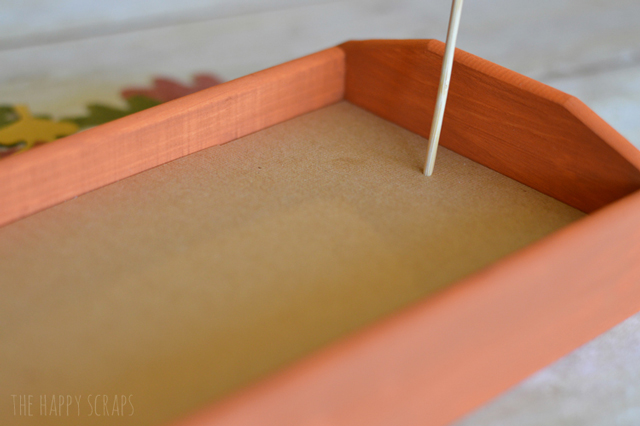
Using Kraft cardstock, cut a piece to the right size for the box, so you can cover the foam core board. Pull out one skewer and hold it just above where it came out of. Put the Kraft cardstock down, and then gently poke your skewer back through it. Do the same thing on the other side.
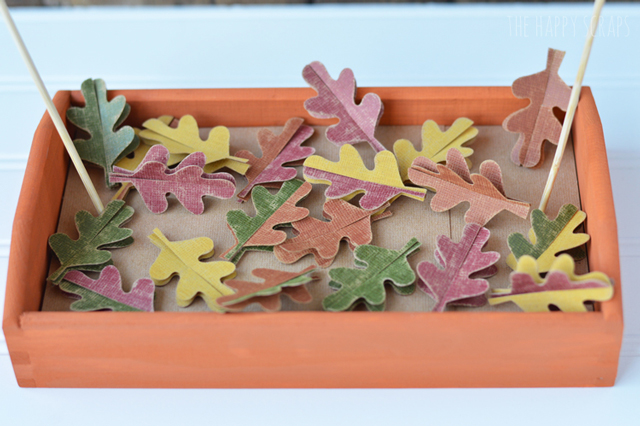
Cut out more leaves. I used a 3D leaf file in Cricut Design Space to cut these. I sanded each of them before I put them together.
Once put together, place them in the box tray.
And that is it. You are finished. This would be the perfect addition to any shelf, mantel, or even as a centerpiece.





Leave a Reply