This is a post I previously shared on The Project Girl blog.
I don’t know about you, but I never seem to have time to make Christmas decorations during December like I want to. I’m too busy with everything else that life brings during that time of year. A couple of months ago, Jen, The Project Girl, asked me if I would like to make something out of her new line of fabric, Lost & Found Christmas, so I jumped at the chance! Getting a Christmas project done before December, and being able to use it too? It’s almost too good to be true! This fabric is SO Beautiful!! The colors are deep and rich, and I love the contrast that the black adds to it. Today, I’m going to share a tutorial with you on how to make your own table runner like mine.

I had a hard time deciding which fabrics I wanted to use. Some of the prints (that I didn’t use) I think would have had too big of a print to use on a runner with squares this size. These are the prints that I chose. Press your fabric.

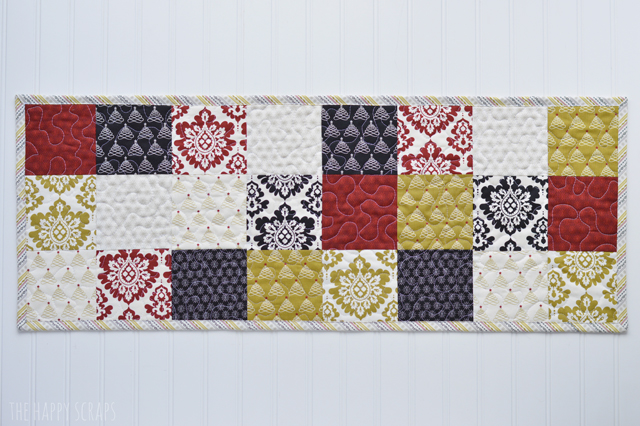
Once I had all the prints ironed, I cut them into 5″ squares. I cut 32 squares.

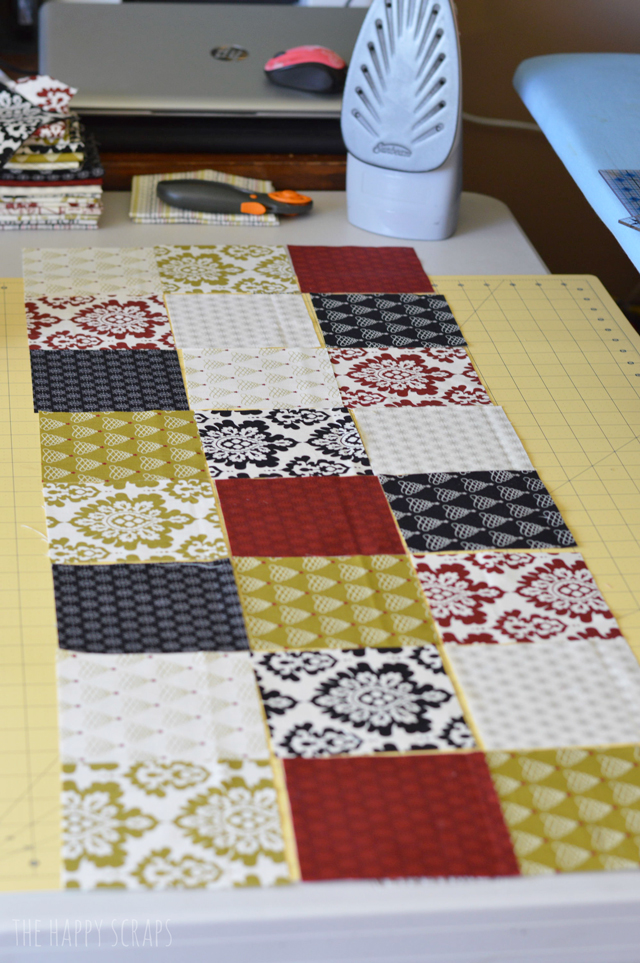
Now you have all of your squares cut, you need to decide on a layout. This part was tricky for me, I wanted it to be random, and I didn’t want any greens, reds, blacks, or whites next to each other, it think that’s a little bit of my OCD tendencies coming out. Ha! I ended up with a couple greens and whites, side by side, but it works, I think. 🙂
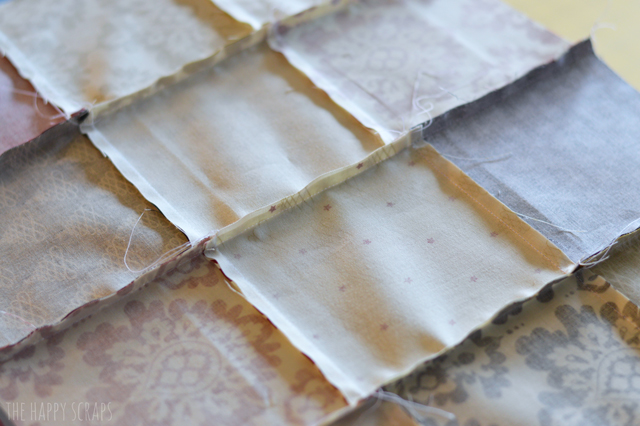
Now you are ready to start sewing. Using a 1/4″ seam, I sewed each column of three together. Once all of the columns are sewn, press the seams. I always used to press my seams open, but a friend told me one day to just press them to the darker side, so I do that now. It goes much faster that way. 😉

Now sew each column together, also using a 1/4″ seam, joining it with the one next to it. Press all of your seams.
Prepare your backing. Create your quilt sandwich by laying down your backing, then batting, and then your pieced table runner top.
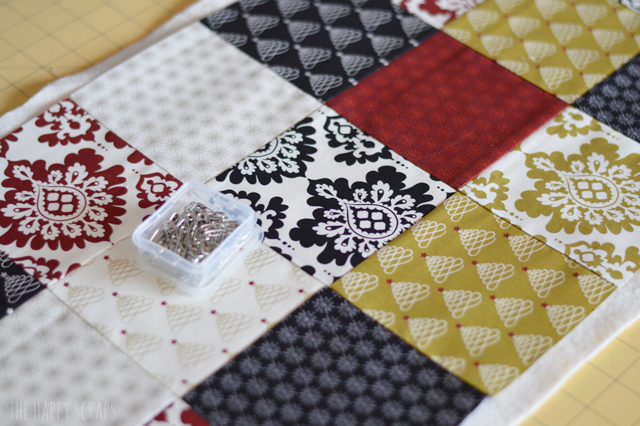
It is ready to be basted now. I like to use pins, but I’ve also used adhesive basting spray in the past.
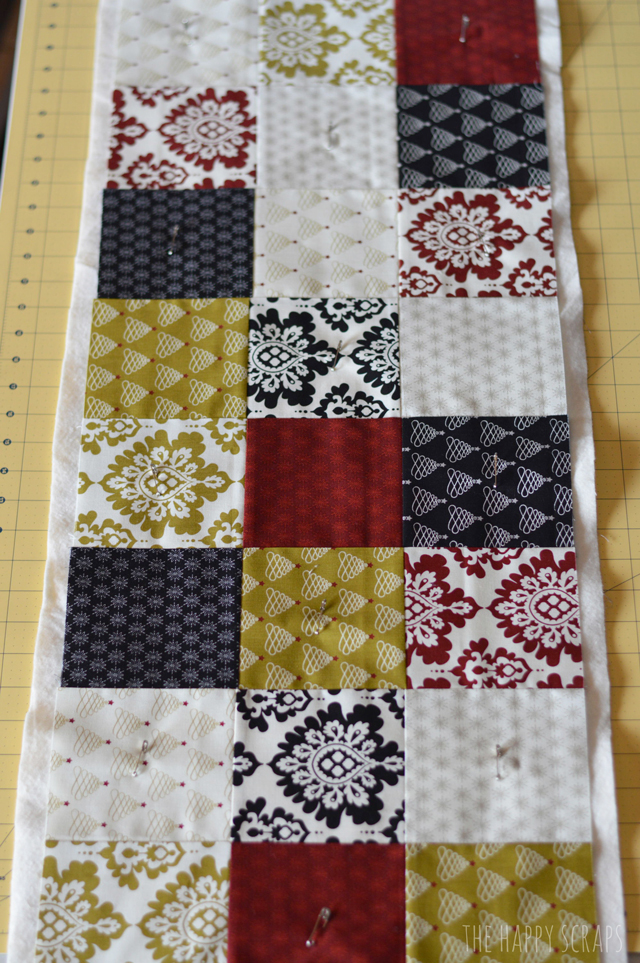
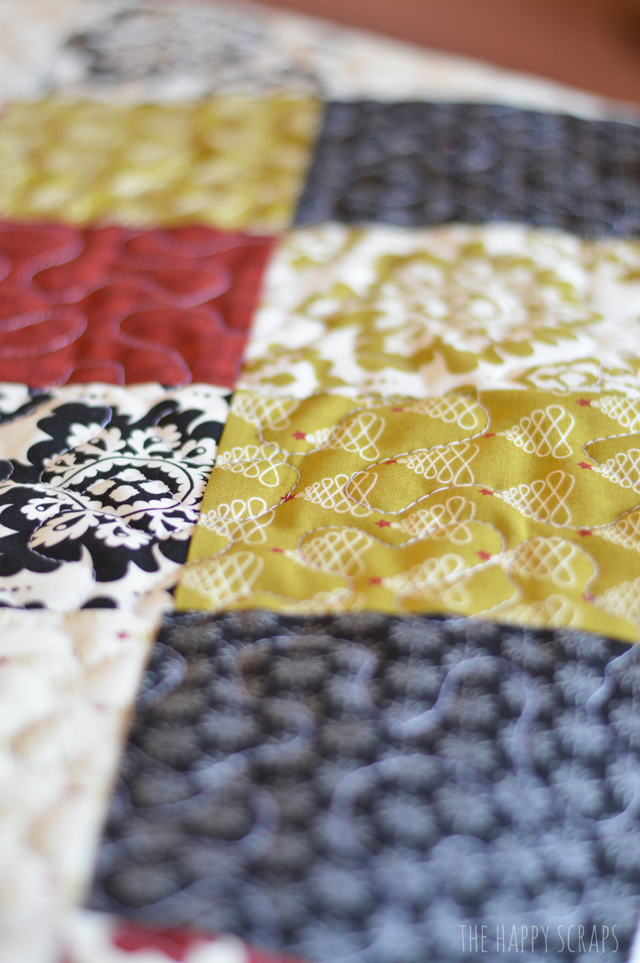
Now you are ready to quilt your table runner. This is my favorite part. I just use my regular sewing machine, and I use the darning foot and lower the feed dog, which allows me to free motion quilt like I want. For this table runner, you could also do straight stitch quilting as well. It would be fun to just go 1/4″ along the side of each seam. You could do so many fun things.
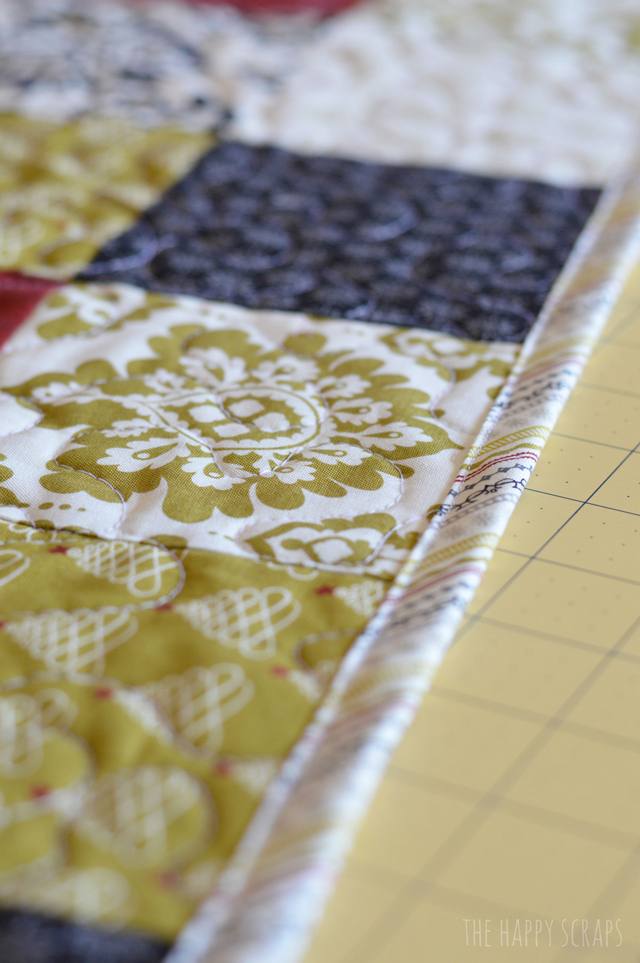
Once the quilting is done, square up your runner, and trim off any extra batting. Now you are ready for the binding.
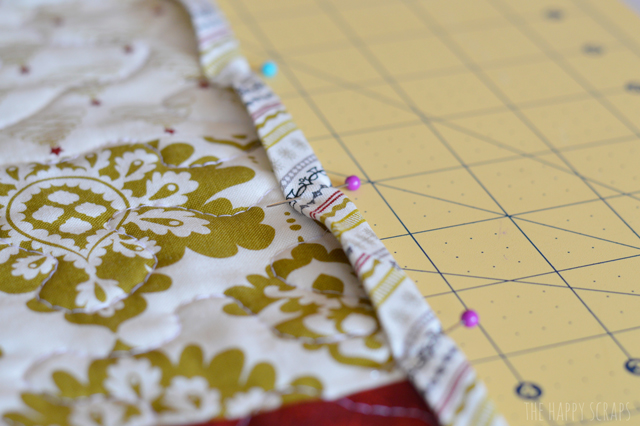
I like to use this tutorial when I do bindings. The only thing I do differently from her binding tutorial, is I sew the binding to the back first, with 1/4″ seams, and then I wrap the binding around to the front and machine stitch it. It is much faster than doing it by hand and the extra seam ends up on the back, and I think it look just fine. I’ve learned that if I want hand stitched binding, I’m going to have to wait months for the project to be finished.
While I’m not ready for it to be Christmas just yet, I am excited to get this table runner out with my Christmas Decor. I know it is going to match the decor that I already have, really well.
Do you sew? Have you ever made a table runner? They are one of my favorite things to make because they come together so quickly!

Leave a Reply