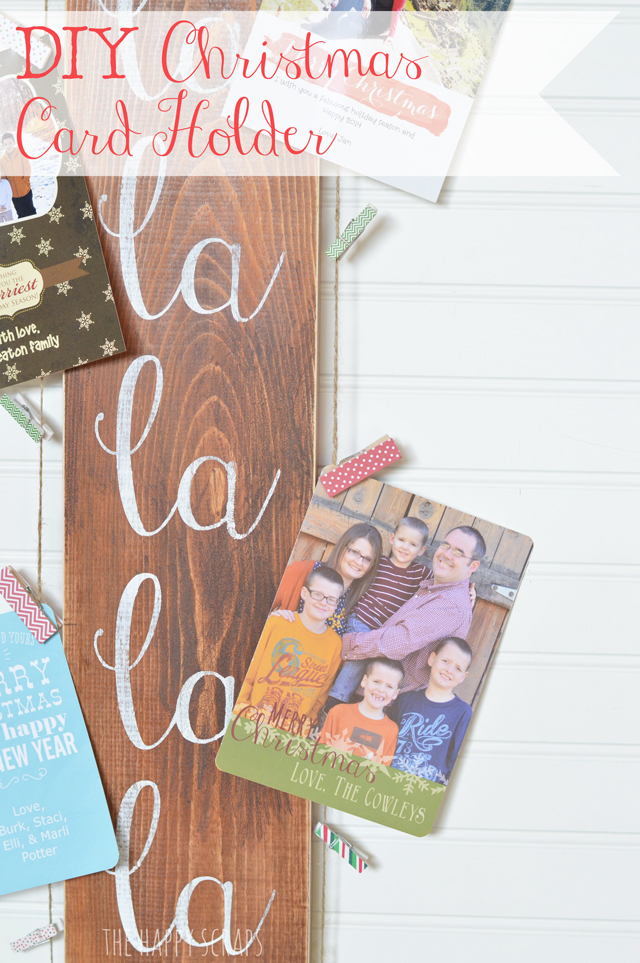
Every year at Christmas time, I find myself wishing that I had a nice way to display all of the Christmas cards that I receive in the mail. By the time I realize that I need somewhere or something to put all these cards on, Christmas is usually already here. Well, this year, I had this idea to make this board, and I got it made before I received my first card! Go me! 🙂 Today I’m sharing the tutorial with you.
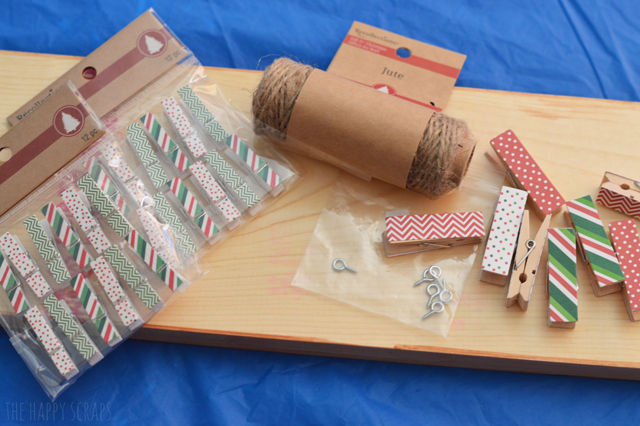
Here are the supplies that you’ll need:
- 4′ x 6″ board
- Stain
- Vinyl stencil
- White paint
- Sand paper
- Eye hooks
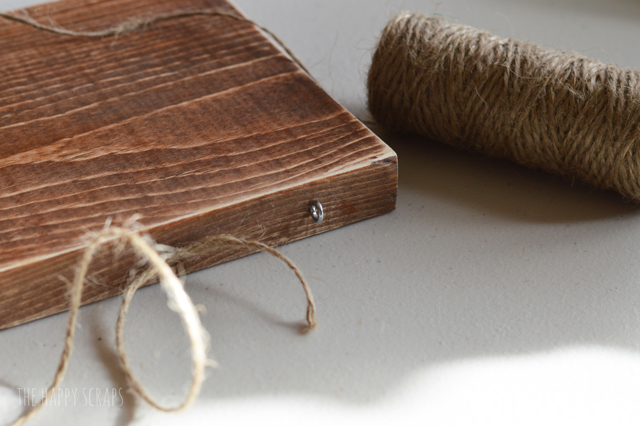
- Jute twine (I found this at Michael’s, on the end cap as part of the Recollections Christmas collections)
- Clothes pin (I found these at Michael’s, on the end cap as part of the Recollections Christmas collections)
- Christmas cards to hang on it
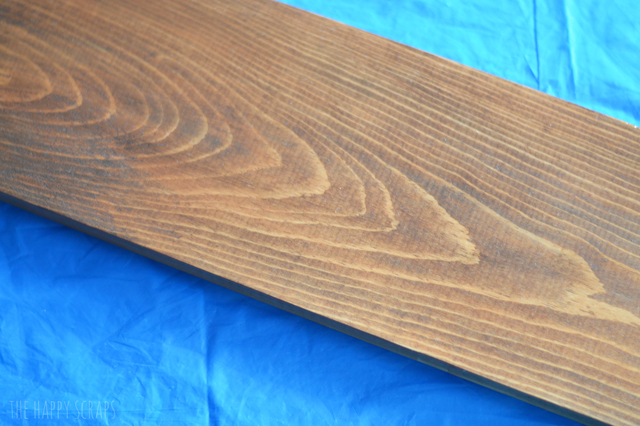
Start of by sanding your board. Getting it pretty smooth. Then stain your board. I stained mine one color, but it wasn’t as dark as I wanted, so I put a darker stain over the top.
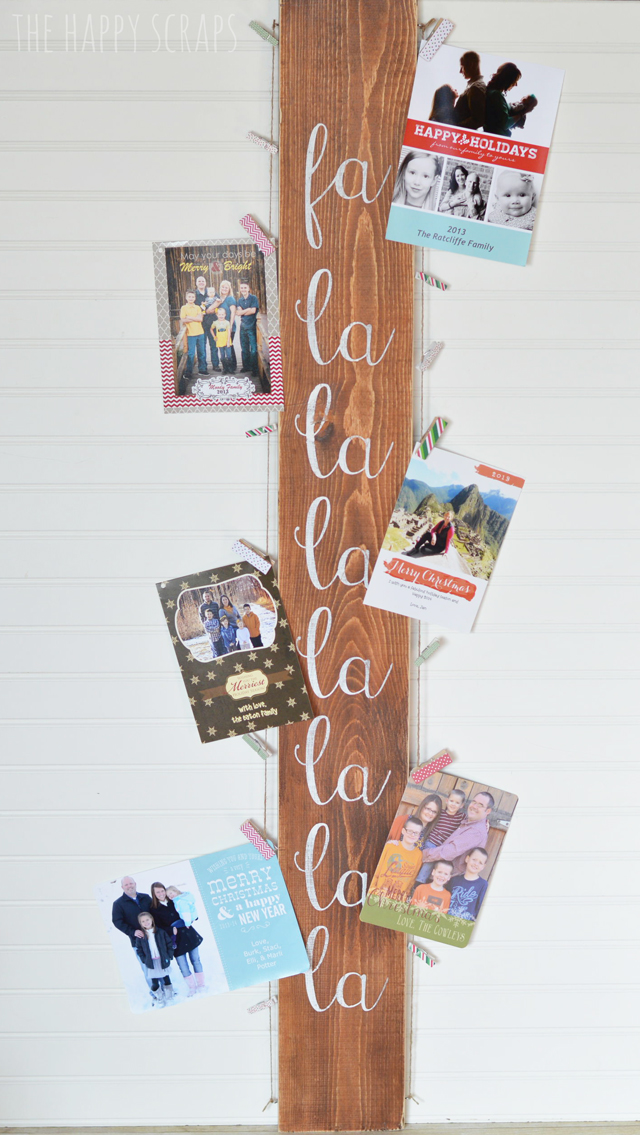
After the stain is dry, place your vinyl stencil on the board. My board says fa la la la la la la la. I designed it in Cricut Design Space and then cut it out using my Cricut Explore machine.

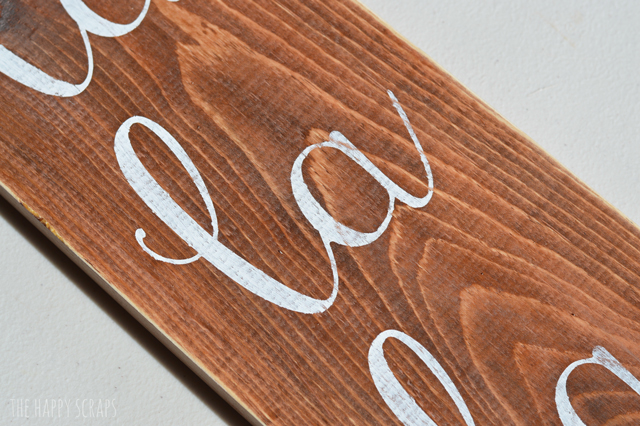
I used a sponge paint brush and painted my letters. I did 2-3 coats of white paint. Rather than using brush like strokes, I dabbed the paint on. This helps so the paint doesn’t leak under the vinyl.

After I finished painting, I peeled the vinyl off. I let the paint dry completely and then using the sandpaper I distressed the whole board. All the words I painted, along with everywhere I had stained it.
Get your eye hooks.
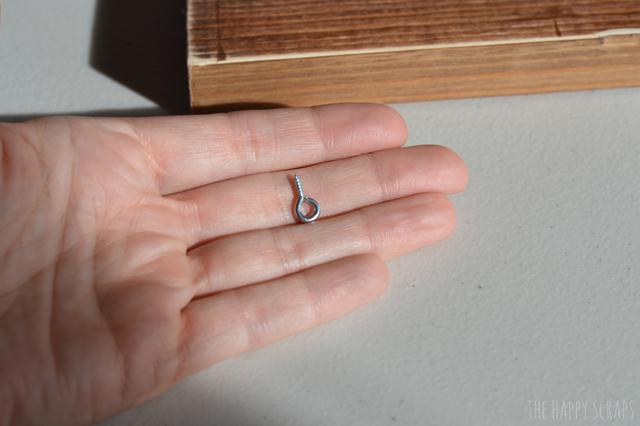
You’ll screw them into each end of the board. Top and bottom, both sides.

Attach your jute twine. It was a little tricky to get the twine tight enough that it will hold the cards. It took me a few tries, and I really don’t have any tips for that. Let me know if you know any tricks for keeping twine/string tight when connecting something like this.
Now you can add the clothes pins to it, and wait for the fun cards to come in the mail!
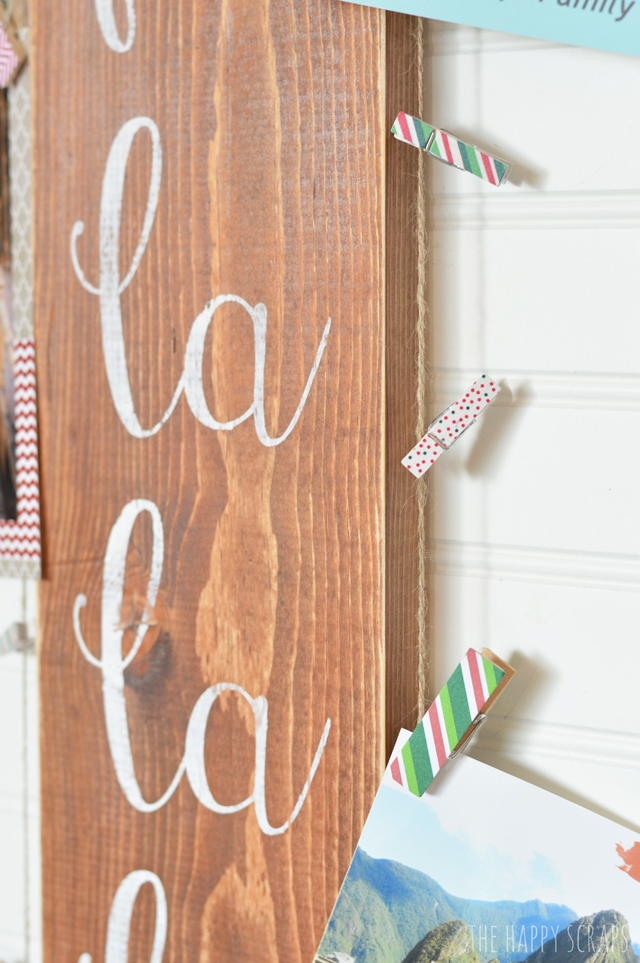
I’m in love with the way the distressing turned out on this! It is perfect! I think I’ll be staining and distressing stuff more often!
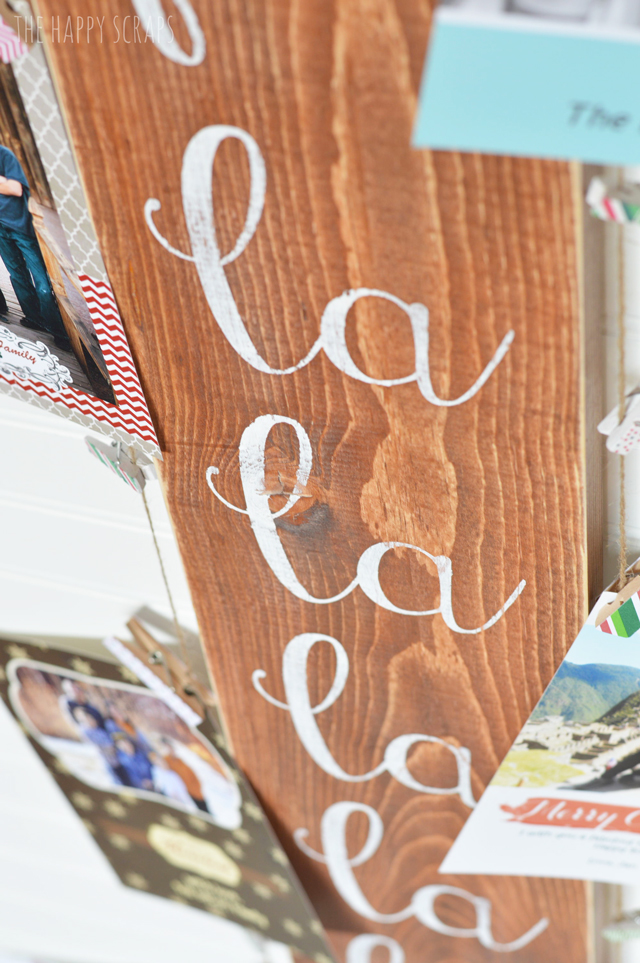
Here is a picture of the DIY Christmas Card Holder! I hung it up on my wall using some command strips. It seems to be working perfectly! I’ve already got 4 or 5 cards in the mail and put on it as well!
What do you use to display your Christmas cards? I’d love to hear! If you don’t have anything to hold them, then put one of these together, you won’t be disappointed!

Leave a Reply