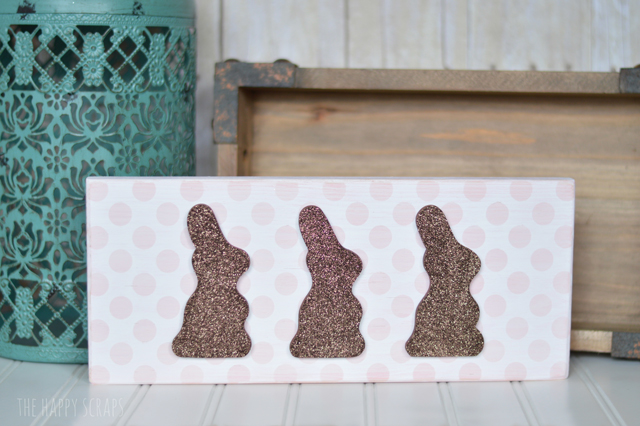
The other day I was wandering around in The Wood Connection and I saw these cute little bunnies, and had the idea to create this Chocolate Bunny Decor. I purchased my supplies and then got to work when I got home.
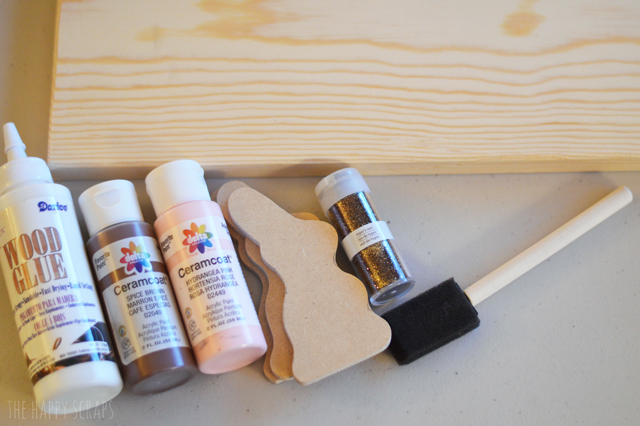
As I was working on the project, I ended up changing a few things, but for the most part, these are the supplies you’ll need to make your own Chocolate Bunny Decor.
- Bunny Cut Outs
- 13 x 5 1/2 Board
- Brown Paint, Light Pink Paint, & White Paint
- Brown Glitter
- Paint Brushes
- Wood Glue
- Spray Sealer
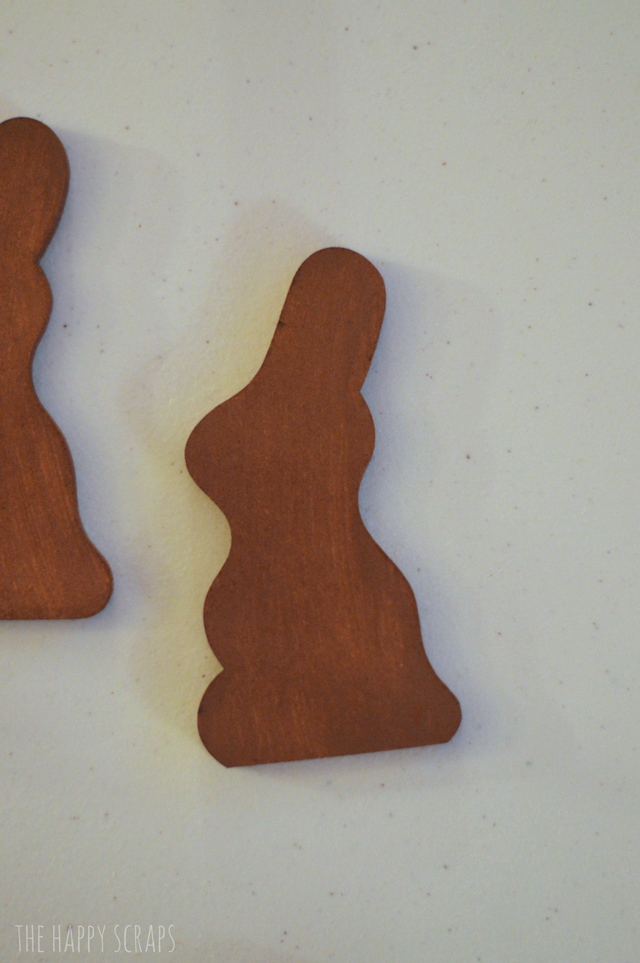
Start by painting your bunnies brown. I painted one coat over the entire bunny and let it dry.
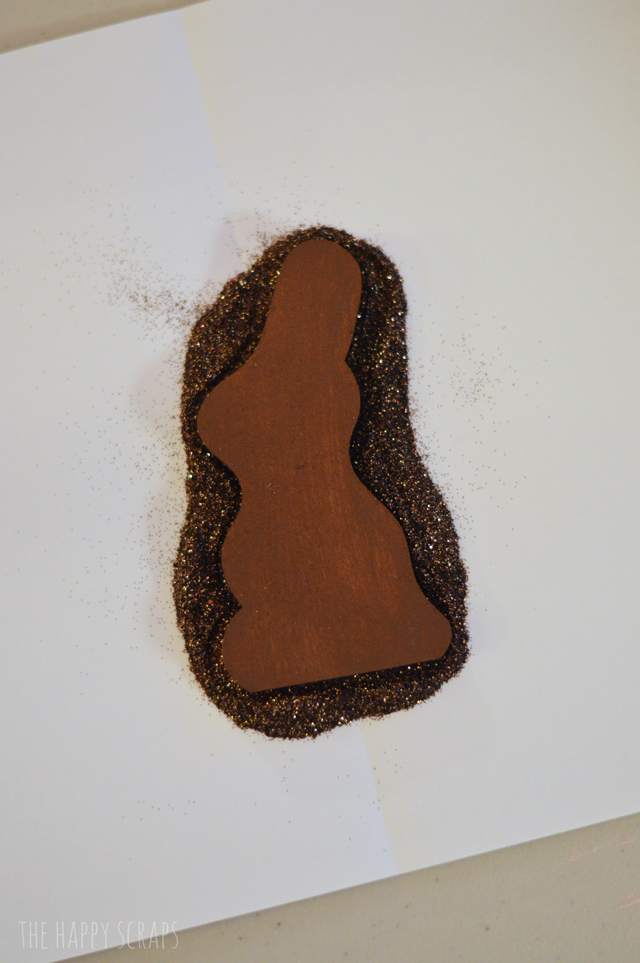
After the first coat dried, I painted the front with a coat of paint, and then while the paint was still wet, I put it into the glitter.
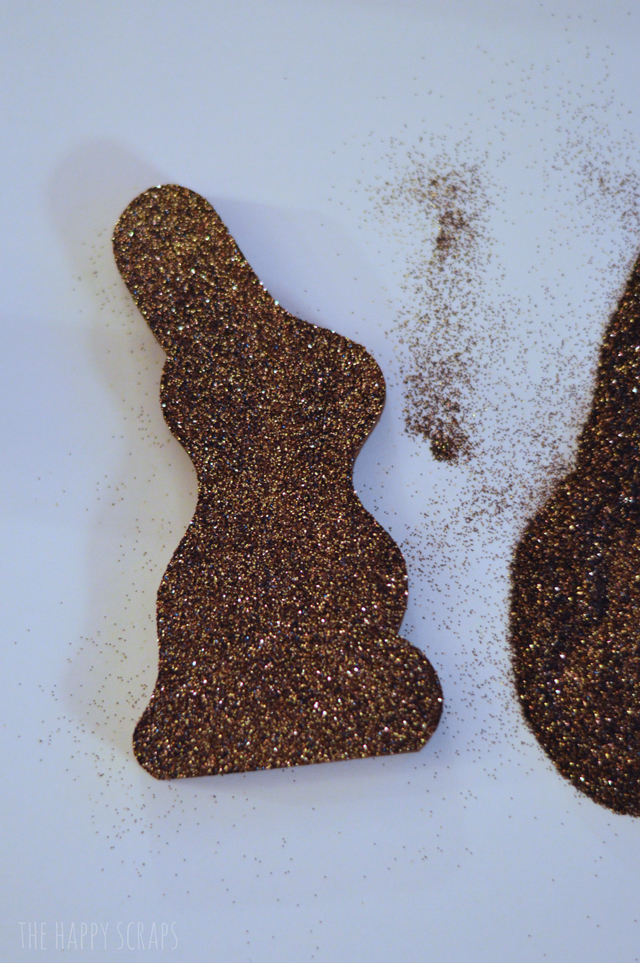
I turned it over, and shook the extra glitter off. Once the paint holding the glitter was dry, I sprayed the glitter with a sealer. I like to use Mod Podge Sealer.
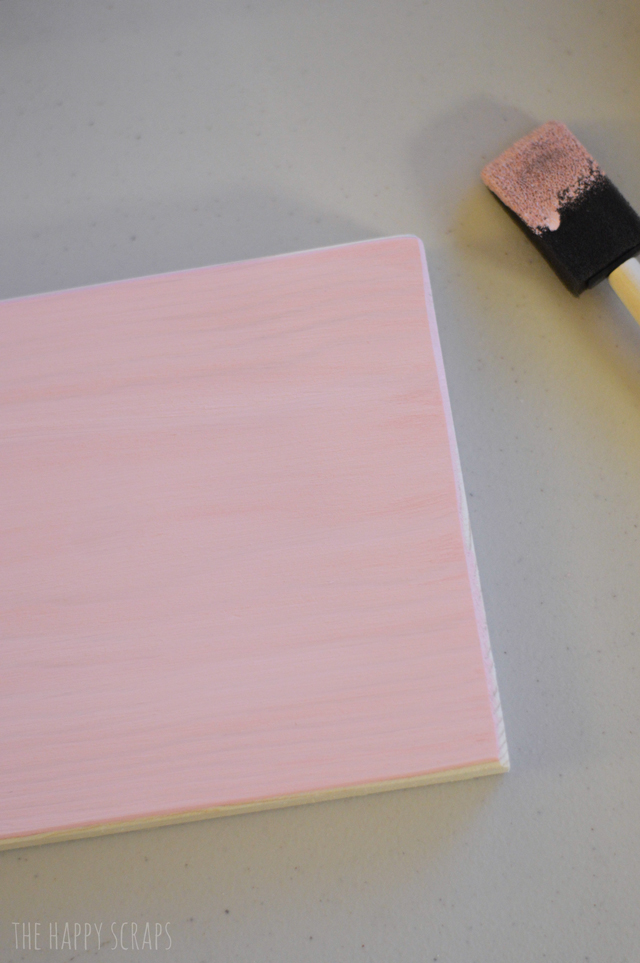
Next I painted my board pink. The pink I chose was light, but it was still darker than I wanted, so I ended up painting over the pink with an even lighter pink.
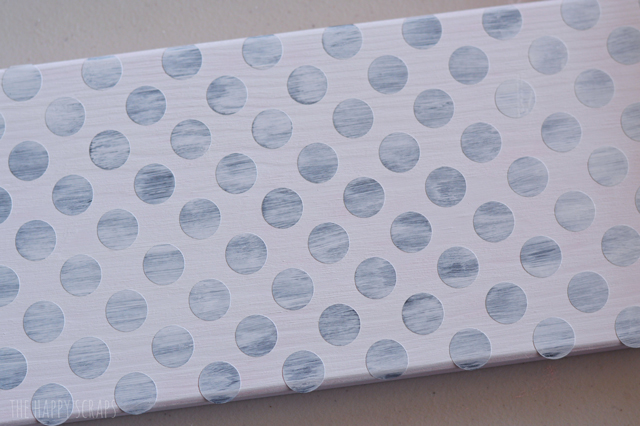
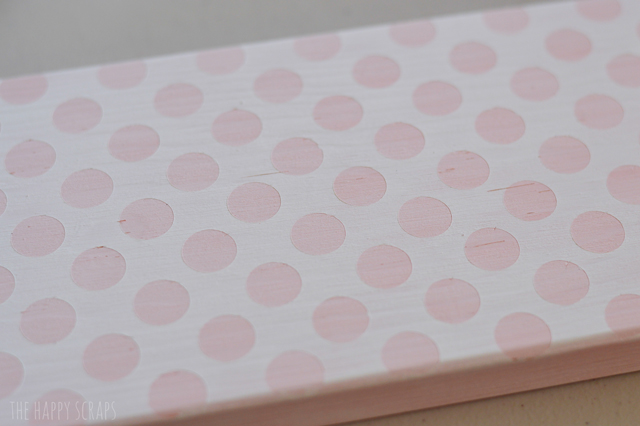
Once the pink was dry, using my Cricut Explore I cut out vinyl polka dots and then I applied them to use as a stencil and painted white paint over the top of them.
Then I peeled them up. Once the paint was completely dry, I lightly sanded over the top of the paint, to help smooth it out and distress the board slightly.
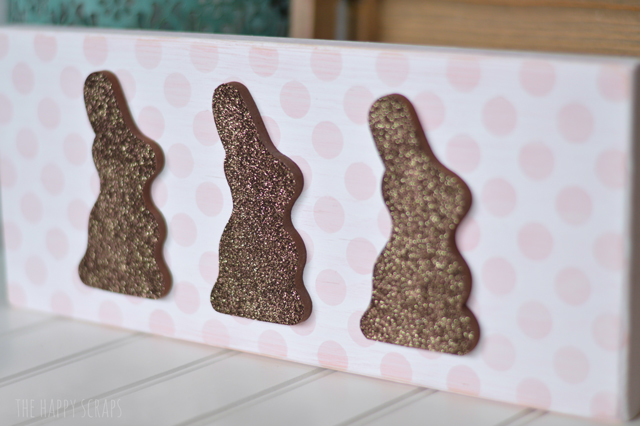
Then I lined up my bunnies and used wood glue to adhere them to the board.
I love what the glitter added to the bunnies. When I first had this idea, I wasn’t thinking glitter, but I’m sure glad that I did. I love the way they look! And those polka dots?! That was an after thought as well, and boy am I glad, because we all know I love polka dots!
Grab yourself some supplies, and get this made. This project cost me less than $5 for the supplies.
What kinds of decorations do you have out for Easter?


Leave a Reply