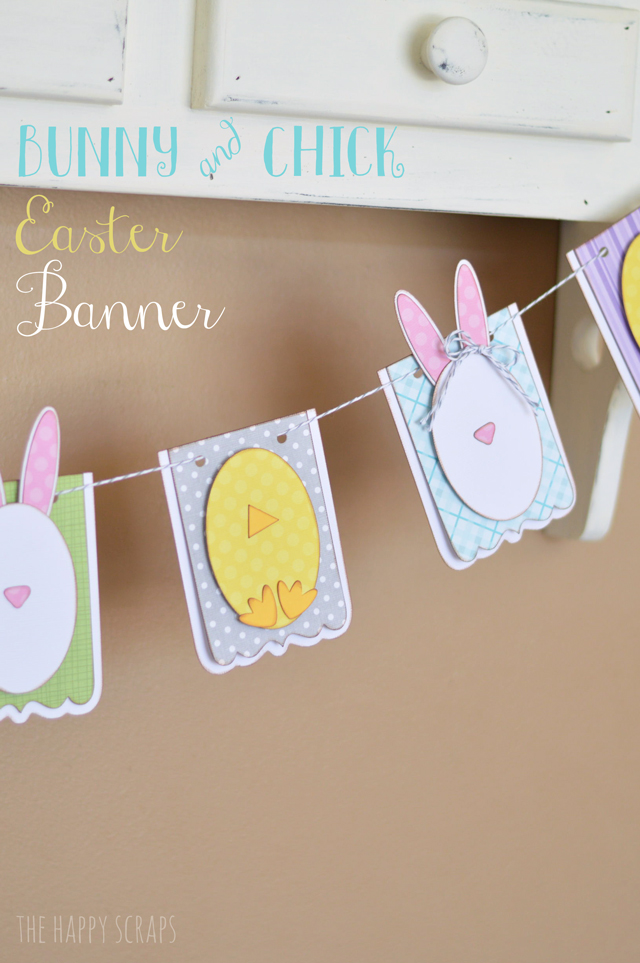
Gosh, I love banners. I just can’t stop making them. Even if I already have one for a holiday, I need more. π They are just SO fun to make! Today, I’m sharing this fun Bunny and Chick Easter Banner that I put together this week.
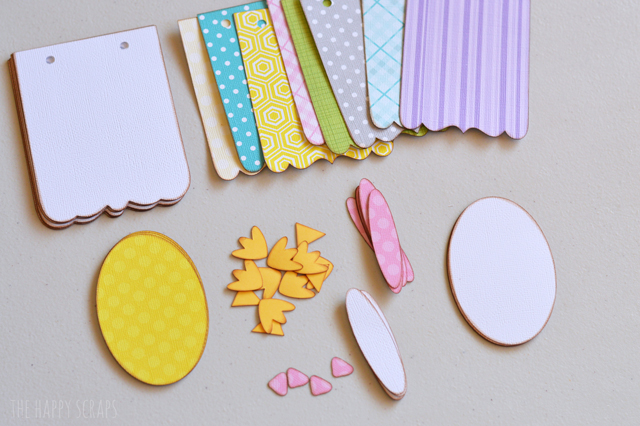
I cut everything out using my Cricut ExploreΒ (affiliate link) machine. The images I used for this project can be found on the Birthday Bash, George and Basic Shapes, and Doodlecharms cartridges. I cut out my banner shapes ovals, noses, and chick feet and then inked all the edges of them with brown ink. (The chick feet are made from welding 3 ovals together.) All of my patterned papers are the new Core’dinations Patterned Paper. I’ve been loving creating with it lately.
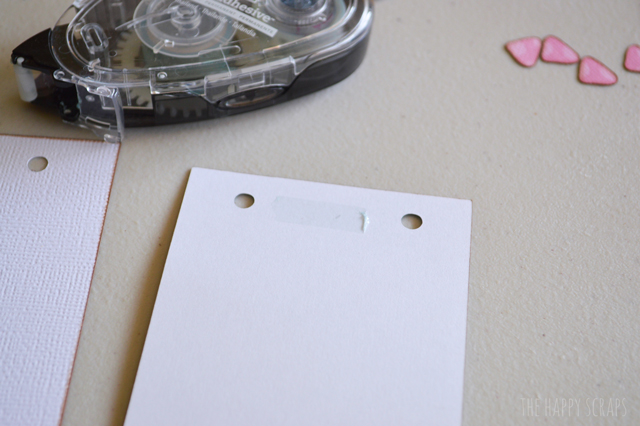
I started by putting a small strip of adhesive between the holes on the back of the colored banner pieces.
Then stuck it to the white background banner piece.
Next I put together my chicks. I used glue dots and put the beak and the feet on theΒ egg. You could also draw eyes on there. I chose not to, but my five year old did let me know that they were missing their eyes. π
I layered the two ovals together for each ear, and then I folded one ear down. I was making four bunnies, so I left both ears up on two of them and folded one ear down on the other two. I used glue dots to put the ears on the back of the oval, and also to affix the nose.
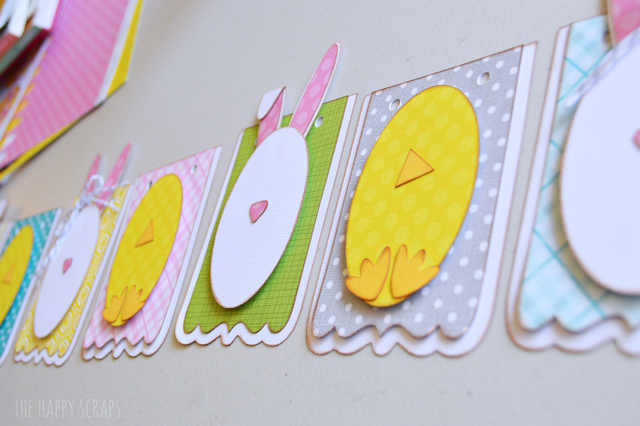
I used dimension squares to place each bunny and chick onto the banner pieces. On the bunnies that didn’t have an ear folded, I added a baker’s twine bow. Once I had all the banner pieces put together, I used baker’s twine to string the banner together.
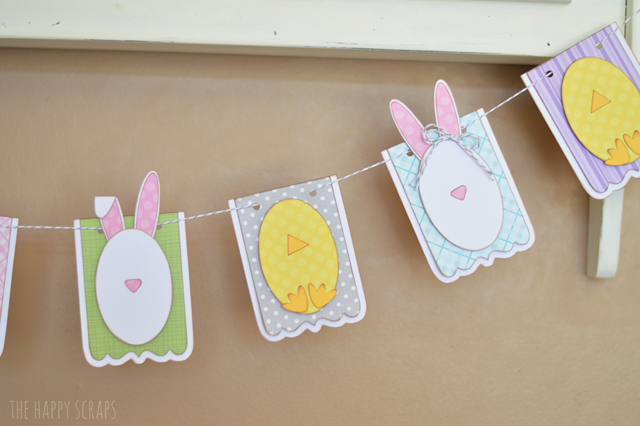
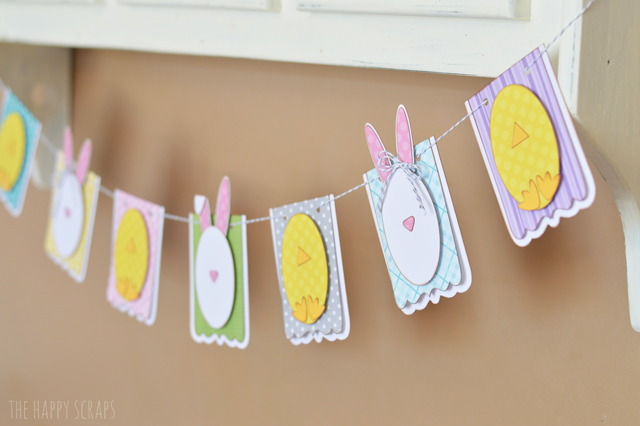
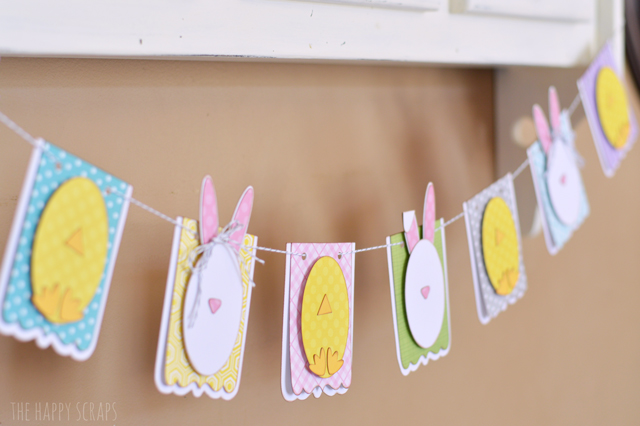
Then I hung it up! Here you can see how the baker’s twine bow looks on the bunny ear.
I love the dimension that is added, just by using the squares to lift the ovals off of the banner shapes.
I think it is fun as well, that the banner shapes are only attached at the top, that helps add dimension too.
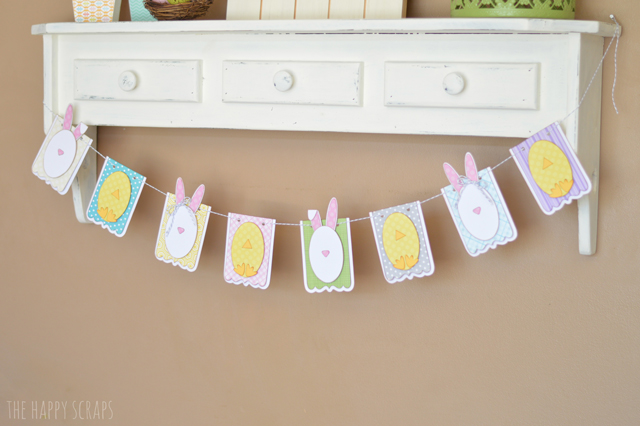
Here is a better look at the whole banner. I love that it is a pretty simple banner, but having the different colors makes it so festive and fun!
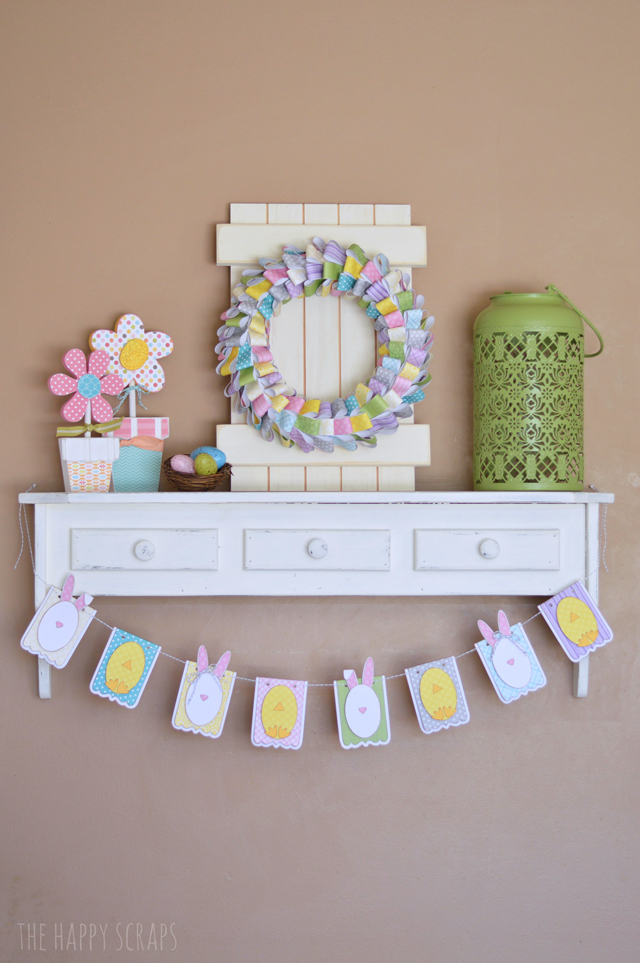
I was excited to get out some of my other spring and Easter decor that goes so well with this fun Bunny and Chick Easter Banner. My Paper Easter Wreath (that I took the nest out of and put on one of my shutters) is made from the same paper, so it matches perfectly! My Potted Spring Flowers match pretty well too! I got my green lantern from Pick Your PlumΒ (affiliate link).
I’m pretty excited about the way my shelf is looking, at least for the Easter season!

Oh I just love this – adorable!
Thanks Summer!
Amy, this is just beyond cute! Visiting from i heart naptime and pinning. Have a happy weekend!
Thank you Cindy!
This is so sweet! I love how you used the bunnys on the banner. Pinned and sharing on my facebook page! Visiting from DIY Sunday Showcase:)
Thank you so much, Wendi!
This is too cute! I’m always so impressed when people are able to whip something up like this using their cricuts. I have one but have the hardest time figuring out sizes for banners. Do you have a trick? What I mean is how do you decide how big to make the banner pieces and other layers?? Maybe this is a newbie question but it totally keeps me from creating with my cricut.
What Cricut machine do you have? I use the Cricut Explore, so I can size everything and know how big I want it all before I cut anything out. With my older machines I would just figure out how big I wanted the flags, and cut them out, then I would decided how big I wanted the letters, or whatever I was putting on the banner and cut them out. Sometimes I would have to cut things more than once, if the size was off, but the more you use the machine, they better you’ll have a feel for how it cuts everything. I would be happy to answer any other questions that you might have. Just let me know! π
Adorable! I love this! I would love for you to share your awesome post at this weeks Happiness Is Homemade Link Party! http://wp.me/p466oG-2i6 Have a terrific week!
How do you do your edges….like the colour on the edge π TIA
I looked to see if I had a post showing how to do it, but I couldn’t find one, so I’ll try to explain. π Holding your paper horizontally and your ink pad vertically, you lightly rub the ink pad on the edges, creating the inked edges.
Another totally adorable project! Holly π
You are so sweet Holly!
What cardridge did you use for the banner and what size did you cut it? I like the scalloped edge.
Thank You,
Katherine
The banner shape is on the Birthday Bash cartridge. I also used the George and Basic Shapes and Doodlecharms for this projects. I’m not for sure on the size, but I think the banner pieces are about 4″ tall. π
Amy…..the only cardridge I don’t have is ” Birthday Bash” , so I looked it up on Ebay. I didn’t see any banner shape like the one you used. The only banner shape on the cardridge was the triangle one.
What did I do wrong?
Help!
Katherine
Amy…..the only cardridge that I don’t have in the three is, “Birthday Bash”, so I looked it up on Ebay. I didn’t see the banner shape in that cardridge that you used to make your banner. The only banner shape I saw was a triangle shaped one. I need your help.
Thank You,
Katherine
Katherine, Birthday Bash is a free cartridge (for access members). There are several banner shapes in that cartridge including the one she used. Super cute cartridge btw!! Good luck!