Disclosure: I received product in exchange for this post. All opinions shared are 100% my own. I only share products with my readers that I personally love and use.
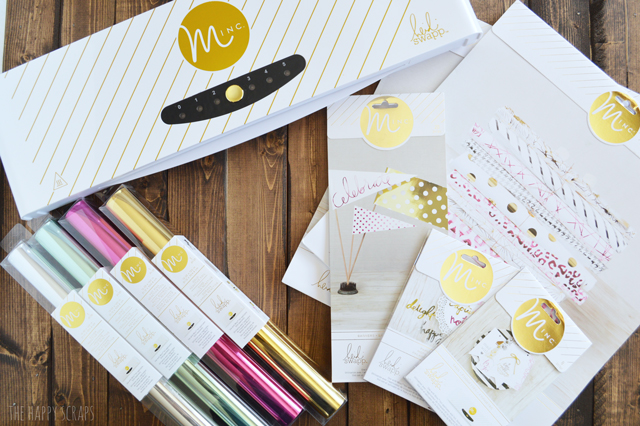
Have you heard about the brand new Heidi Swapp Minc Machine? It is a foil applicator machine, and oh.my.goodness it is SO much fun to play with! I mean, seriously, who knew that making everything shiny would be so much fun?! I sure didn’t, but now I’m hooked!
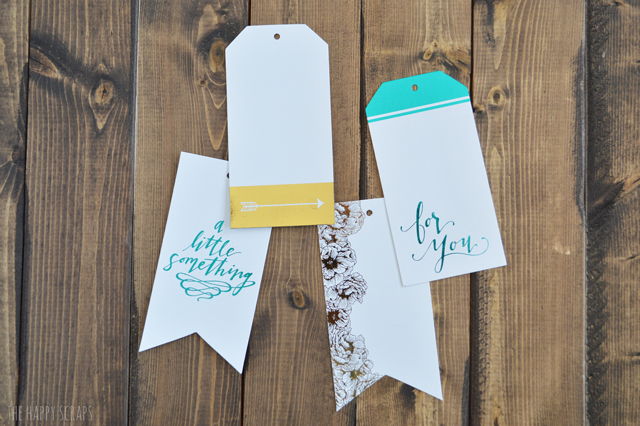
When I pulled the Minc out of the box, I read through the instructions, and then I wanted to try it out. I foiled some of the tags that came with the machine, just to try them out. I was so giddy when the tag came out of the machine, and it was like magic, the black ink had been turned to gold. I tried it with some teal foil as well. I did learn that when the instructions say that you need to make sure your foil is smooth, you really do need to. If there is a wrinkle in the foil, it can add foil to your paper where it shouldn’t be.
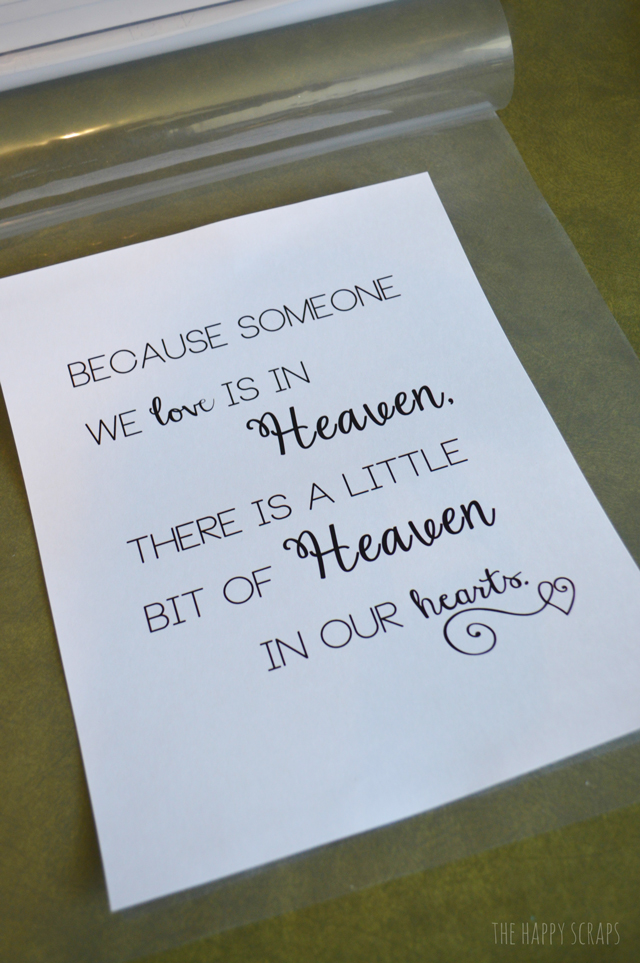
I recently got myself a laser printer, (and now I wish I would have gotten a printer that could print 12″ wide, since the Minc has a width up to 12″) so I decided that I wanted to see how it would work to create something of my own to foil. You do have to have an image that has toner to be able to make the foil adhere to the paper. There are a variety of products sold along with the Minc that can be foil, but if you have access to a laser printer then you can make your own! My mother-in-law recently lost her father, so I decided I wanted to make her a gift with this quote. And I wanted to put foil on it. You can find the printable I created here. Free printables from The Happy Scraps are for personal use only. You may not resale or distribute these printables.
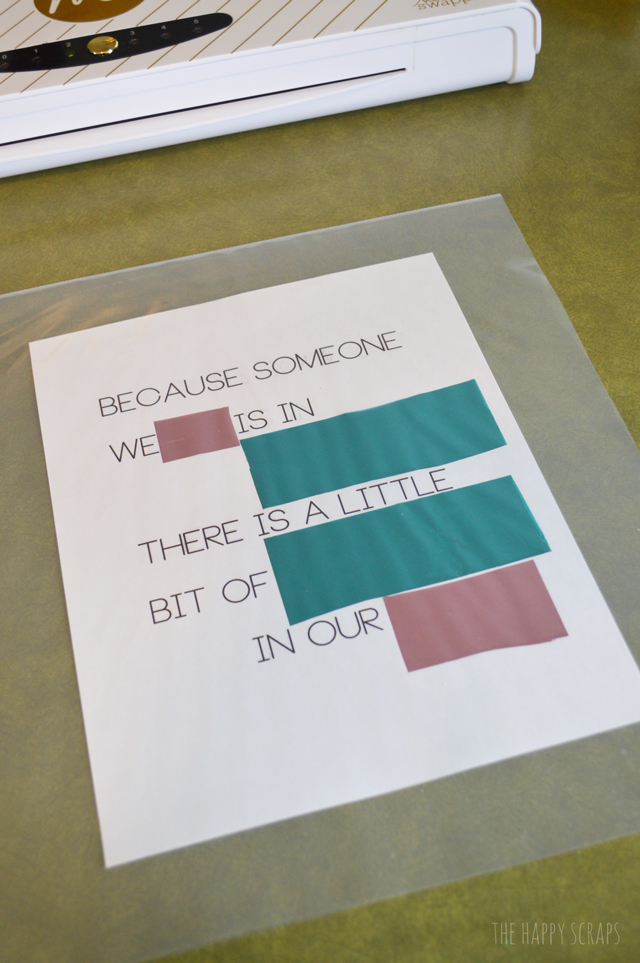
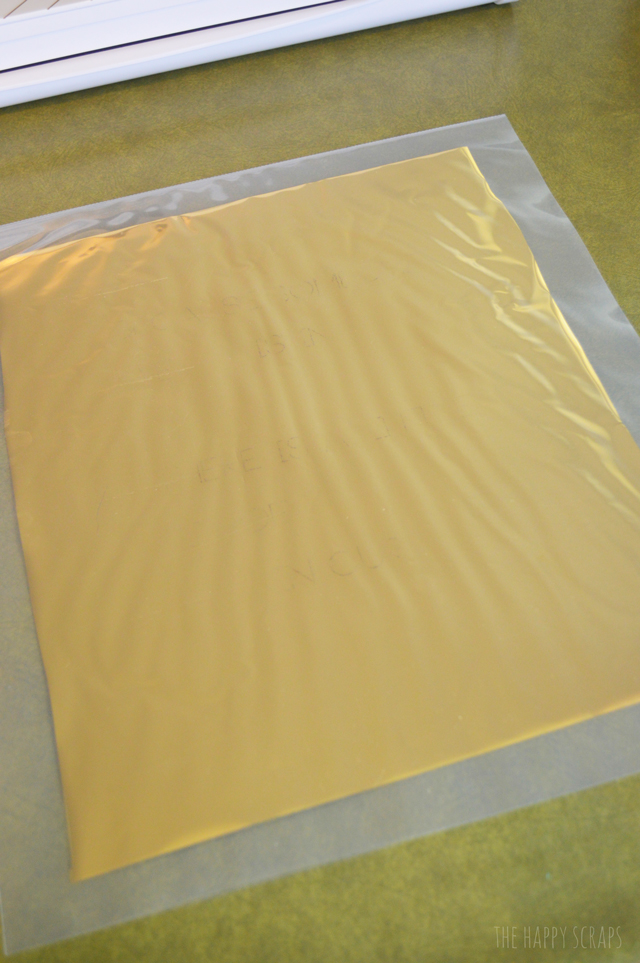
I wanted to push the limits a little bit, so I decided to see if I could do more than one color. I wanted the italicized words in foil, but I was planning to leave the rest black. The toner slightly transferred onto my transfer folder though, so always make sure that your entire paper is covered with foil. I did figure out that you can do two layers of foil though. I put down my teal and pink foils. The foil likes to curl, especially when it is a small piece. Before I put it through the machine, I added gold foil over the entire paper.
Here is the gold foil. The pink and teal are underneath the gold. Now you are ready to put it through the Minc. I looked in the instructions to see what heat setting to use, and I used 3.
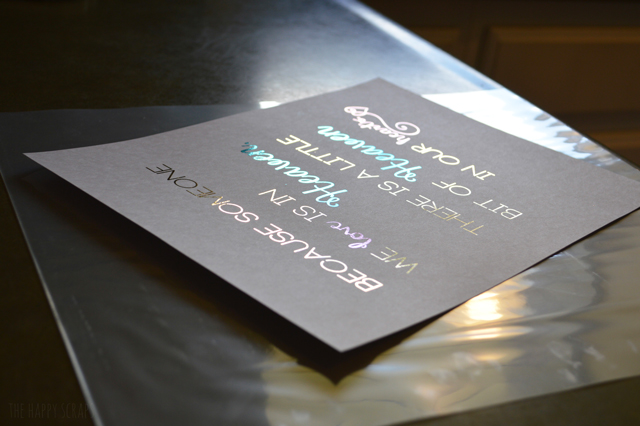
I was so excited when I pulled this out of the machine. It totally worked to use two layers of foil! I love the shimmer. It takes something from nice or great to oh WOW!!
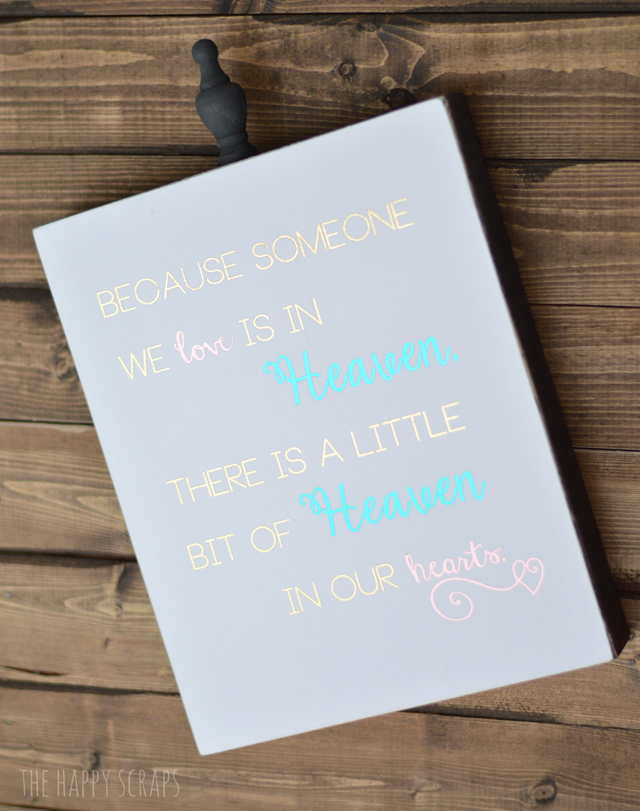
I adhered my foiled project to a painted wood block. When I put the paper on the block, I flattened it out good, by putting a piece of paper over the top, then using a vinyl squeegee to smooth it. Isn’t that foil so fun?!
I made a couple of these blocks, one for my mother-in-law and one for our grandma. I sure hope they enjoy them!
I’m sure by now that you are thinking that “I need one of those awesome Minc machines!” and I agree, you do! Well, let me give you all the details. You can find the Minc Foil Applicator and Starter Kit at Jo-Ann, Hobby Lobby, local craft stores as well as online. (Amazon even has it on sale!) The suggested retail price is $149.00. Minc Foil is $9.99 for a 12″ x 10′ roll. Other Minc Accessories start at $2.99 and go up to $12.99. The Minc is light weight and 19.5″ x 5″ in size, so you won’t need a lot of space for it. I love that there are different heat settings for different kinds of material, so you can apply foil to anything from vellum to chipboard or even wood veneer. If you are thinking that this must be like a laminator, well let me explain. The Minc has four pressure rollers, and most laminators only have two. This makes it possible to create an even pressure across the width of your project. Also, most laminators have heating elements that focus on the outer edges and the Minc has a heating element that covers the entire 12″ width. So, head into your favorite craft store or order one online, you will love, I promise!


Leave a Reply