I’m so excited to be sharing this fun Polka Dot House Plant Pot with you today. I’m sharing it as part of R&R Workshops Polka Dot Week. I ♥ Polka Dots, so when I was asked if I wanted share a polka dot project, I signed right up! You won’t believe just how easy this project is. It only takes a few minutes to complete.
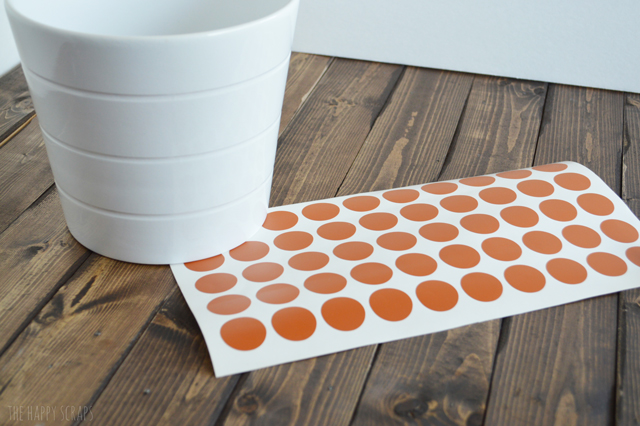
You’ll need a flower pot, vinyl polka dots, and a plant. I got my pot at IKEA, and used my Cricut Explore to cut out polka dots out of vinyl. I used the same burnt orange color of vinyl that I used on my Kitchen Utensil Holder.
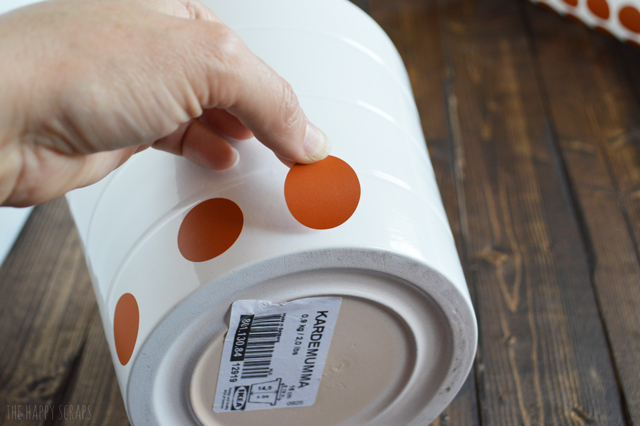
You don’t even need transfer tape for this project. You simply use the vinyl dots like a sticker. Start by peeling off one of your vinyl polka dots, and placing it on your pot. I was going for a random look, rather than having all the spacing just right.
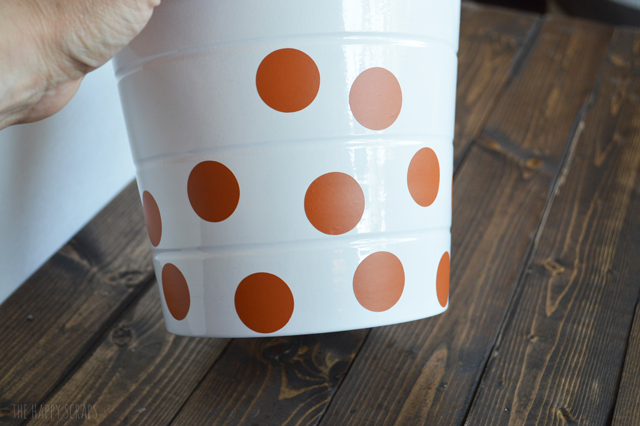
I did one row at a time, working my way up.
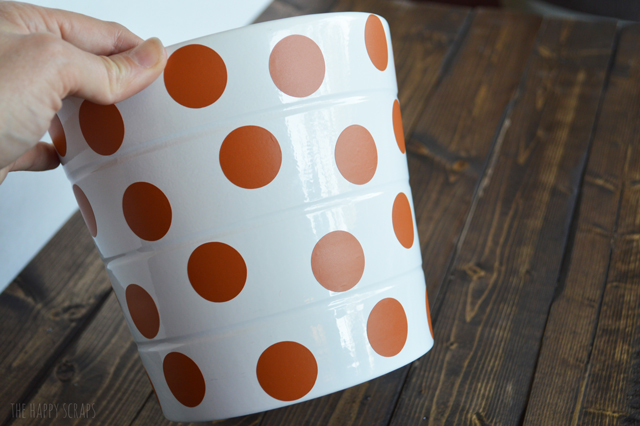
Pretty quick, you’ll be to the top. Place your plant inside the pot, and you are finished.
I opted for going with an artificial plant. I don’t know that I could keep a real one alive. 😉 This one should stay green for a while tho.
I put this in my kitchen window, and it matches the rest of the kitchen perfectly.
There are several other bloggers that are participating in the Polka Dot week, so remember to head to R&R Workshop and check them out!
Disclosure: This post contains affiliate links. All opinions and text are 100% my own. I only share products with my readers that I love and personally use.


Leave a Reply