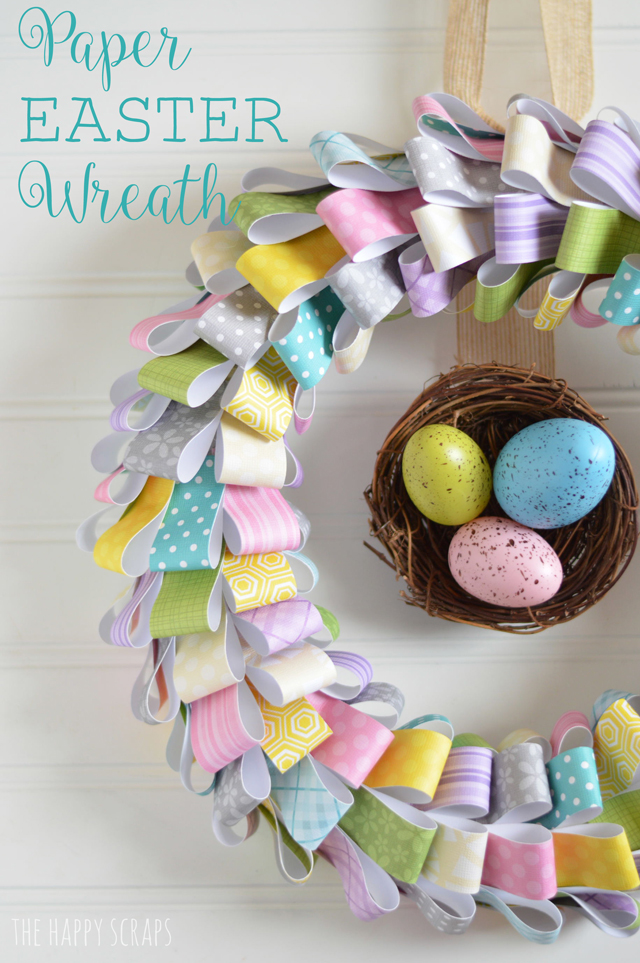
Easter is coming a little bit earlier this year than it has in the last couple. I always look forward to Easter because that means Spring. Spring is always nice to have arrive after a long cold and snowy winter. Today I’m going to share with you how to make this amazing Paper Easter Wreath. It’s a project that I shared over on the Core’dinations blog last year.
This post contains affiliate links.
Paper Easter Wreath Supplies:
- Wreath Form
- Ribbon
- Bird Nest
- Plastic Eggs
- Glue Gun
- Pastel Patterned Paper
- Paper Trimmer
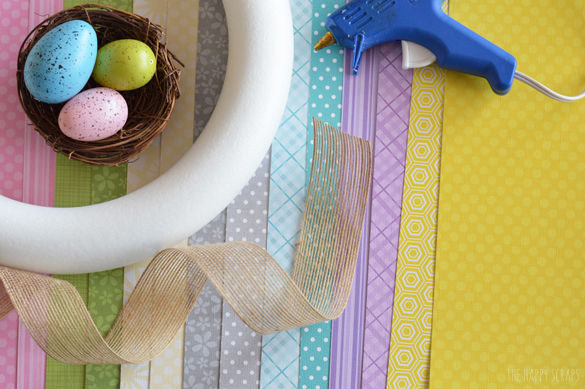
Start off by using your paper trimmer to cut 1″ x 12″ strips of paper.
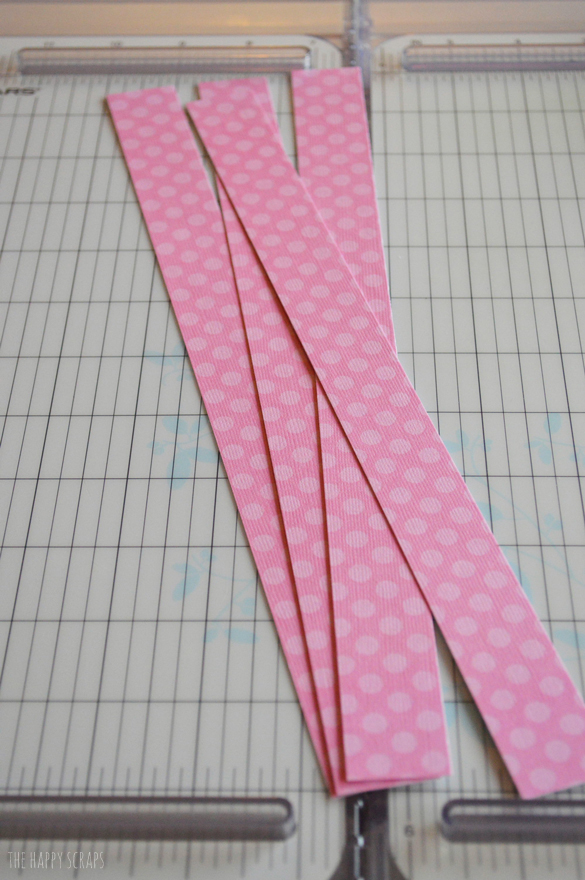
Then cut each piece into 4″ lengths.

Using the glue gun, put a little bit of glue on the back of the paper at one end. Fold the paper like shown and glue together.
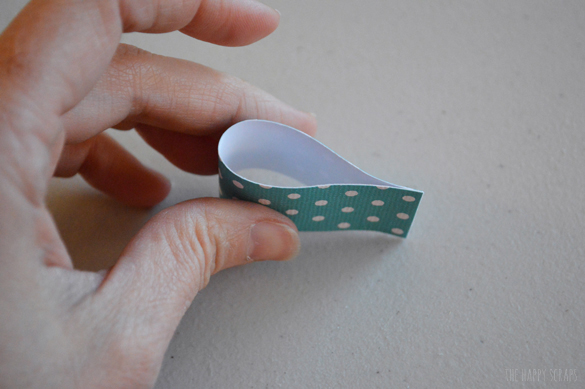
You’ll end up with a bunch papers like this.

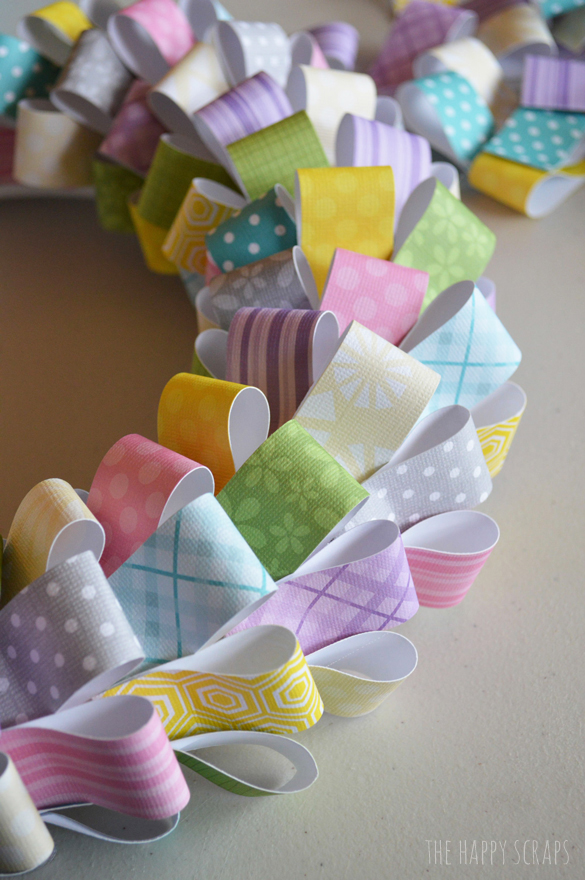
Using the hot glue gun, start gluing them to your wreath form. Stagger them slightly to get the look and pattern like I did here.
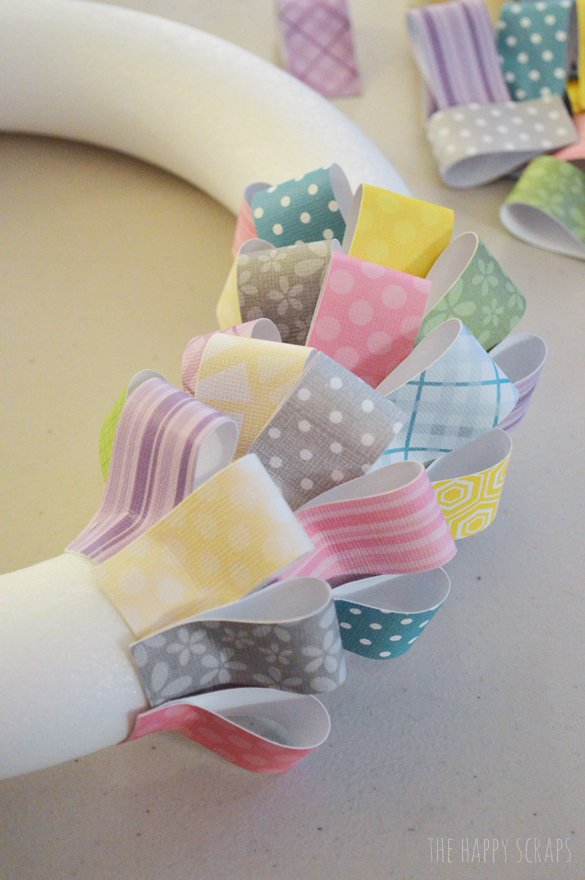
Continue on all the way around your wreath form.
Take a piece of ribbon and glue it to the back of your birds nest. Then make a loop and glue the loop to the wreath form.
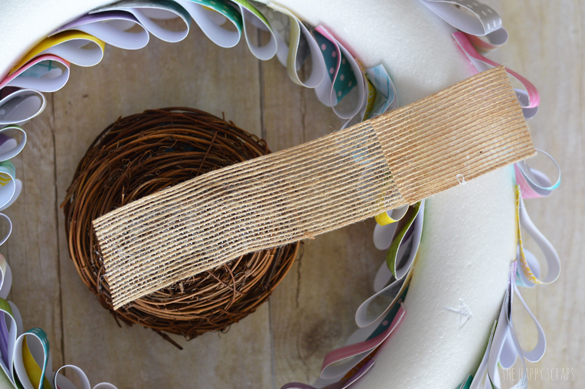
Use another piece of ribbon to loop through your loop to hang the wreath from. Then hang it on your front door or where ever you’d like to hang it.
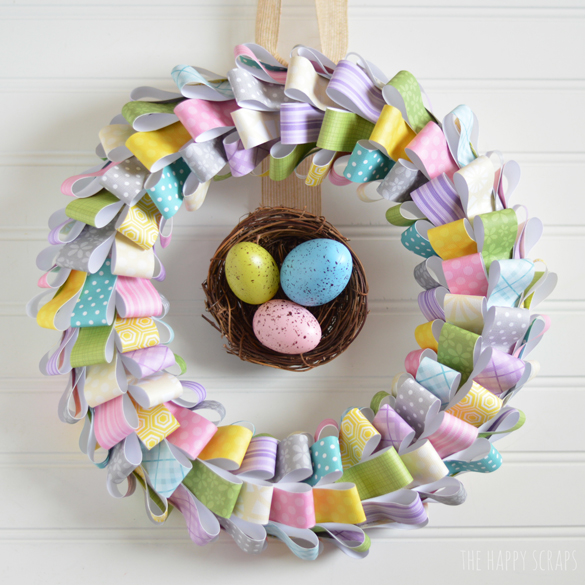
The part that takes the longest is gluing all the papers to the wreath, but it sure is worth it! Don’t you think it turned out so pretty?

Leave a Reply