As part of the Pebbles Inc. design team, I receive product to use on projects and compensation. All ideas and opinions I share are my own.
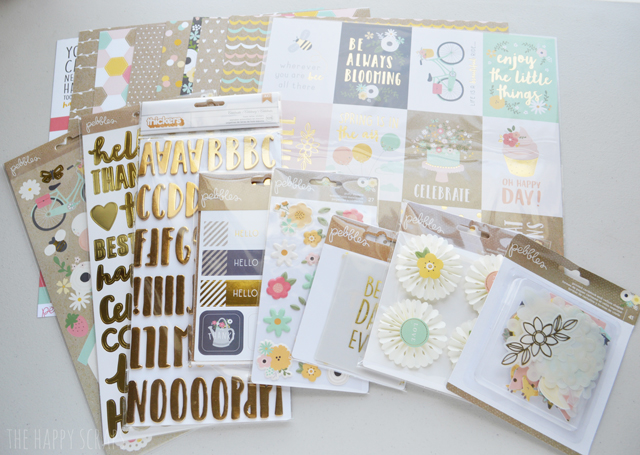
You guys! I am seriously dying over the cuteness of the new Spring Fling collection from Pebbles Inc. I used it for these pretty Spring Fling cards, and I adore the way they turned out. This paper collection is the perfect combination of kraft + pastel colors. And it has gold. I don’t know why I’m so into gold lately, but I am! Anyway, today I’m going to show you how I put these cards together.

This post contains affiliate links.
Collect the supplies that you’ll need:
- Pebbles Spring Fling Collection
- Brown Ink Pad
- Adhesive
- Dimensional Adhesive
- Twine
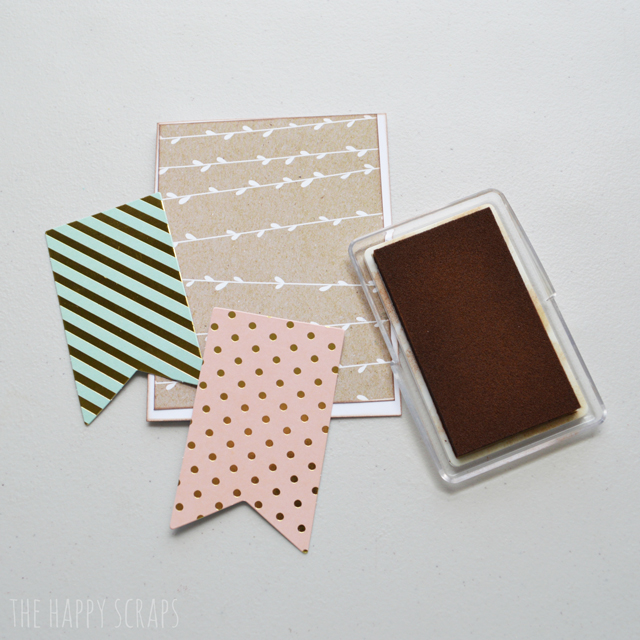
Start off by trimming some white cardstock down to the size of card you’d like. Fold it in half. Cut your background paper slightly smaller than the card base. Ink the edges. I found the foiled banner flag pieces in the Spring Fling Chips pack, and I inked the edges of those as well.
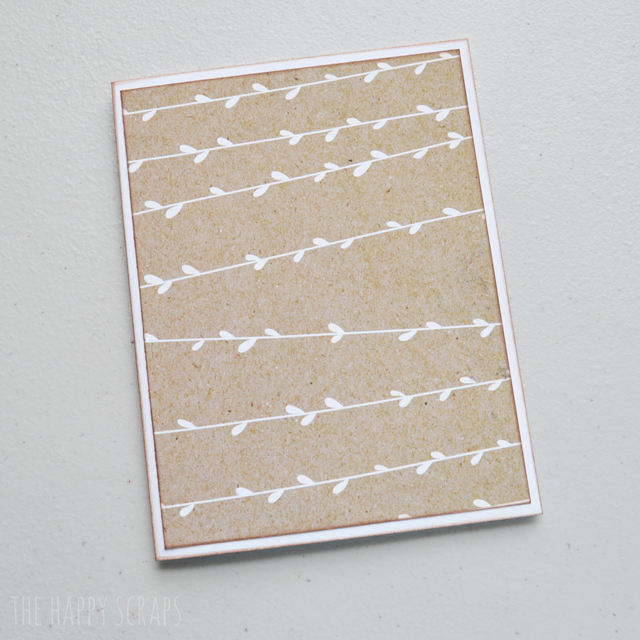
Using your adhesive, attach your background paper to the card base.
Using the off white twine, tie it around the foiled banner flag die cut.
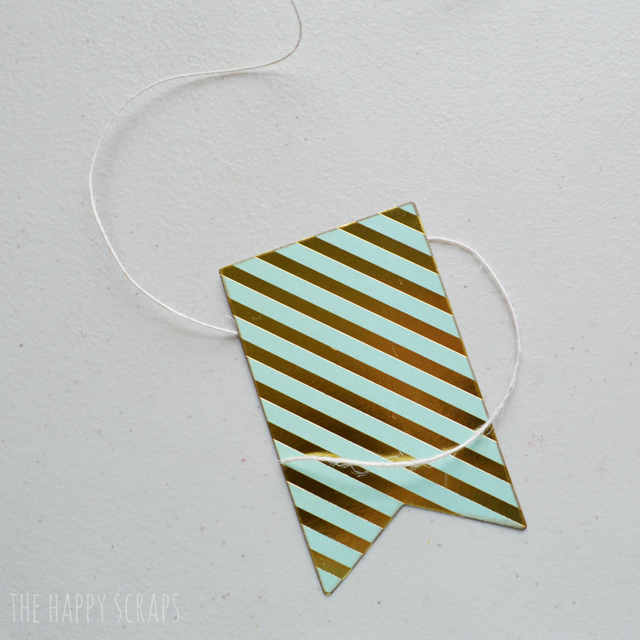
Attach that to your card.

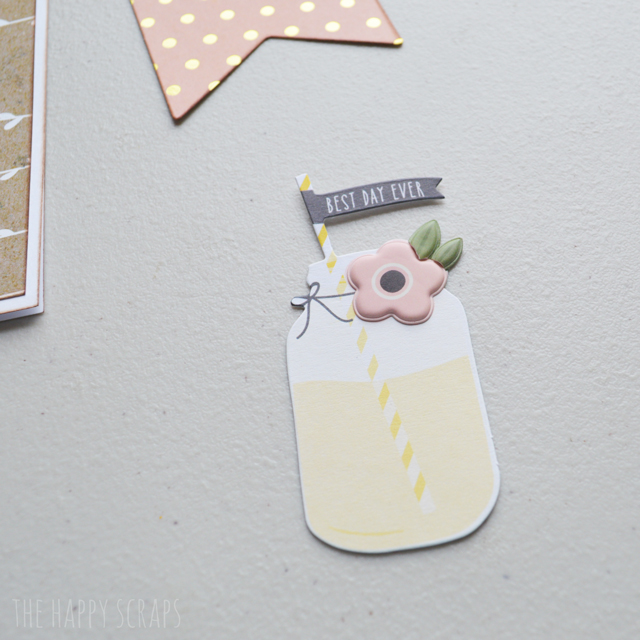
I found this cute mason jar in the die cut chips as well. I added some puffy stickers to the top of it to give it a little more dimension. I attached it to the front of the pink die cut banner flag using dimensional adhesive.
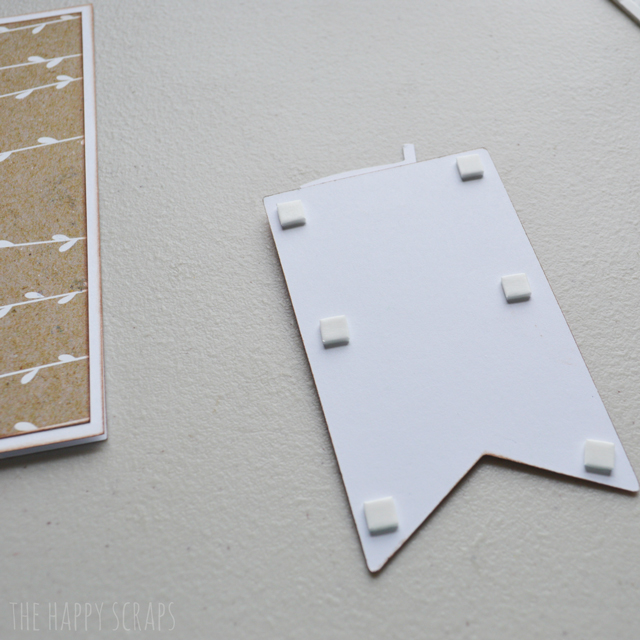
Then I place dimensional adhesive on the back of the pink polka dotted banner flag, and attached it to the front of the card.
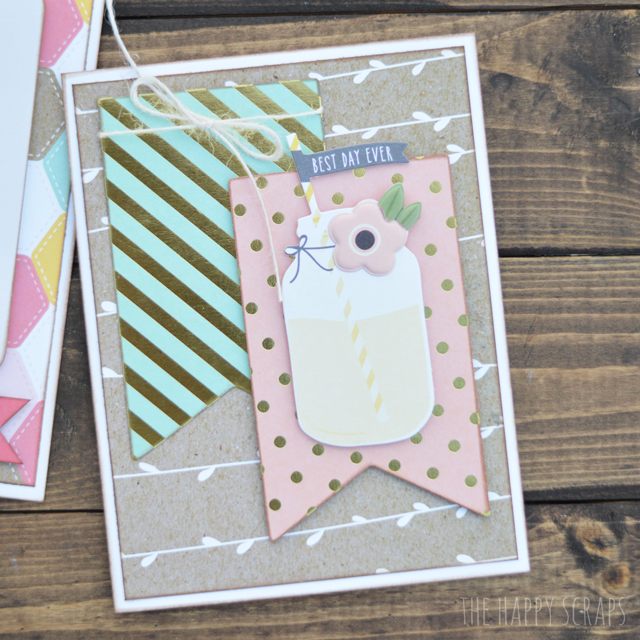
And that finishes up this fun Best Day Ever card. It would be the perfect birthday, wedding, baby, or anything else card.
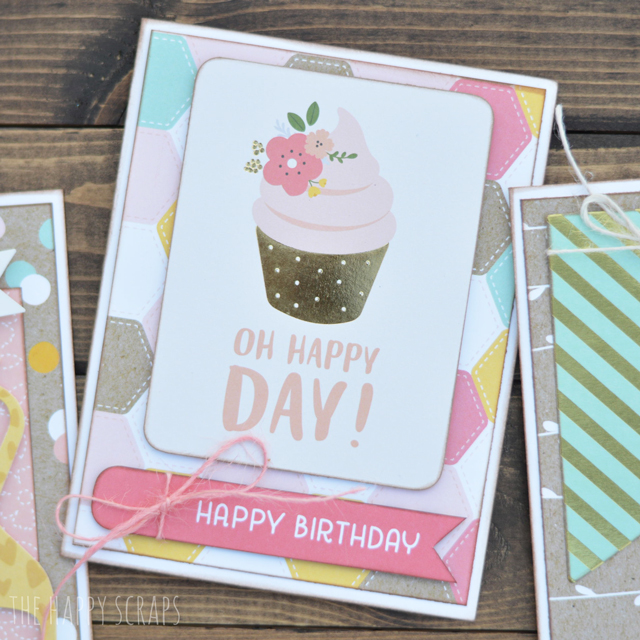
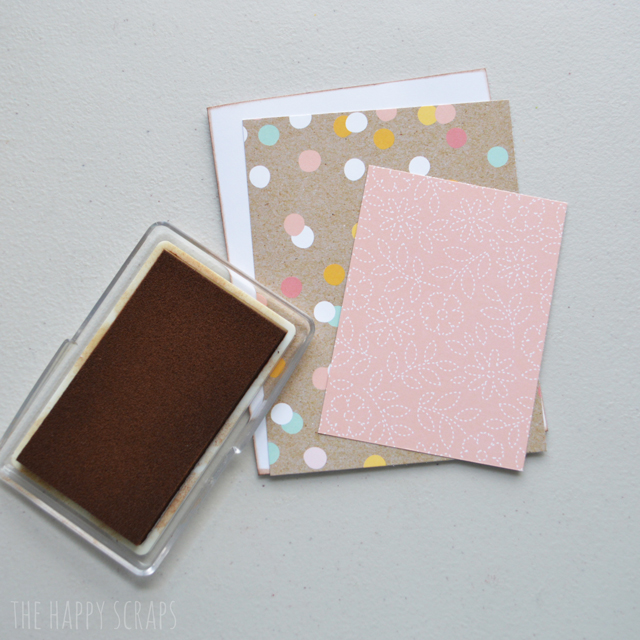
On the next card I decided to use this cute honeycomb paper. I inked the edges of the card base as well as the honeycomb background.

I cut this flag piece out.
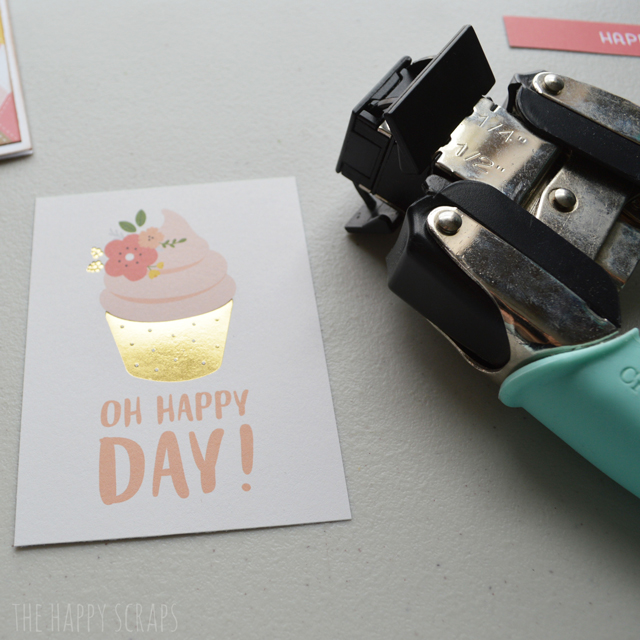
I also cut out this foiled cupcake card. I rounded the corners of this with my We R Memory Keepers Corner Chomper. If you want a good corner rounder, this is the one you need!! Once I rounded the corners, I inked the edges of this as well.
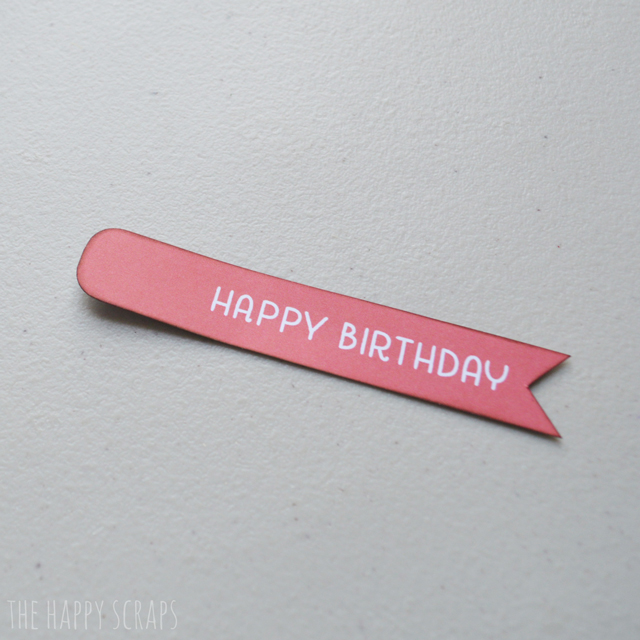
I trimmed the left hand side of this flag a little bit so it wasn’t too long for the card, then I rounded the corners on the left, and inked the edges as well. Then I tied a pink twine bow around it.
I used dimensional adhesive on both the foiled cupcake card and the happy birthday flag to attach them to the card. Isn’t it a fun birthday card?
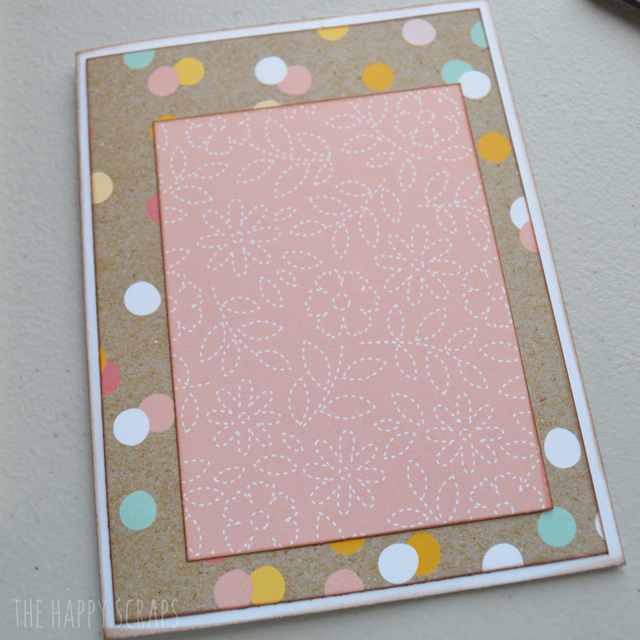
This last card turned out so cute, if I do say so myself. 🙂 I picked out the background, the kraft polka dotted paper, and then cut a smaller rectangle of the pink. I inked all the edges of each of them.
I mounted them on the card base like shown below.
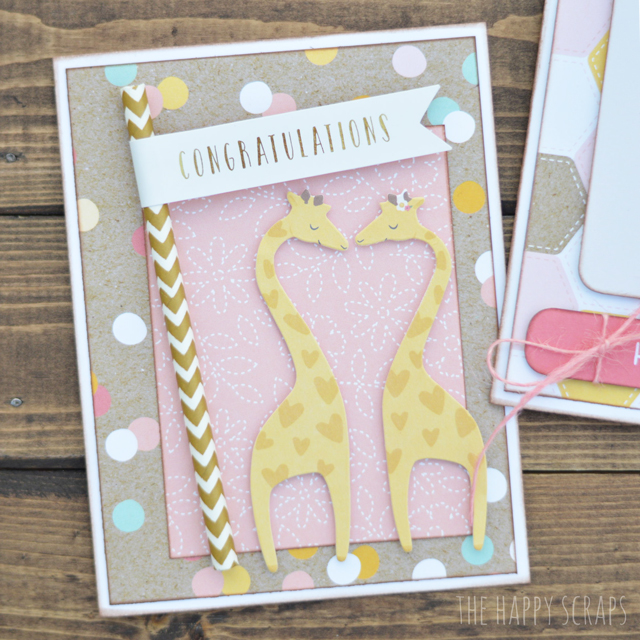
I grabbed a gold and white chevron straw from my stash and then wrapped a congratulations flag around the straw. I trimmed the straw to be the right size to fit on the card.

In the Spring Fling die cut chips I found these giraffes. I placed dimensional adhesive on the back, so I could mount them on the card.

I mounted them on the card, and then attached the paper straw with the flag. It’s the perfect wedding card.
So tell me, which card is your favorite?
Run, don’t walk, to go get yourself some of this adorable paper. I promise you won’t regret it! It is such fun paper!

Leave a Reply