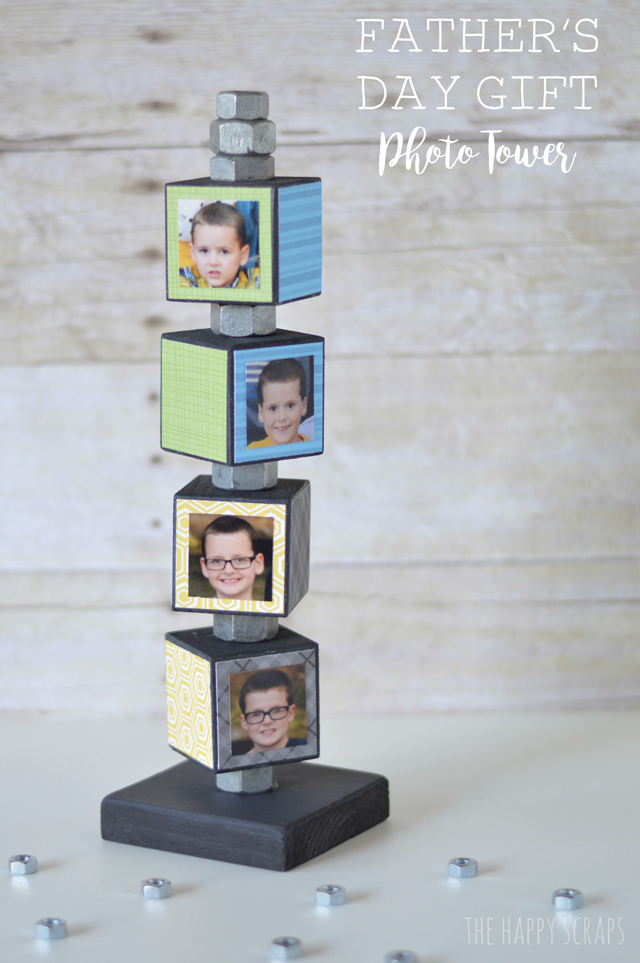
Can you guys believe that we are already half way through May? I can’t believe it! Next week is my husbands birthday, and then in just a few short weeks after that, it will be Father’s Day. Father’s Day is always a little bit bitter sweet for me. I love to celebrate my amazing husband and father of my boys along with my father-in-law, but father’s day can also be a little bit of a hard day for me. Since my dad passed away 7 years ago, father’s day always makes me think of him, so it’s a day that I enjoy, but also miss my dad. When I made this Father’s Day Photo Tower, all I could think about is how much my dad would love this! He was always working with his hands and had a shop full of nuts and bolts, so there couldn’t be a more perfect gift. But since he isn’t around anymore, I can’t give him one. I made this and gave it to my husband last year, and he’s had it on his desk. Since I had another baby though, I need to make something new for him to put on his desk that has all five boys on it.
This post contains affiliate links.
Father’s Day Photo Tower Supplies:
- Patterned Paper
- Wood Blocks
- Nuts (sized for the bolt)
- Bolt (tall enough to hold the amount of blocks you need)
- Paint
- Wood Glue
- Sponge Brush

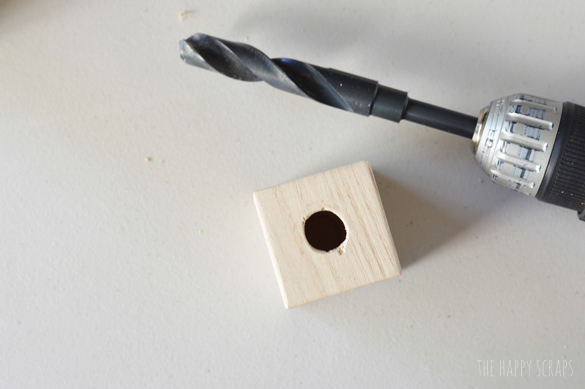
Using a drill bit large enough for the bolt I purchased, I drilled out the center of the blocks.
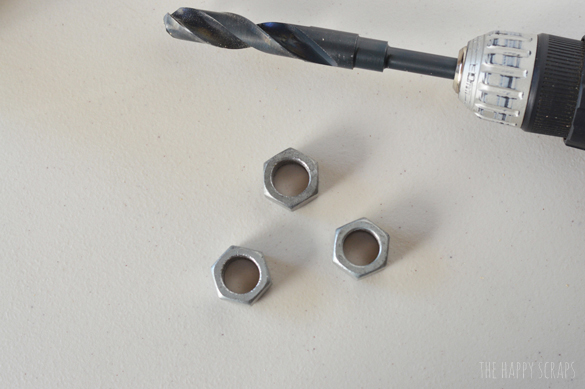
I also drilled out the threads of three of the nuts. I needed them to not have threads so that they could spin on the bolt.
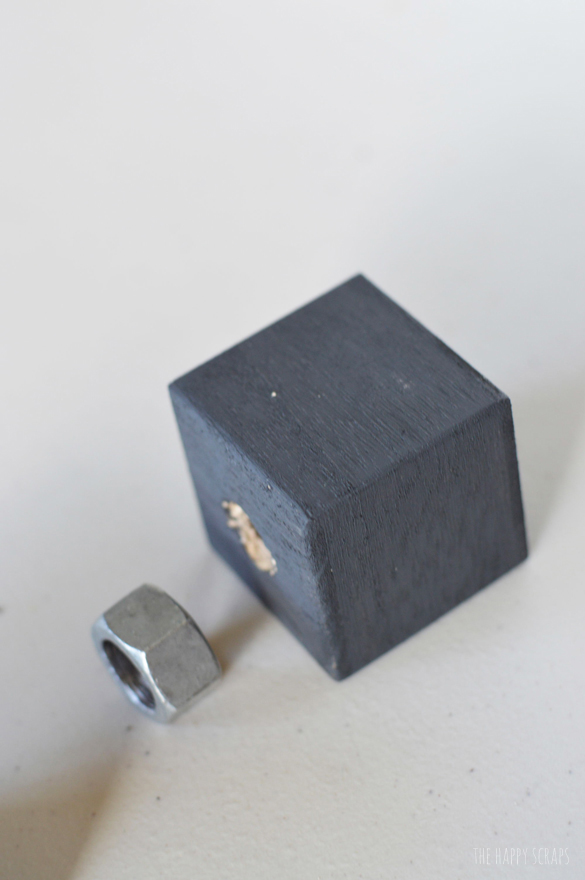
I painted each of my blocks using a charcoal paint color.
I measured my blocks and cut out squares of the patterned paper to fit the sides of the block.

I put a little wood glue on the side of the block then spread it out with a sponge brush.
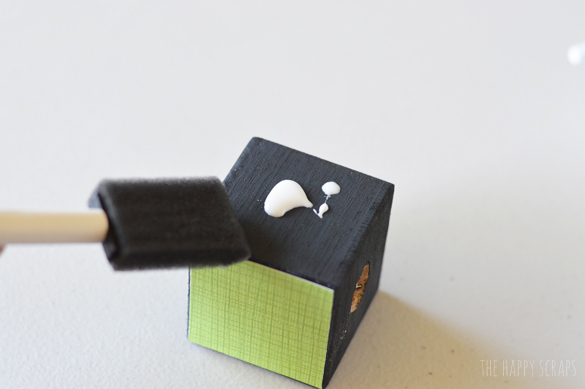
I placed the paper over the wood glue and smoothed it out well with a vinyl squeegee.

I did this on all four sides that didn’t have the hole drilled in it.
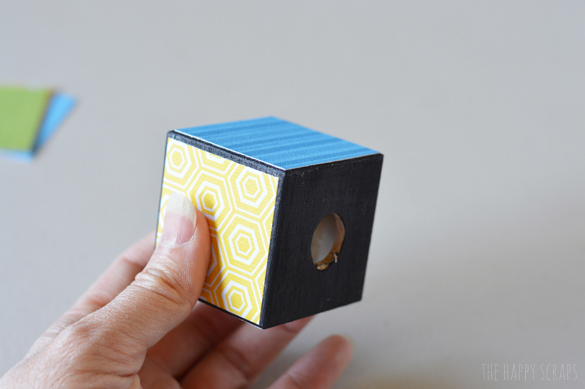
I printed out this “We Love You Dad” so I could cut them into squares and place on the blocks.

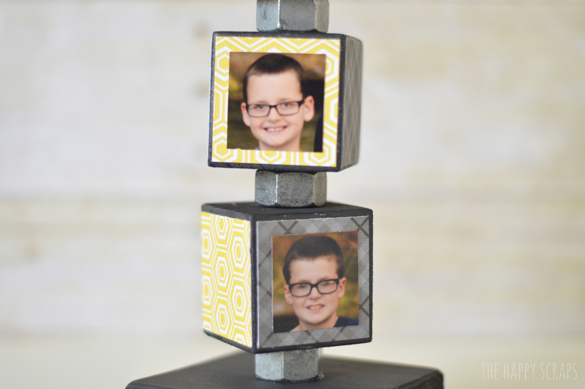
On one side, I placed pictures of the boys, and on the other I put the words.

On the base, I used super glue to glue the nut into the center. This nut still has the threads in it.
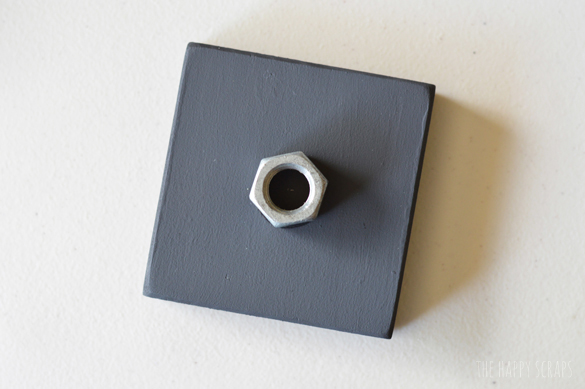
Once it was dry, I could stack up the photos on it, and screw the bolt into the nut.
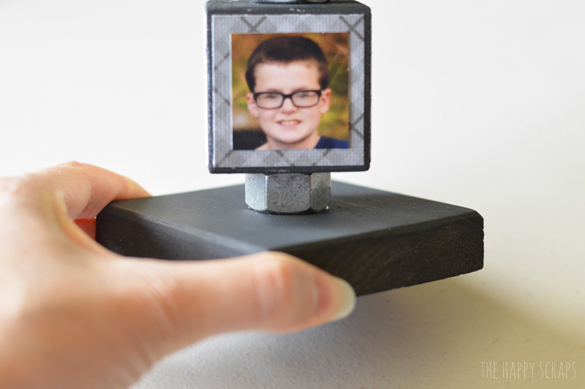
Between the other blocks, I used the nuts that had the threads drilled out of them. They create the spacers needed as well as making it so you can turn the blocks around.
At the top, I had the bolt top, and then I glued a large nut and a slightly smaller nut to the top.
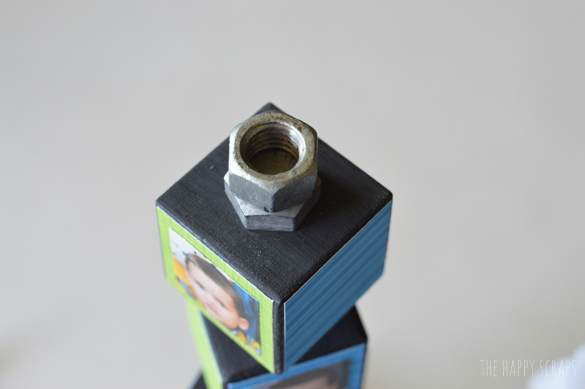
It created the topper for the project.
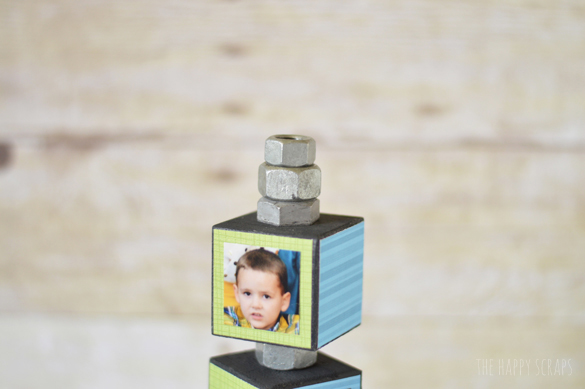
I really do love the way this project turned out. It was fun to make, and helped me to reminisce about my dad and spending time working with him.
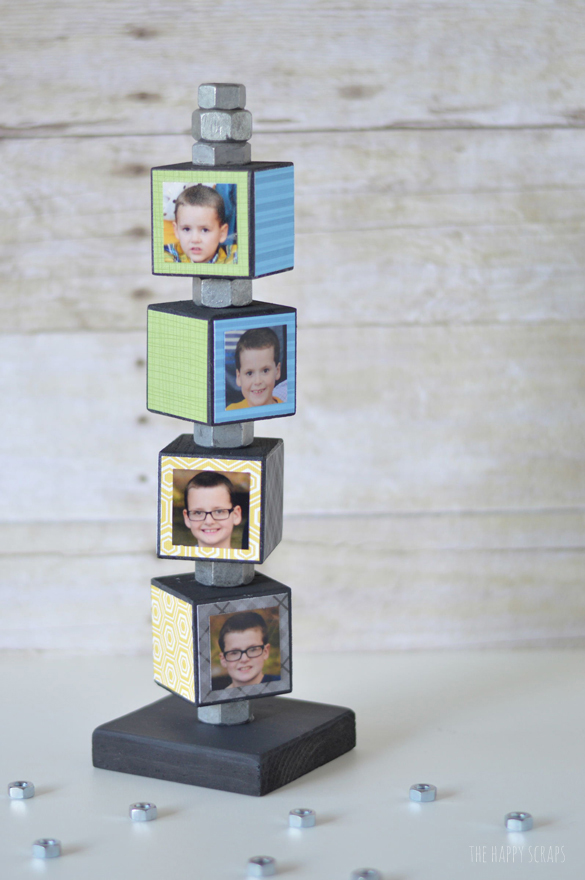
Here is the other side of the blocks, where it shows the words.

Now is a great time to get started on this project, and you’ll have it done in time for Father’s Day. Does your dad or husband work with his hands and likes playing with nuts and bolts? This would be the perfect gift for him.

Leave a Reply