When we moved into our home, we thought the pantry was great and had plenty of shelving. That is…until we started unpacking into it. We realized that with all of our regular pantry items, plus food storage that we needed to put in there, it wasn’t going to work. The previous owner had taken out one wall of shelving and replaced them with some rolling can racks. They took the racks with them (which we expected) and so we were left with two walls of shelving. We realized pretty quickly that our pantry was going to have to be one of the first places we spent time working to improve the space. Today, I’m going to share with you our DIY Functional Pantry Shelving and how easy it was. It just took time (and a little money), as does anything. We had been trying to figure out how to do the shelving, as cheap as possible, but also sturdy, and we saw a video post on facebook from Ana White showing how to build easy and fast garage or storage room shelves. Those plans are where we started, but we obviously modified them, to fit our needs. Also, this post is longer than most that I share, so bear with me. 🙂

This post contains affiliate links.
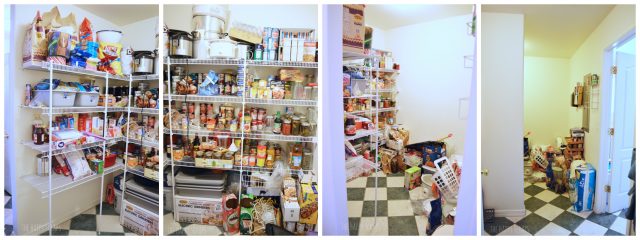
When we started this project, we started clearing out the pantry into the garage. From the garage door, you enter into the laundry room, if you go straight you go into the pantry, if you turn right, you enter the kitchen. So here are the before pictures. We had already started moving stuff when my husband reminded me that we should take pictures, so there is some stuff out of here, but you get the idea. It wasn’t working! At times, there was barely a little trail getting to the shelving. (I put the pictures together trying to show you how it would look if you walked into the pantry and turned 180 degrees.)
We got everything cleared out.
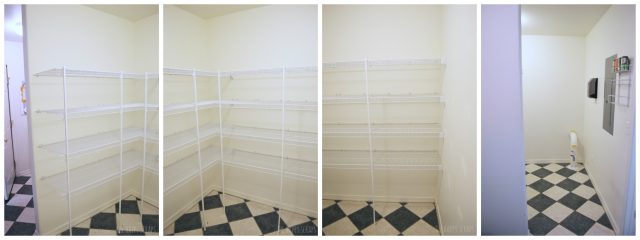
Then we started removing the wire shelving. Holy cow! These were harder to remove than I thought they’d be.
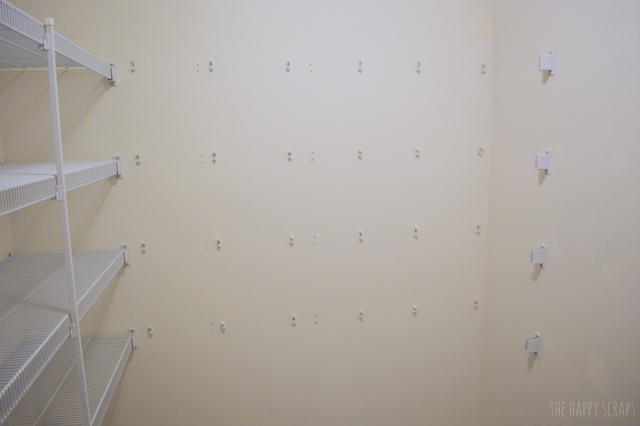
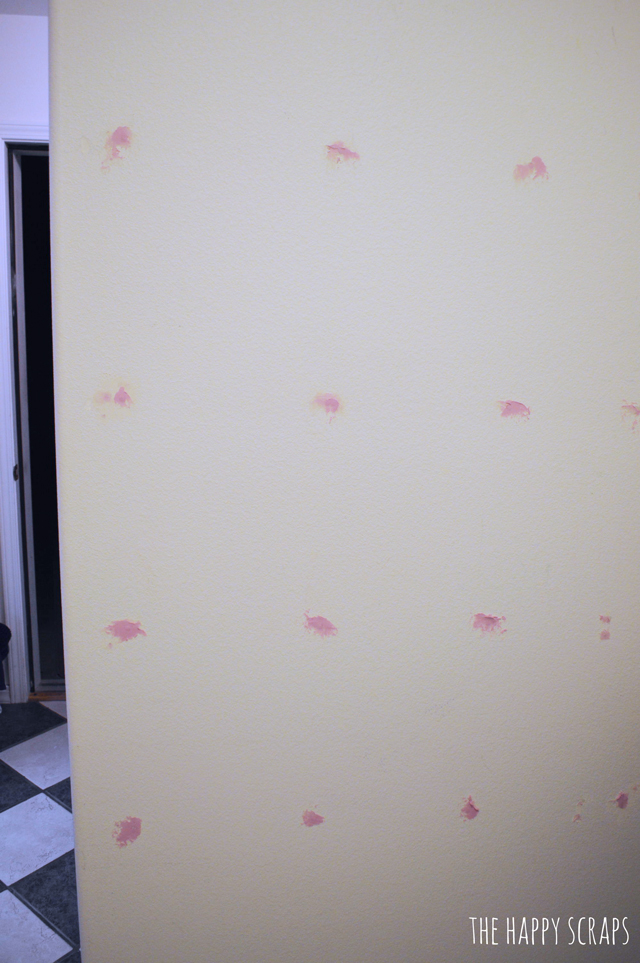
And they left a lot of big holes!
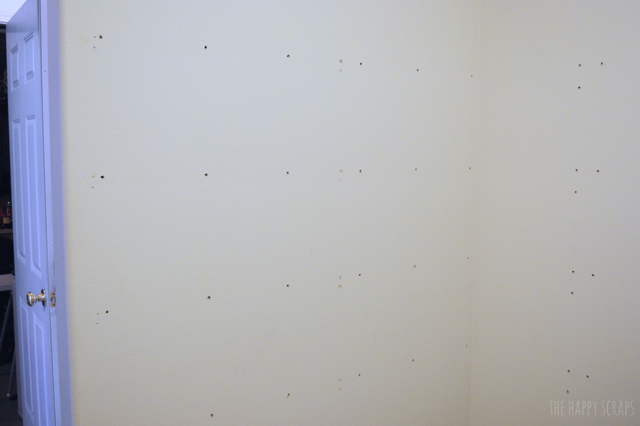
We patched the holes. When they were dry, we sanded them. We didn’t bother painting because we were just putting shelves back up, in almost the same places, so we just left that step out since the walls were already white.
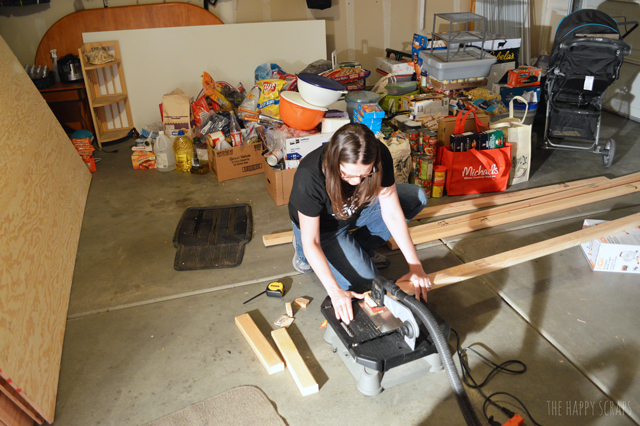
It’s amazing how big of a pile a full pantry can cause when it’s not on shelving. It took up a lot of our garage. The garage is also where we were working. After cutting wood in there for almost a week, we realized that we should have covered all the stuff with a tarp, so we didn’t have to clean sawdust off of everything when we were putting it back in the pantry. When we started this project, we were using the tools we had. During the process, we ended up buying some larger saws. I started by cutting 2 x 3’s on our Rockwell Blade Runner. We measured the wall we were starting on, and cut those first.
Before we started, we measured everything out, and decided how much space we wanted between each shelf, and how far from the floor each shelf would be and how deep. We ended up doing 4 shelves on one wall, 5 on one, and 6 on one. You might wonder why we did all different. The wall with 6 has a really high shelf for things we rarely use, the other two sides top shelf leaves space for tall things, and the one with only 4, we couldn’t put a shelf lower because of our radon mitigation system.
We attached the rails to the wall after we found the studs.

It’s amazing that by this point, I was already getting excited. Little did I know that this was going to take a little more than a week. When we started, I thought it would take a few hours. Ha!!
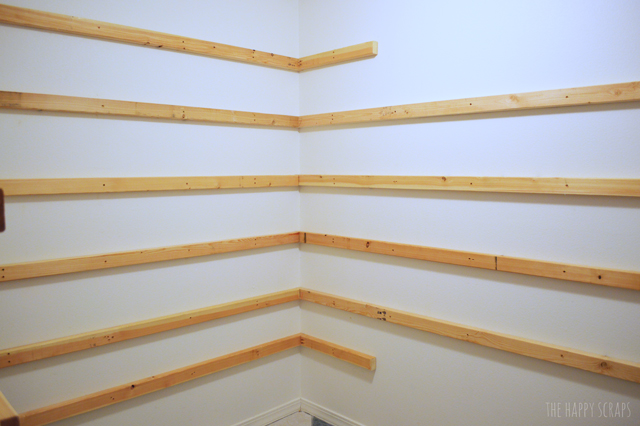
We screwed a second rail to the first one, making them all line up right, and then we attached the upright boards, just to the front rail.
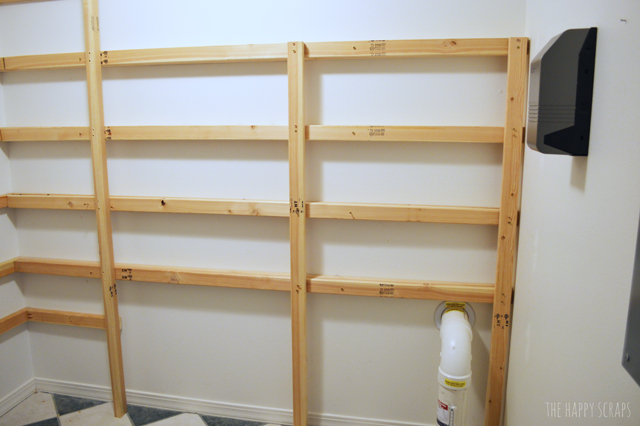
Hopefully you can see a little better here, what I mean.
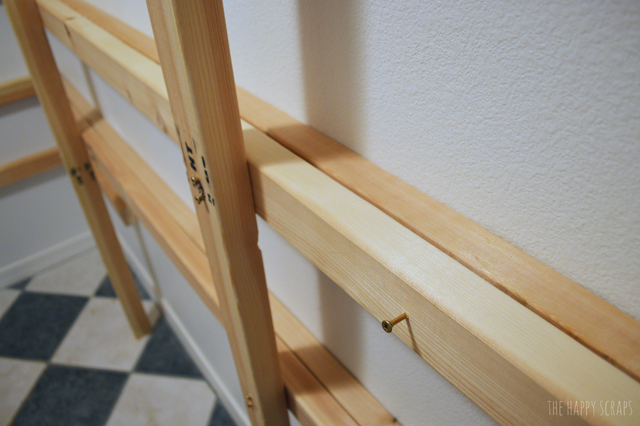
We pulled out the screw that were holding the two rails together, and pulled the front piece out to where it needed to be.

We cut shorter brackets and used the Kreg Jig to drill pocket holes in them.
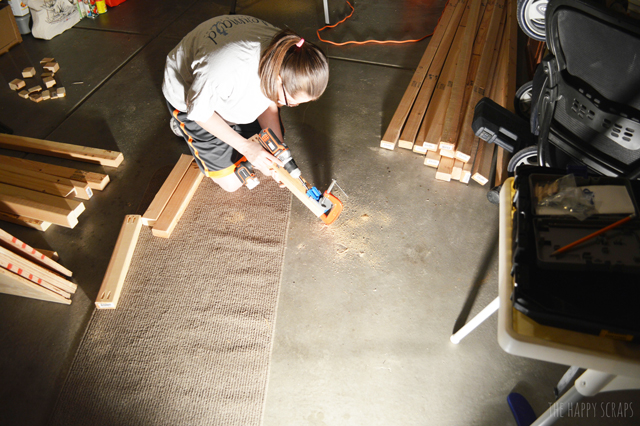
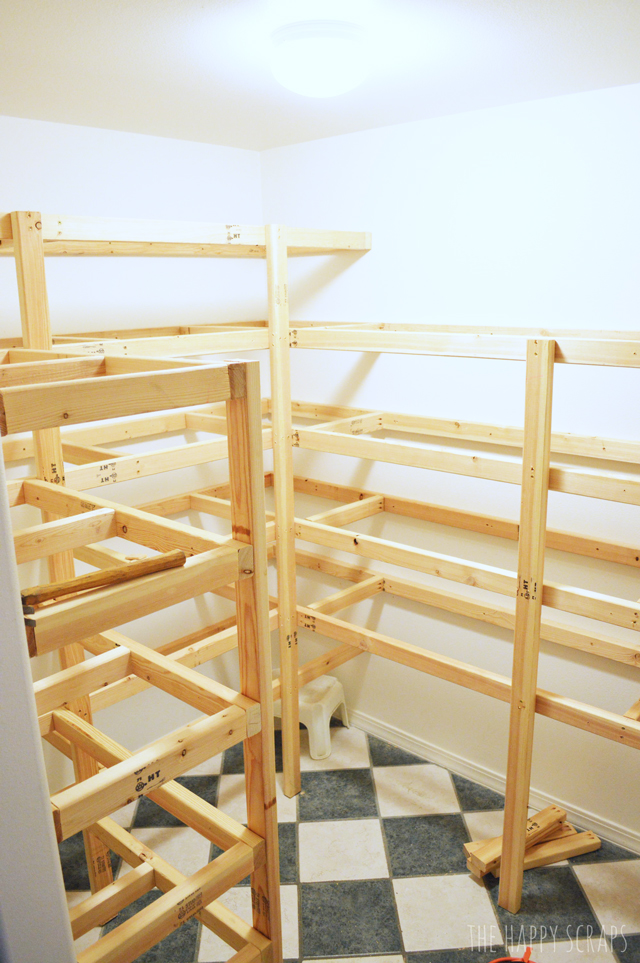
We put rails in and got the first wall all attached together, then we worked our way around the room. We got to this point and we were ready for the ply wood boards.
We measured each piece of ply wood and cut it to size using our Ryobi Table Saw. We bought this saw just for this project, but I’m so excited to have a table saw. I’ve been wanting one forever, and now I have one! I can’t wait to use it for making other stuff!
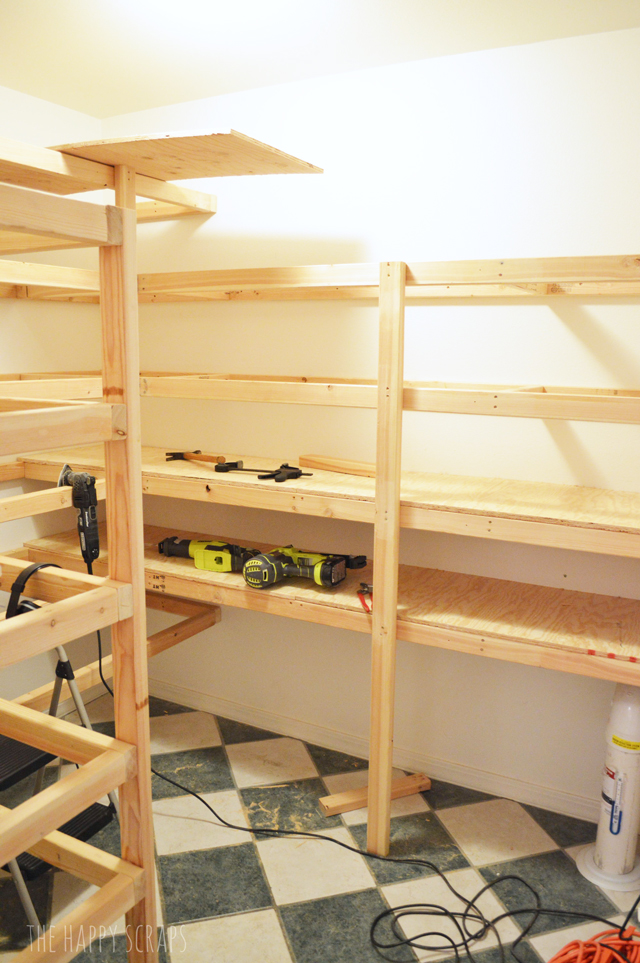
We attached the boards with a cordless Ryobi 16-Gauge Finish Nailer, (battery sold separately) that we also bought for this project, and we are SO glad we did. Plus, we’ll find lots of other uses for this too. It’s fun to use!

Once we had all the wood on the shelves, we sanded the marks off the wood, and filled in the holes from the screws using wood filler.
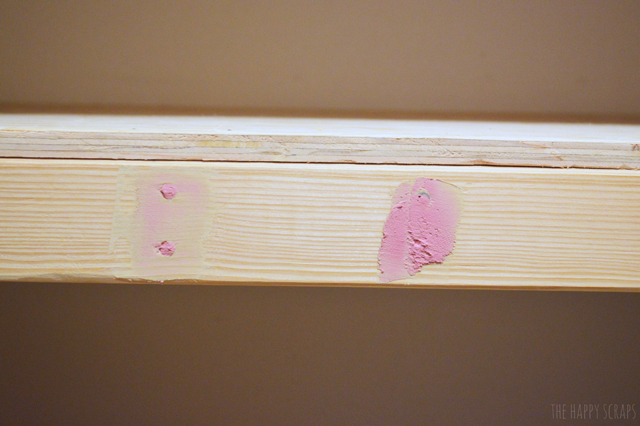
Once the wood filler was dry, I painted the face of the shelving white. I probably should have painted the top of each shelf, but I didn’t because it would have had to cure for a while, before we could put the contact paper on the shelves, and I really wanted my garage and pantry back. I do think the contact paper would have stuck better to the shelving, had they been painted though.

Once the paint was dry to the touch, I applied the contact paper. I got mine at Wal-mart, and it was pretty reasonable. I had to buy 100′ of it, and I think I spent about $20.
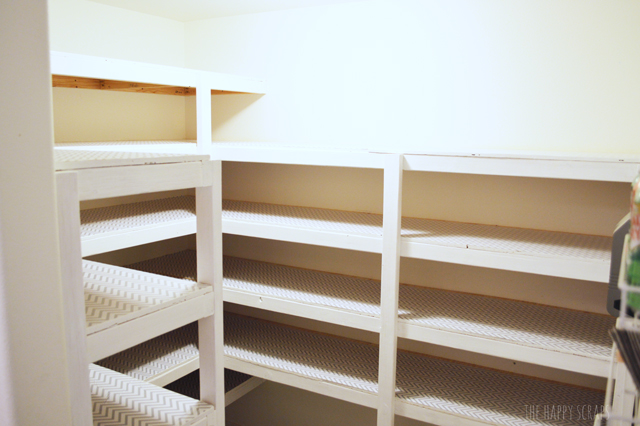
Putting on the contact paper was my least favorite part. Maybe it’s because I was SO done with this pantry by then, or because it was a pain to work with. By the end, I had it figured out pretty well, but it really was a pain. 🙂
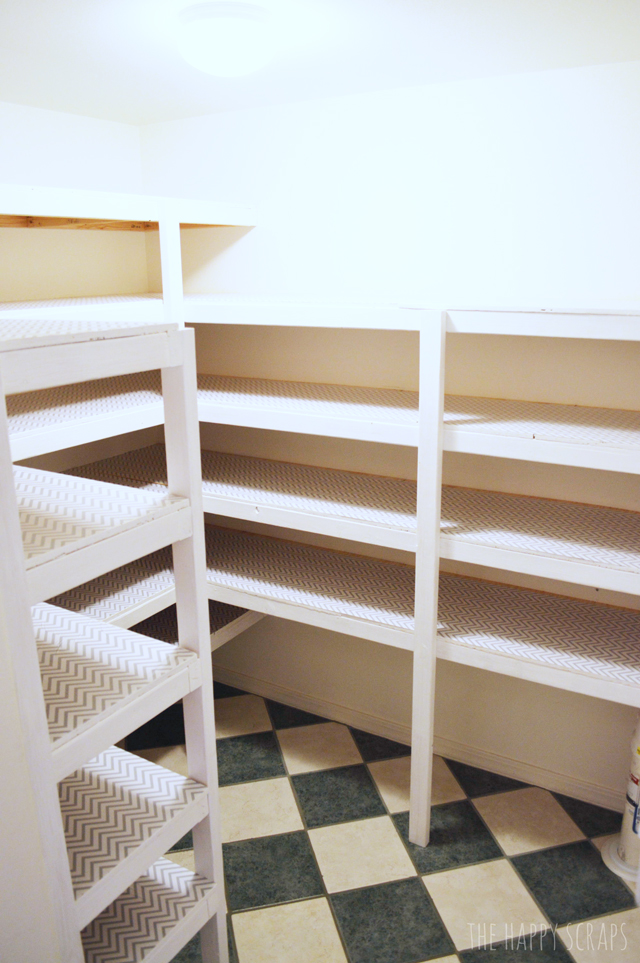
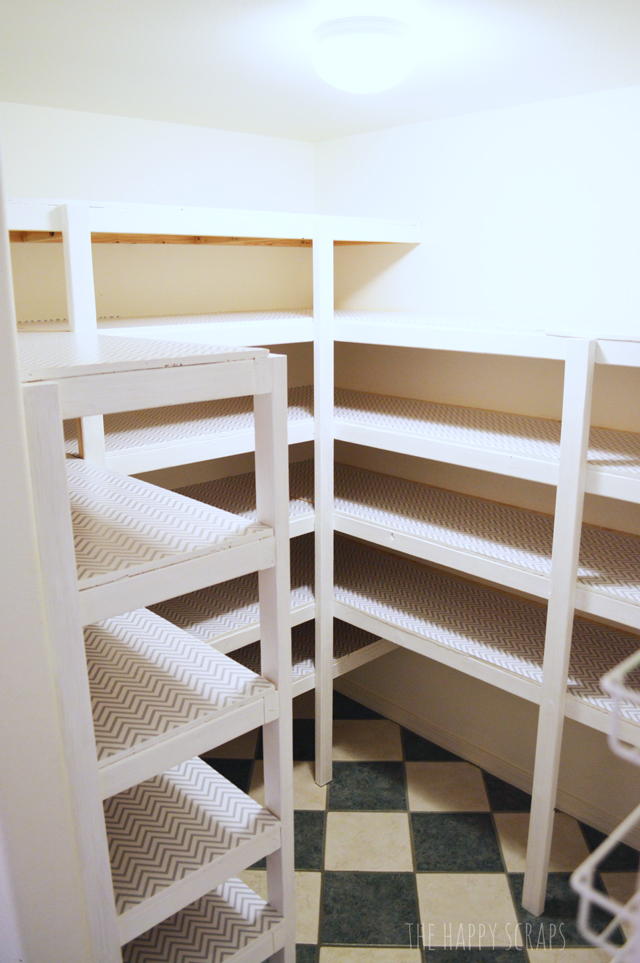
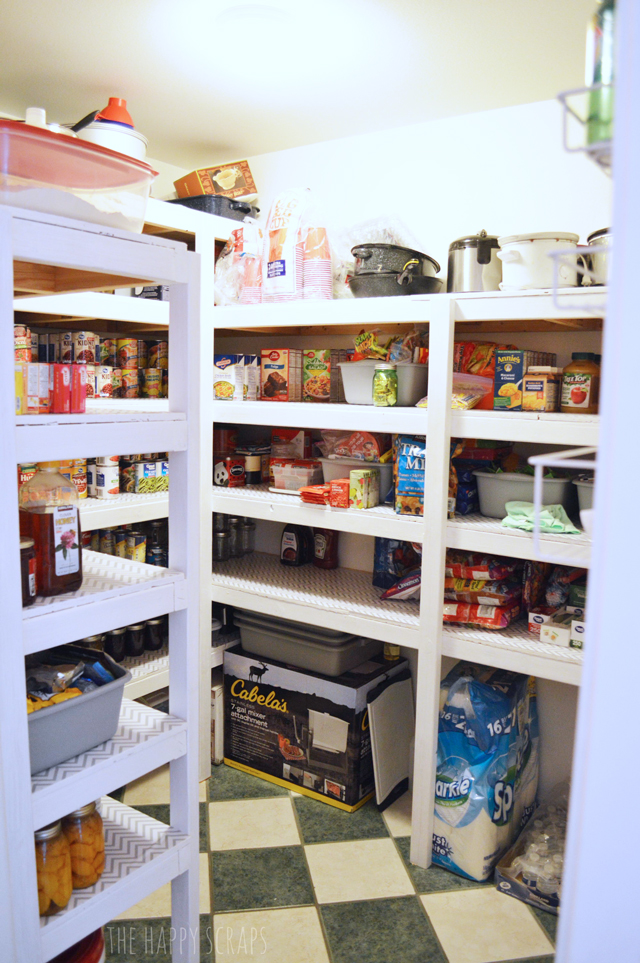
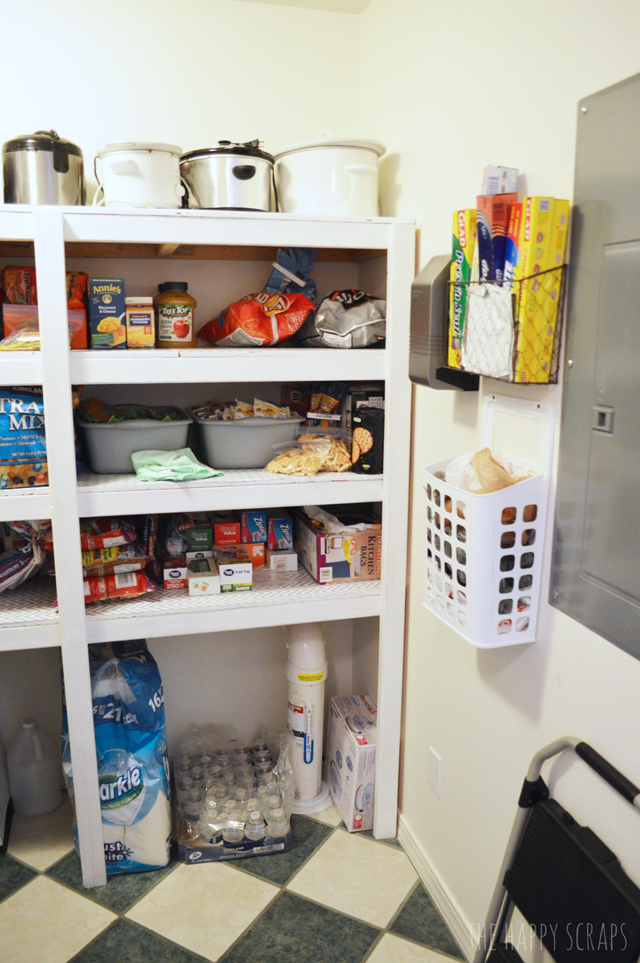
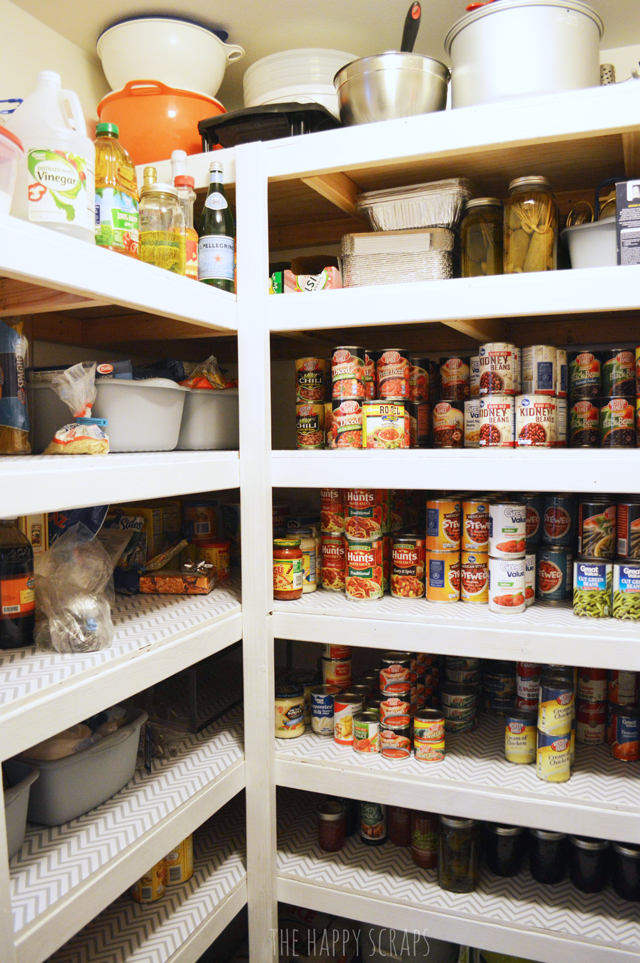
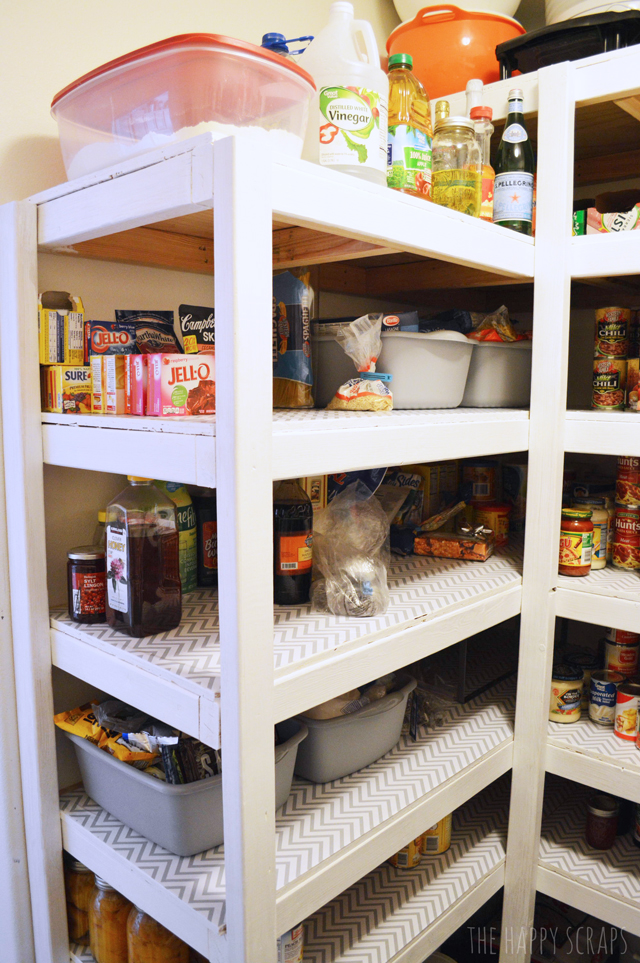
This is what it all looked like before we put everything back into the pantry. By this point, I was pretty much in love with my pantry! It’s way sturdy, my husband and I can both climb on it, ( we know from building it and we had to, we have a stool in there for reaching things though) and it’s not going anywhere, which is a HUGE improvement over the wire shelving that we had, and we have SO.MUCH.MORE.ROOM. We made the shelves deeper, one wall even has 23″ deep shelves.

And here it is with all of our stuff in it. While this isn’t a really pretty pinterest pantry, it is what we needed. It’s functional, it has a lot of space, it serves it’s purpose, and we love it in our home. I also love that since we were able to use 2 x 3’s and ply wood for this project, rather than wood that is more expensive, we did it fairly cheaply. I honestly worried with the wood that we chose to use, it was going to look ugly, but with the paint and contact paper, it worked out really well!


Now if only I could re-tile the whole pantry, laundry and kitchen areas. I’d love to change to flooring to something more my style. But that’s a project for another day….or year. That one will be a while. 🙂
If you have any questions about our pantry shelving, I’d be happy to try and answer them. Just leave a comment.

Leave a Reply