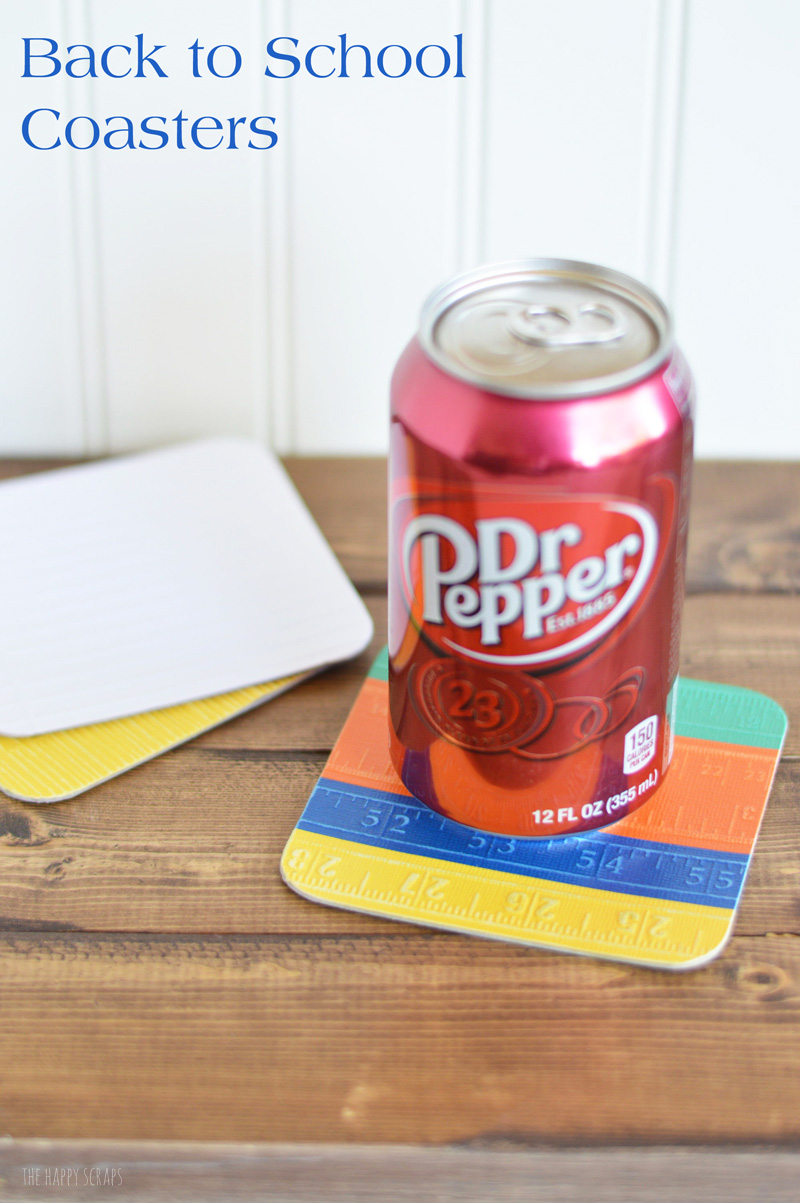
It’s not really a secret that I like to create teacher gifts for my kid’s teachers. I feel like they do so much for my kids and the least I can do is give them some supplies or something else that they can use. I usually don’t completely DIY a gift for them, because I try to give them things that are useful, but these Back to School Coasters are DIY’ed, but teachers can sure use a coaster to keep their drinks from getting condensation on their desks. So today I’m going to show you how I made these fun Back to School Coasters using a few basic supplies.
This post contains affiliate links.
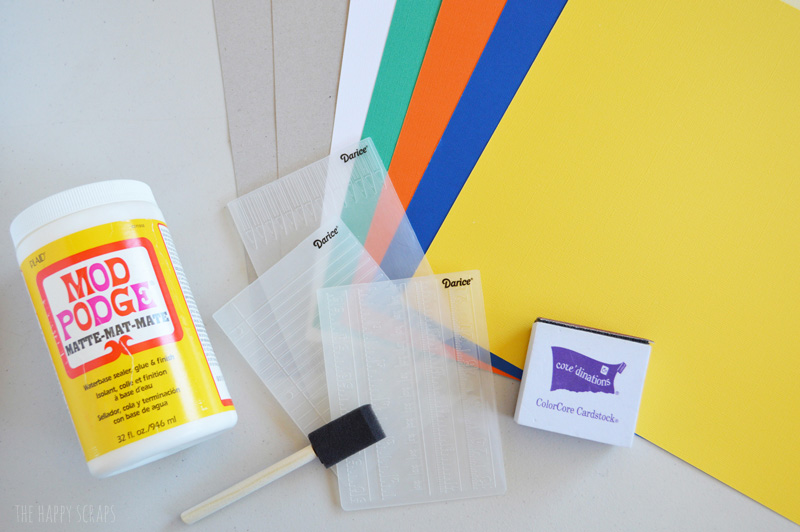
Back to School Coasters Supplies:
- Cardstock
- Embossing Folders (you can find two of the ones I used here and here.)
- Sanding Block
- Chipboard (or you could use a cereal box)
- Corner Chomper
- Mod Podge
- Sponge Brush
- Cuttlebug
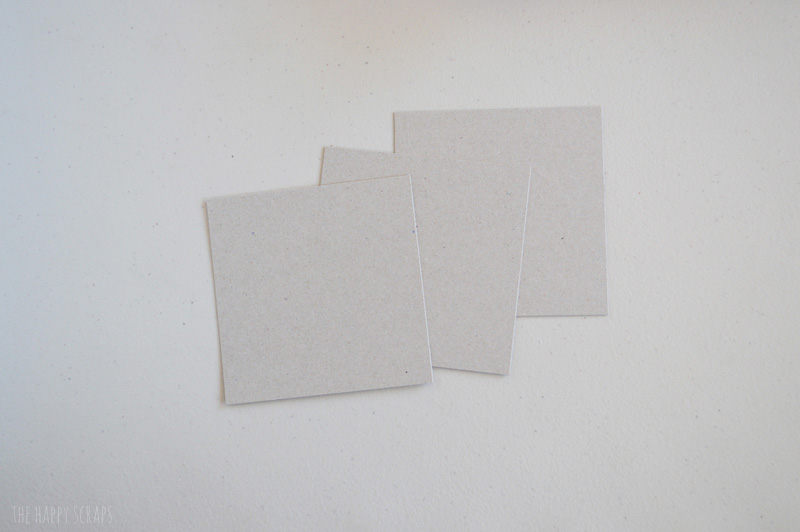
Cut your chipboard into 4″ squares.
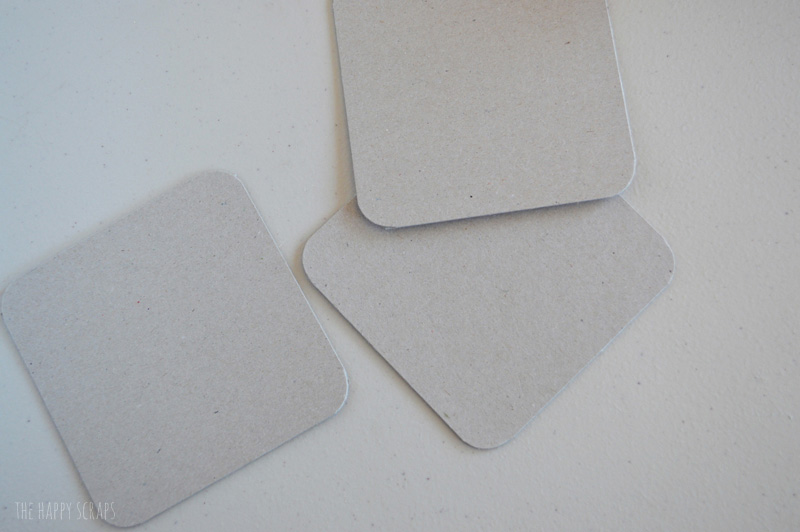
Use the corner chomper to round the corners of your chipboard squares.
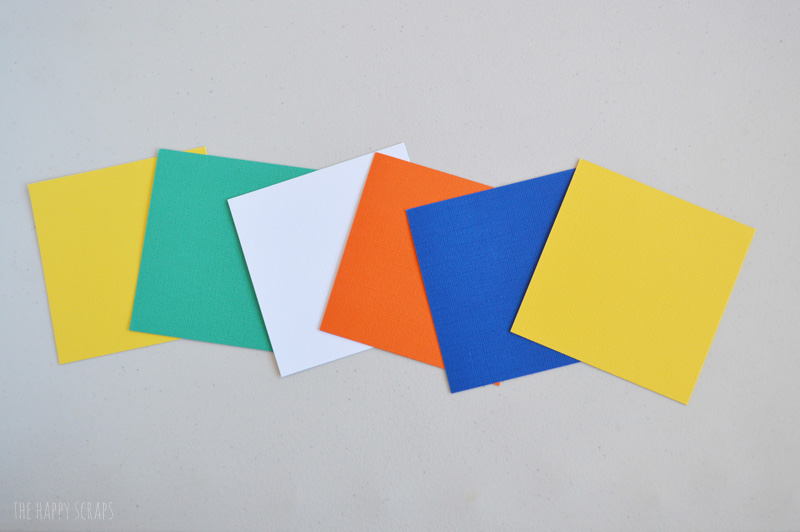
Cut your paper into 4.25″ squares.
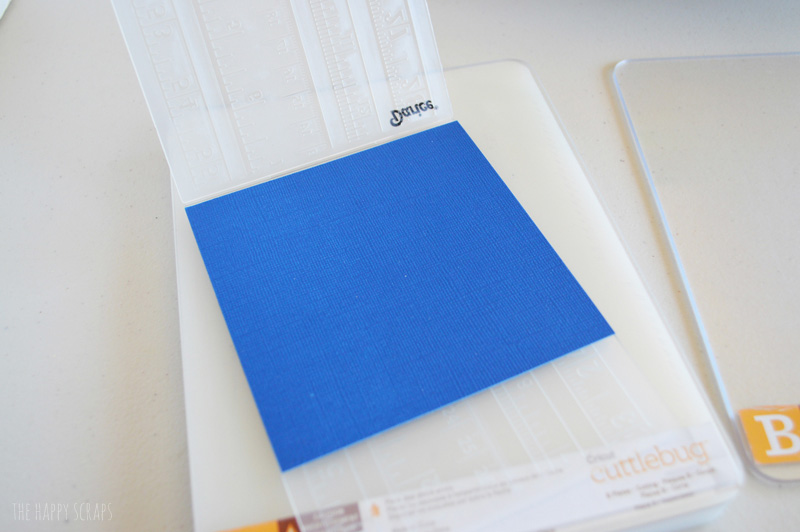
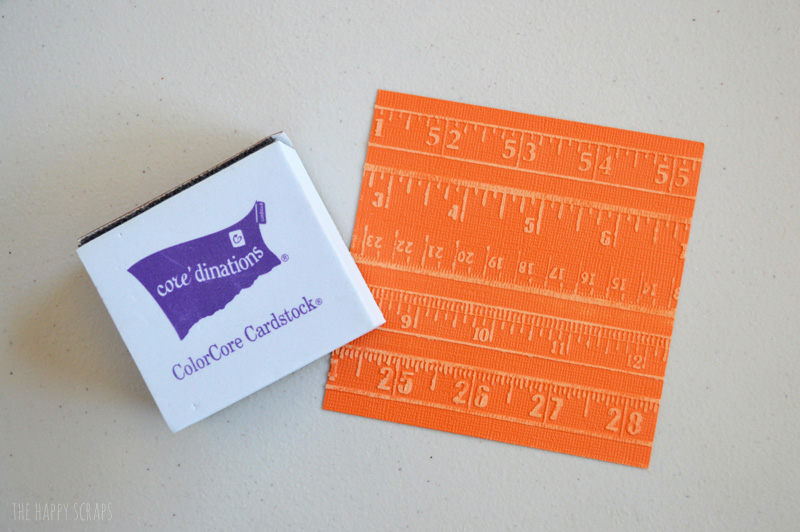
Place your paper into the embossing folders.
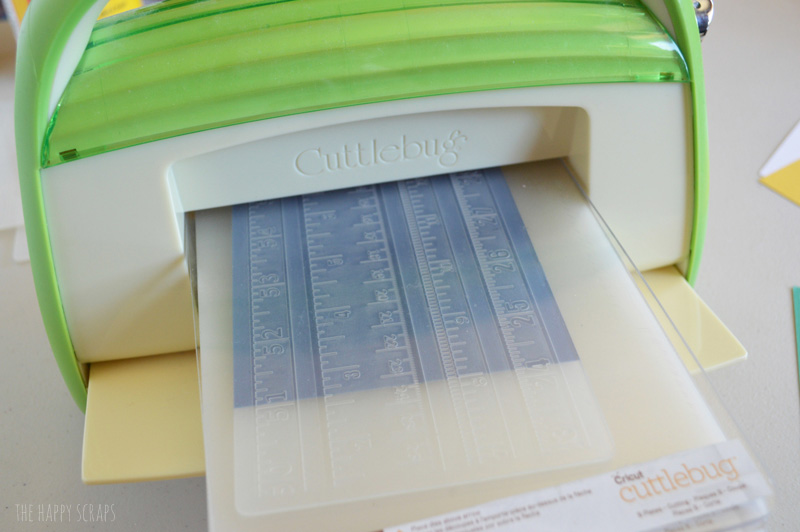
Run the embossing folder through the embossing machine.
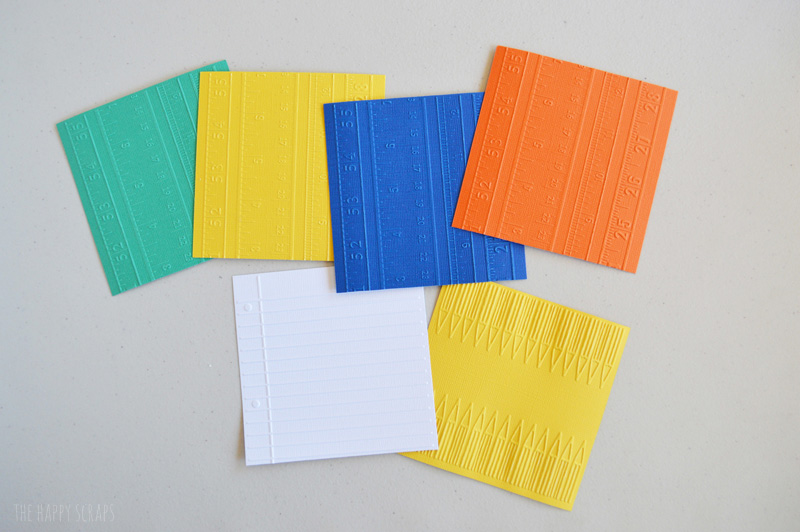
You’ll have several papers similar to these.
Use the sanding block to sand the top of your paper.
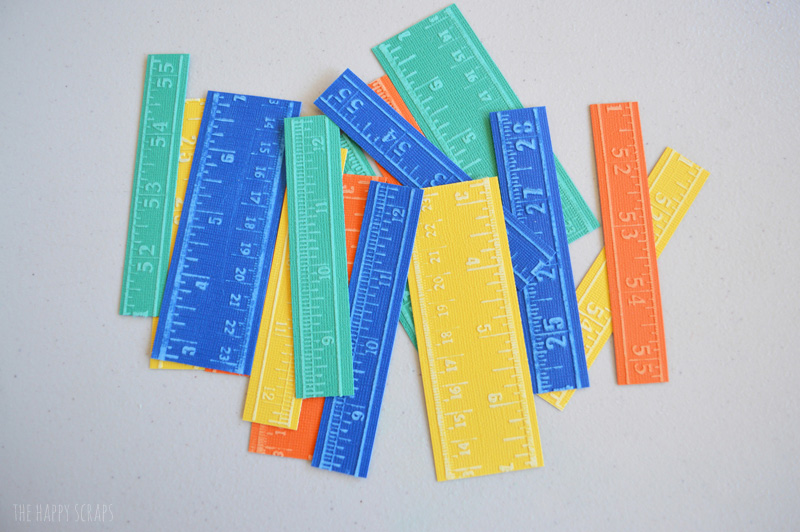
Cut the ruler papers apart.
For the ruler coaster I used one piece of each color.
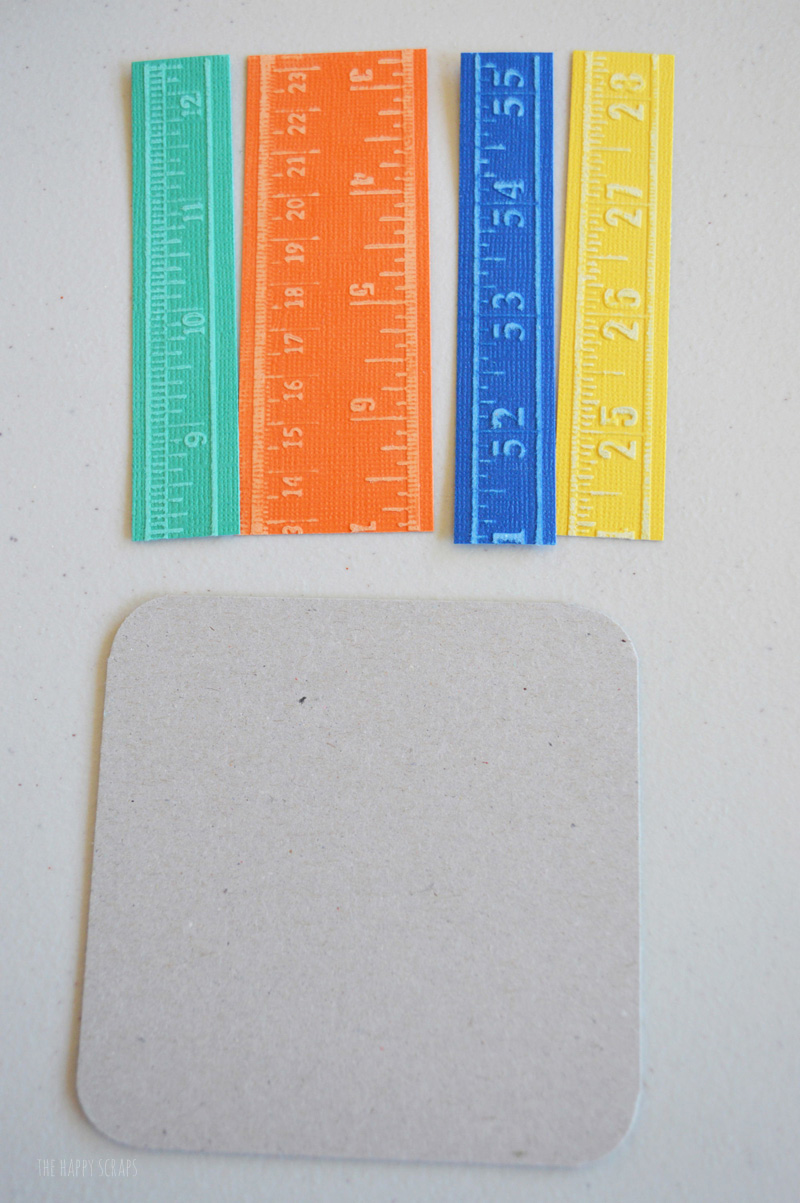
Using your sponge brush, apply some mod podge on the chipboard.

Place your ruler pieces onto the mod podge. Smooth out and let dry.
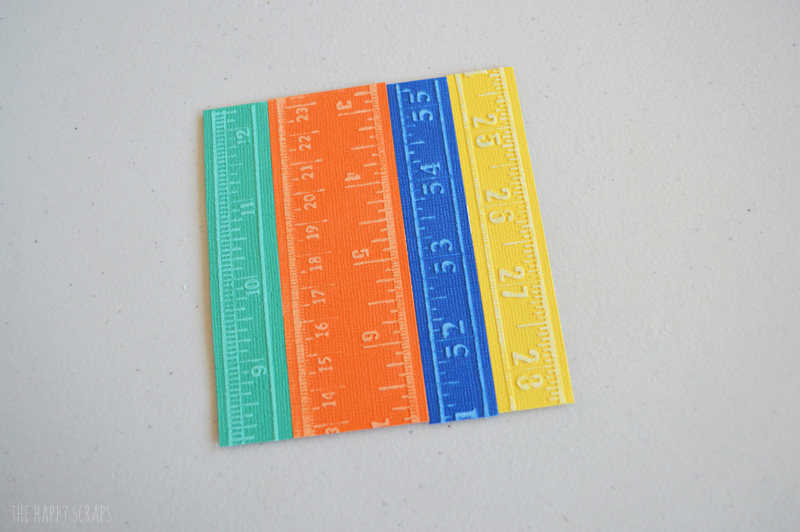
Trim the extra edges off the sides of your coasters.
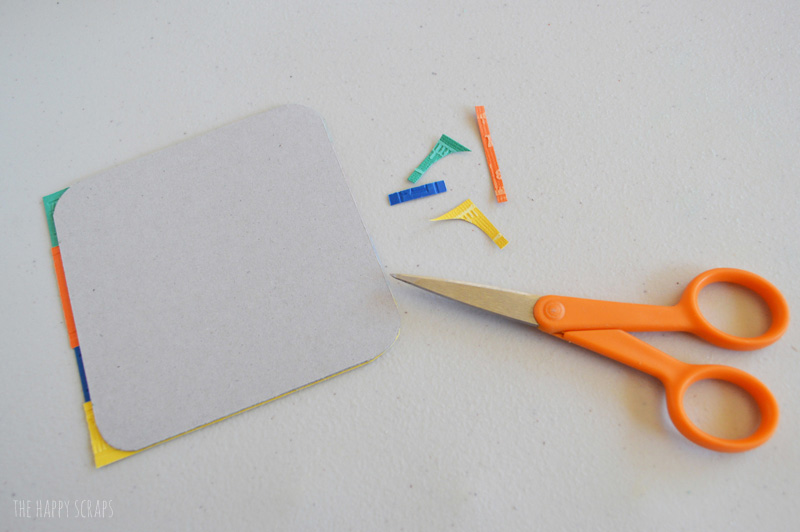
Sand the edges to get them nice and smooth.
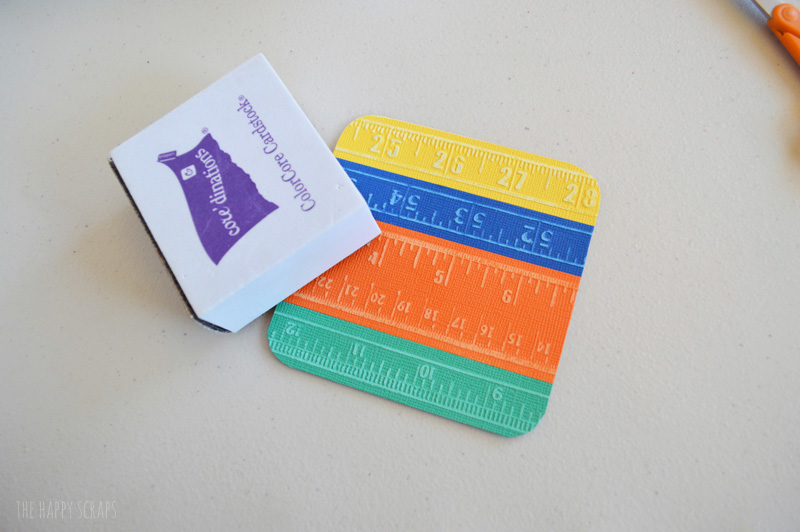
Apply a coat of mod podge to the top of the coasters to seal them. This will help keep the moisture out of the paper.

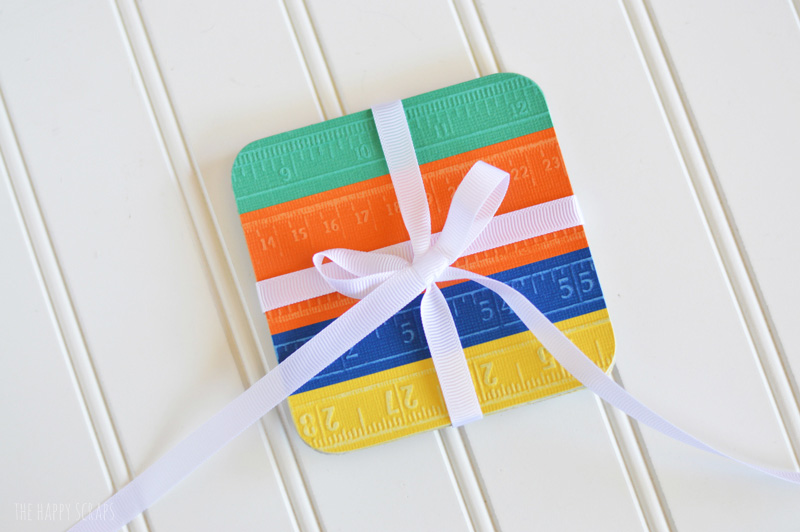
Tie them up with a cute bow and you’ve got a great little teacher gift all ready to go + it didn’t cost much to make!
What are your go to teacher gifts?

Leave a Reply