Sometimes it’s just fun to sit down and play with paper. I had some fun using my Cricut and Cuttlebug to make these Fall cards, and today I’m sharing them with you.

This post contains affiliate links.
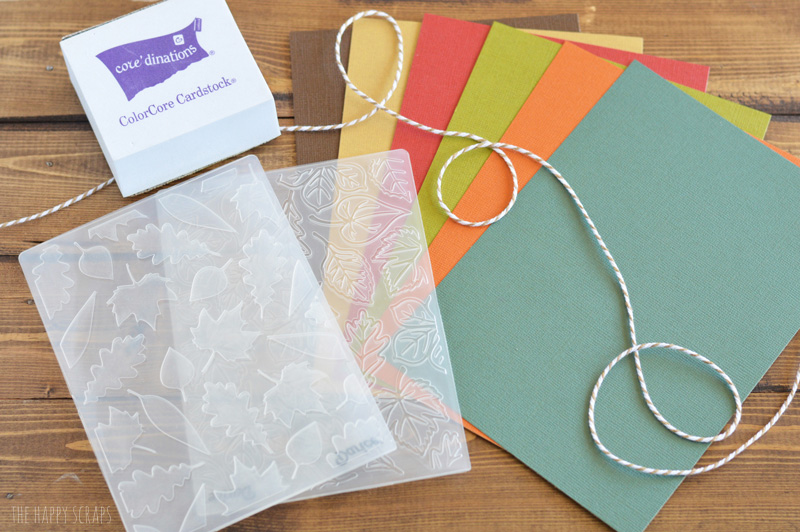
Supplies needed:
- Cricut Explore Machine
- Cricut Pen
- Cuttlebug
- Fall Embossing Folders
- Sand-it Gadget
- Fall Colored Paper
- Baker’s Twine
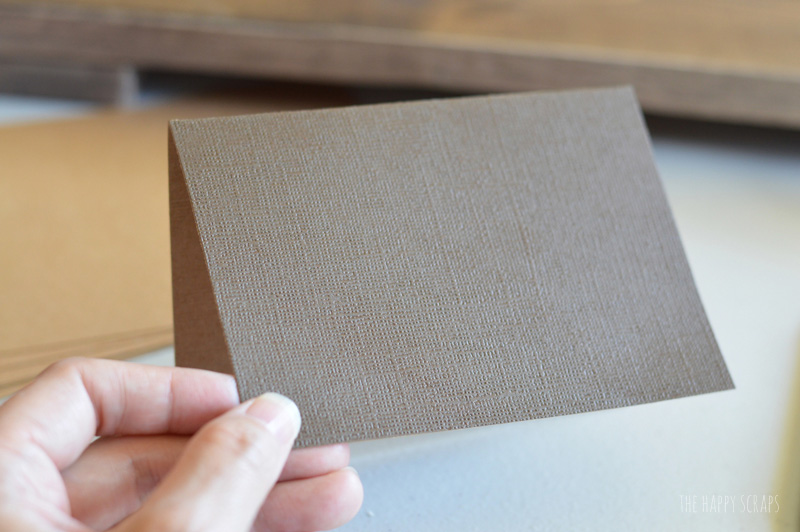
Trim your paper down to be 8.5″ x 5.5″.
Fold the paper in half.
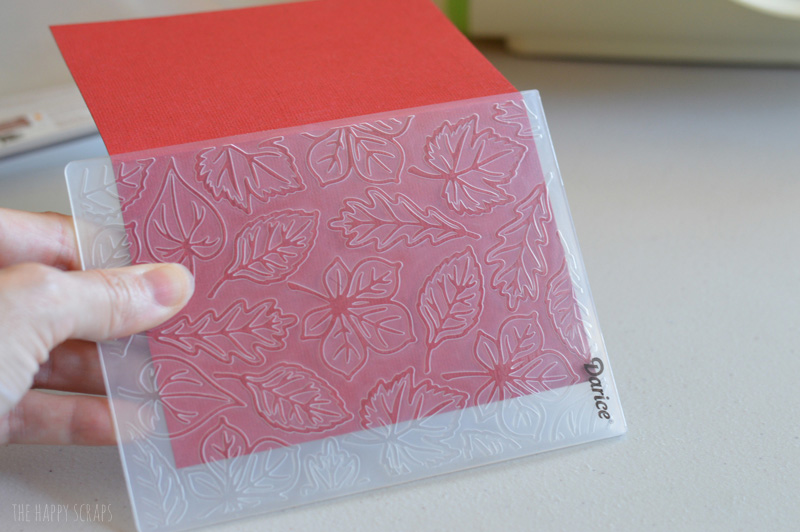
Place one side of the folded paper into the embossing folder.
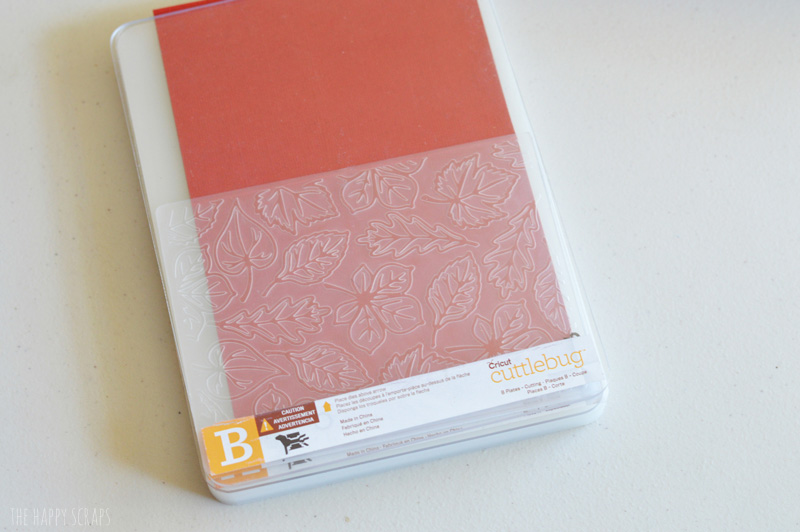
Place the folder down on the plates for the Cuttlebug.
Roll it through.

When you pull out your paper from the embossing folder it should look like this.
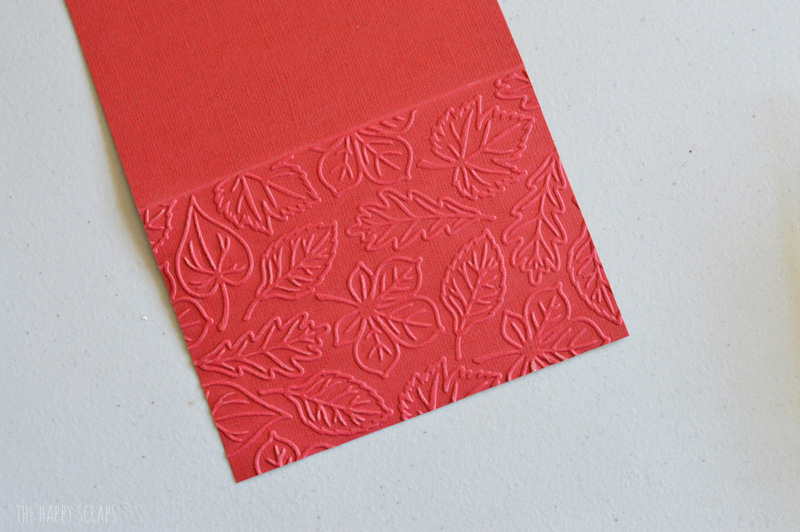
Use the sand-it gadget to lightly and the top of the embossed leaves.
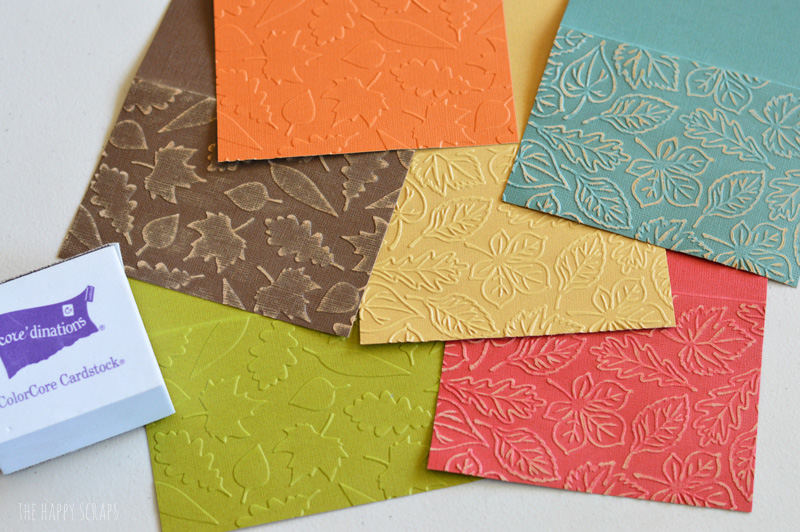
Using the Cricut Explore machine and pen, write your words on the paper, then cut the leaves out.

Lightly distress the edges of the leaves and acorns.

Use some baker’s twine to attached them to the front of the card.
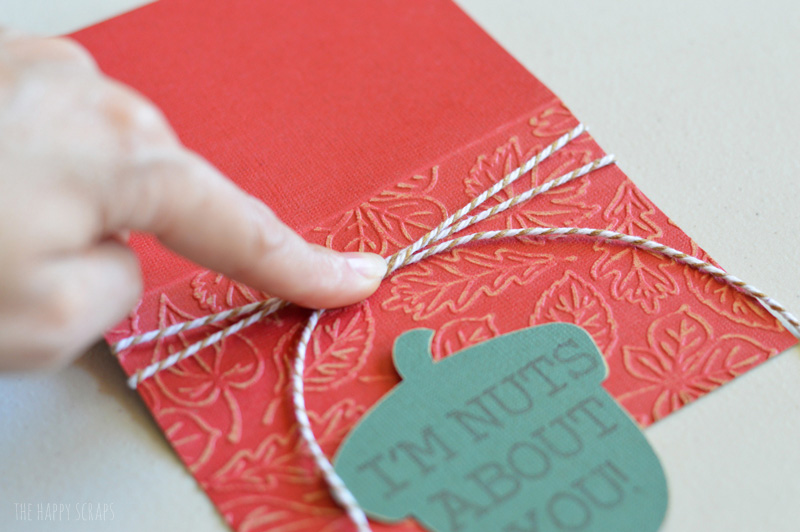
Tie it on, and you’re done!
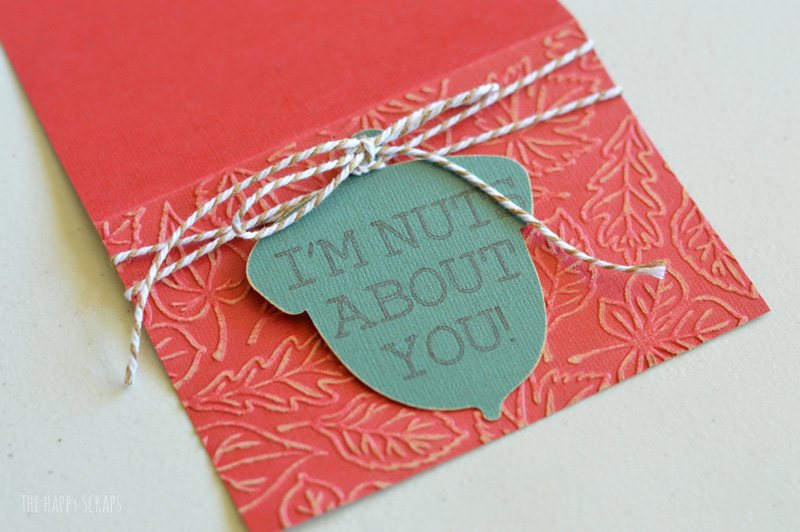
In no time, you’ll have a handful of cards all put together.
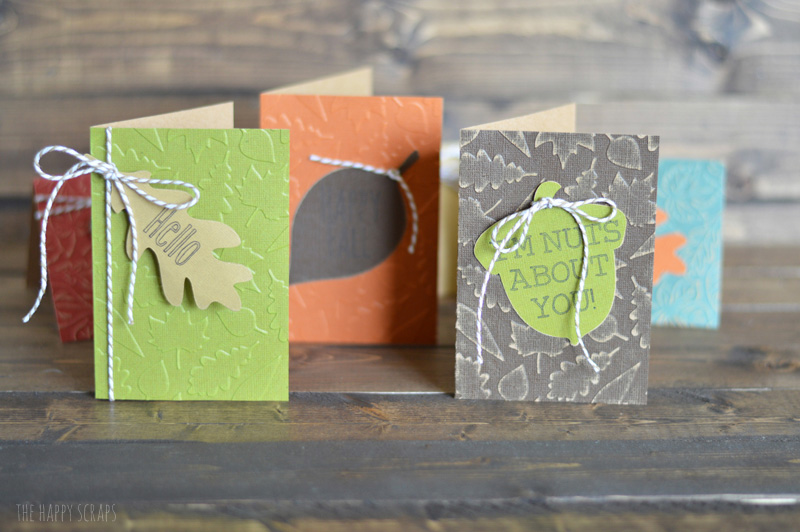
They really are simple and fun!
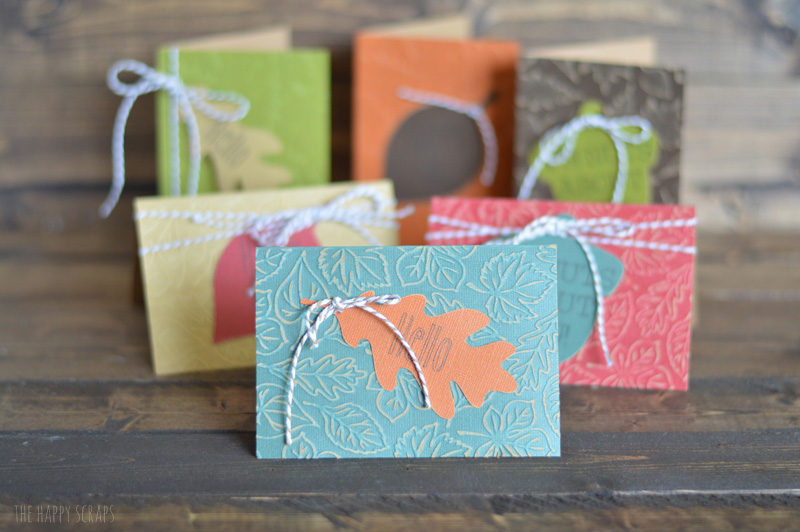
How do you use your seasonal cards?

Leave a Reply