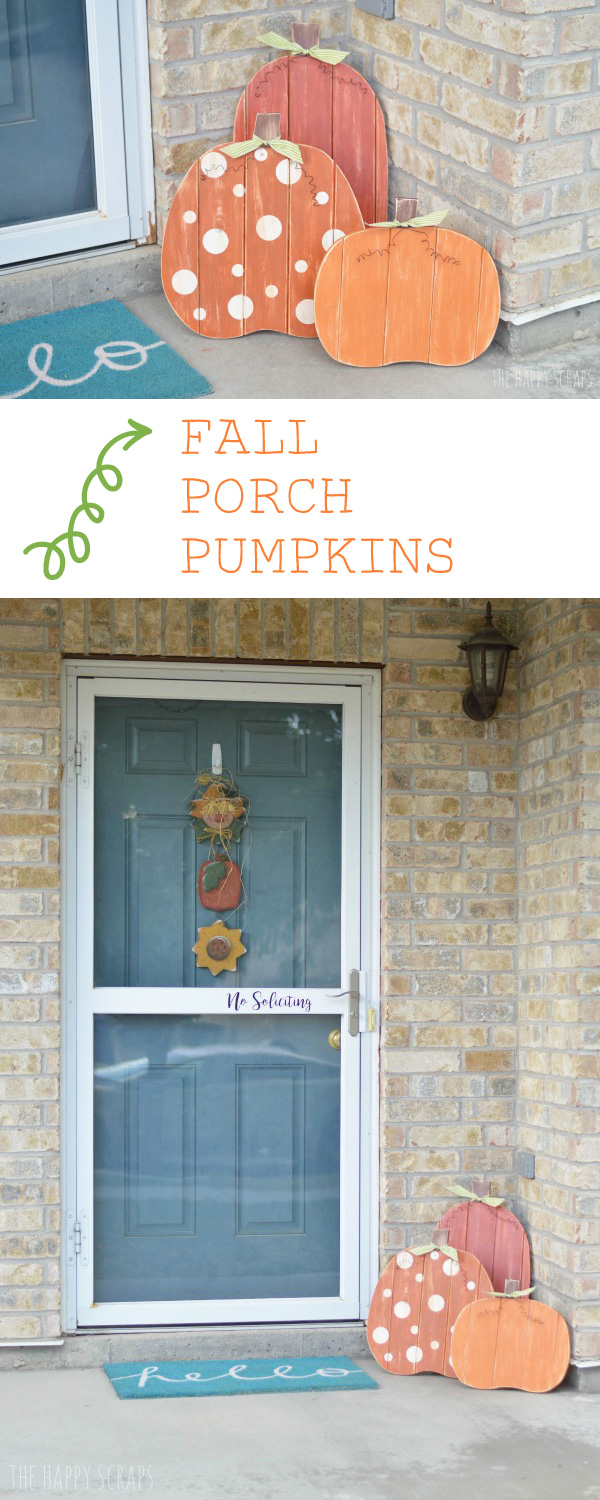
You know when you finish a project and it turns out better than you had imagined? Well, that’s how these Fall Porch Pumpkins ended up for me. I adore them and am SO excited to have something fun and cute like these to decorate my front porch at my new house. I shared these a couple of weeks ago over on The Wood Connection Blog and today I’m showing you what I did to finish these pumpkins.
This post contains affiliate links.
Supplies for Fall Porch Pumpkins:
- Plank Pumpkin Trio
- Vinyl Polka Dots
- White, Brown, Dark Goldenrod, Terra Cotta, and Georgia Clay Paint
- Paint Brushes
- Sanding Block
- Wire
- Ribbon
- Sealer Spray
- Wood Glue

Start by sanding all of your pumpkins with the sanding block to get any loose pieces off and get it smoothed out.
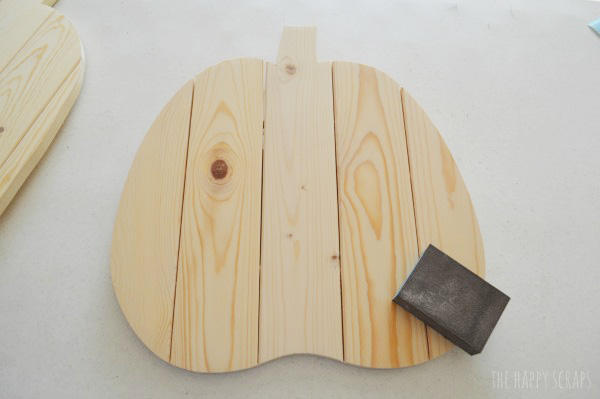
Paint the front of all of you pumpkins white.

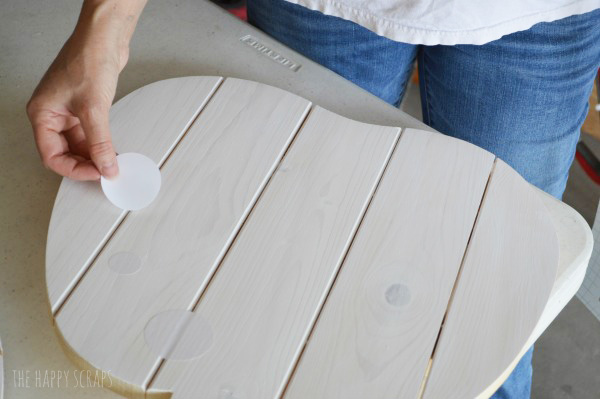
Place your polka dots on the front of your pumpkin. I chose to make my middle sized pumpkin be my polka dotted one.
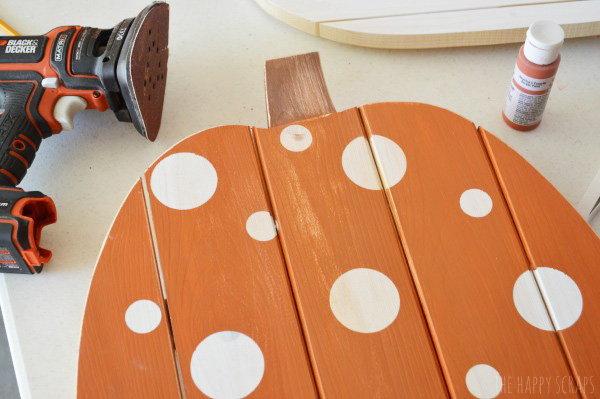
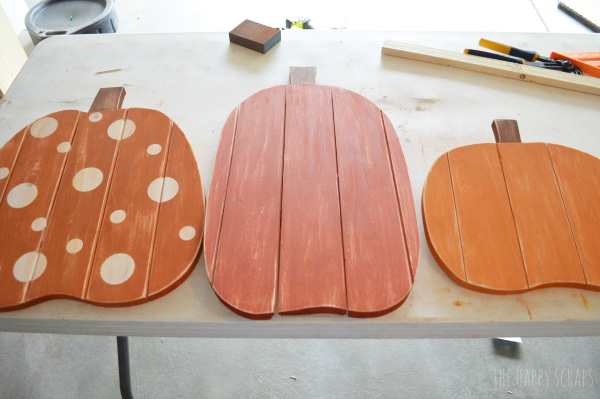
Paint over the polka dots with one of your orange paint colors. Paint your other two pumpkins with the other two orange colors.
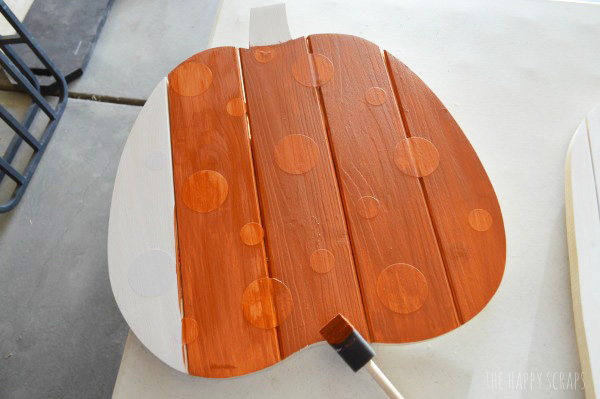
Peel off the vinyl polka dots to reveal the white circles.

Tape off the stem and paint it brown.

Distress the front of the pumpkins. You could do this by hand, but I used an electric sander.
Once all of your pumpkins are painted and distressed, spray them with the sealer.
Using the wood glue, attach the pumpkin stands to the back. I secured the stands on the back of mine with some nails as well. Now you’re ready to place them on your porch!

They are such a fun addition to any fall front porch decor that you might have. Do you think they’ll go well with my Fall Porch Arrows?
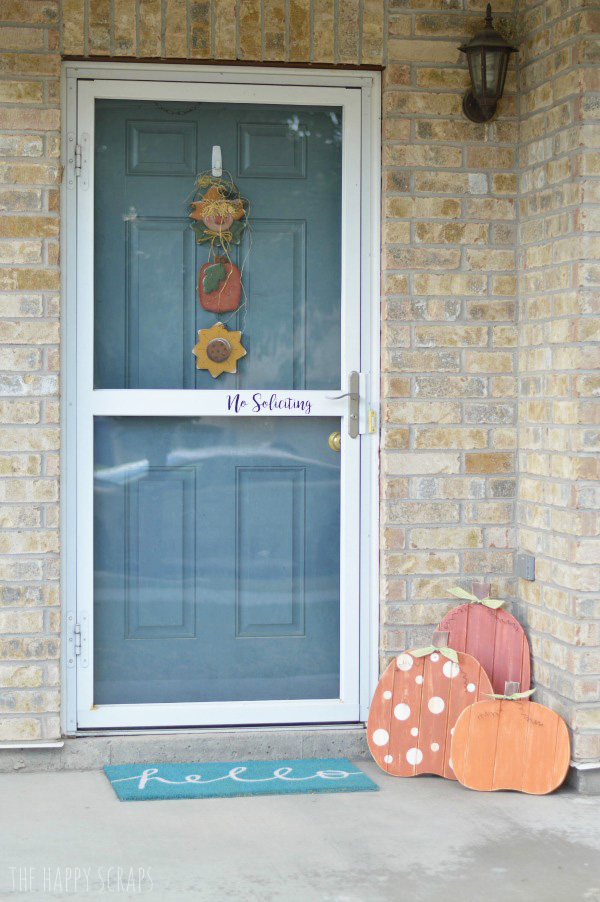
If you’re ready to decorate your front porch for fall, you need to head into The Wood Connection and check out the fun projects that they have!

Leave a Reply