Are you getting ready for Halloween? Have you pulled out your Halloween decor yet? I’ll be getting mine out this week. Today I’m going to share with you how to make this super cute and simple Pumpkin Halloween Banner.

This post contains affiliate links.
Pumpkin Halloween Banner Supplies:
- Halloween Patterned Paper
- Dimensional Adhesive
- Black Ink Pad
- Black Baker’s Twine
- Scissors
- Crop-A-Dile Hole Punch
- Cricut Explore

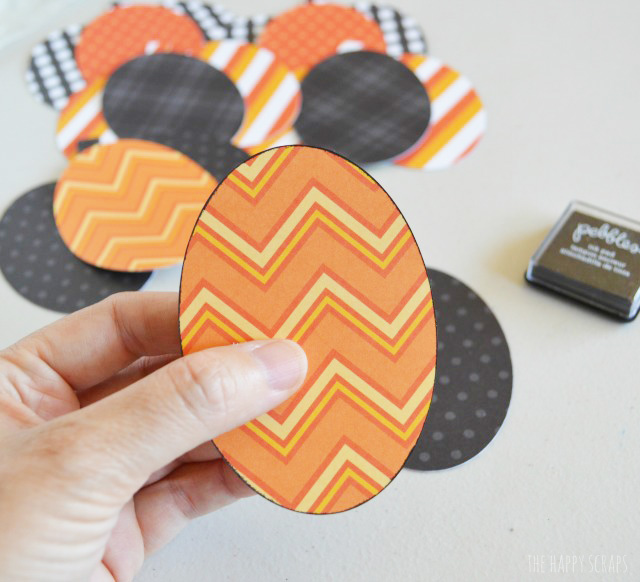
I collected all of my supplies, and then using my Cricut Explore machine I designed and cut out my pumpkins. I inked the edges of all the pumpkin pieces using black ink.
I placed dimensional adhesive on the back of the center piece.
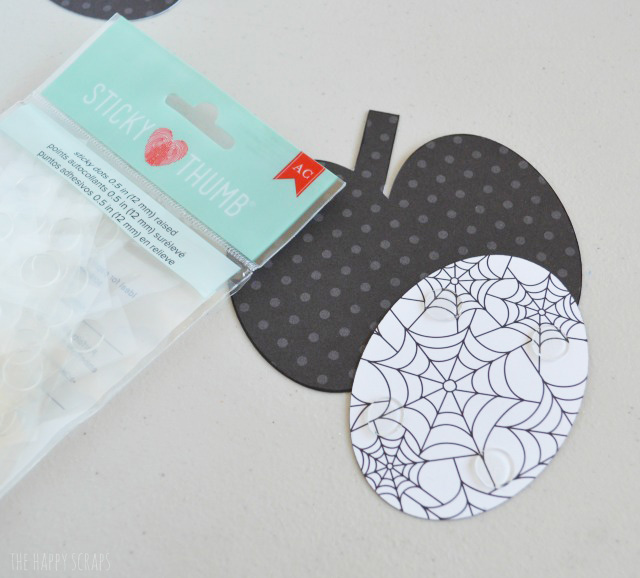
Then attached it to the backing.
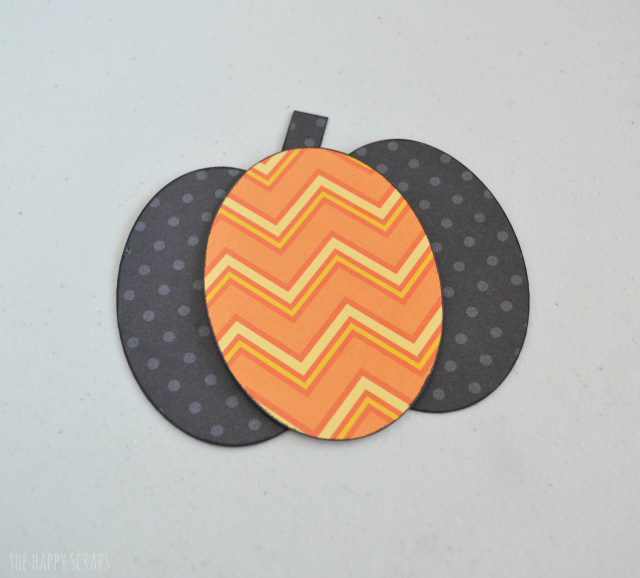
I love the dimension that it adds!

Using my Crop-A-Dile for a hole punch, I punched hole in the top of the pumpkins.
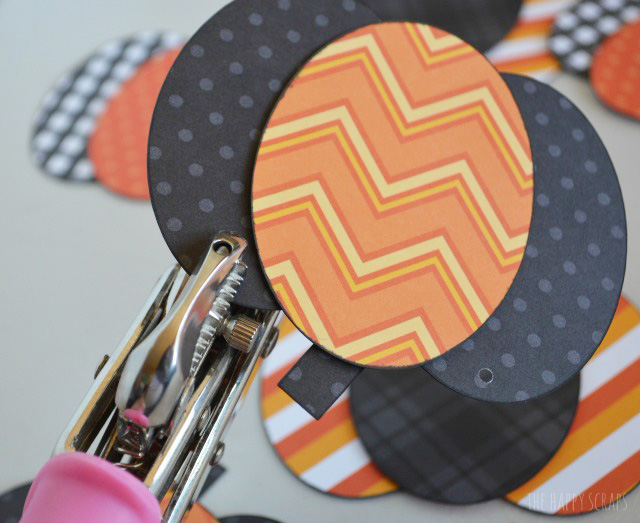
I used the baker’s twine to string them all together.
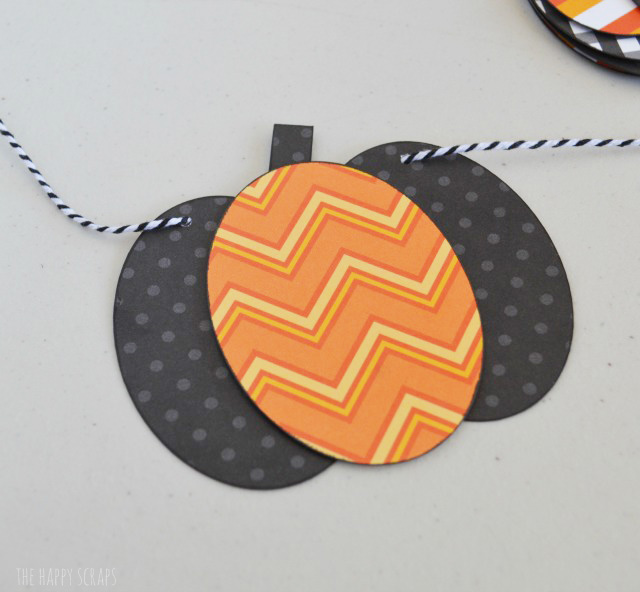
Here are all the pumpkins put together on the string.

It’s a simple banner, but a fun one to display for Halloween.
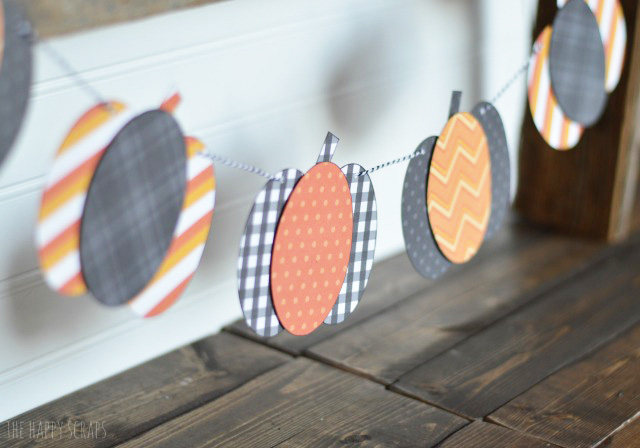
You could make this using fall colors and leave it up all season long as well.

It matches my Marquee Boo Letters, and I think they go great together!
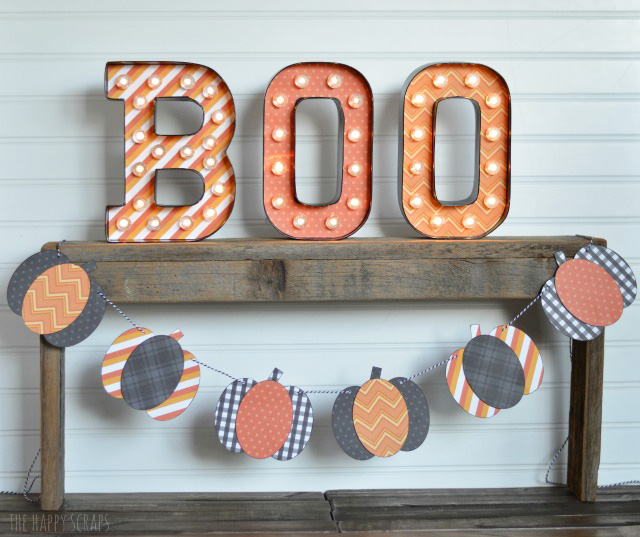
What do you think? Doesn’t this make you want to make a cute little Pumpkin Halloween Banner?

Leave a Reply