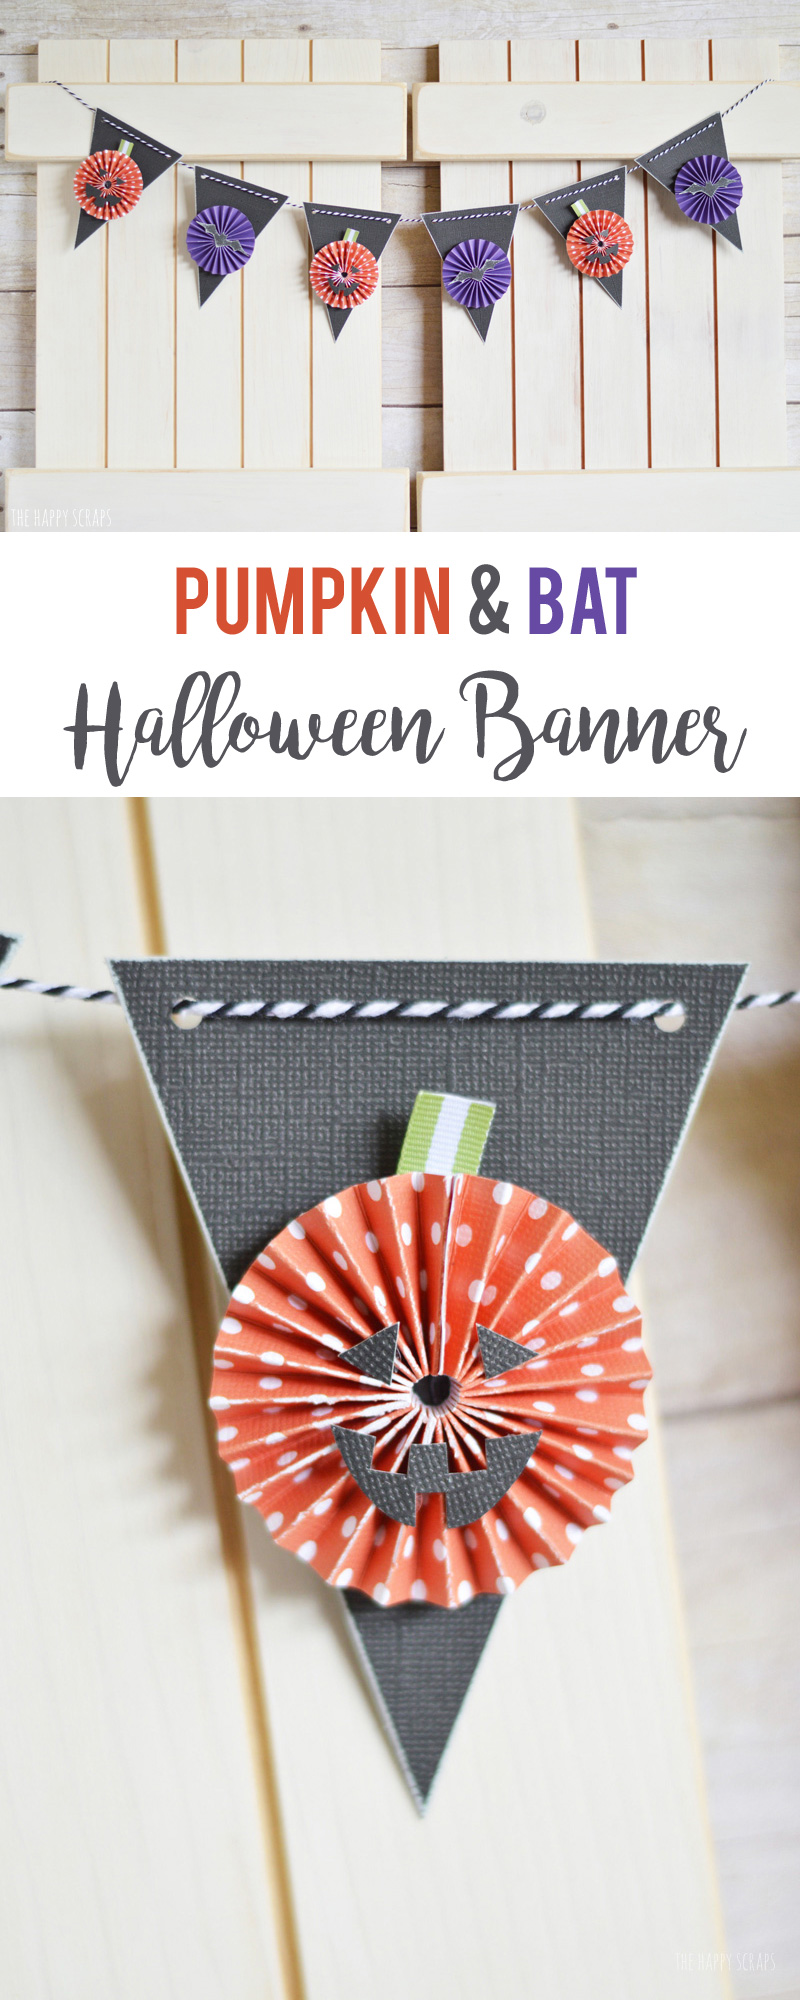
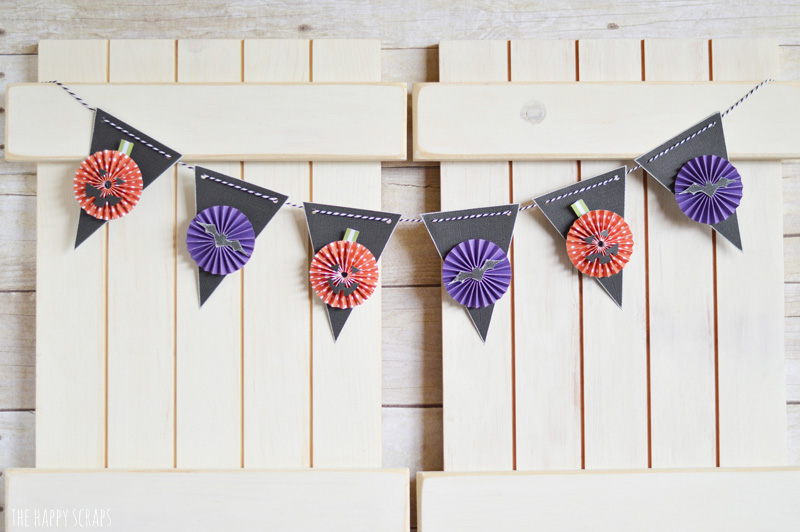
This time of year is so fun to decorate for. Whether you’re decorating with pumpkins, bats, skeletons, ghosts or goblins, there are so many options and ways to do it. I decided I wanted to do something with orange and purple, so I came up with this Pumpkin & Bat Halloween Banner. This is a project that I shared on the Darice blog last year.
This post contains affiliate links.
Pumpkin & Bat Halloween Banner Supplies:
- Halloween Colored Paper
- Banner Punch Board
- Adhesive
- Green Ribbon
- Black Baker’s Twine
- Sand-it Gadget
- Dimensional Adhesive
- 1.75″ Circle Punch
- Scissors
- Paper Trimmer
- Hot Glue Gun
- Cricut Explore Machine

Using black cardstock and the Banner Punch Board, cut some triangles at 4.5″.
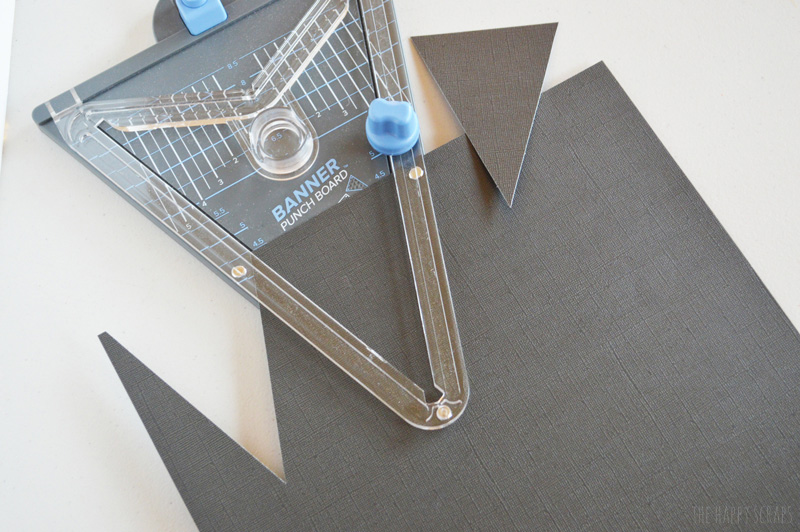
Punch the holes in the top, using the banner punch board.
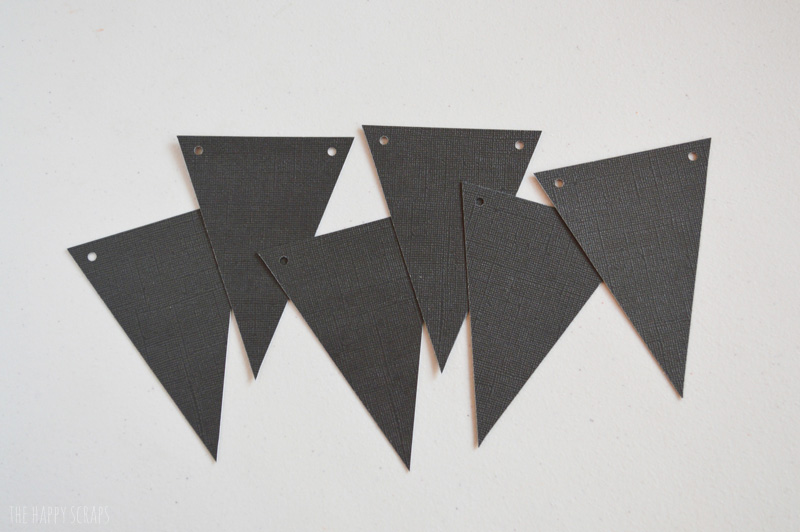
Sand the edges of the black triangles using your sand-it gadget.

Cut a 1″ x 12″ strip of paper.
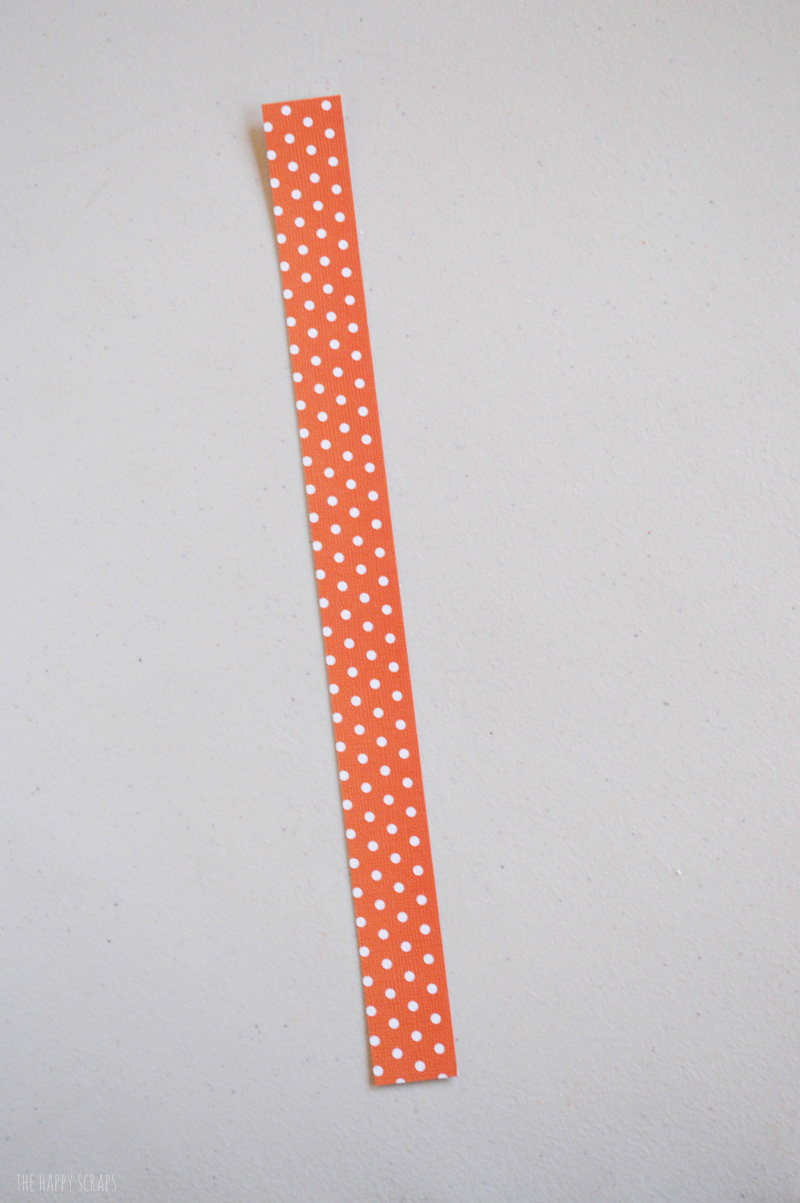
Score the paper every 1/4″. Fold on scores.
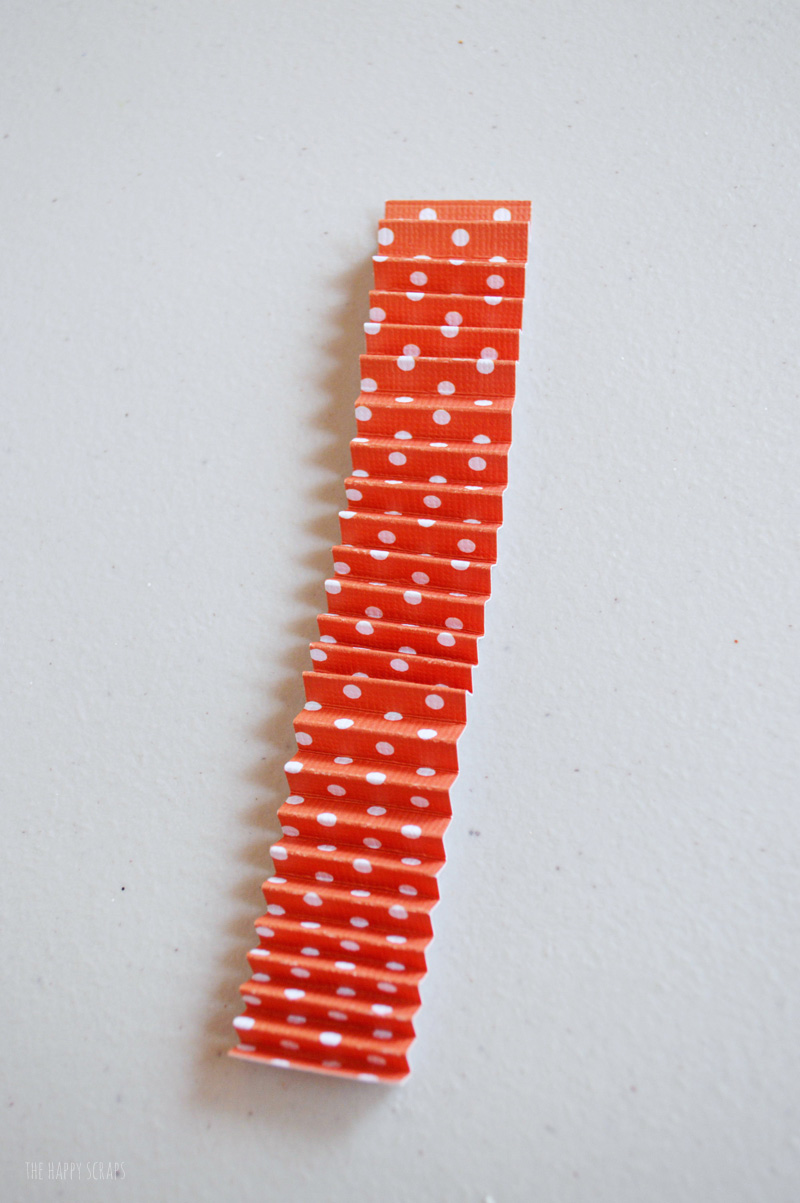
Attach the ends of your paper together, forming a circle.

Punch out a circle from black cardstock, using the 1.75″ circle punch.
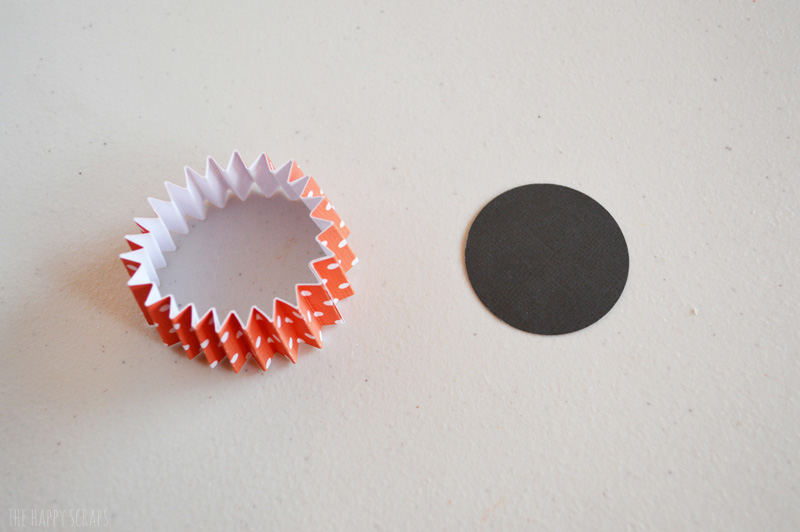
Place some hot glue on your black circle, and glue your accordion folded paper down onto it.

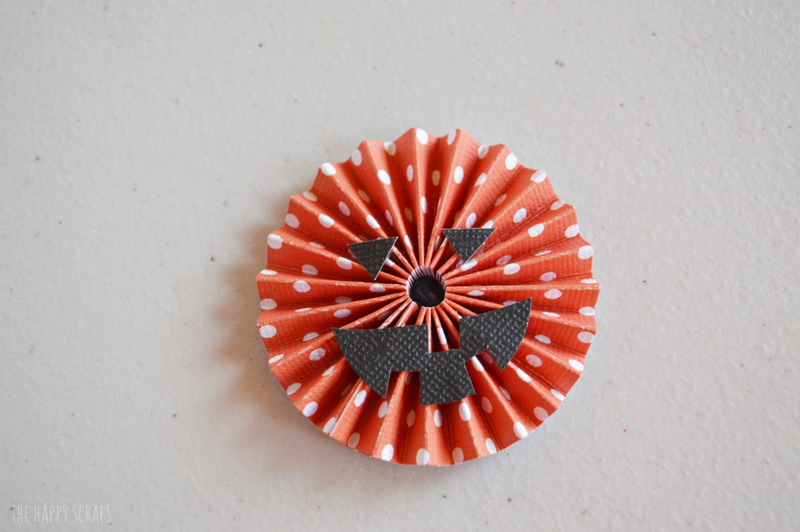
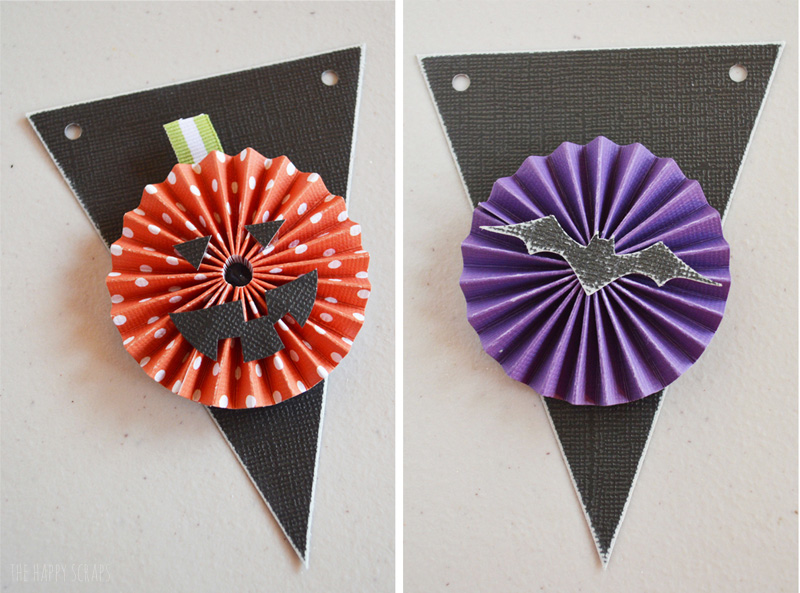
Use your Cricut Explore (or cut by hand) to cut out face pieces to attach to the front of the pumpkin.
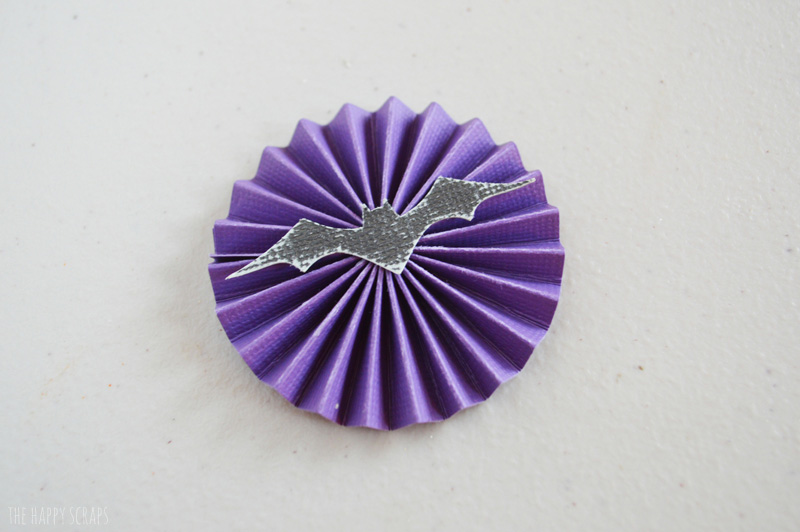
Using the Cricut Explore, cut out some small bats. Distress them using the sand-it gadget.

Attach the bats to the front of the purple lollies.
Add a piece of green ribbon to the back of the pumpkin faces, then place dimensional adhesive on the back of your pieces.
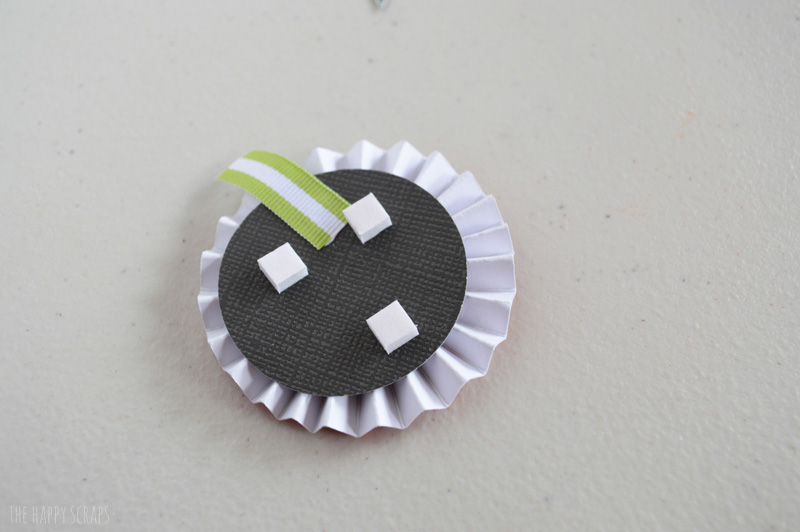
Attach the pieces to the banner.
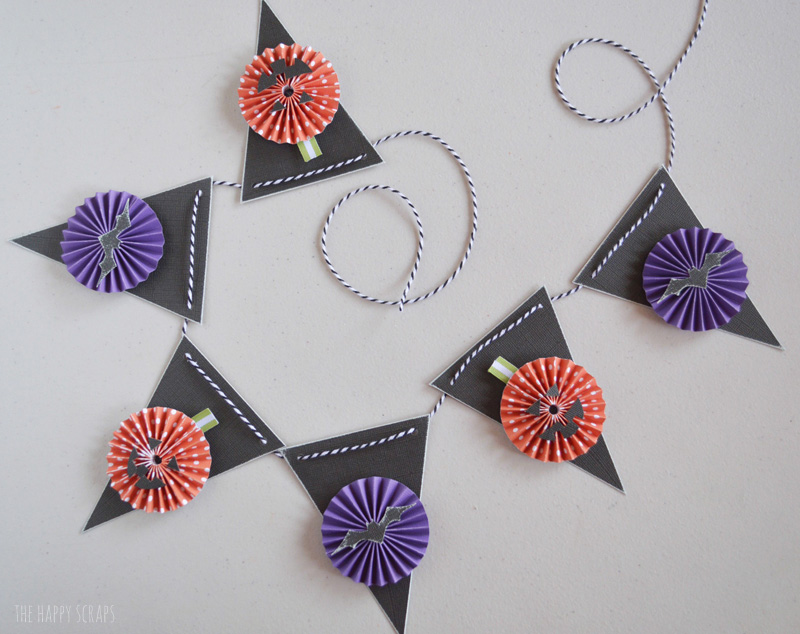
String your banner together using the black baker’s twine.
Hang your banner from your mantel, a shelf, table, or where ever.
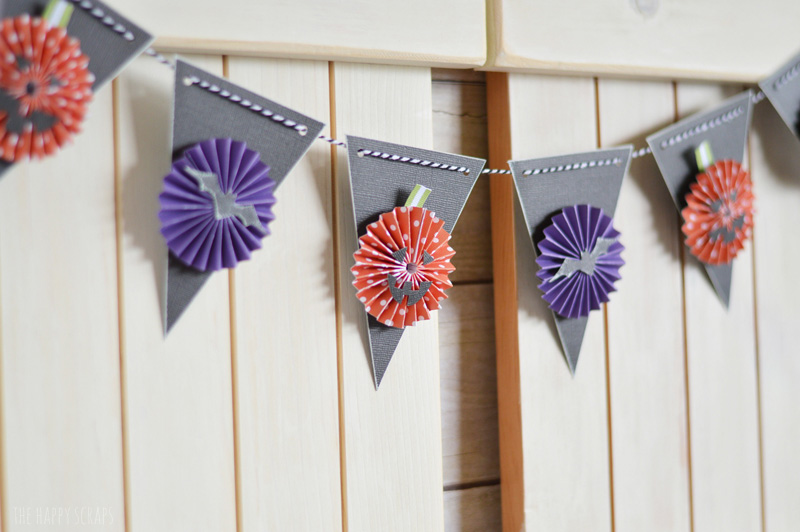
It’s the perfect addition to any Halloween decor.
If you like this project, you might like these as well.

Leave a Reply