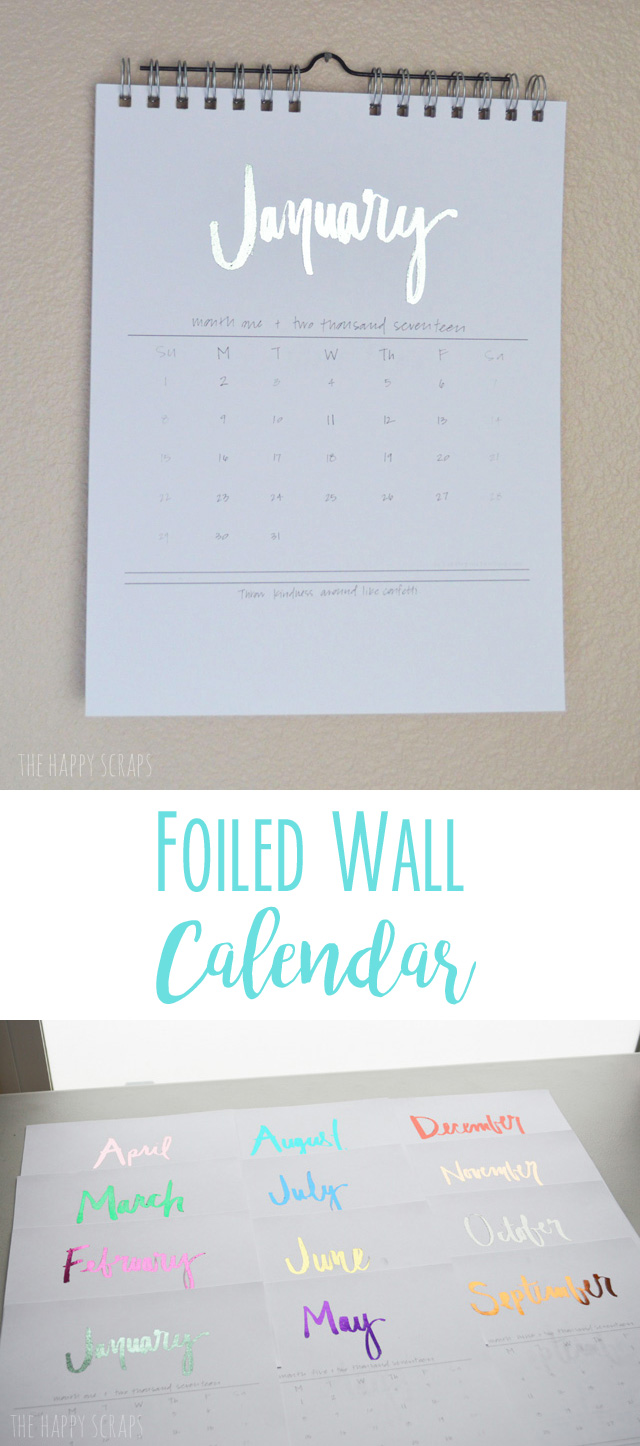
Happy New Year! Are you all excited for 2017? I know I am. In some ways, 2016 has been a great year (I think the best part was getting my baby in February!) and in other ways, it has been a long and stressful year, but we survived it (YAY!) and I’m feeling refreshed and ready to conquer 2017. I’ve been working on my editorial calendar for the last couple of days, and I’m excited to get to work creating and sharing here at The Happy Scraps. For now, I’m planning to share one project a week, and today is the first one! 🙂 For the last couple of years, if my craft space, I’ve had a fun foiled calendar that I purchased. I have love it, but I haven’t seen them this year, so I decided I’d make my own Foiled Wall Calendar to hang on the wall in my craft room. When I started thinking about it, I was going to design my own, but when I saw this pretty hand lettered calendar from Delineate Your Dwelling, I decided to use the one she offered.
This post contains affiliate links.
Foiled Wall Calendar Supplies:
- Printable Calendar available from Delineate Your Dwelling
- White Cardstock
- Laser Printer
- Heidi Swapp Minc Foil Applicator
- Variety of Reactive Foil Colors
- Cinch Binding Machine
- Metal Cinch Binding
- Cinch Wire Cutters
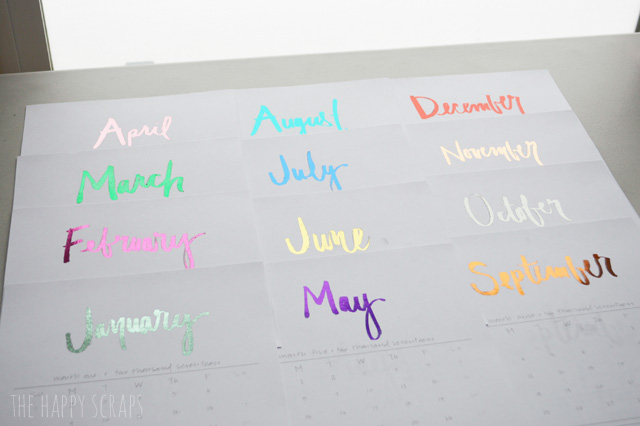
After printing out the calendar on my 8 1/2 x 11 cardstock, I used the Heidi Swapp Minc Foil Applicator to apply foil to each month. I tried to use colors that correspond with the time of year or holidays that happen that month. Once I had all of my months foiled, I was ready to bind these together.
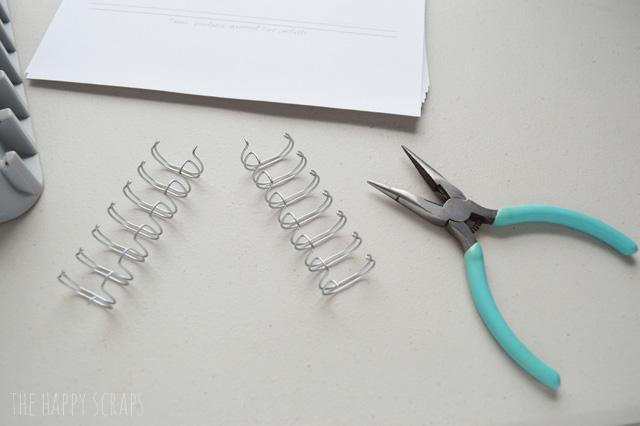
I pulled out the Cinch machine, a small wire binding, the wire cutters, and stacked up the calendar in the correct order.

I cut the binding in half using the wire cutters.
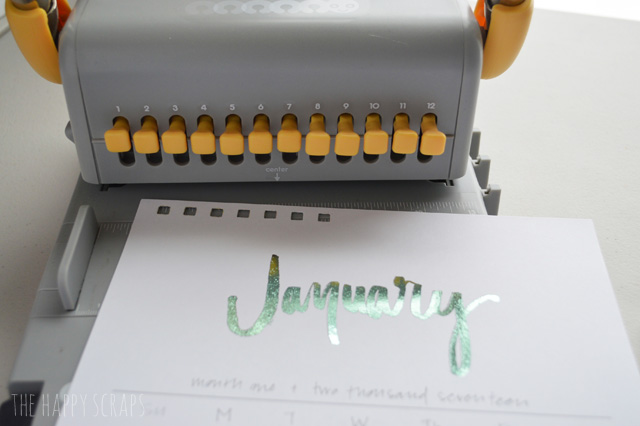
I counted how many rings on each side of the binding (7) I had and made sure that I had that many hole punches turned on. I punched the left side of all my pages.
Then turned the pages over and punched the others side, making both sides evenly punched.
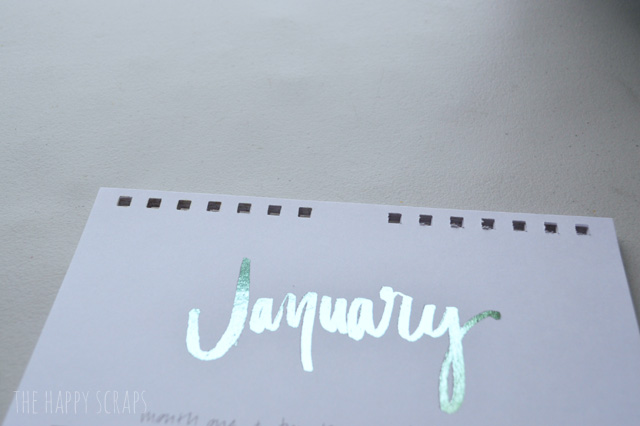
I put the rings on the side of the machine, and moved December to the front. When binding with the Cinch, you want to put your last page on the rings last.
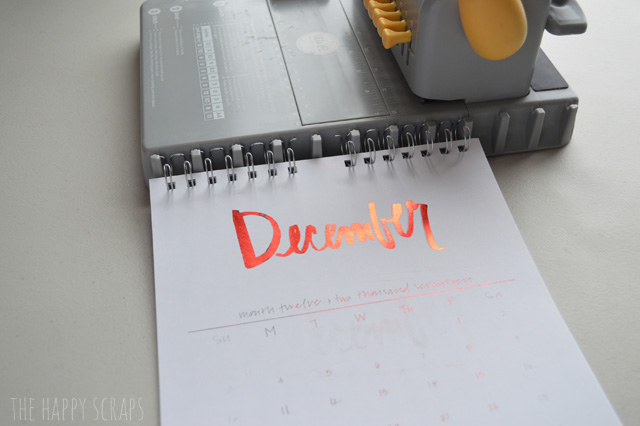
Once I had the pages on the rings, I cinched it down. 🙂

At this point, you could punch a hole in the middle to use to hang the calendar from if you wanted.
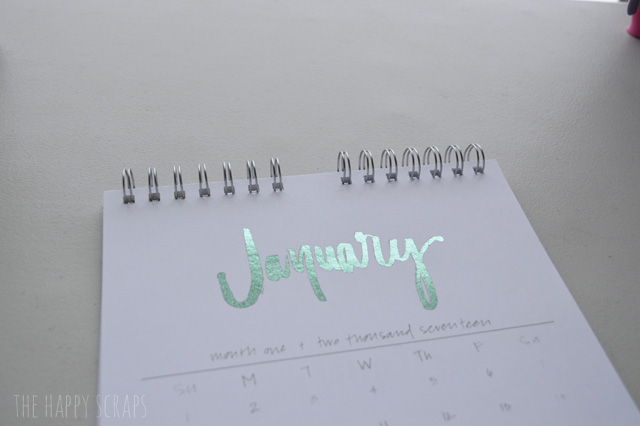
I pulled the black hanging piece out of my 2016 calendar that I had purchased and slipped that into these rings.
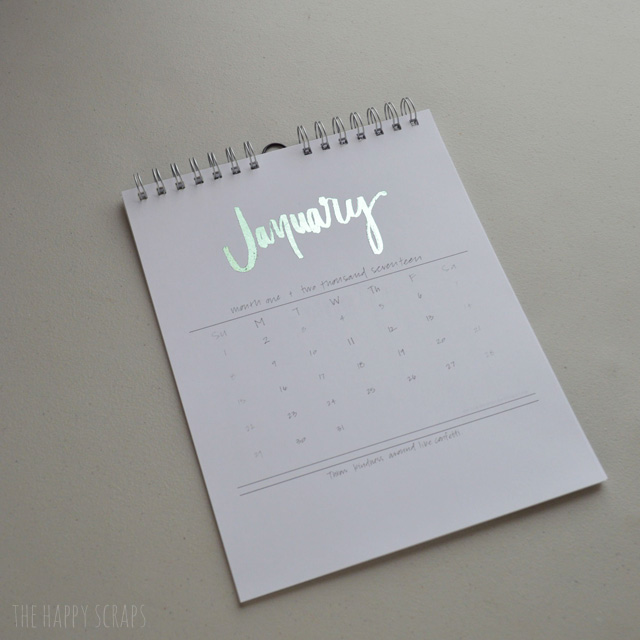
I got the Foiled Wall Calendar hung up in it’s place in my craft room! I’m so excited to have such a cute calendar, and even more excited that I was able to make it so quickly, as well as have the fun foiled colors on it!

This Foiled Wall Calendar goes perfectly next to my DIY Create Decor and my Play Photo Display.

Leave a Reply