If you recently got a Cricut Explore, you may wonder How to Change Your Cricut Explore Blade. It’s a simple thing to do, and it’s basically the same on all Cricut machines, new and old. While you can not trade the blade housing between new and old machines (always make sure you use the correct housing for the machine you are working with) changing the actual blade is the same. The cartridge does differ too.
This post contains affiliate links.
How To Change Your Cricut Explore Blade
If you don’t already have them, here are some supplies:
- Cricut Explore Air 2
- Cricut Blade Housing (comes with machine)
- Cricut Replacement Blade (this many blades with last you a LONG time)
You’ll start out by opening up your Cricut Explore Machine, by pushing the open button on the top left of the machine.

Once it is open, locate the blade housing inside the machine in clamp B.
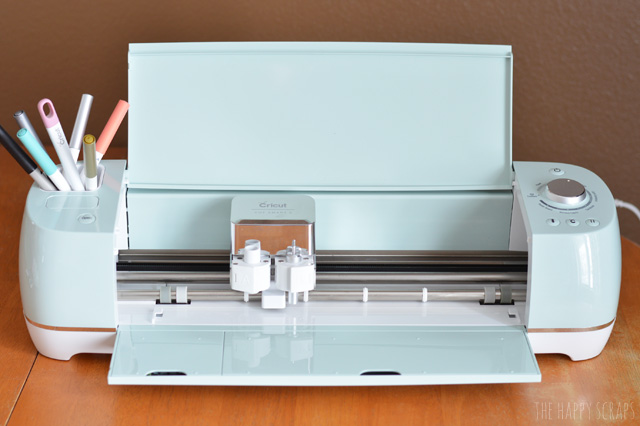
You can see the housing in clamp B a little better here.
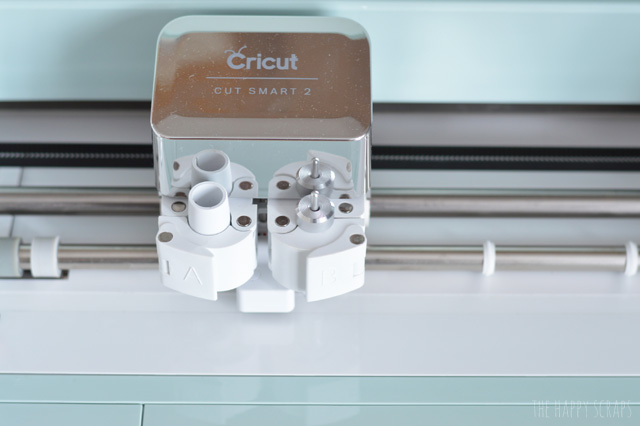
Grab onto the clamp marked B and loosen it by flipping it to the right.
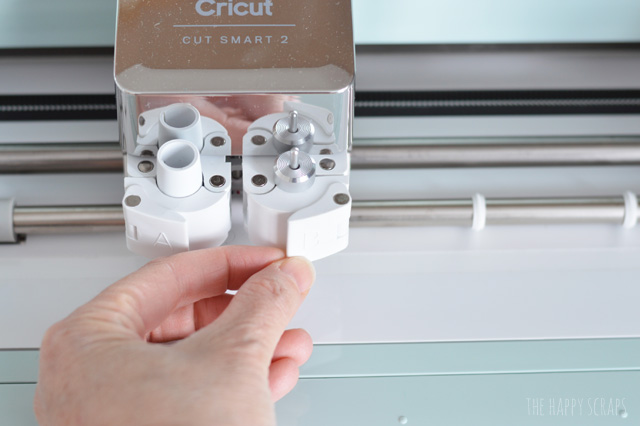
Once it is open, your blade housing is sitting loosely in there.
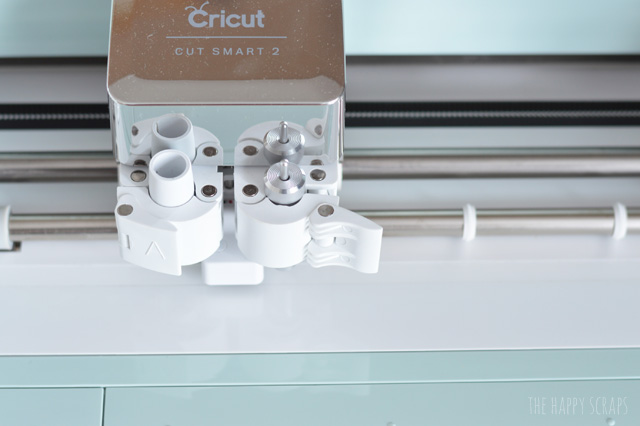
Grab the top of it and pull it out.
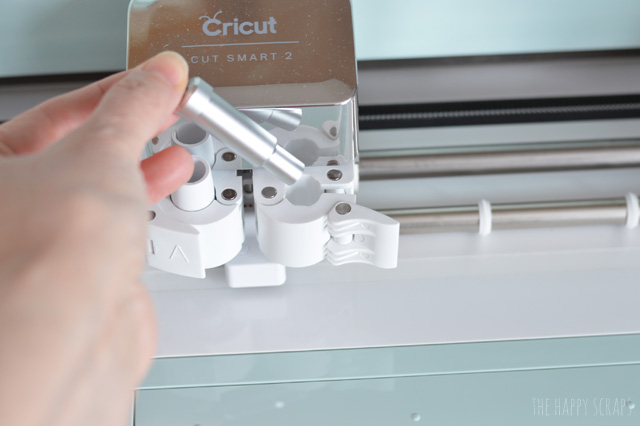
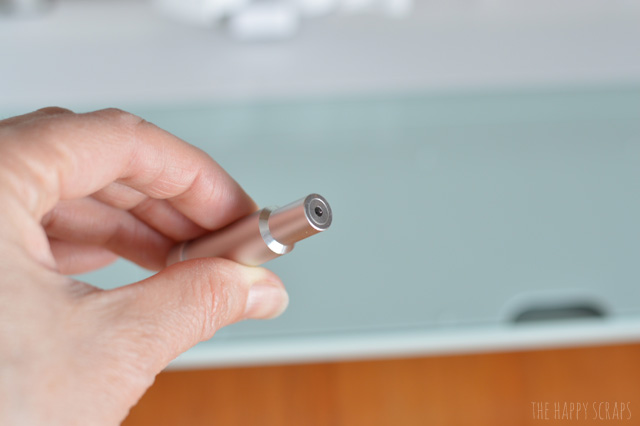
To expose the blade, push on the top of the housing.
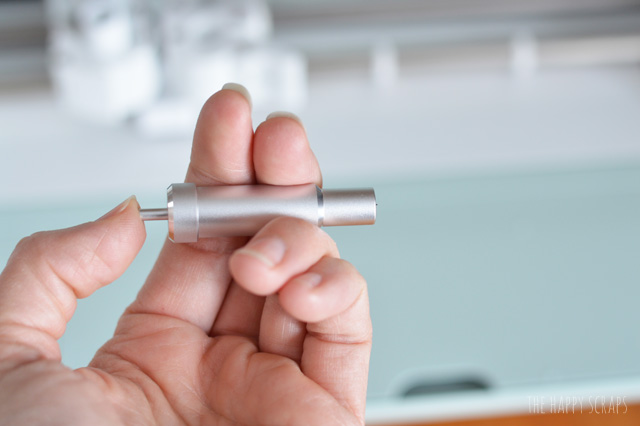
The blade will be exposed. Carefully pull on the exposed blade, and it will release. The housing has a magnetic hold inside.
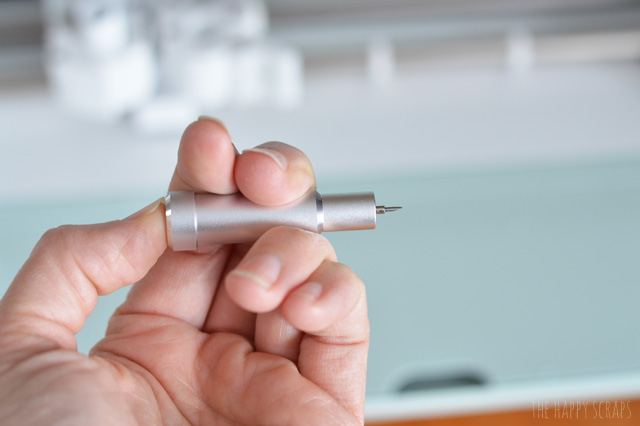
Once you have your blade out, you can simply place the replacement blade inside the housing, the same way you pulled it out.

The blade shows just a little teeny bit when it’s in the housing properly.
Drop your housing back into the clamp B.

Flip the clamp back to the left.
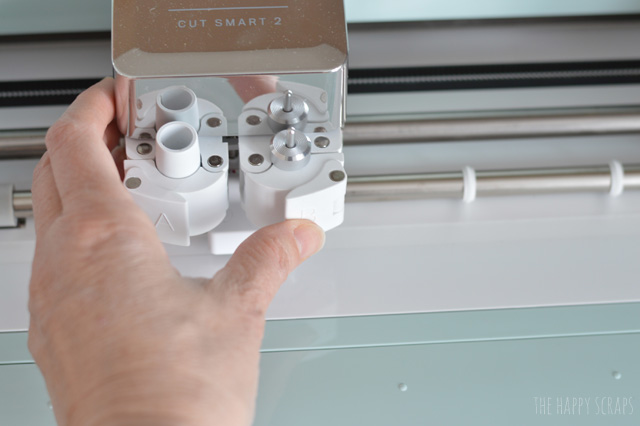
You’re all finished. Your blade is ready to cut out all those awesome Cricut Explore projects!

What are you planning to make first, now that you have a fresh blade? If you are looking for inspiration, check out my gallery of Cricut projects!

Leave a Reply