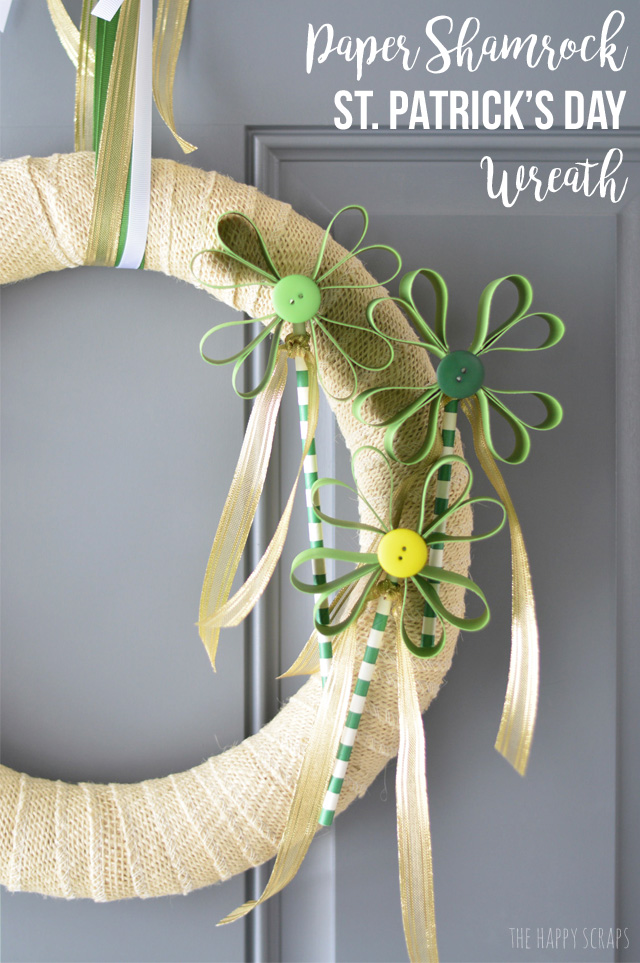
Do you decorate for St. Patrick’s Day? I usually have, but this year, so far, I haven’t gotten my decor out. All I have is my new Paper Shamrock Wreath on my front door. A few years ago, I made a Lucky St. Patrick’s Day Wreath. I really love that wreath! I loved it so much that I didn’t want to give it up after St. Patrick’s Day, so I updated it to be a Spring Wreath. I still have it, but because the green part is plastic and it was behind a glass screen door that faced south, some of the plastic kind of melted. I still have all the little banners that I could put on it to use for St. Patrick’s Day or Spring, but this year, I decided that I wanted to make a Paper Shamrock Wreath, and I’m SO glad I did. It’s hard for me to explain just how much I love the way this wreath turned out. When I had this idea, I thought it would turn out, but not quite this cute! 😉 So today, I’m sharing my new Paper Shamrock Wreath with you, and showing you how you can make your own too!
This post contains affiliate links.
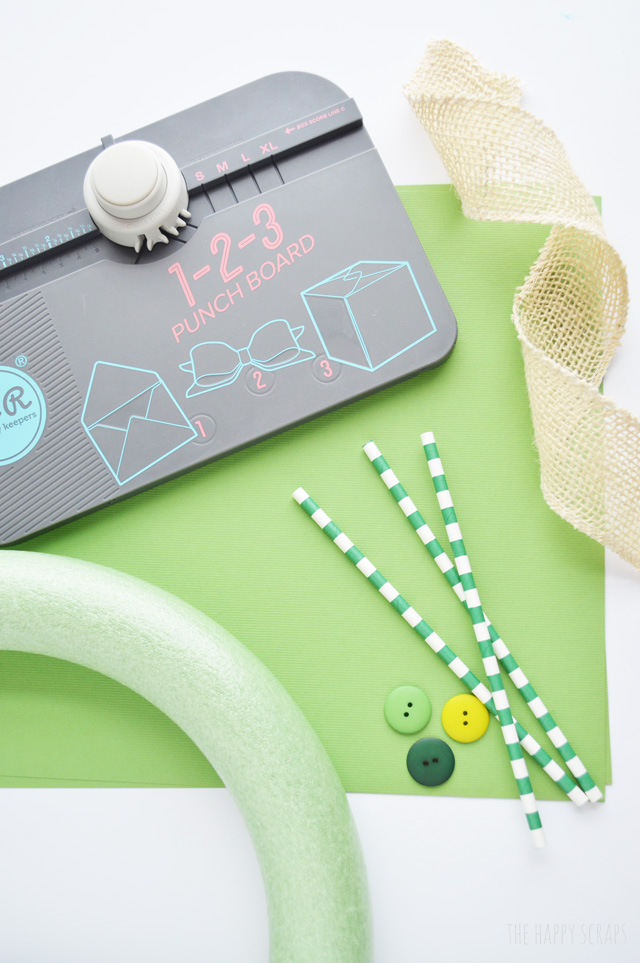
Paper Shamrock Wreath Supplies:
- 1-2-3 Punch Board
- 12″ Wreath Form
- Burlap Ribbon
- Green Cardstock, 2 sheets (I would suggest heading to your local craft store to find your paper.)
- Green Paper Straws
- Large Buttons
- Stapler
- Hot Glue Gun
- Assorted Ribbon
- Paper Trimmer
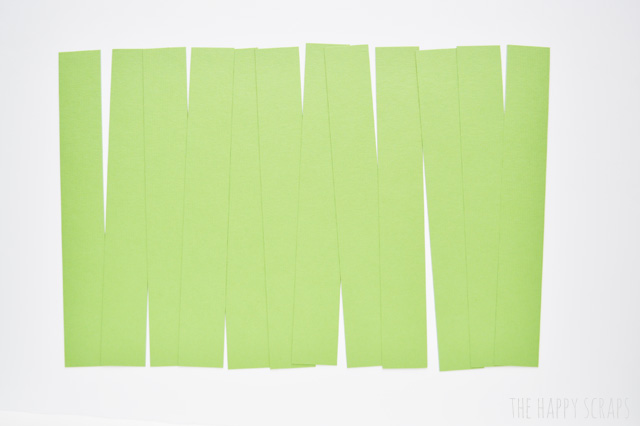
For my wreath, I was making three shamrocks. For each shamrock, I needed four strips of paper. I followed the instructions on the punch board to know the length of the paper I needed. I cut 12 strips at 9″ x 1 1/4″, for the large bow size, using my paper trimmer.
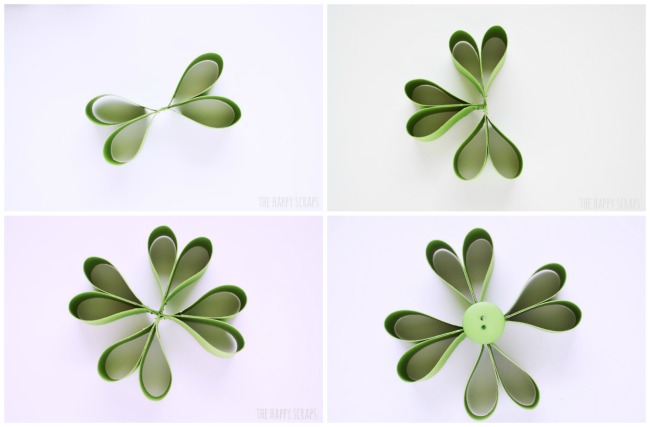
Using the punch board, I punched my strips of paper for the large size bow. I only did the bow part of the bow, not the back or center piece.

Once I had all my strips punched, I curled them, using the edge of my table, then folded in half at the center, then pulled the tail ends around to meet the center fold, and stapled it.
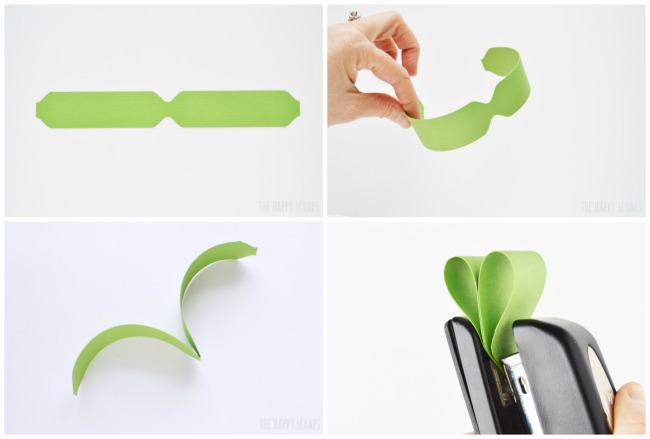
Once all of the pieces were stapled, I started gluing. I just put a little bit of hot glue on the stapled end of the pieces. I glued two together first, then added the other two sides. Once all four were connected, I added the button to the top.
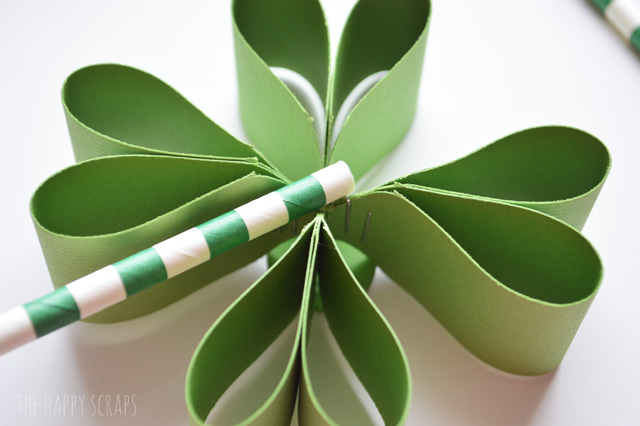
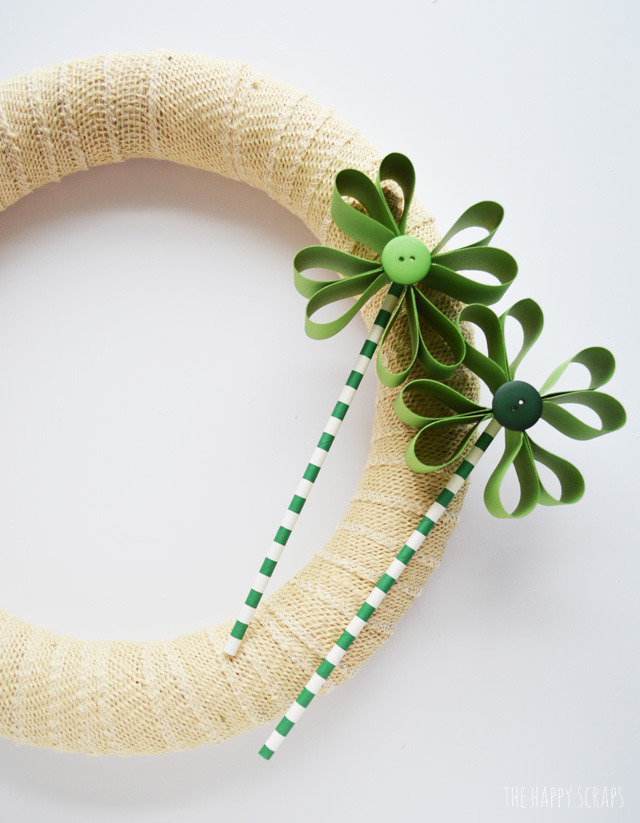
I glued a paper straw to the back of each shamrock.
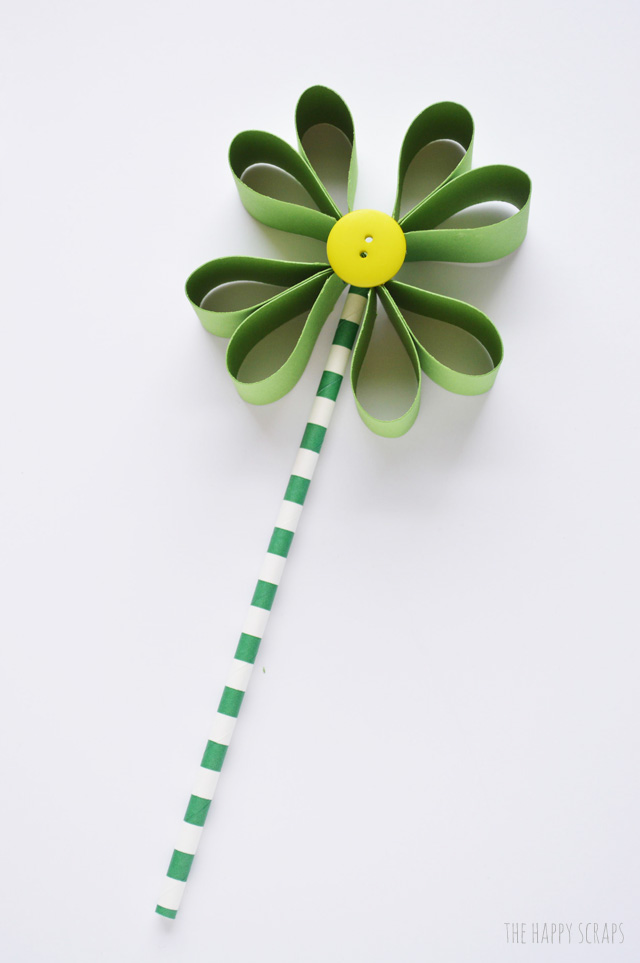
This is what the shamrocks looked like once they were all put together.
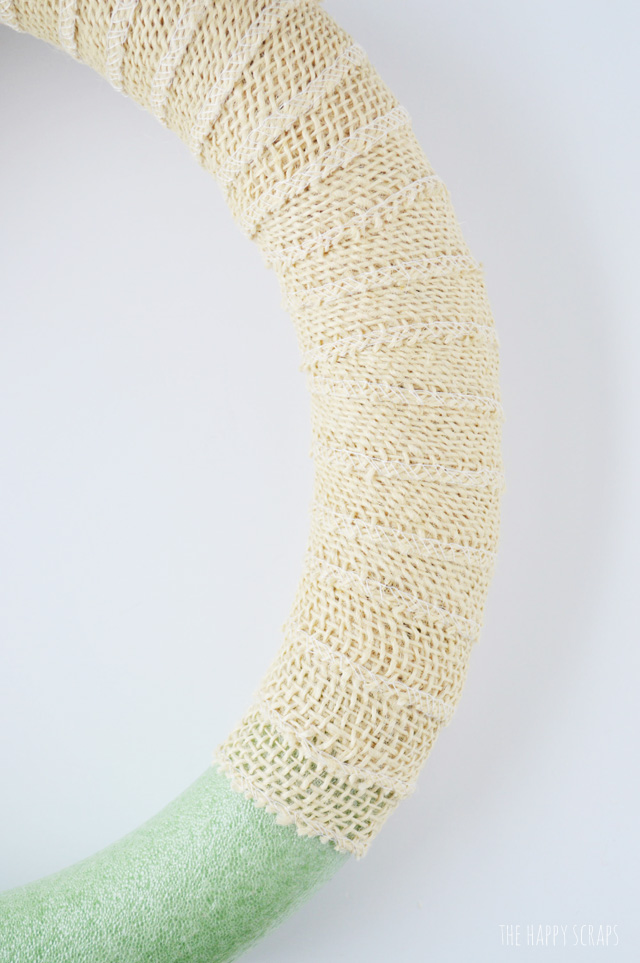
I grabbed my burlap ribbon and started wrapping it around my wreath form.
Once the wreath form was wrapped, I figured out where I wanted my shamrocks put on the wreath. I attached the first two, then I decided I wanted to trim some of the straws. So I did. Then I added the third shamrock.
When I was originally putting this together, I thought I’d be using burlap ribbon to hang it. I ended up using all of the roll of burlap, so I had to come up with a different way of hanging the wreath. I found some coordinating ribbon, green, white, and gold, that I had in my stash and used that. I’m so glad I ran out of burlap. At this point, I also added some gold ribbon to the shamrocks.

I love the messy kind of look that multiple ribbons add. It’s not something I usually do, but I might be doing it more now. 😉

The shamrocks are pretty thick, but I like what they add. The only issue I have with the thickness is that I can’t shut both my front door and glass screen door when the wreath is on the door. Oops. The wreath is a little thick… 🙂 I also love that I used different colors of buttons!
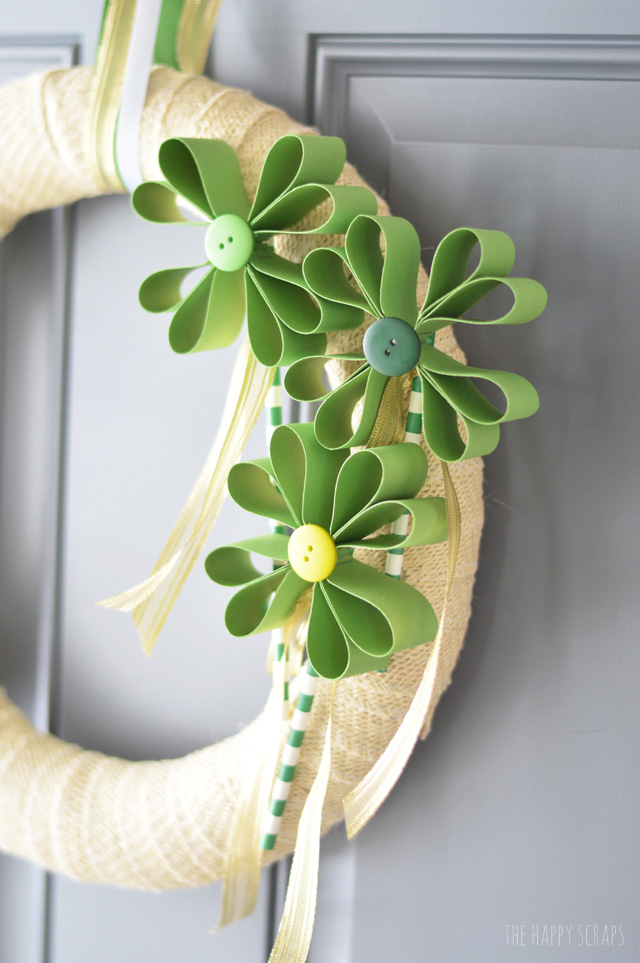
Seriously, aren’t these shamrocks so fun?!
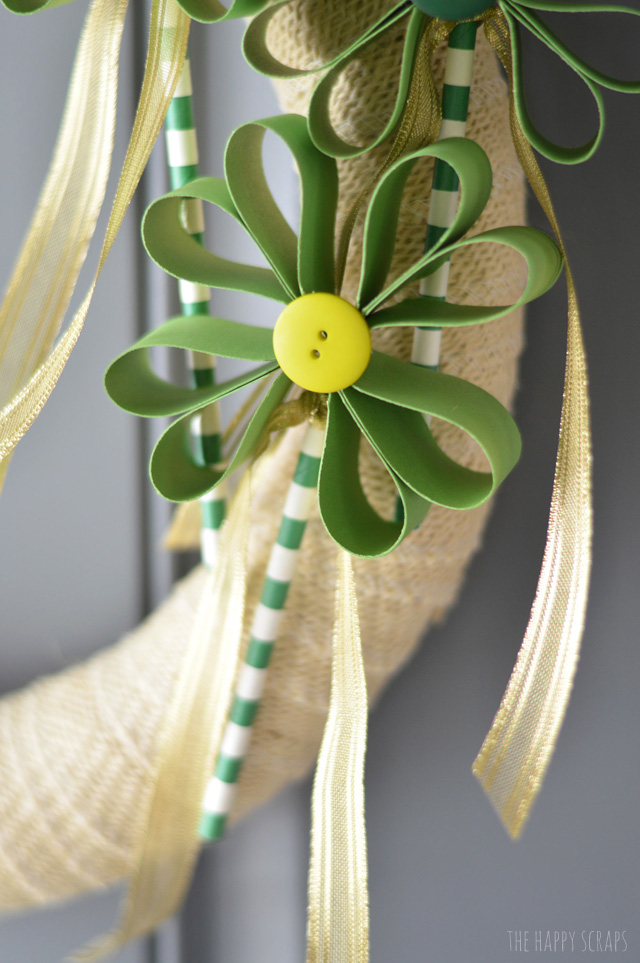
It makes me happy when I’m leaving my home to see this fun wreath hanging on my front door!
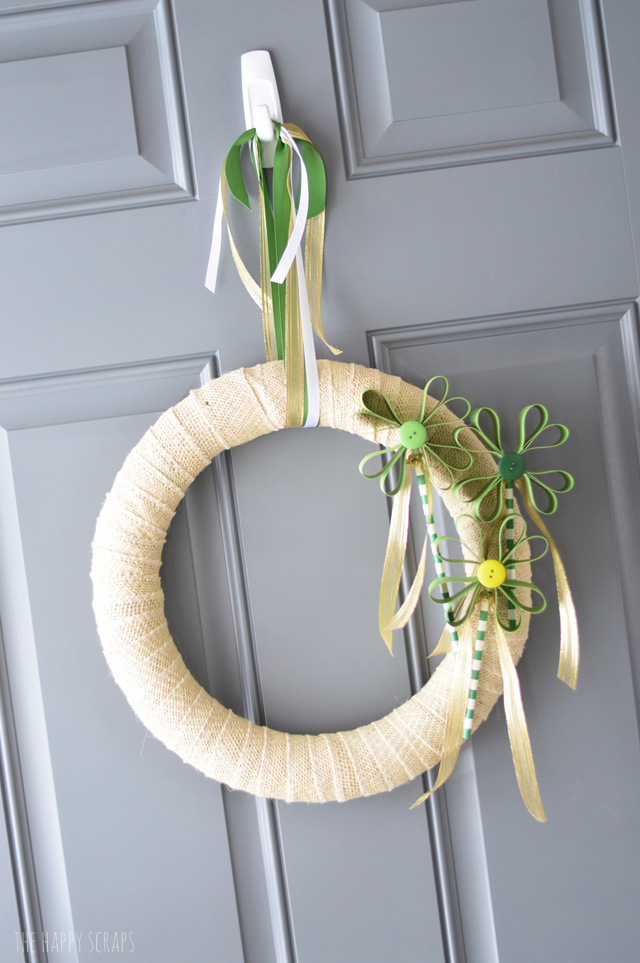
Do you have something hanging on your front door for St. Patrick’s Day? What is it?

Leave a Reply