• Contact
  • Etsy Shop
  • About Me
  • Home

The Happy Scraps

a creative blog

  • DIY Projects
  • Cricut
  • Holidays
    • New Year’s
    • Valentine’s Day
    • St. Patrick’s Day
    • Easter
    • Mother’s Day
    • Father’s Day
    • Independence Day
    • Halloween
    • Thanksgiving
    • Christmas
  • Paper Crafts
    • Banners
    • Cards
    • Mini Albums
    • Printables
    • Scrapbook Layouts
    • Wreaths
  • Sewing
  • Recipes

Basket of Flowers – Thank You Gift

April 7, 2017 By Amy | The Happy Scraps 1 Comment

1 shares
  • Share
  • Tweet

Do you ever find your self needing a simple little Thank you gift? Whether someone did something to help you out, like give you a ride, watch your kids, or teach a Sunday school class for you. Sometimes it’s nice to give a little thank you gift, and this Basket of Flowers – Thank You Gift is the perfect gift for anyone. Besides, who doesn’t love a little chocolate?! I do, but only in very small amounts…
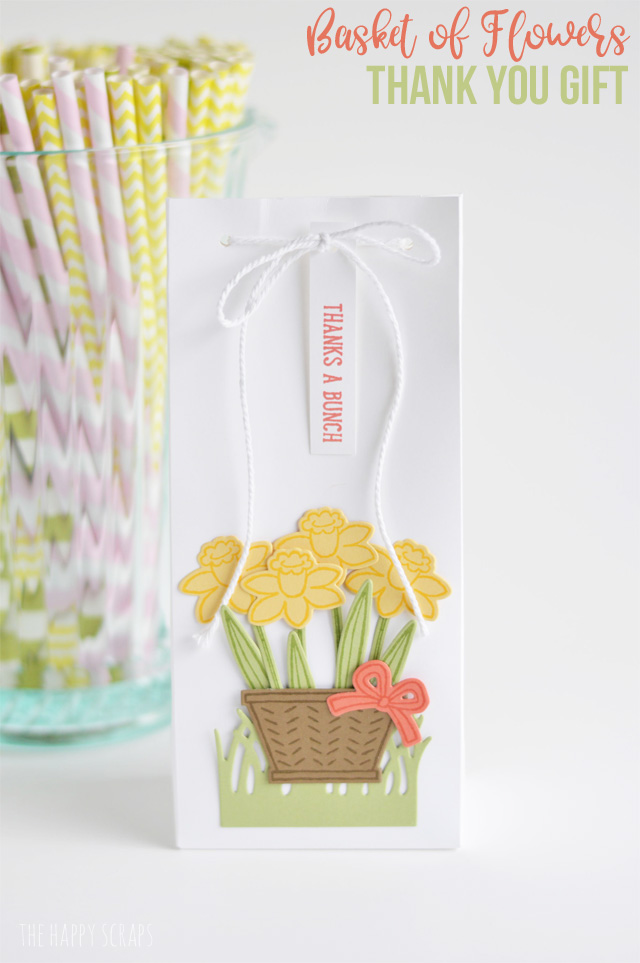
This basket of flowers - Thank You Gift is the perfect gift to give to anyone who helps you out or does something nice for you. Aren't those flowers fun?!

I received product in exchange for this post. All ideas and opinions are my own. This post also contains affiliate links.

Basket of Flowers – Thank You Gift Supplies:

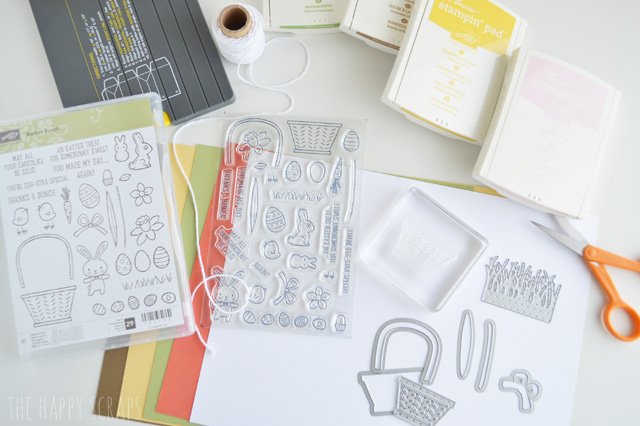
  • Stampin’ Up! Basket Bunch Bundle
  • Stamp Block
  • Ink Pads in color of choice
  • Stampin’ Up! Cardstock in color of choice
  • Gift Bag Punch Board
  • Whisper White Thick Baker’s Twine

This basket of flowers - Thank You Gift is the perfect gift to give to anyone who helps you out or does something nice for you. Aren't those flowers fun?!

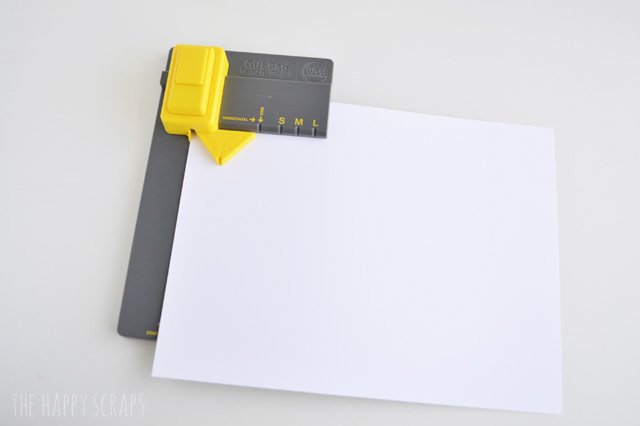
I started with an 8.5 x 11 sheet of whisper white cardstock, and followed the instructions on the punch board for a medium sized gift bag.
This basket of flowers - Thank You Gift is the perfect gift to give to anyone who helps you out or does something nice for you. Aren't those flowers fun?!

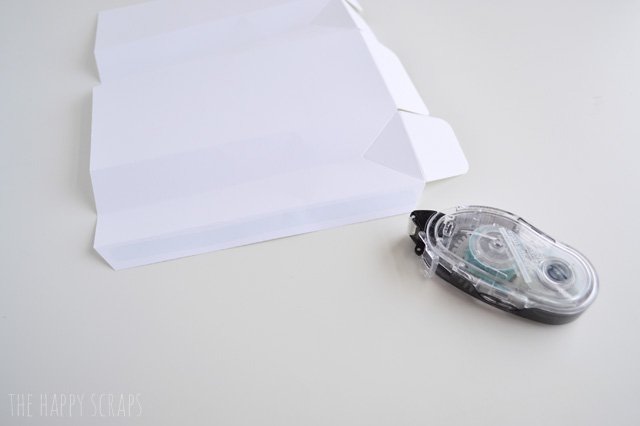
Once I had it all punched out, I used adhesive along the long edge to adhere it together.
This basket of flowers - Thank You Gift is the perfect gift to give to anyone who helps you out or does something nice for you. Aren't those flowers fun?!

Then I closed up the bottom of the bag with the same adhesive.
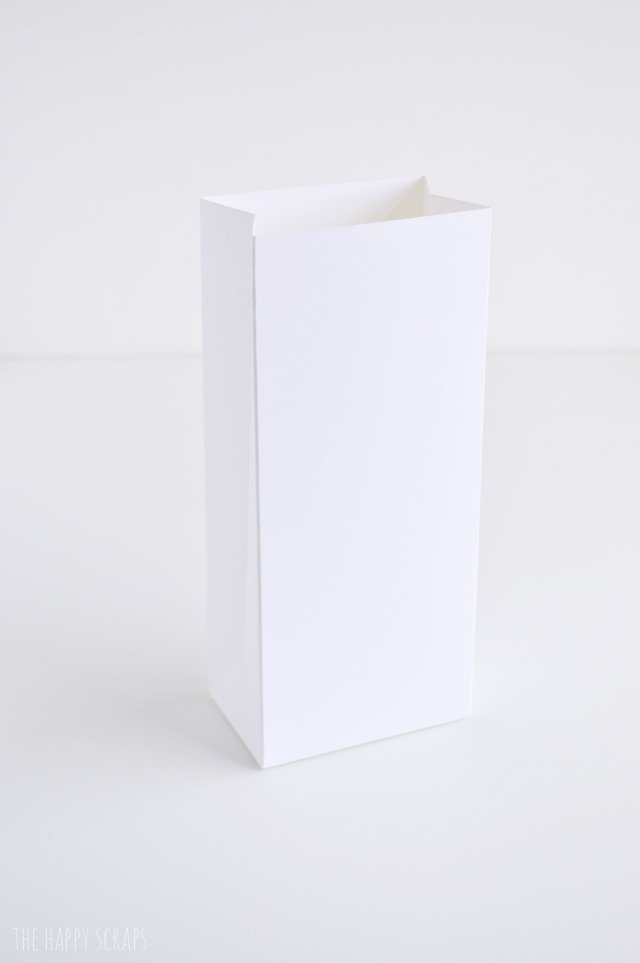
This basket of flowers - Thank You Gift is the perfect gift to give to anyone who helps you out or does something nice for you. Aren't those flowers fun?!

Once I had my bag made, I started stamping. I stamped all of my images that I was using from the Basket Bunch stamp set. Side note: I really used to dislike using photopolymer stamps with the Stampin’ Up! ink pads. They would have blotches of color where it was like the ink puddled up. I don’t know what they did, but they have fixed this, and they stamp amazingly well now! 🙂
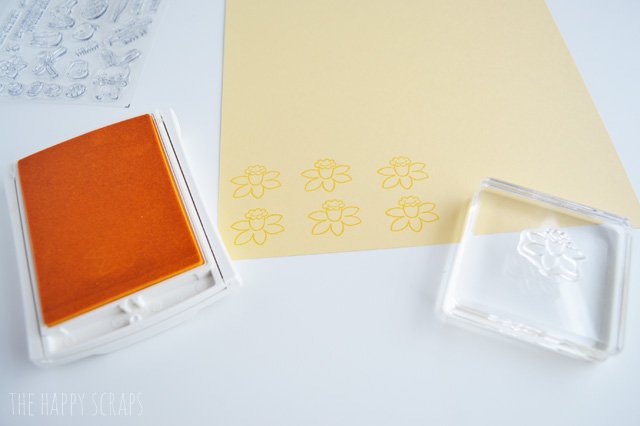
This basket of flowers - Thank You Gift is the perfect gift to give to anyone who helps you out or does something nice for you. Aren't those flowers fun?!

Once I had all my images stamped, I pulled out my Cuttlebug and used it with the Framelits dies to cut out all of my stamped images as well as the grass. I don’t have one, but using a magnetic cutting mat for this would make it SO much easier for lining everything up and having it stay that way while cutting.
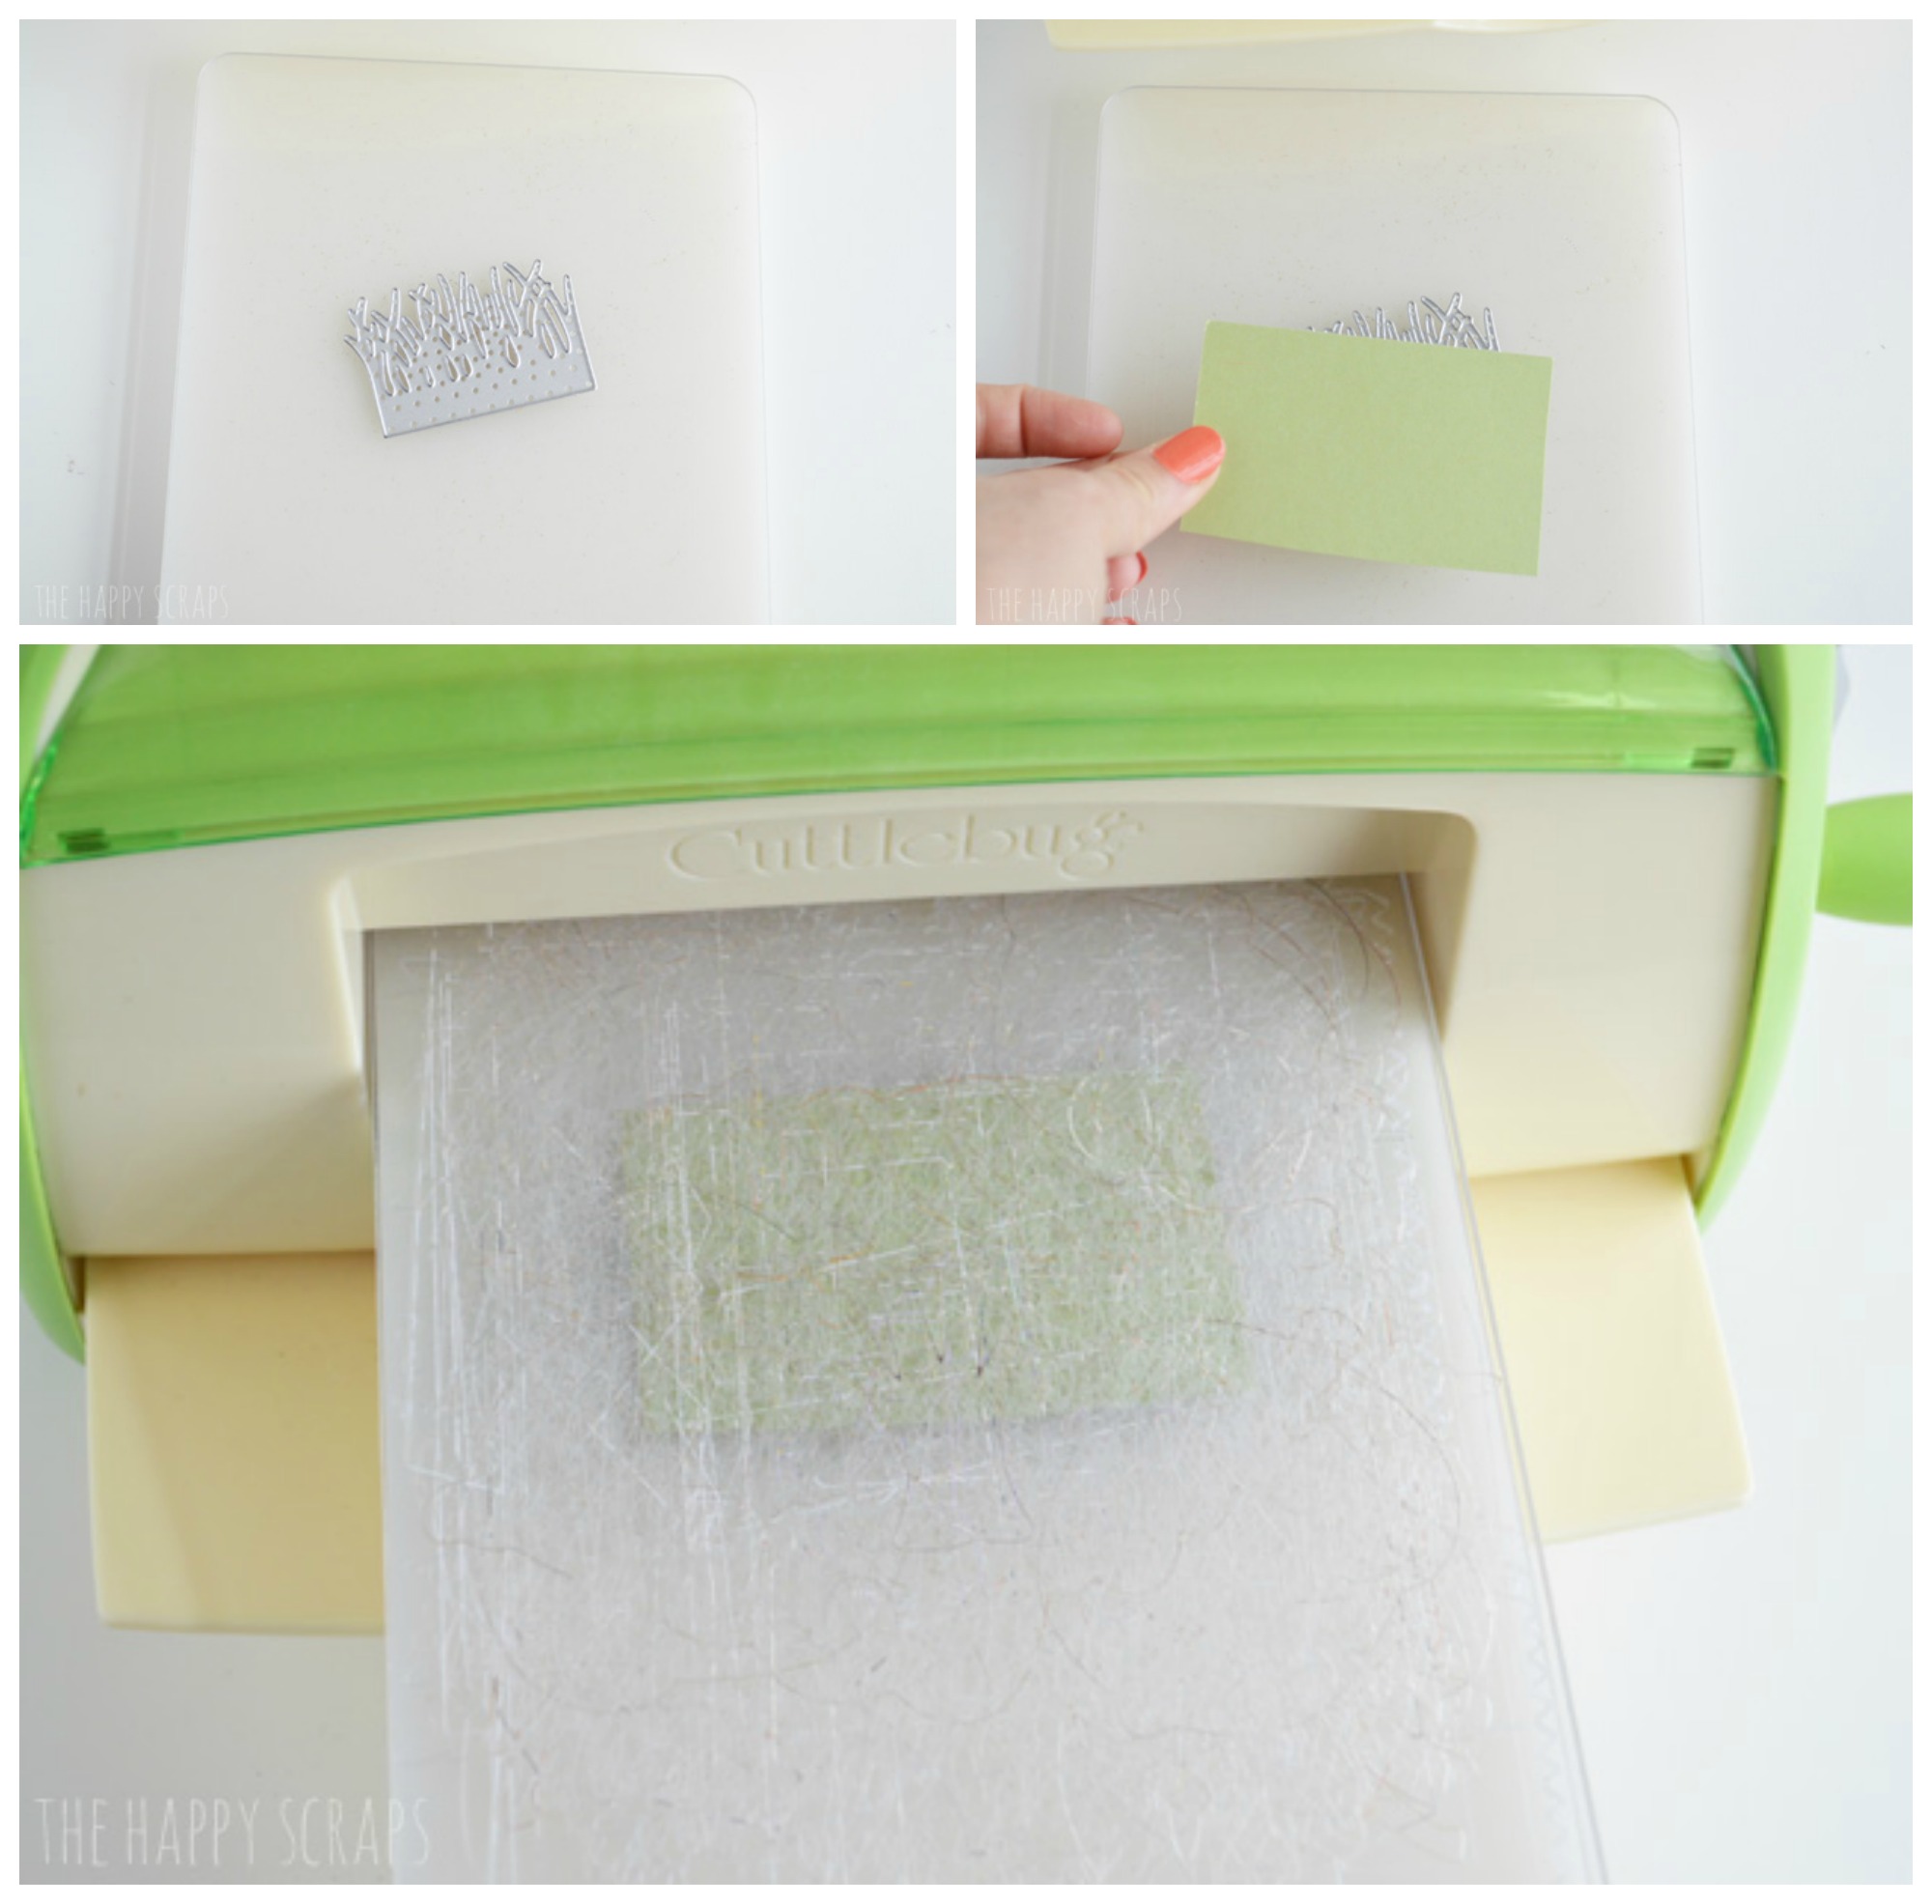
This basket of flowers - Thank You Gift is the perfect gift to give to anyone who helps you out or does something nice for you. Aren't those flowers fun?!

Once I had all my stamped images cut out, it was time to put it all together on my gift bag.
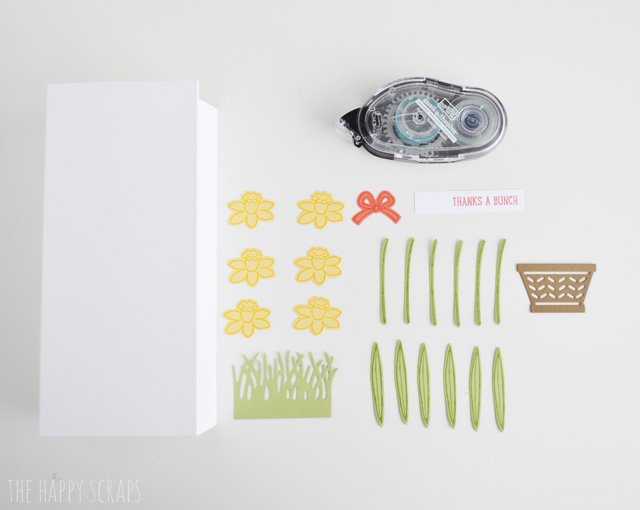
This basket of flowers - Thank You Gift is the perfect gift to give to anyone who helps you out or does something nice for you. Aren't those flowers fun?!

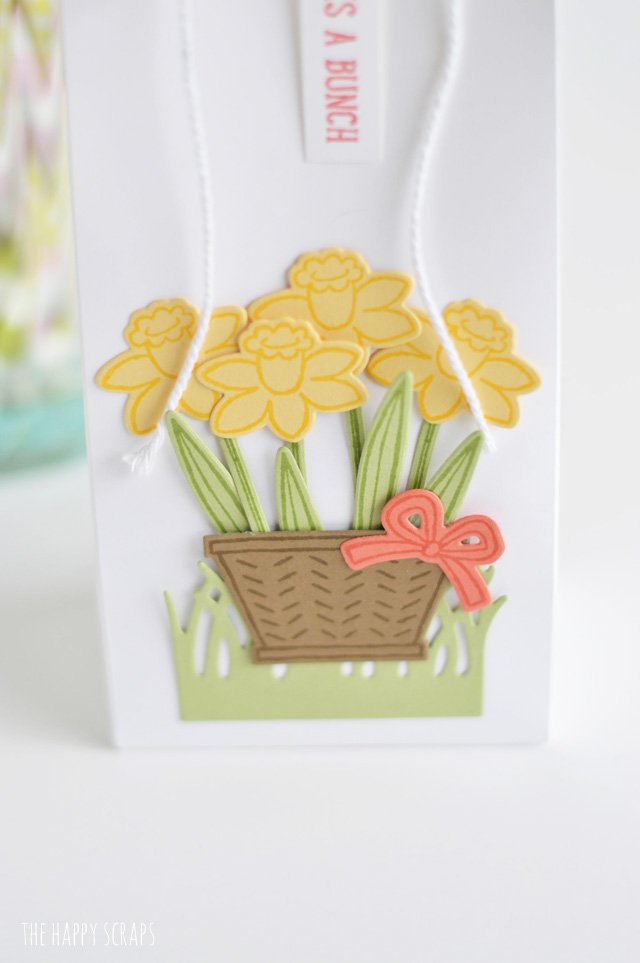
I ended up using the solid stamped basket, rather than the cute one with holes in it. It just worked better for how I was using it. I just used the snail adhesive and put all of my pieces onto the bag.
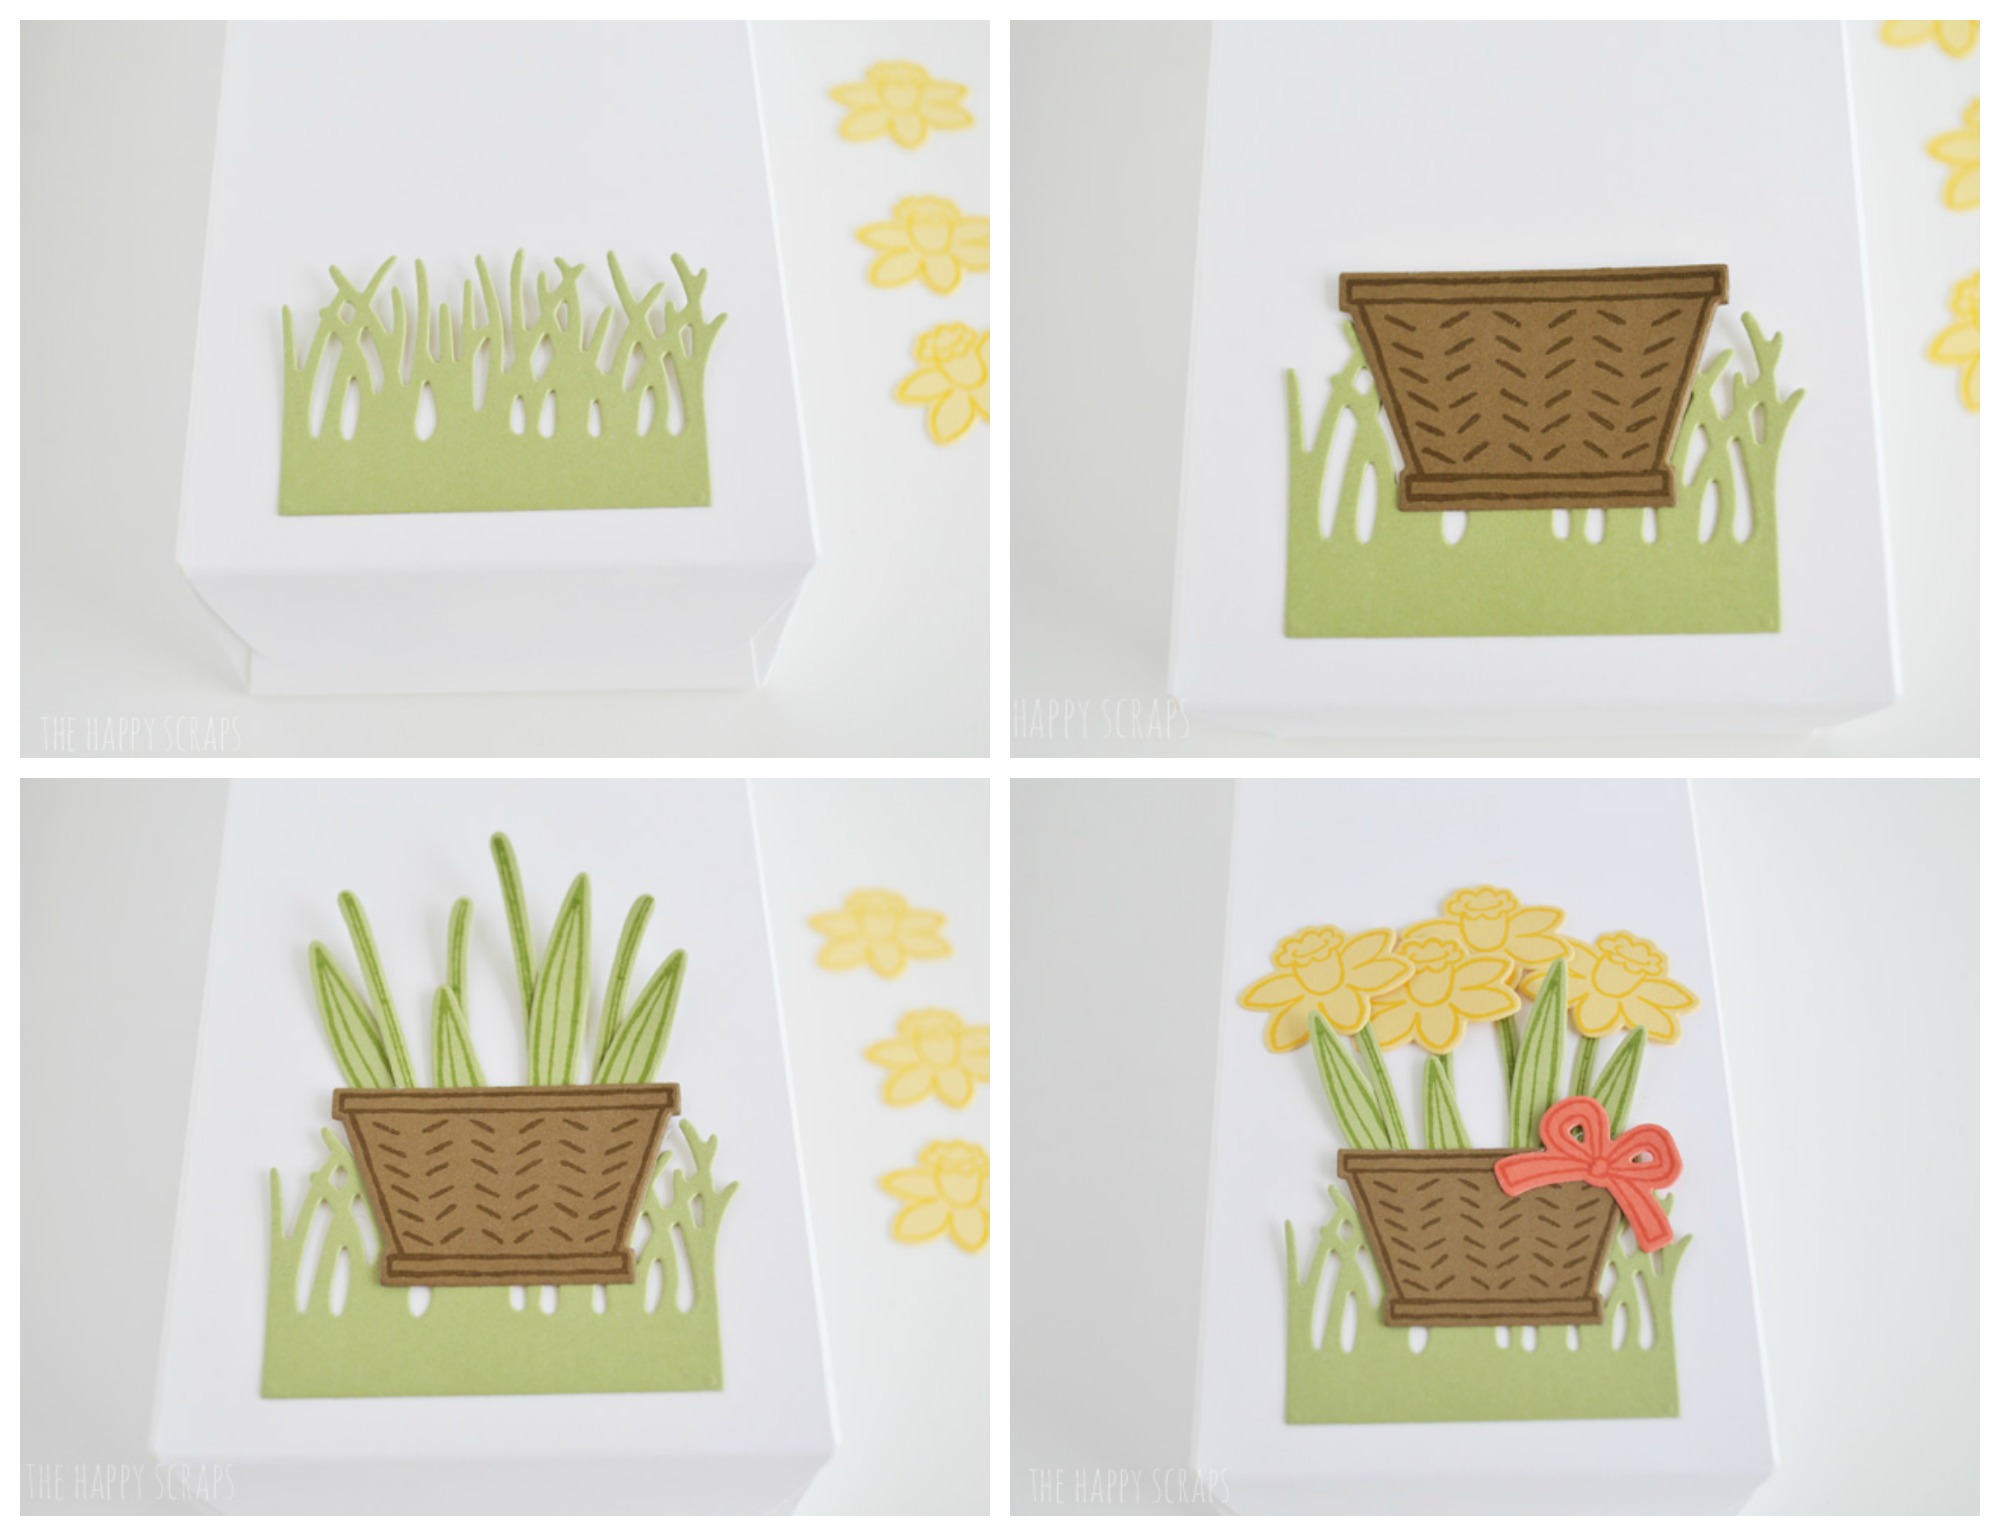
This basket of flowers - Thank You Gift is the perfect gift to give to anyone who helps you out or does something nice for you. Aren't those flowers fun?!

Once I had the basket of flowers on the front of the bag, I put some little chocolate bars inside.

This basket of flowers - Thank You Gift is the perfect gift to give to anyone who helps you out or does something nice for you. Aren't those flowers fun?!

I punched holes at the top and tied it shut using the thick baker’s twine.
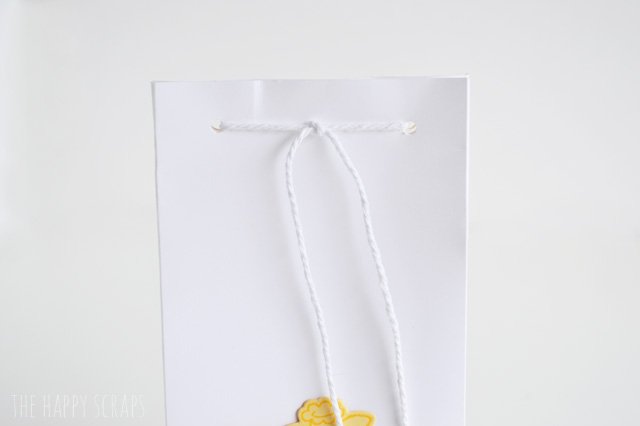
This basket of flowers - Thank You Gift is the perfect gift to give to anyone who helps you out or does something nice for you. Aren't those flowers fun?!

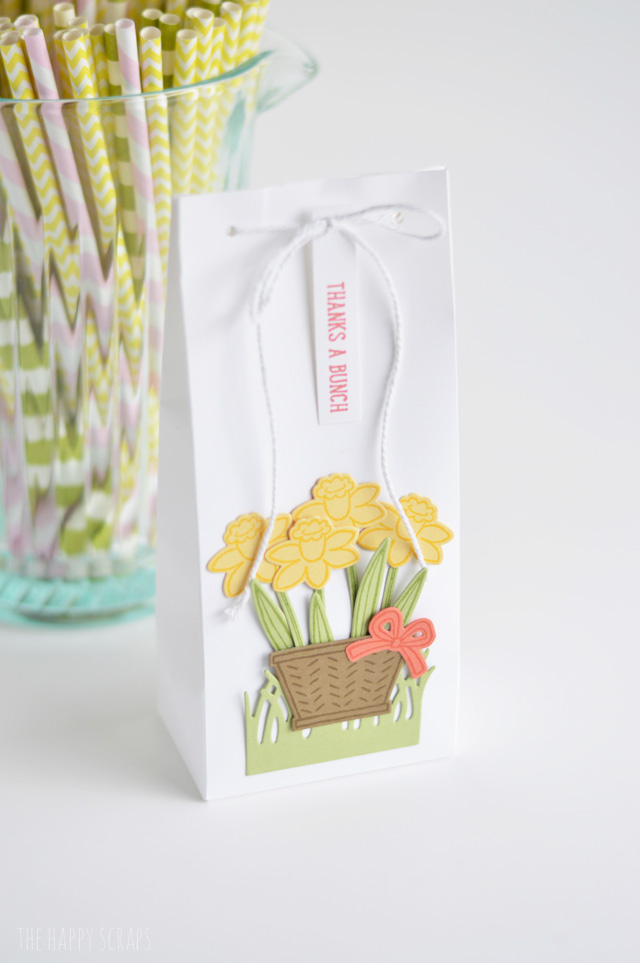
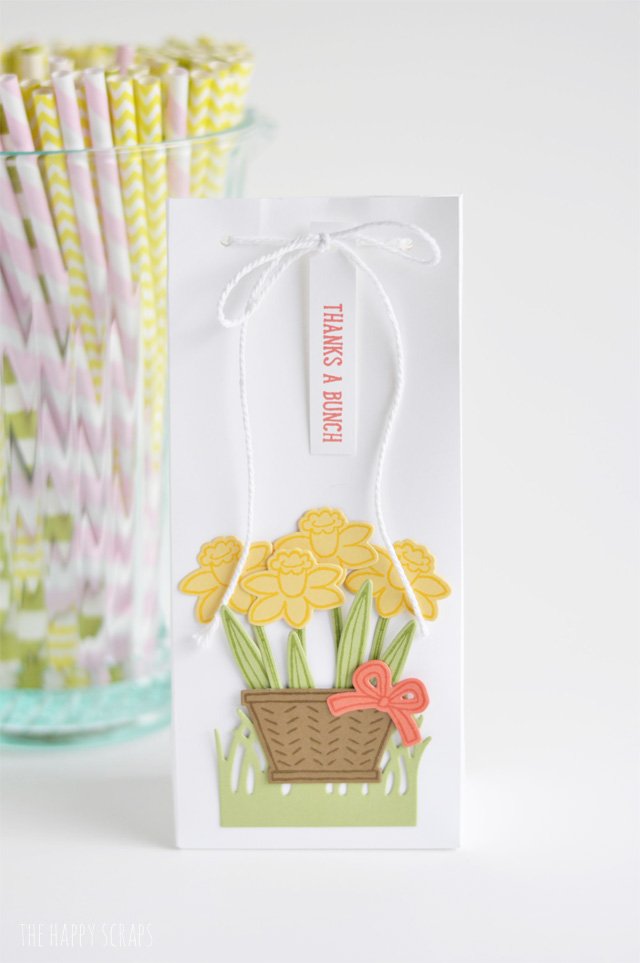
I added my Thanks a bunch tag and then tied it on with a bow.
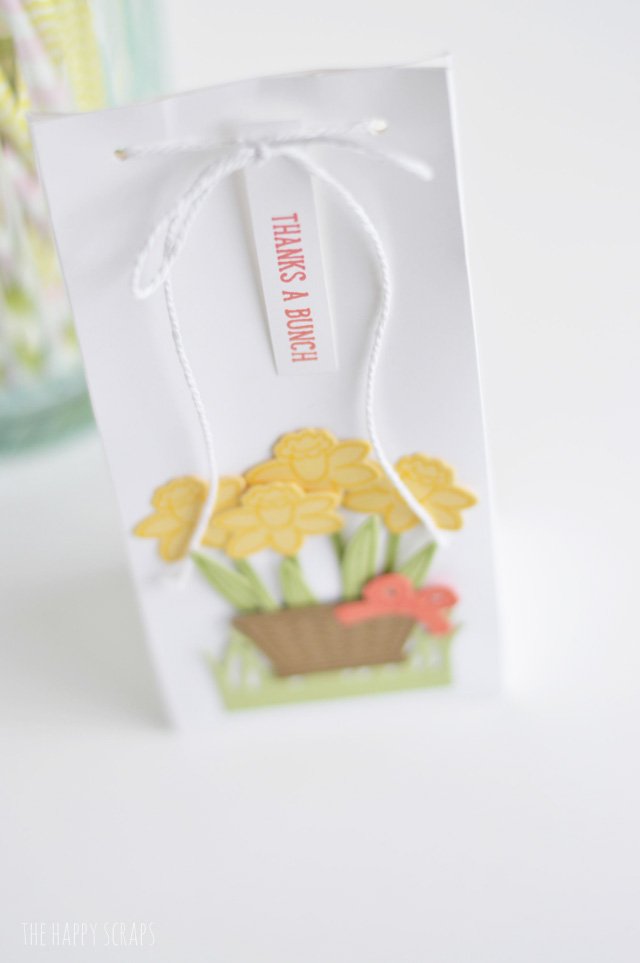
This basket of flowers - Thank You Gift is the perfect gift to give to anyone who helps you out or does something nice for you. Aren't those flowers fun?!

I adore the way this turned out, and now I’m trying to come up with more ways to use the cute basket of flowers! Or maybe I should fill it up with eggs for Easter. 🙂 Doesn’t the basket of flowers look so cute?!
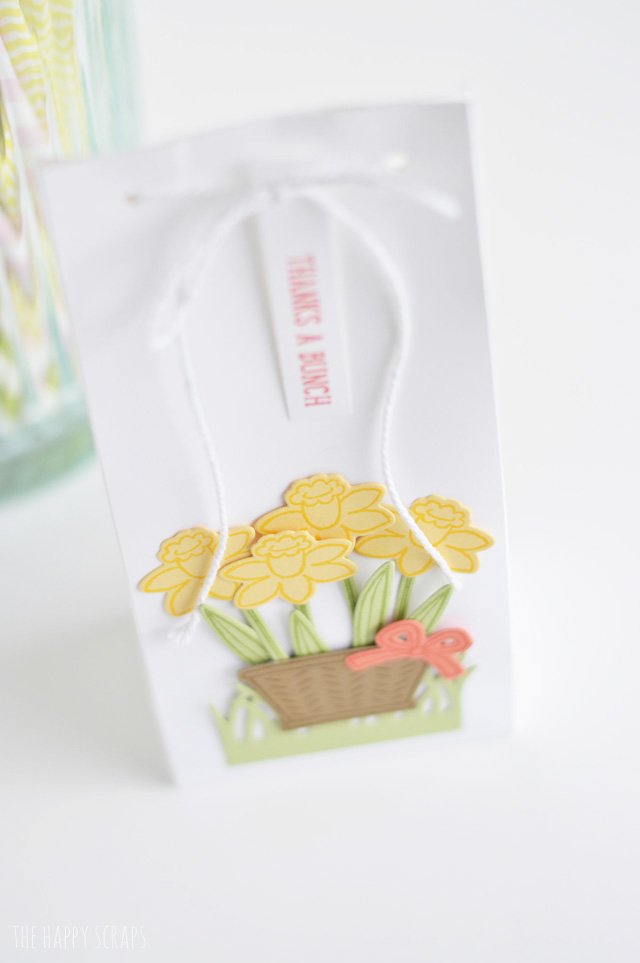
This basket of flowers - Thank You Gift is the perfect gift to give to anyone who helps you out or does something nice for you. Aren't those flowers fun?!

Even though I didn’t use dimensional adhesive, I feel like it still have a dimensional feel to it, and I love it.
This basket of flowers - Thank You Gift is the perfect gift to give to anyone who helps you out or does something nice for you. Aren't those flowers fun?!

So grab yourself some supplies and make up some of these cute bags for the next time you’re in need of a Thank you gift!
This basket of flowers - Thank You Gift is the perfect gift to give to anyone who helps you out or does something nice for you. Aren't those flowers fun?!

It’s the perfect little gift for anyone! You could even add a different saying to it and use it for a birthday or a just because gift.
This basket of flowers - Thank You Gift is the perfect gift to give to anyone who helps you out or does something nice for you. Aren't those flowers fun?!


Filed Under: DIY Projects, Gift Ideas, Paper Crafts Tagged With: cuttlebug, gift idea, ink, paper, stampin' up!, stamps, thank you gift

« Creating A Pretty Budget Binder
Happy Easter Cards »

Leave a Reply Cancel reply

Your email address will not be published. Required fields are marked *

CommentLuv badgeShow more posts
  • Farm Sweet Farm Front Porch Sign with the Cricut Maker 3
  • Farm Fresh Eggs Kitchen Sign
  • How to Make a Summer Hat with the Cricut Joy
  • Bless Our Farmhouse Kitchen Sign
  • Welcome to the Farm Front Door Decor
  • How to Use Offset in Cricut Design Space

Popular Posts

Page Ranking Tool

Categories

Archives

The images and text on this site are copyright of The Happy Scraps. If you would like to feature a project or image on this site please email [email protected]. Thank you! Please read the Privacy Policy and Disclosure here.

Copyright © 2025 · Tasteful theme by Restored 316

Copyright © 2025 · Blog Design by Key Lime Digital Designs · WordPress · Log in

1 shares